Vanilla Bean Coffee Creamer
You know those mornings? The ones where the alarm feels like a personal affront, the to-do list stretches to the horizon, and the thought of facing the day feels… heavy. For me, those are the mornings that call for something special, something that wraps you up like a warm blanket and whispers, “It’s going to be okay.” And for years, that something special was a store-bought Coffee Creamer, usually loaded with more ingredients than I could pronounce. Then, one particularly chaotic Tuesday, staring at my pantry, I had an epiphany. Why not make my own? Specifically, why not make my own vanilla bean coffee creamer? It’s funny how sometimes the most delicious things come from the simplest of ideas, and this, my friends, is pure gold. Forget those chalky, overly-sweetened versions; this homemade vanilla bean coffee creamer is a game-changer. It’s rich, it’s fragrant, and it tastes like pure, unadulterated bliss. It’s become my go-to, my little secret weapon for turning any morning, or even an afternoon slump, into a moment of pure, unadulterated joy. It’s a hug in a mug, and trust me, you’re going to want to make a big batch because it disappears fast!
What is vanilla bean coffee creamer?
So, what exactly is this magical concoction I’m raving about? Think of it as the ultimate upgrade for your morning coffee, or really, any coffee you happen to be drinking. It’s a creamy, dreamy liquid that you swirl into your hot beverage to give it an incredible boost of flavor and a luxurious texture. Unlike the syrups you might buy, this vanilla bean Coffee Creamer is made with real dairy (or a plant-based alternative, more on that later!) and infused with the intoxicating aroma and nuanced taste of actual vanilla beans. It’s not just about sweetness; it’s about that deep, complex vanilla flavor that you just can’t get from artificial extracts. It’s essentially a simple syrup base, but with a whole lot more soul, thanks to the star of the show: vanilla beans. It’s the kind of thing that makes you pause, close your eyes, and just savor that first sip. It’s coffee, but elevated. It’s a little bit of everyday luxury, made right in your own kitchen.
Why you’ll love this recipe?
Oh, where do I even begin with why you absolutely *need* to make this vanilla bean coffee creamer? First and foremost, the flavor. It’s beyond compare. When you use real vanilla beans, you get those little speckles of goodness, and that unmistakable, deep, floral vanilla aroma that’s just heavenly. It’s not cloyingly sweet like some store-bought options; it’s perfectly balanced, letting the creamy base and the vanilla shine. Then there’s the simplicity. Seriously, if you can boil water and stir, you can make this. It takes mere minutes, and you probably have most of the ingredients already. Speaking of ingredients, it’s incredibly cost-effective. Buying quality vanilla beans might seem like an investment upfront, but a single bean goes a long way, and when you break down the cost per serving compared to those fancy coffee shop creamers or even premium store-bought ones, you’re saving a bundle. Plus, you control exactly what goes into it – no weird preservatives or artificial flavors here! And the versatility! While it’s designed for coffee, I’ve used it in so many other ways. Drizzle it over pancakes, stir a spoonful into plain yogurt for an instant vanilla treat, or even use it in no-bake desserts. It’s like the perfect little pantry staple that elevates everything. What I truly love most about this is that it feels indulgent without being fussy. It’s my little secret to making a regular Tuesday feel like a spa day, or at least a very happy, caffeinated one. It’s a far cry from those tired, boring creamers I used to rely on, and I can honestly say, once you try this, there’s no going back.
How do I make vanilla bean coffee creamer?
Quick Overview
Making this vanilla bean coffee creamer is surprisingly straightforward. We’re essentially creating a sweetened liquid base and infusing it with the pure essence of vanilla beans. You’ll combine water and sugar, heat it just until dissolved, then let the magic of the vanilla beans work their wonders as it infuses. It’s a hands-off process that yields incredible results. The key is patience during the infusion stage, allowing those vanilla oils to really meld with the liquid. It’s simple, it’s quick, and it’s guaranteed to transform your coffee from ordinary to extraordinary.
Ingredients
For Vanilla Bean Infusion:
- 2 cups water
- 1 cup granulated sugar (I find regular white sugar works best for a neutral base)
- 2 whole vanilla beans, split lengthwise and scraped
Tip: For the vanilla beans, look for plump, moist beans. They should be pliable, not brittle. If you can’t find whole beans, high-quality vanilla bean paste is your next best bet – just be sure to use a bit more, about 2 tablespoons, and you can skip scraping. The seeds are where all that incredible flavor is!
For Creaminess (Optional but Recommended):
- 1 cup heavy cream or half-and-half
- For a dairy-free option: Use full-fat canned coconut milk (just the thick cream part) or a really good quality unsweetened plant-based creamer like cashew or oat milk. I tested this with almond milk and it actually made it even creamier!
Step-by-Step Instructions
Step 1: Prepare the Vanilla Beans
Take your two vanilla beans and carefully slice them lengthwise. Use the tip of a sharp knife to scrape out all those tiny, fragrant seeds from the inside of each bean. Don’t waste any of that goodness! You’ll want to gather both the scraped seeds and the emptied bean pods.
Step 2: Dissolve the Sugar
In a medium saucepan, combine the 2 cups of water and 1 cup of granulated sugar. Place the saucepan over medium heat. Stir constantly until the sugar is completely dissolved and the mixture is clear. You don’t need to boil it; just get it nice and dissolved.
Step 3: Infuse the Vanilla
Once the sugar is dissolved, remove the saucepan from the heat. Add the scraped vanilla bean seeds and the emptied vanilla bean pods to the warm syrup. Stir them in gently. This is where the magic happens – the heat helps to release all those beautiful vanilla oils.
Step 4: Steep and Infuse
Cover the saucepan and let the vanilla beans steep in the syrup for at least 30 minutes. For an even more intense vanilla flavor, you can let it steep for up to a couple of hours, or even overnight in the refrigerator. The longer it steeps, the more robust the vanilla flavor will be.
Step 5: Strain the Syrup
After steeping, carefully strain the syrup through a fine-mesh sieve into a clean bowl or pitcher. Discard the vanilla bean pods and seeds (or rinse them and let them dry to make vanilla sugar!). You should have a beautifully fragrant, clear vanilla syrup.
Step 6: Add Creaminess (Optional)
If you want a creamier creamer, whisk in your heavy cream, half-and-half, or dairy-free alternative into the strained vanilla syrup until well combined. If you’re not adding cream, you’ll just have a delicious vanilla syrup, which is also fantastic in coffee!
Step 7: Cool and Store
Let the vanilla bean coffee creamer cool completely to room temperature. Once cooled, pour it into an airtight container, like a mason jar or a squeeze bottle. Store it in the refrigerator.
Step 8: Serve and Enjoy
Give your homemade creamer a good shake or stir before each use, especially if you’ve added cream, as it can separate slightly. Add a tablespoon or two (or more, I won’t judge!) to your hot or iced coffee and enjoy that perfect cup.
What to Serve It With
This vanilla bean coffee creamer is, of course, the star of your coffee cup, but its deliciousness doesn’t stop there! It’s surprisingly versatile, and I love finding new ways to use it.
For Breakfast: Beyond your morning mug of coffee, a splash of this creamer is fantastic over a stack of fluffy pancakes or French Toast. It adds a subtle sweetness and that lovely vanilla aroma that just screams “weekend breakfast.” You can even stir a tablespoon into your oatmeal for a quick flavor upgrade.
For Brunch: Imagine a brunch spread with a beautiful pitcher of this homemade creamer alongside your coffee station. It makes even the simplest coffee feel special. For a slightly more decadent touch, you could even use it to sweeten and flavor a simple whipped cream to top waffles or pastries.
As Dessert: This is where things get really fun. Drizzle it over a plain pound cake or Angel Food Cake for an instant dessert. A spoonful stirred into vanilla ice cream? Pure heaven. Or, for something really special, use it as a base for a no-bake cheesecake filling or a simple panna cotta.
For Cozy Snacks: On a chilly afternoon, a warm mug of hot chocolate gets a serious upgrade with a swirl of this vanilla bean coffee creamer. It adds a lovely depth of flavor that’s incredibly comforting. Honestly, anytime you’re craving something sweet at 10 pm but don’t want to bake a whole cake, this is your lifesaver.
My family absolutely loves it in their coffee, but my daughter secretly likes to add a tiny bit to her plain milk for a special treat. It’s those little moments that make it so special.
Top Tips for Perfecting Your Vanilla Bean Coffee Creamer
Over the years, I’ve tinkered with this recipe quite a bit, and I’ve learned a few things that really make a difference in getting that perfect, luscious vanilla bean coffee creamer every single time.
Vanilla Bean Power: Don’t skimp on the vanilla beans! While extract is fine in a pinch, using whole beans (and their seeds!) gives you that authentic, complex flavor that is simply unmatched. If you find good quality beans, they are worth every penny. For a stronger infusion, consider using three beans instead of two, especially if your beans are on the smaller side. I’ve also found that using a bit of vanilla bean paste along with the scraped seeds can amp up both the flavor and the visual appeal with those little black specks.
Sugar Levels: The 1:2 ratio of sugar to water is a good starting point, but feel free to adjust it to your personal preference. If you like your coffee less sweet, you can reduce the sugar slightly, but remember that sugar also acts as a preservative. If you’re opting for a dairy-free creamer, you might need slightly more sugar as some plant-based milks are less sweet naturally.
Creamy Dreams: The addition of heavy cream or half-and-half makes it truly a “creamer.” If you skip this, you’ll just have a potent vanilla syrup, which is still delicious but different. When I first made this, I used only milk and it wasn’t quite rich enough. Heavy cream is the secret to that luxurious texture. For my dairy-free friends, experimenting with different plant-based milks is key. Full-fat canned coconut milk offers an amazing richness, and some oat or cashew milks are surprisingly creamy without adding their own dominant flavor.
Infusion Time: Patience is a virtue, especially with infusing flavors. While 30 minutes will give you a decent vanilla flavor, letting it steep for a few hours, or even overnight in the fridge after it’s cooked and cooled slightly, will yield a much deeper, more profound vanilla taste. I often make a batch on a Sunday afternoon and it’s perfect for the week ahead.
Storage Savvy: Always store your creamer in an airtight container in the refrigerator. This keeps it fresh and prevents it from absorbing other odors from your fridge. If you add cream, you might notice a slight separation over time – this is totally normal! Just give it a good shake or whisk before using. It should last for about 1-2 weeks, but honestly, it usually disappears long before then!
Strain Carefully: When straining, use a fine-mesh sieve. You don’t want any stray vanilla bean pod bits or seeds floating around in your final product, unless you’re aiming for that speckled look, which I personally love! If you do want the speckles, make sure to scrape *all* the seeds out of the pods first.
Storing and Reheating Tips
Keeping your homemade vanilla bean coffee creamer fresh and delicious is super simple, and it’s one of the things I love most about making it myself – it lasts!
Room Temperature: Once it’s been cooked and is completely cooled, you can technically store it at room temperature for a day or two if you’re not adding cream and are using it very quickly. However, for optimal freshness and safety, especially if you’ve added any dairy or dairy alternatives, I strongly recommend refrigerating it immediately after it cools down. It’s just not worth the risk!
Refrigerator Storage: This is where it lives! Keep your vanilla bean coffee creamer in an airtight container in the refrigerator. A glass jar with a tight-fitting lid or a squeeze bottle works perfectly. If you’ve added cream or a plant-based milk, it will typically last for about 1 to 2 weeks. You might notice a slight separation, especially with dairy-free versions, but a quick shake or stir will bring it right back together. Always give it a sniff before using to ensure it still smells wonderfully vanilla-y and fresh.
Freezer Instructions: I haven’t personally frozen this creamer because it’s so easy to whip up a fresh batch, and the dairy/non-dairy components might change texture upon thawing. However, if you wanted to try, I’d suggest freezing just the strained vanilla syrup part *before* adding any cream. Pour the syrup into an ice cube tray, freeze until solid, then transfer the cubes to a freezer-safe bag. This way, you can pull out a cube or two to thaw and then mix with fresh cream when you’re ready to use. This should keep for about 1-2 months. Remember to thaw it completely in the refrigerator before using.
Glaze Timing Advice: The “glaze” in this context refers to the creamer itself. The key is to add it to your coffee *after* it’s brewed or prepared. You don’t need to reheat the creamer itself; it’s meant to be a cold addition to a hot or cold beverage. If you’re making it ahead and storing it, the refrigeration is key to maintaining its quality and flavor. Just remember to give it a good shake before pouring!
Frequently Asked Questions
Final Thoughts
So there you have it – my absolute favorite way to make vanilla bean coffee creamer. It’s so much more than just a coffee additive; it’s a little moment of joy, a small act of self-care that transforms an ordinary drink into something truly special. I love that it’s so easy to make, uses simple ingredients, and tastes infinitely better than anything you can buy off the shelf. It’s that deep, authentic vanilla flavor that gets me every time, and the creamy texture is just the icing on the cake. It’s proof that sometimes, the best things in life are the ones we make ourselves, with a little bit of love and a few quality ingredients. If you’re a coffee lover, or just someone who appreciates a really good vanilla flavor, I truly hope you’ll give this a try. I promise it’s worth it. I can’t wait to hear what you think, and I’m always curious to hear how you use it! Let me know in the comments below if you make it, and how you enjoy your perfect cup. Happy creamer making!
Vanilla Bean Coffee Creamer
Ingredients
Creamer
- 1.5 cup heavy cream
- 1 cup sweetened condensed milk
- 1 tablespoon vanilla bean paste or extract use vanilla bean paste for best flavor
Instructions
Preparation Steps
- In a medium bowl, whisk together the heavy cream, sweetened condensed milk, and vanilla bean paste or extract until well combined and smooth.
- Pour the creamer into an airtight container or bottle.
- Store in the refrigerator for up to 2 weeks.
- Shake well before each use. Add to your favorite coffee to taste.
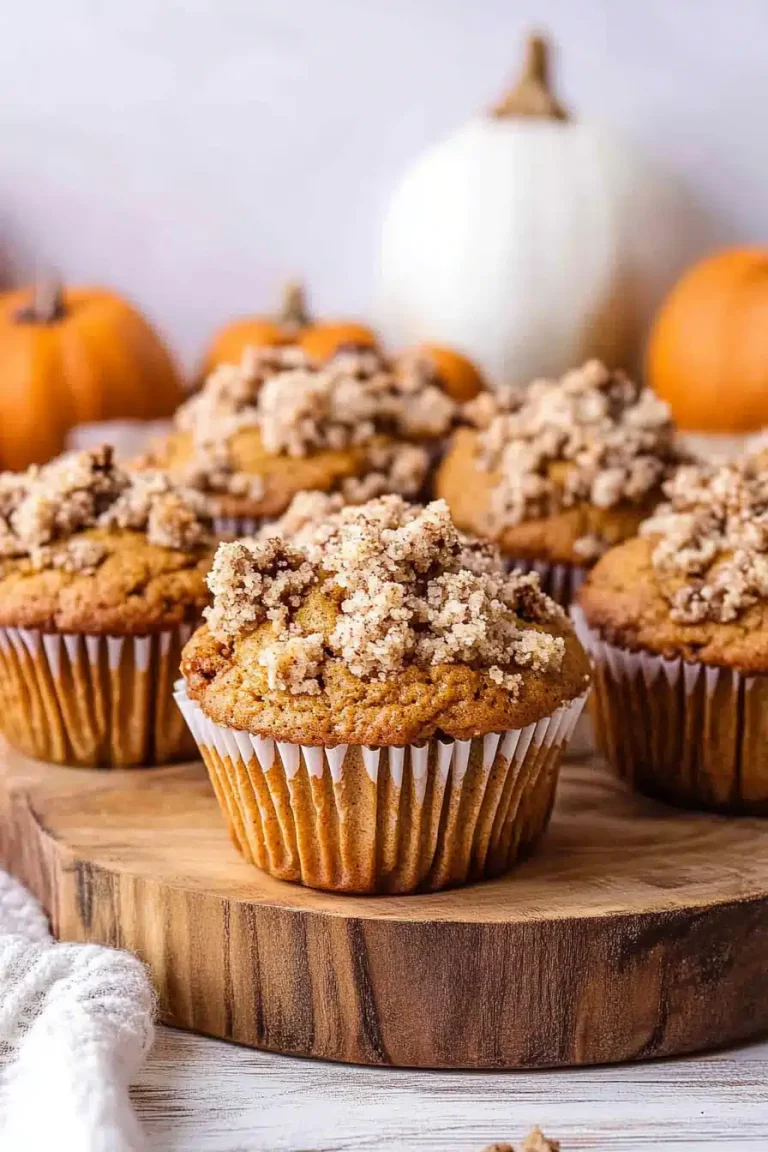

![Chocolate Chip Muffin Recipe [+Video]](https://nourishwithrecipes.com/wp-content/uploads/2026/01/auto-a1b8498b591f066e0ba03a1e8946c8a6-768x1152.webp)