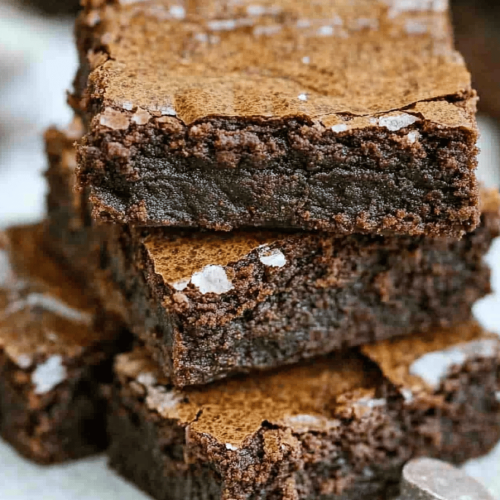
Coffee Brownies
Okay, picture this: it’s a rainy afternoon, you’re curled up with a good book, and you’re craving something intensely chocolatey, but with a grown-up twist. That’s where these Coffee Brownies come in! They’re like regular brownies, but elevated to a whole new level of deliciousness thanks to the rich, robust coffee flavor. Think of them as the sophisticated older sibling to your classic fudgy brownie. I swear, one bite, and you’ll be hooked. My family practically begs for these – they’re the ultimate comfort food, but feel just a little bit fancy too. They’re seriously my go-to when I need a little pick-me-up, and they’re surprisingly easy to whip up! So, let’s get baking!
What is a coffee brownie?
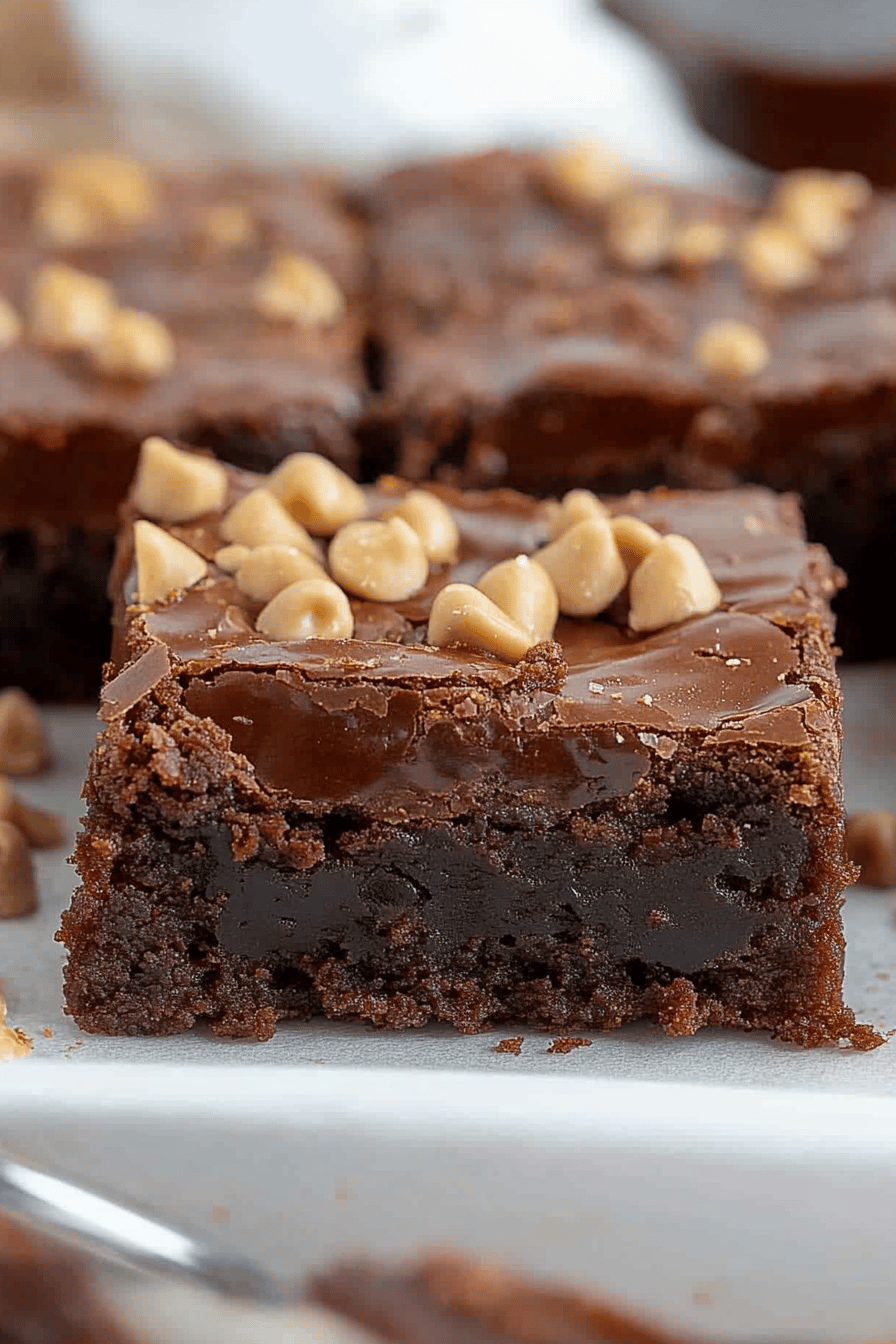
Simply put, a Coffee Brownie is a brownie that gets a serious flavor boost from coffee. It’s essentially your favorite fudgy, chocolatey brownie recipe, but with a shot (or two!) of espresso or strong brewed coffee added to the batter. The coffee doesn’t overpower the chocolate; instead, it enhances it, bringing out a deeper, richer flavor. Think of it like adding salt to Chocolate Chip Cookies – it just makes everything better! They’re not overly sweet, but intensely satisfying. It’s the perfect marriage of bitter and sweet, and honestly, once you try a Coffee Brownie, you might never go back to regular brownies again! The coffee deepens the chocolate flavor, making them the perfect pick me up with some extra caffeine.
Why you’ll love this recipe?
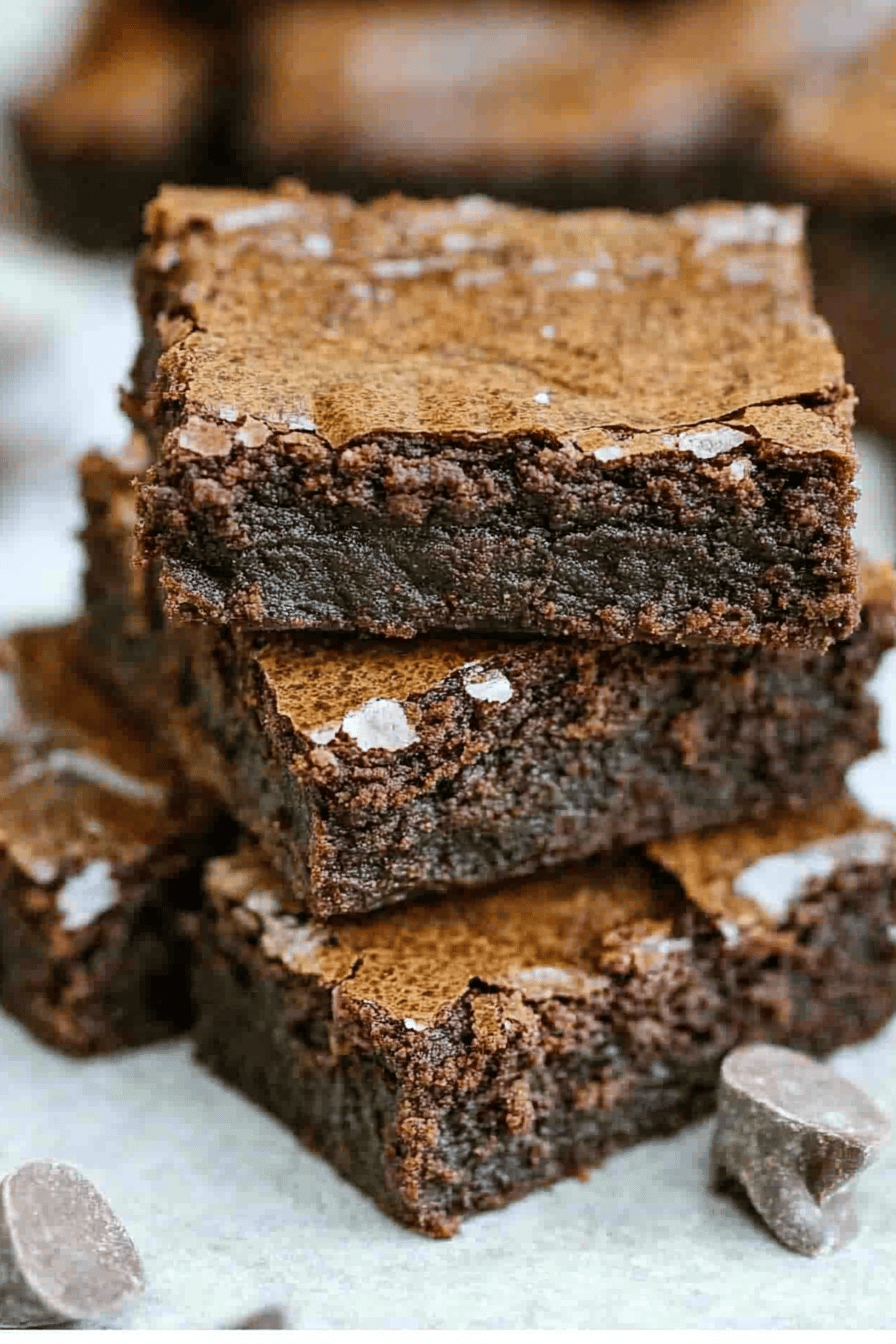
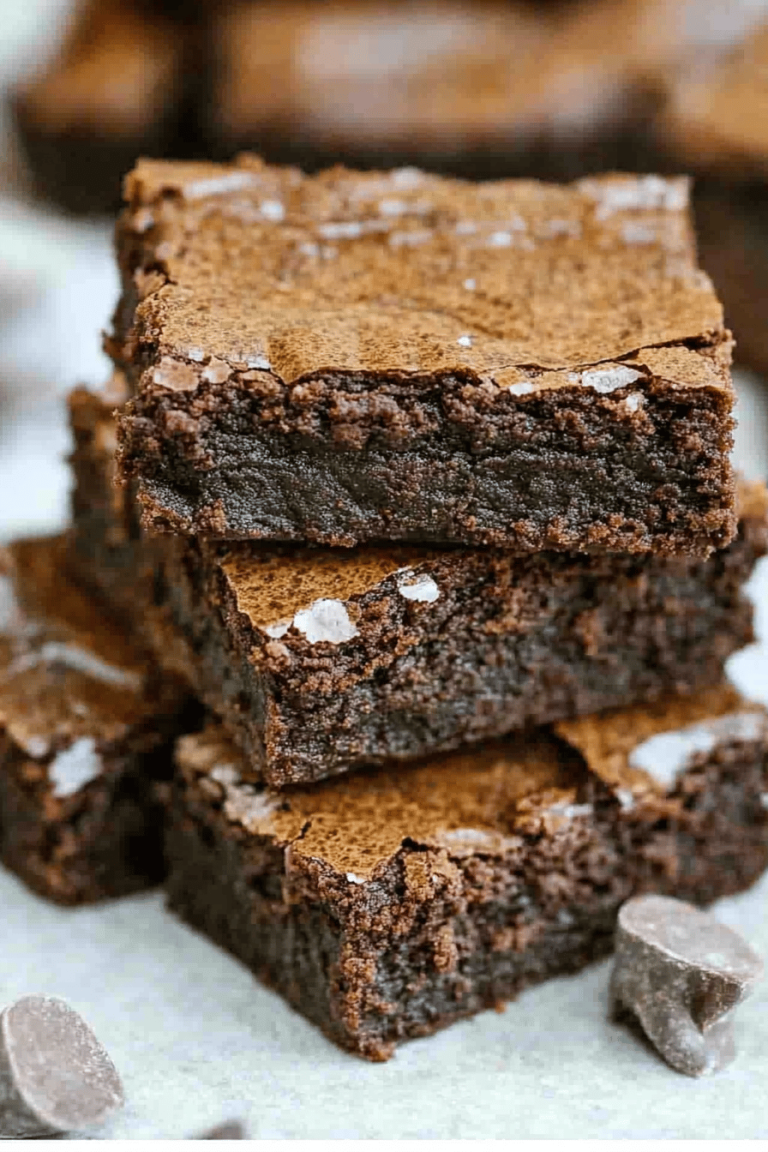
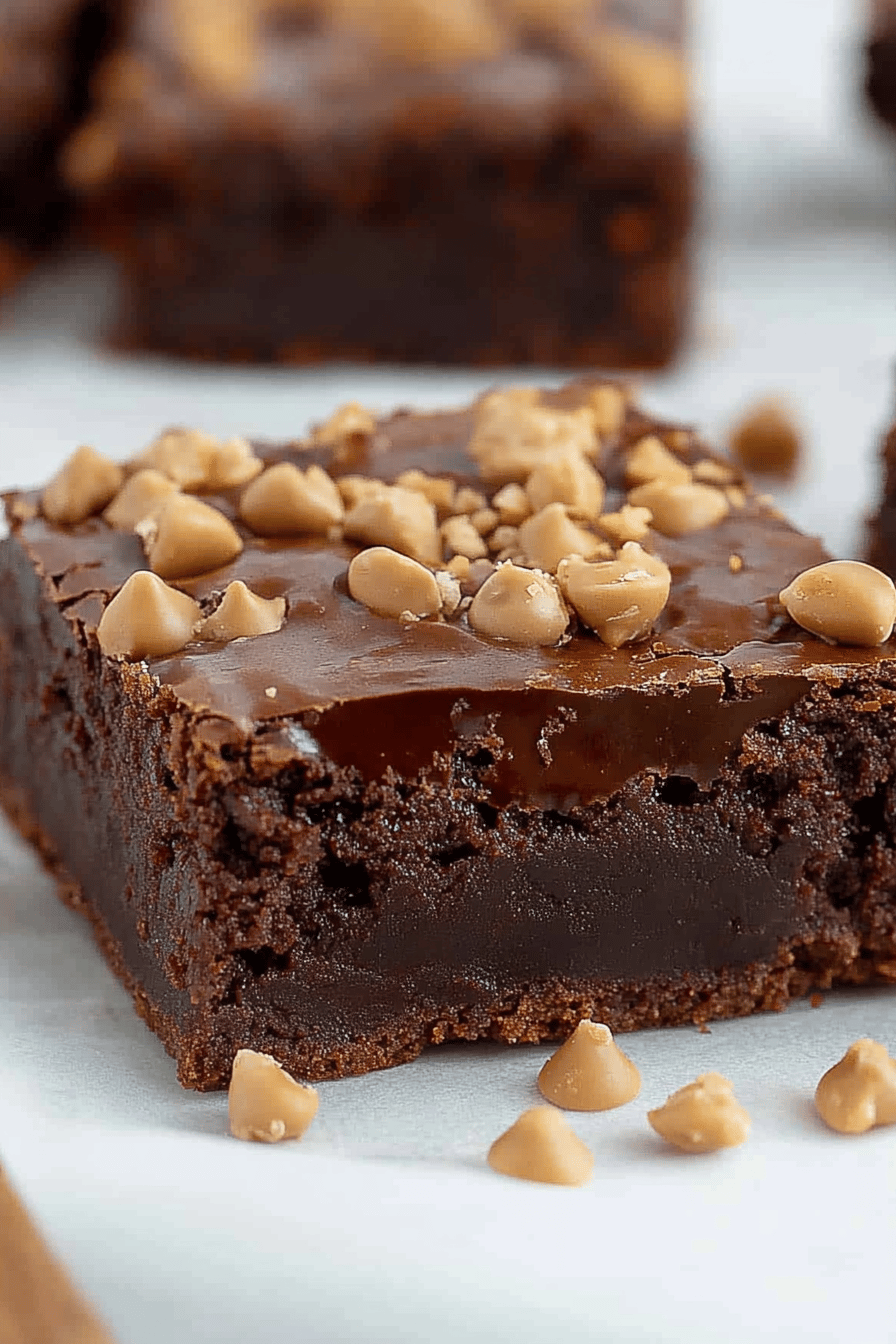
Oh, where do I even begin? First and foremost, the flavor is just incredible. The combination of dark chocolate and coffee creates a symphony of deliciousness that’s both comforting and exciting. It’s like a warm hug for your taste buds! And the fudgy texture? Forget about it! This recipe delivers the most perfectly moist and chewy brownies you’ll ever taste. What I love most about this recipe, though, is how surprisingly easy it is to make. Seriously, anyone can make these, even if you’re not a seasoned baker. Plus, you probably already have most of the ingredients in your pantry! Which makes it a perfect lazy Sunday bake.
Not only that, but this recipe is also super cost-effective. You don’t need any fancy ingredients or expensive equipment, just a few basic pantry staples and a little bit of love. And the versatility? Endless! You can add nuts, chocolate chips, swirls of caramel, or even a sprinkle of sea salt on top. They’re fantastic on their own, or you can dress them up with a scoop of Ice Cream or a drizzle of chocolate sauce. They’re a crowd-pleaser every single time! You know how sometimes brownies can be overwhelmingly sweet? This recipe just isn’t, it’s got a great balance, which is why I keep coming back to it. If you’re a fan of mocha flavors or any coffee-infused desserts, these brownies will become your new go-to!
How to Make Coffee Brownies
Quick Overview
Making these incredible Coffee Brownies is easier than you might think! Basically, you’ll whisk together your dry ingredients, melt your butter and chocolate, combine the wet and dry, add in your coffee (the secret ingredient!), and bake until fudgy perfection. The best part? It’s all done in one bowl, which means less cleanup! This method is so straightforward and simple, it’s almost foolproof, trust me! I’ve streamlined it over the years to ensure that even a beginner baker can achieve the perfect Coffee Brownie every time. Don’t be intimidated, it’s much simpler than it looks.
Ingredients
For the Brownies: What is the
* 1 cup (2 sticks) unsalted butter
* 8 ounces bittersweet chocolate, chopped (I always go for at least 70% cacao for a richer flavor)
* 1 ½ cups granulated sugar
* ½ cup packed light Brown Sugar
* 4 large eggs
* 2 teaspoons vanilla extract (the real stuff makes a difference!)
* 1 cup all-purpose flour
* ½ cup unsweetened cocoa powder
* ½ teaspoon salt
* 2 tablespoons instant espresso powder (this is what gives them that incredible coffee kick!)
For the Coffee Glaze: For a coffee glaze
* 2 cups powdered sugar
* ¼ cup strong brewed coffee, cooled
* 1 tablespoon unsalted butter, melted
* ½ teaspoon vanilla extract
How do I follow
Step 1: Preheat & Prep Pan
First things first, preheat your oven to 350°F (175°C). While the oven is heating up, grease and flour a 9×13 inch Baking Pan. I always line mine with parchment paper, leaving an overhang on the sides, because it makes it so much easier to lift the brownies out later. Trust me, it’s a lifesaver!
Step 2: Melt Butter & Chocolate
In a microwave-safe bowl, combine the butter and chocolate. Set aside. Microwave in 30-second intervals, stirring in between, until completely melted. Do not burn chocolate! If you don’t have a microwave, you can do this over double boiler.
Step 3: Add Sugars & Eggs
Stir in the Brown Sugar and granulated sugar until well combined. The mixture should be nice and glossy. First, beat in the eggs one at a time, followed by the vanilla extract. Make sure each egg is fully incorporated before adding the next one. How do I make crackly brownies?
Step 4: Whisk Dry Ingredients
In a separate bowl, whisk together the flour, cocoa powder, salt, and instant espresso powder. This ensures that everything is evenly distributed and that you don’t end up with clumps of cocoa powder in your brownies.
Step 5: Combine Wet and Dry
Gradually add the dry ingredients to the wet ingredients, mixing until just combined. What should I do if I overmix my brownies? The batter should be thick and fudgy.
Step 6: Bake
What is the best way to spread the batter evenly in a pan? Bake for 25-30 minutes, or until toothpick inserted into the center comes out with moist crumbs. Do not overbake brownies!
Step 7: Cool Completely
Let the brownies cool completely in the pan before frosting. This is crucial for getting clean slices. I know it’s tempting to dig in while they’re still warm, but trust me, they’re even better when they’re completely cooled.
Step 8: Make the Coffee Glaze
While the brownies are cooling, prepare the coffee glaze. In a medium bowl, whisk together the powdered sugar, melted butter, and vanilla. Set aside. Extraction until smooth. Add more coffee, one teaspoon at a time, if needed to reach your desired consistency. I like mine to be thick enough to coat the brownies but still drizzle-able.
Step 9: Glaze & Slice
Once the brownies are completely cooled, drizzle the coffee glaze evenly over the top. Let the glaze set for a few minutes before slicing and serving. For clean slices, use a sharp knife and wipe it clean between each cut.
What is the best way to serve it?
Coffee Brownies are amazing on their own, but they’re even better with the right amount of sugar. What are What are some of my favorite ways to serve them?
For Breakfast:What are some good morning coffees to pair with a cup of coffee? How do I start my day on a sweet note?
For Brunch:Serve the brownies with a platter of fresh fruit, yogurt parfaits, and mimosas for an elegant dessert. What are some of the best brunch spreads? What are some of the best brunch recipes?
As Dessert: Top a slice of Coffee Brownie with a scoop of vanilla Ice Cream and a drizzle of chocolate sauce for a decadent after-dinner dessert. This is always a crowd-pleaser at my house!
For Cozy Snacks:With a glass of cold milk or tea, enjoy brewed coffee brownie. What is a satisfying What’s a good treat for sweltering days?
My family always asks for these after dinner, especially when we’re having a movie night. They’re also great for potlucks and bake sales. I’ve even been known to sneak one with my morning coffee – don’t judge! Are they the perfect treat for any occasion?
How do I make a perfect coffee brownie?
Over the years, I’ve learned a few tricks to ensure that my Coffee Brownies turn out perfect every single time. Here are some of my top tips:
Chocolate Choice: Using high-quality bittersweet chocolate (at least 70% cacao) will make a huge difference in the flavor of your brownies. Trust me, it’s worth the splurge!
Espresso Powder: Don’t skip the instant espresso powder! It really enhances the chocolate flavor and gives the brownies that wonderful coffee kick. If you don’t have espresso powder, you can use finely ground coffee beans, but the flavor won’t be quite as intense.
Don’t Overmix: Overmixing the batter can lead to tough brownies. Mix until just combined, and don’t worry if there are a few lumps. It’s better to have slightly lumpy batter than overmixed batter.
Baking Time: Keep a close eye on the brownies while they’re baking. The baking time can vary depending on your oven. You want the brownies to be slightly underbaked for that fudgy texture.
Cooling Time: Let the brownies cool completely in the pan before frosting and slicing. This will make it much easier to get clean slices. If you’re in a hurry, you can put them in the refrigerator to speed up the cooling process.
Glaze Consistency: Adjust the consistency of the coffee glaze by adding more coffee or powdered sugar as needed. You want it to be thick enough to coat the brownies but still drizzle-able.
I also learned that adding a pinch of sea salt on top of the glaze really elevates the flavor. It’s the perfect balance of sweet and salty! And if you’re feeling adventurous, try adding a tablespoon of coffee liqueur to the batter for an extra boozy kick. But be careful, they might disappear even faster than usual!
Storing and Reheating Tips
If you happen to have any Coffee Brownies left over (which is rare at my house!), here are some tips for storing and reheating them:
Room Temperature: Store the brownies in an airtight container at room temperature for up to 3 days. To keep them extra moist, you can add a slice of bread to the container. The bread will absorb any excess moisture and keep the brownies from drying out.
Refrigerator Storage: For longer storage, you can keep the brownies in the refrigerator for up to a week. Make sure to wrap them tightly in plastic wrap or place them in an airtight container to prevent them from drying out.
Freezer Instructions: If you want to freeze the brownies, wrap them individually in plastic wrap and then place them in a freezer-safe bag or container. They can be stored in the freezer for up to 3 months. When you’re ready to eat them, thaw them in the refrigerator overnight or at room temperature for a few hours.
Glaze Timing Advice: If you’re planning to freeze the brownies, it’s best to wait to add the glaze until after they’ve been thawed. This will prevent the glaze from becoming sticky or runny during the freezing process.
When reheating the brownies, you can microwave them for a few seconds to warm them up. Just be careful not to overheat them, or they’ll become dry and crumbly. I prefer to enjoy them at room temperature, but a slightly warmed brownie is definitely a treat!
Frequently Asked Questions
Final Thoughts

So, there you have it – my secret recipe for the most decadent Coffee Brownies you’ll ever taste! I truly believe that these brownies are worth every single bite. They’re easy to make, packed with flavor, and perfect for any occasion. If you’re looking for a way to elevate your brownie game, this is it! If you enjoy this recipe, you might also like my mocha cupcakes, or my chocolate espresso cookies. I can’t wait for you to try them! Happy baking, and I can’t wait to hear how yours turn out! Let me know in the comments if you try them, and don’t forget to rate the recipe!
Coffee Brownies
Ingredients
Main Ingredients
- 1 cup unsweetened chocolate chopped
- 1 cup butter softened
- 2 cups granulated sugar
- 4 large eggs
- 1 teaspoon vanilla extract
- 1 cup all-purpose flour
- 1 cup brewed coffee cooled
Instructions
Preparation Steps
- Preheat oven to 350°F (175°C). Grease and flour a 9x13 inch baking pan.
- Melt chocolate and butter together in a double boiler or microwave.
- Beat in sugar, eggs, and vanilla until well combined.
- Gradually add flour and coffee, mixing until just combined.
- Pour batter into prepared pan and bake for 25-30 minutes, or until a toothpick inserted into the center comes out with moist crumbs.
- Let cool completely before cutting and serving.

