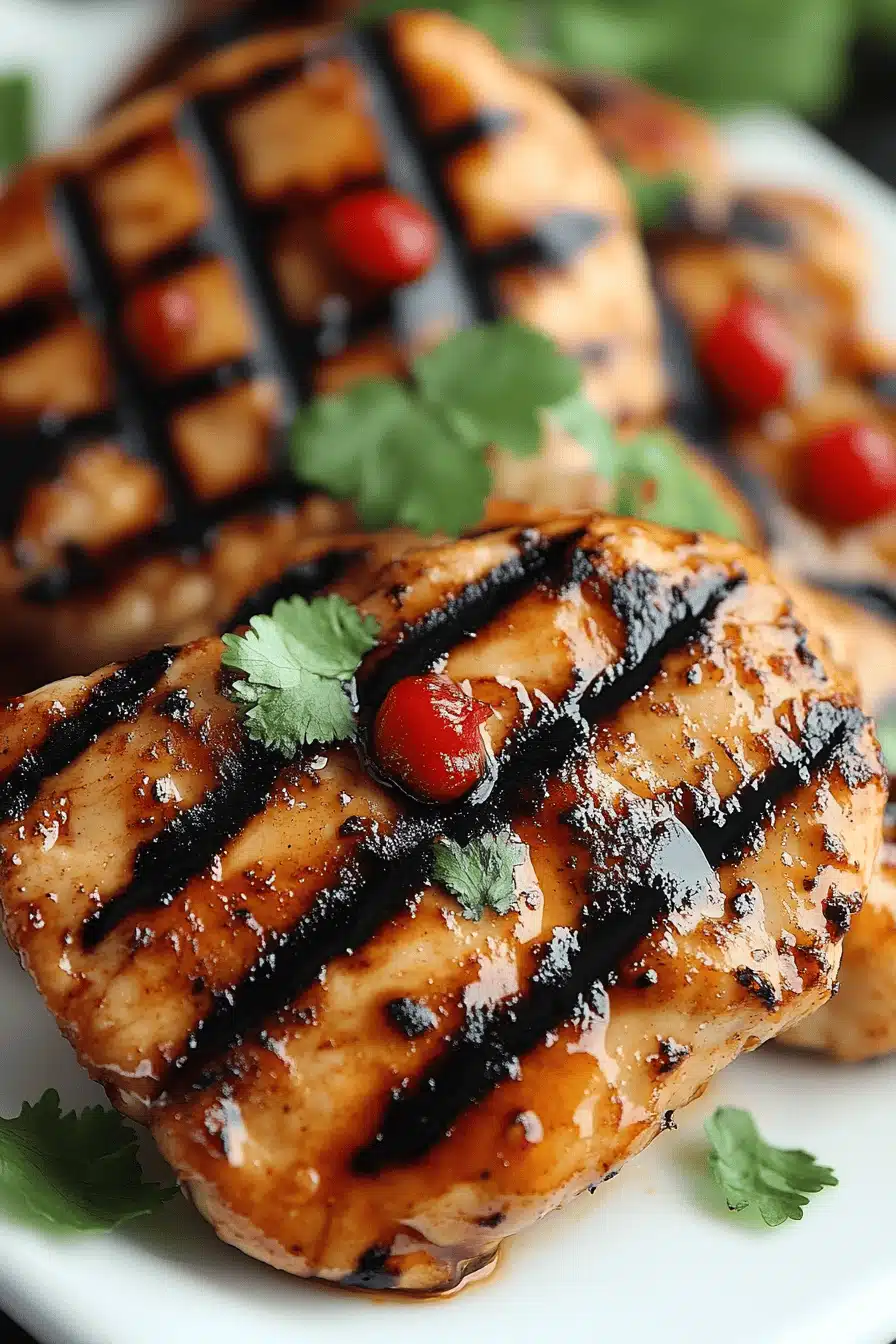
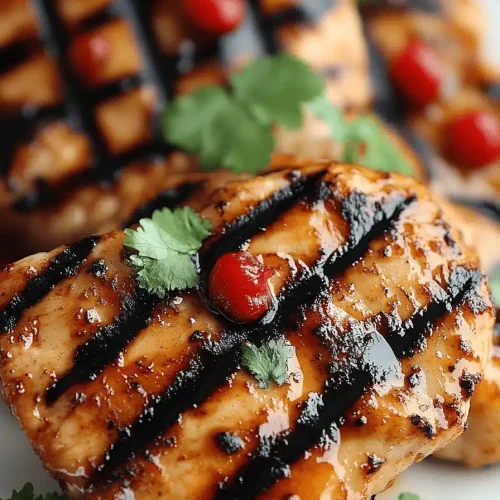
Sweet Chili Glazed Chicken Thighs
I still remember the first time I tasted something like Sweet Chili Glazed Chicken Thighs—the sauce was glossy, sweet-tiered with a whisper of heat, and the chicken was tender enough to fall apart with a nudge of a fork. It tasted like a cozy dinner but with a little celebration in every bite. This dish has become my trusty weeknight hero and a favorite to share with friends when they swing by for coffee and a chat. It’s not fussy or fussy-looking, but it delivers flavor that feels like a warm hug. Think of it as the grown-up cousin of classic honey-glazed chicken, but with a modern kick that your taste buds will thank you for. I’ve found that the magic sits in balance—the sweet chili glaze caramelizes just enough to cling to the surface, while the thighs stay juicy and forgiving. This one’s a lifesaver on busy nights, and my kids actually ask for seconds. Coffee mugs in hand, we chat about our days, and I spoon extra glaze onto the last bite—the kind of moment that makes a kitchen feel like home.
What is sweet chili glaze chicken thighs?
Sweet Chili Glazed Chicken Thighs is essentially a puckered, glossy glaze brushed over pan-seared or oven-baked chicken thighs, finished with a sticky sweet-heat coating that’s glossy enough to photograph and delicious enough to eat with a fork and your favorite sides. The name comes from the star component—the sweet chili sauce that gives you a bright, fruity heat, balanced with a touch of tang. Think of it as a modern take on a weeknight staple: you get the luscious, meaty texture of thighs, the crisp edge from searing, and a glaze that sings with both sweetness and warmth. It’s a dish that invites you to improvise—start with the glaze base, then tweak heat with Chili Garlic Sauce or a splash of rice vinegar if you want a brighter bite. It’s essentially a straightforward recipe that rewards patience at the stove and a light hand with the glaze. My family calls it “the glossy chicken,” and I smile every time I hear that because it reminds me of cozy dinners around a crowded table.
Why you’ll love this recipe?
What I love most about Sweet Chili Glazed Chicken Thighs is how it feels both comforting and exciting at the same time. The flavor profile is a playful balance of sweet and zingy with a hint of umami from soy or tamari, depending on what you have in the pantry. The sauce clings beautifully to the surface, creating that lacquered glaze you crave without turning greasy. This dish is incredibly forgiving—thighs stay juicy, the glaze cooks down to a luscious consistency, and you don’t need a long list of ingredients to nail it. It’s simple enough for a weeknight but special enough to serve to friends when you want to feel a little domestic-restaurant-chic in your own kitchen. The cost-per-serving is friendly, especially if you’ve got a jar of chili sauce and a bottle of soy in the fridge. It’s also versatile: serve it with rice for a quick bowl, toss the chicken with noodles for a comforting toss-them-together dinner, or pair with roasted vegetables for a lighter plate. What I love most about this is how easy it becomes a reliable crowd-pleaser. My kids request this all the time, and I always hear, “Can we have the glaze extra sticky tonight?”—which, yes, please, we can.
How do I make sweet chili glazed chicken thighs?
Quick Overview
This is a one-pan joy that starts with a quick sear to brown the chicken and then a glossy glaze that reduces to a silken coating. The trick is to let the glaze simmer long enough to thicken slightly so it clings, but not so long that it hardens into a shell. You’ll season the chicken well, give it a hot pan moment for color, and then brush or toss it with the glaze in the final minutes. The result is deeply flavored chicken with a lacquered finish that’s perfect for spooning over rice or a bed of greens. It’s so simple you’ll wonder why you ever bought takeout when you can make this at home in less time than ordering in. It’s a weeknight hero, a weekend crowd-pleaser, and a dish that tastes like it was slow-roasted—without hours in the oven.
Ingredients
For the Main Batter:
– 1.5–2 pounds boneless, skin-on chicken thighs (trimmed and pat dry)
– 1/4 cup cornstarch (for a light crunch and extra crisp exterior)
– 1 teaspoon salt, 1/2 teaspoon Black Pepper
– 1 teaspoon garlic powder, 1 teaspoon onion powder
– 1 tablespoon neutral oil (for the sear)
For the Filling:
– 2 tablespoons soy sauce or tamari (low-sodium if you like)
– 1 tablespoon rice vinegar or APPLE CIDER vinegar
– 1 teaspoon grated fresh ginger
For the Glaze:
– 1/2 cup sweet chili sauce (the star, pick one with good balance)
– 2 tablespoons honey or maple syrup (adjust to sweetness)
– 1 tablespoon soy sauce or tamari
– 1 teaspoon chili garlic sauce (optional for extra heat)
– 1 teaspoon sesame oil (for aroma)
– Splash of lime juice, to brighten
Step-by-Step Instructions
Step 1: Preheat & Prep Pan
Preheat your oven to 425°F (220°C) if you plan to finish in the oven. Heat a heavy skillet—cast iron is ideal—over medium-high heat. Pat the chicken dry thoroughly; moisture is the enemy of browning. Lightly coat the thighs with the cornstarch mixture so the skin-side gets a gorgeous crisp and the glaze has something to cling to. I always wipe the pan with a paper towel and a touch of oil before laying the chicken down to avoid sticking.
Step 2: Mix Dry Ingredients
In a shallow dish, whisk together the cornstarch, salt, pepper, garlic powder, and onion powder. The cornstarch gives you that delicate crunch and helps the glaze to cling. If you’re not into a crispy finish, you can cut back to just a light dusting, but I highly recommend the texture. This step is where you set the stage for a beautifully lacquered surface later.
Step 3: Mix Wet Ingredients
In another bowl, stir together the soy sauce, vinegar, and grated ginger. This little marinade helps season the meat inside and out, so every bite is bright and well-rounded. If you’re short on time, you can skip the separate marinade and toss the chicken with this mixture right before the glaze goes on, but I love leaving it to marinate for 15–20 minutes if possible.
Step 4: Combine
Dip each thigh into the dry mixture, coating well on all sides. Shake off excess and lay them skin-side down in the hot pan. You should hear a satisfying sizzle. Let them sear undisturbed for 4–5 minutes until the crust develops. Flip and sear the other side for another couple of minutes. If you notice heavy sticking, give the pan a quick splash of water to loosen and prevent tearing the skin.
Step 5: Prepare Filling
While the chicken browns, whisk together the glaze ingredients in a small saucepan: sweet chili sauce, honey, soy, chili garlic sauce (if using), sesame oil, and lime juice. Bring to a gentle simmer and cook just a minute or two until glossy. It should be pourable but thick enough to coat a spoon. Taste as you go; you want the sweetness balanced with a touch of acidity and heat. If you like a tangier finish, add a splash more lime or a dash of rice vinegar.
Step 6: Layer & Swirl
When the chicken bits look beautifully browned, pour about half of the glaze over the thighs in the pan, turning to coat. If you’re finishing in the oven, transfer the pan to the oven and bake for 8–12 minutes, brushing with glaze halfway through. For stovetop-only sessions, reduce heat to medium-low after the glaze hits the pan and spoon extra glaze over the chicken as it simmers, allowing it to reduce to a shiny glaze. The goal is a sticky, lacquered surface that gleams under the kitchen light.
Step 7: Bake
If you started on the stovetop, finish in the oven to set the glaze and cook the chicken through. Chicken thighs are forgiving, but you still want them to reach an internal temperature of 165°F (74°C). I like to rotate the pan halfway through so every piece cooks evenly. Don’t overcook—thighs dry out quickly once they’re done, and we want them juicy with a glossy coating.
Step 8: Cool & Glaze
Remove the pan from heat and let the thighs rest for 5 minutes. This short rest makes the juices redistribute and gives the glaze a moment to settle into a perfect cling. Brush on a final light coat of glaze, then give it a quick 30-second high-heat blast in the pan to set it with a bit more shine. The aroma will be irresistible—the caramelized sweet chili notes fill the kitchen and pull everyone toward the table.
Step 9: Slice & Serve
Slice on the bias if you’re serving to guests so the glaze shimmers across the surface. Plate with a bed of rice or greens, and spoon any remaining glaze from the pan over the top. A scatter of sesame seeds and chopped scallions adds a nice contrast in color and texture. My favorite moment is when the glaze catches the light and you see that lacquered shine. It just screams dinner party, even on a Tuesday.
What to Serve It With
This dish knows how to play nicely with sides, from starches to greens, and even a bright, crunchy salad. I keep a few reliable setups in rotation so I can mix and match based on what’s in the fridge.
For Breakfast: If you’re up early and want something savory, warm up a small portion of leftover chicken and nestle it into a soft, sunny-side-up egg over a crispy rice cake. The glaze adds a gentle heat that wakes up the morning without being overwhelming.
For Brunch: Serve sliced chicken over a quinoa or farro salad with cucumber, herbs, and a drizzle of extra glaze. A light citrus vinaigrette ties everything together and makes a pretty plate for friends who pop in for coffee.
As Dessert: Not applicable in the traditional sense, but the glaze works well as a glaze for a carrot-ginger cake topping, or you can brush a tiny amount on roasted peaches for a quick, glaze-savory finish that’s devilishly good with vanilla ice cream.
For Cozy Snacks: Turn leftovers into bite-size lettuce wraps with cucumber ribbons, shredded carrot, and a quick sesame-peanut slaw. It’s a little party on a plate—perfect for casual nights when you crave something comforting but a bit more special.
In our house, this dish pairs perfectly with steamed jasmine rice and a handful of blanched snap peas—the color contrast makes the plate vibrant, and the sweetness of the glaze bridges the flavors beautifully. I’ve learned to squeeze a bit of lime over the top just before serving to wake everything up and keep it lively on the palate.
Top Tips for Perfecting Your Sweet Chili Glazed Chicken Thighs
These are the little reminders I’ve learned after making this countless times. They’re simple, but they matter when you want that restaurant-grade glaze at home.
Zucchini Prep: If you’re adding a zucchini side, pat grated zucchini dry with a clean towel to remove excess moisture before sautéing it with a touch of salt. Moisture can water down the glaze and make everything feel a touch soggy. If you’re not using zucchini, no worries—this tip is just for those who love a fresh, green accompaniment that soaks up the sauce.
Mixing Advice: Don’t overmix the cornstarch coating. A light dusting is all you need; too heavy a coating will shell and resist glaze. I deliberately keep the batter light so the glaze can cling and the skin crisps without becoming thick and chalky.
Swirl Customization: For a striking marbled look, don’t brush the glaze evenly all at once. Add a line of glaze down the center of the pan, then drag a spatula gently across the surface to create a few irregular streaks. It looks gorgeous when plated and makes each bite a tiny surprise.
Ingredient Swaps: If you’re out of sweet chili sauce, use a combination of apricot or peach jam with a splash of sriracha. You’ll get sweetness with a bit of heat and a nice gloss. For a gluten-free version, ensure the soy sauce is certified gluten-free or substitute with coconut aminos.
Baking Tips: If your oven runs hot, start with a shorter bake and finish under the broiler for 2–3 minutes to caramelize the glaze. Watch carefully so the glaze doesn’t burn. Position the pan in the middle rack for even heat distribution to prevent scorching on the edges.
Glaze Variations: Try adding a teaspoon of grated lime zest for a citrusy perfume, or a teaspoon of rice vinegar to brighten the glaze. If you want more heat, bump up the chili garlic sauce by 1/2 teaspoon increments, tasting as you go. The glaze should feel balanced on your tongue—sweet, tangy, and just a whisper of heat.
Lessons learned: I’ve learned to let the glaze simmer to a glossy, almost syrupy finish. It should coat the spoon with a slow ribbon, not slide off in a runny fashion. And I always taste as I go—a quick fry test is enough to tell if I need more salt or a splash of lime to cut through the sweetness.
Storing and Reheating Tips
These chicken thighs taste great the next day, but you’ll want to store and reheat them correctly to keep moisture and glaze intact.
Room Temperature: If you’re keeping leftovers on the counter for a couple hours, you’re fine in cool weather, but don’t leave meat out for more than two hours. The glaze will harden a little as it cools, which is delicious to bite into, but you’ll want to reheat to loosen it back up.
Refrigerator Storage: Store in an airtight container for up to 3–4 days. The glaze may thicken in the fridge; simply rewarm gently on the stovetop with a splash of water or stock to loosen it, then brush with a touch more glaze as it warms.
Freezer Instructions: You can freeze the chicken after cooking, but the glaze texture may change a bit. Freeze in a freezer-safe container for up to 2 months. Thaw overnight in the fridge and reheat in a skillet with a little stock, then brush with glaze before serving.
Glaze Timing Advice: If you’re freezing and reheating, you can apply an extra coat of glaze just before serving to revive that glossy finish. If you’re keeping it fresh, glaze at the table or on the stove for a more immediate shine.
Quality indicators: leftovers should be juicy, with a glossy surface and a glaze that clings to the chicken rather than pooling. If the meat feels dry, add a spoonful of glaze to rehydrate and brighten the surface as you reheat.
Frequently Asked Questions
Final Thoughts
Sweet Chili Glazed Chicken Thighs is one of those recipes that makes a weeknight feel like a small celebration. It’s forgiving, flavorful, and somehow feels almost indulgent despite its simplicity. The glaze is the star—bright, glossy, with a gentle heat that lingers on the palate. I love how a simple skillet dinner can transform into something that looks almost restaurant-worthy with very little effort. It’s a dish my family turns to when we’ve had a long day and want something comforting that still shines. If you’re craving something that feels special but doesn’t require hours in the kitchen, this is your go-to. And if you’ve got a favorite tweak or a new spice you love to toss into the glaze, I’d love to hear about it—your version might become our new family favorite. Happy cooking, friends, and enjoy every glossy, delicious bite!
Sweet Chili Glazed Chicken Thighs
Ingredients
Chicken Thighs
- 1.5 lb Boneless, skinless chicken thighs
Sweet Chili Glaze
- 0.5 cup Sweet chili sauce
- 2 tbsp Soy sauce low sodium preferred
- 1 tbsp Honey
- 1 clove Garlic minced
- 0.5 tsp Ginger grated fresh
- 0.25 tsp Red pepper flakes optional, for extra heat
For Cooking
- 1 tbsp Vegetable oil
Garnish (Optional)
- Sesame seeds
- Chopped green onions
Instructions
Preparation Steps
- Preheat your oven to 400°F (200°C). If pan-searing, heat a large oven-safe skillet over medium-high heat.
- In a medium bowl, whisk together the sweet chili sauce, soy sauce, honey, minced garlic, grated ginger, and red pepper flakes (if using) to make the glaze.
- Pat the chicken thighs dry with paper towels. This helps them get a better sear.
- In the same bowl with the glaze, add the chicken thighs and toss to coat them evenly. Let them marinate for at least 10 minutes while you prepare the cooking surface.
- Add the vegetable oil to the preheated skillet or baking sheet. Place the marinated chicken thighs in a single layer.1.5 lb Boneless, skinless chicken thighs
- Bake for 25-30 minutes, or until the chicken is cooked through and the glaze is caramelized and sticky. For an extra caramelized finish, you can broil for the last 1-2 minutes, watching carefully to prevent burning.
- If pan-searing: Sear chicken thighs for 3-4 minutes per side until golden brown. Then, pour the remaining glaze over the chicken and let it simmer for 5-7 minutes, or until the chicken is cooked through and the glaze has thickened.
- Once cooked, remove the chicken from the oven or skillet and let it rest for a few minutes before serving.
- Garnish with sesame seeds and chopped green onions, if desired. Serve hot with your favorite sides.