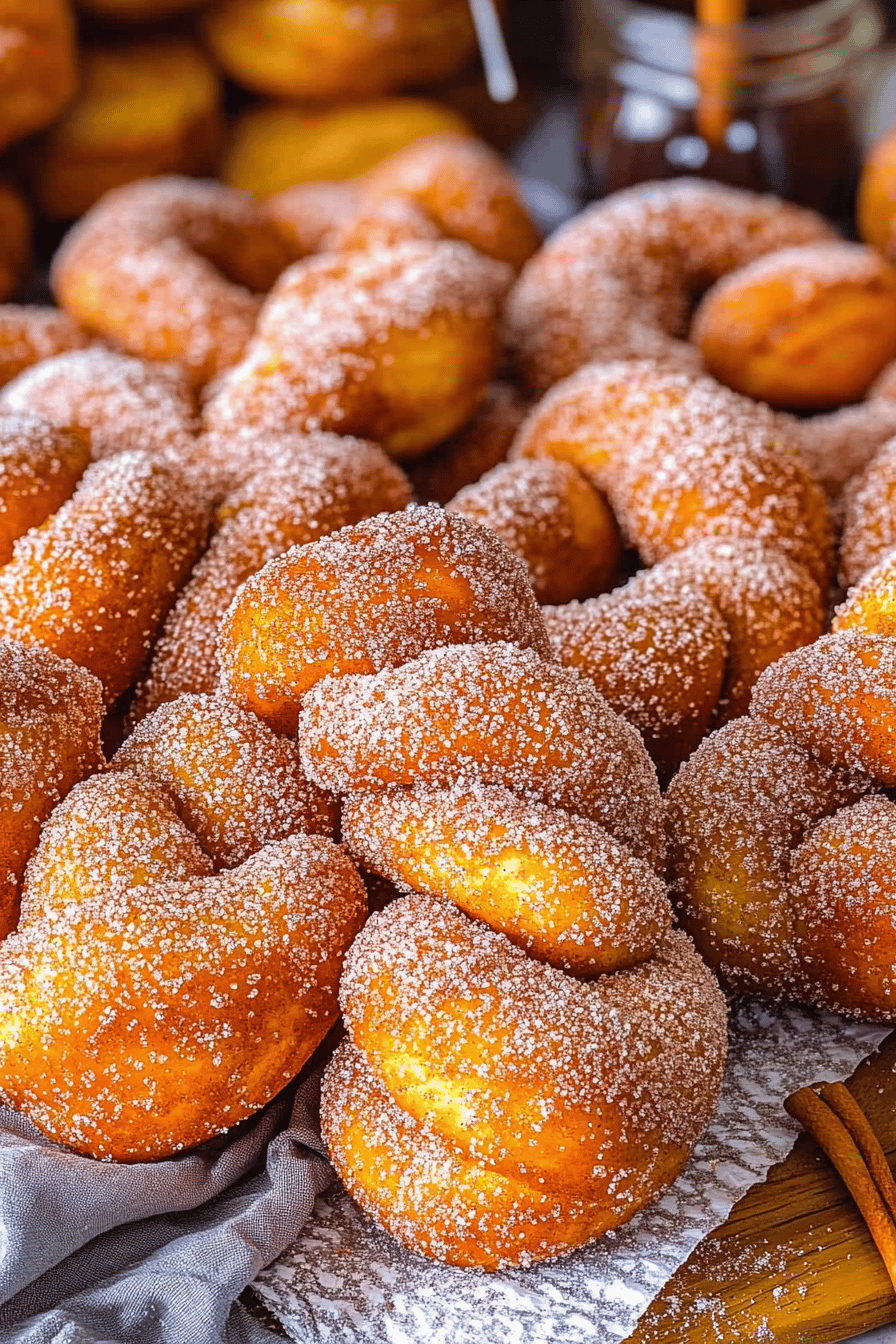
Sour Cream Doughnuts
Oh, friends, let me tell you about a recipe that holds a special place in my heart – my absolute favorite Sour Cream doughnuts. You know those mornings when a craving hits, a sweet, comforting, slightly tangy craving that just won’t quit? This is what I reach for. They’re not just doughnuts; they’re like little clouds of pure bliss, with a tender crumb that practically melts in your mouth. I’ve tried my fair share of doughnut recipes over the years, from cake doughnuts to yeasted beauties, but these sour cream ones? They’re in a league of their own. They have this wonderful richness from the sour cream that just makes everything better, a little tang that cuts through the sweetness perfectly. They remind me of childhood visits to the local bakery, the warm, sugary air hitting you the moment you walked in. Honestly, if you’re looking for a treat that’s both incredibly satisfying and surprisingly straightforward to make at home, you’ve found it. This recipe for sour cream doughnuts is truly a game-changer, and I can’t wait to share it with you.
What is sour cream doughnut?
So, what exactly are these magical Sour Cream doughnuts? Think of them as a delightful hybrid, borrowing the best qualities from cake and a richer pastry. They’re made from a batter that’s quite similar to a cake, but the magic ingredient, sour cream, gives them an incredible tenderness and a subtle, sophisticated tang. Unlike yeasted doughnuts that require proofing and a bit more patience, these are baked, making them incredibly accessible even for a weeknight sweet tooth emergency. The texture is what really sets them apart. They’re dense enough to feel substantial and satisfying, but light and airy enough that you can easily enjoy more than one (don’t tell my dentist!). The sour cream creates a moist crumb that stays wonderfully soft, even after they’ve cooled. It’s that little touch of dairy richness that makes them so incredibly decadent without being overly heavy. They’re essentially comfort in doughnut form, familiar yet elevated.
Why you’ll love this recipe?
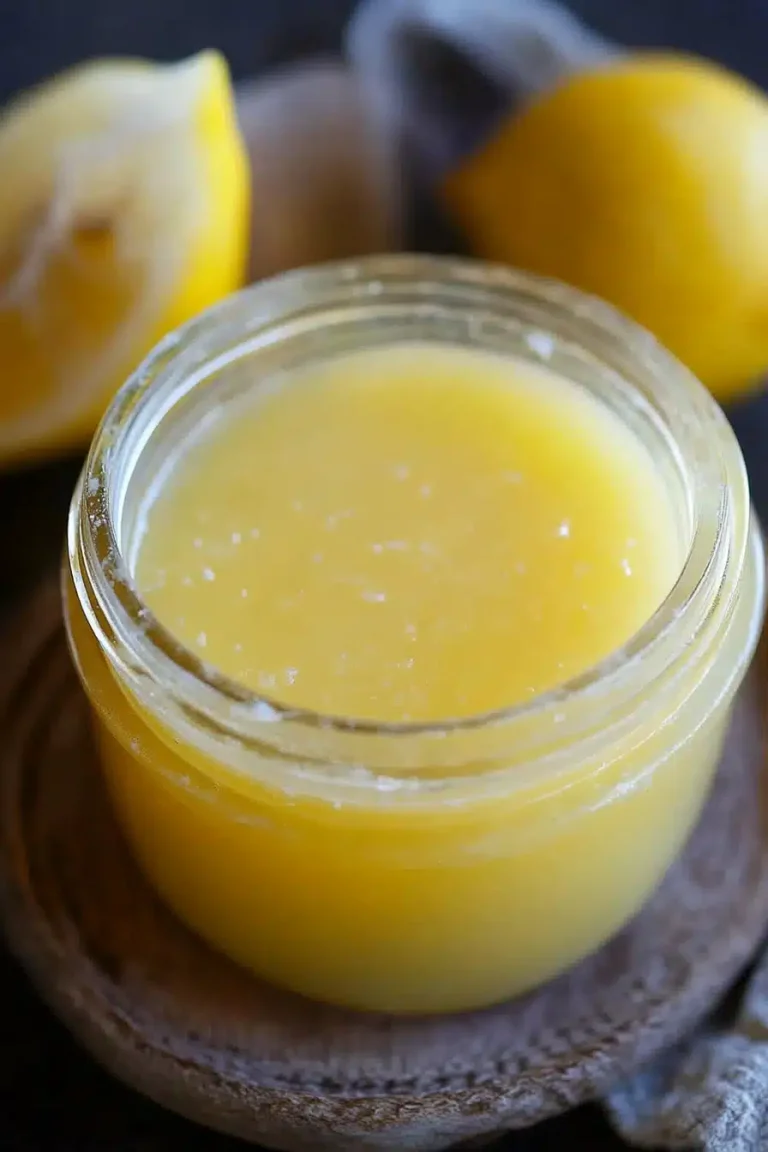
There are so many reasons why this sour cream doughnut recipe has become a staple in my kitchen, and I just know you’re going to fall in love with it too. First and foremost, the FLAVOR. Oh my goodness, the flavor! That delicate tang from the sour cream is just divine, perfectly balanced by the sweetness of the glaze. It’s not overwhelmingly sweet; it’s sophisticated, comforting, and utterly addictive. Then there’s the TEXTURE. I can’t stress this enough – the crumb is unbelievably tender and moist. It’s the kind of doughnut that doesn’t dry out quickly, which is a huge win in my book. It’s like biting into a tiny, sweet, flavourful cloud. And let’s talk about SIMPLICITY. Seriously, this recipe is surprisingly easy to whip up. There’s no yeast to fuss with, no complicated steps. You can have these beautiful sour cream doughnuts ready to enjoy in under an hour, which is a lifesaver when you need a treat pronto. They’re also incredibly COST-EFFECTIVE. Most of the ingredients are pantry staples, making this an affordable way to indulge your sweet cravings without breaking the bank. Finally, the VERSATILITY. While I adore them with a classic vanilla glaze, you can customize them endlessly. A sprinkle of cinnamon sugar, a chocolate drizzle, even a LEMON GLAZE – they’re a fantastic canvas for all sorts of deliciousness. What I love most about this recipe is how it feels special enough for guests but is also humble enough for a quiet afternoon with a cup of tea. It truly brings a little bit of bakery magic right into your own home, and that’s just priceless.
How do I make sour cream doughnuts?
Quick Overview
This recipe is all about getting those delicious, tender Sour Cream doughnuts into your hands with minimal fuss. We’ll be mixing up a simple batter, pouring it into a prepared pan, and baking them to golden perfection. Once cooled slightly, they’ll get a luscious glaze that seals in all that goodness. The whole process is pretty straightforward, and the result is incredibly rewarding. It’s a testament to how simple ingredients and a little bit of love can create something truly spectacular. Trust me, the aroma alone as these bake will have everyone flocking to the kitchen!
Ingredients
For the Main Batter:
You’ll need all-purpose flour, about 2 cups. I always use unbleached all-purpose flour for the best structure. Granulated sugar, 1 cup, for that essential sweetness. Baking powder, 2 teaspoons, to give them a good lift. A pinch of salt, just half a teaspoon, to enhance all those lovely flavors. And the star, of course, sour cream! You’ll want 1 cup of full-fat sour cream; don’t skimp on the fat here, it’s crucial for that incredible moisture and richness. Large eggs, 2 of them, which add structure and richness. Unsalted butter, half a cup (1 stick), melted and slightly cooled. And a teaspoon of pure vanilla extract for that classic comforting flavor. You can even add a touch of almond extract if you like a little extra something special.
For the Filling:
This is optional, but highly recommended for an extra layer of decadence! You can use a simple jam or preserves. My personal favorites are raspberry or strawberry for that burst of fruity goodness. You’ll need about 1/2 cup. If you prefer a creamier filling, consider a thick pastry cream or even a dollop of sweetened Cream Cheese. The key is to have something that holds its shape and complements the doughnut.
For the Glaze:
This is where the real magic happens for the finishing touch. Powdered sugar is the base, about 1.5 to 2 cups. You’ll also need a few tablespoons of milk or heavy cream to get the right consistency. I usually start with 3-4 tablespoons and add more as needed. A teaspoon of pure vanilla extract is a must for that classic glaze flavor. If you’re feeling adventurous, you could add a splash of lemon juice for a tangier glaze, or even a bit of cocoa powder for a chocolate version.
Step-by-Step Instructions
Step 1: Preheat & Prep Pan
First things first, let’s get our oven ready. Preheat it to 350 degrees Fahrenheit (175 degrees Celsius). Now, grab a standard doughnut pan, the kind with the little wells. You can find these at most kitchen supply stores. Generously grease each cavity with butter or cooking spray, making sure to get into all the nooks and crannies. This is super important to ensure your beautiful doughnuts pop right out without sticking. If you don’t have a doughnut pan, you can absolutely use a muffin tin, but you’ll just end up with doughnut-shaped cakes, which are still delicious, just not technically doughnuts!
Step 2: Mix Dry Ingredients
In a large mixing bowl, whisk together your flour, granulated sugar, baking powder, and salt. Give it a good whisk to make sure everything is evenly distributed. This step is crucial because it ensures that your leavening agent (the baking powder) is spread throughout the batter, leading to an even rise. You don’t want any pockets of dense cake in your beautiful doughnuts, right?
Step 3: Mix Wet Ingredients
In a separate, medium-sized bowl, whisk together the sour cream, eggs, melted butter, and vanilla extract until everything is well combined and smooth. The sour cream should be fully incorporated. Make sure your melted butter isn’t too hot, as it could potentially scramble the eggs. Just slightly warm is perfect.
Step 4: Combine
Now, it’s time to bring it all together. Pour the wet ingredients into the bowl with the dry ingredients. Gently fold them together using a spatula or wooden spoon. The key here is *not* to overmix! Mix just until there are no dry streaks of flour visible. A few small lumps are totally okay, even desirable. Overmixing develops the gluten in the flour too much, which can lead to tough doughnuts, and nobody wants that. We’re aiming for a thick, smooth batter.
Step 5: Prepare Filling
If you’re using a jam or preserves for a filling, give it a quick stir to loosen it up. If it’s particularly thick, you might want to warm it very gently for a few seconds in the microwave. This will make it easier to swirl into the batter. If you’re using a pastry cream or cream cheese, just make sure it’s at a spreadable consistency.
Step 6: Layer & Swirl
Now for the fun part! Spoon about a tablespoon of batter into each prepared doughnut cavity, filling it about halfway. Then, add a small spoonful of your chosen filling right into the center of the batter. Top with another tablespoon of batter, filling the cavity to about two-thirds full. Don’t overfill, as they need room to puff up! If you’re feeling fancy, you can use a toothpick to gently swirl the filling into the batter, creating beautiful marbled patterns. It’s not essential, but it does look pretty!
Step 7: Bake
Carefully place your doughnut pan into the preheated oven. Bake for about 15-18 minutes. The exact time will depend on your oven, so keep an eye on them. They’re ready when they’re golden brown around the edges and a toothpick inserted into the center comes out clean. You want them to be set and slightly springy to the touch. Avoid overbaking, as this will dry them out.
Step 8: Cool & Glaze
Once baked, let the doughnuts cool in the pan for about 5-7 minutes. This allows them to firm up a bit before you try to remove them. Then, carefully invert the pan onto a wire rack to release the doughnuts. Let them cool completely before glazing. If you try to glaze them while they’re too warm, the glaze will just melt off! For the glaze, whisk together the powdered sugar, milk/cream, and vanilla extract until smooth and pourable. If it’s too thick, add a tiny bit more liquid; if it’s too thin, add a bit more powdered sugar. Dip the tops of the cooled doughnuts into the glaze, letting any excess drip back into the bowl. Place them back on the wire rack to allow the glaze to set.
Step 9: Slice & Serve
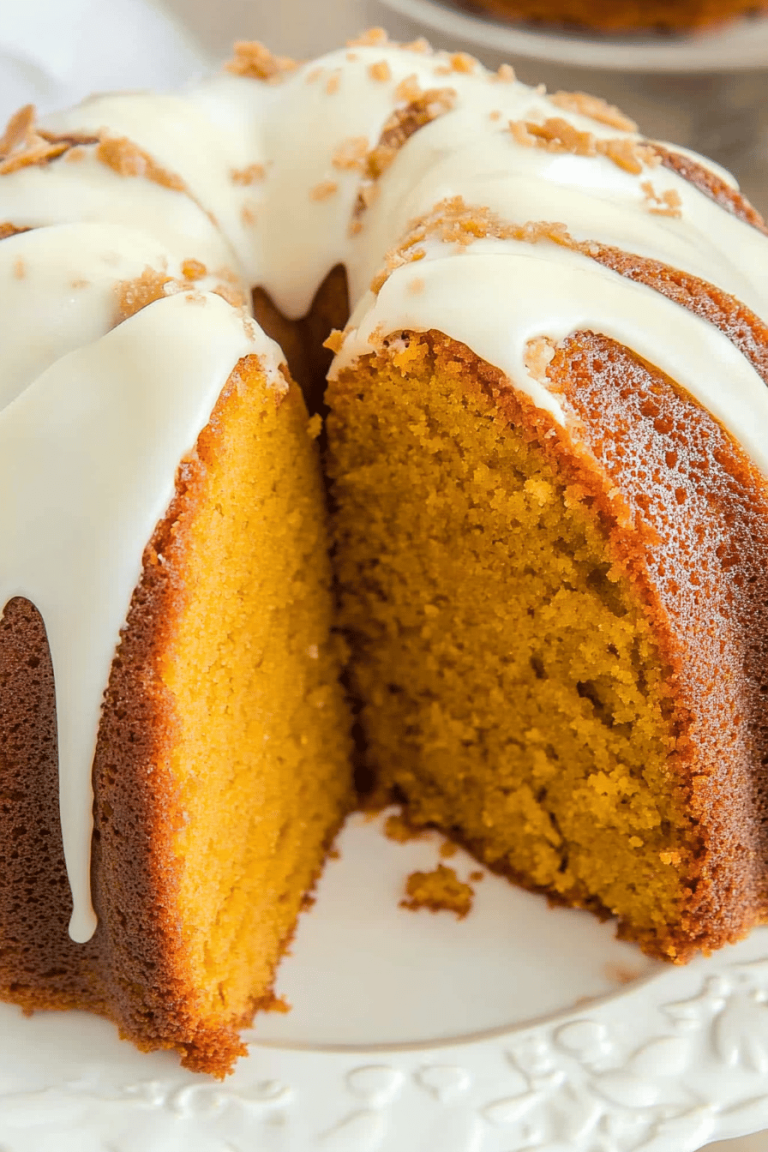
Once the glaze has set (this usually takes about 15-20 minutes), your gorgeous sour cream doughnuts are ready to be devoured! If you made them without filling, they’re perfect as is. If you added filling, you’ll get that lovely surprise when you bite in. Slice one in half if you want to admire the interior texture and see that lovely swirl. They are best enjoyed fresh, but they’ll keep for a day or two if stored properly.
What to Serve It With
These sour cream doughnuts are truly a treat for any occasion, but here are some of my favorite ways to enjoy them and what I love to pair them with. For a simple BREAKFAST, there’s nothing better than one of these alongside a steaming mug of your favorite coffee. The richness of the doughnut and the slight tang really cut through the bitterness of the coffee beautifully. I often just grab one on my way out the door on a busy morning. For a slightly more elegant BRUNCH spread, these are a showstopper. Arrange them on a pretty tiered stand with some fresh berries and maybe a small bowl of whipped cream. They pair wonderfully with a mimosa or a light sparkling rosé. As a dessert, they really shine. Serve them warm with a scoop of good quality vanilla bean ice cream or a drizzle of warm chocolate ganache. They feel decadent enough for a special dinner party dessert, yet are so easy to make. And for those COZY SNACKS, well, that’s what they were practically invented for! Picture this: a comfy chair, a good book, and a plate of these delicious doughnuts. They are fantastic with a glass of cold milk, or even a warm cup of herbal tea. My kids, bless their hearts, are always asking for these when they get home from school – they usually disappear within minutes, especially if I’ve managed to sneak in that jam filling!
Top Tips for Perfecting Your Sour Cream Doughnuts
Over the years, I’ve picked up a few tricks and learned a thing or two about making these sour cream doughnuts the absolute best they can be. Let me share some of my hard-won wisdom with you! For the BATTER, remember that rule about not overmixing? It’s the golden rule for tender baked goods. Seriously, mix *just* until the flour disappears. A few lumps are your friend! Another thing I’ve noticed is the temperature of your ingredients. Make sure your eggs are at room temperature, and your melted butter isn’t piping hot when you add it to the wet ingredients. This helps everything emulsify beautifully and prevents any ‘cooked egg’ surprises. When it comes to PREPARING THE PAN, don’t be shy with the greasing! I always give mine an extra spray or buttering, especially if they’re older pans. Nobody wants a doughnut stuck in the pan. For the BAKING, ovens can be so different. My oven tends to run a bit hot, so I often pull mine out a minute or two before the recipe suggests and do the toothpick test religiously. You’re looking for that clean toothpick insertion. If it comes out with wet batter, it needs more time; if it has moist crumbs, that’s perfect! Now, for the GLAZE – consistency is key. I always start with the lower amount of liquid and add more *very* slowly, a teaspoon at a time, until it’s pourable but not watery. You want it thick enough to coat the doughnut nicely without running off in a flood. If you want a slightly thicker, more opaque glaze, just use a bit more powdered sugar. And if you find your glaze is too thin after you’ve added it, just pop the bowl back in the fridge for a few minutes to help it firm up. Ingredient swaps? I’ve tried using Greek yogurt in a pinch when I was out of sour cream, and while it works, it does make the doughnuts a little denser. For the best results, stick with full-fat sour cream. It really makes a difference in the texture and flavor. If you don’t have all-purpose flour, a good quality gluten-free blend can work, but you might need to adjust the liquid slightly and expect a slightly different texture – more on that in the FAQs!
Storing and Reheating Tips
Alright, let’s talk about keeping these delicious sour cream doughnuts fresh, because while they rarely last long in my house, sometimes you just want to save some for later. If you’re lucky enough to have leftovers and they haven’t been glazed yet, you can store them in an airtight container at ROOM TEMPERATURE for up to 2 days. They’ll stay quite moist thanks to that sour cream. If they are glazed, they’re best kept at room temperature too, but I’d say eat them within 24 hours for the best texture, as the glaze can sometimes get a little sticky if left too long. For REFRIGERATOR STORAGE, I generally avoid refrigerating plain or even glazed doughnuts because it can sometimes dry them out and make the glaze a bit hard. However, if you’ve filled them with something perishable like a cream cheese filling, then refrigeration is a good idea. Store them in an airtight container for up to 3 days. When you want to eat them, just let them come to room temperature for about 30 minutes before digging in – this makes a world of difference in texture. FREEZER INSTRUCTIONS are possible, but honestly, they’re at their absolute best fresh. If you must freeze them, it’s best to do so *before* glazing. Wrap each unglazed doughnut tightly in plastic wrap, then place them in a freezer-safe bag or container for up to 2 months. To thaw, unwrap them and let them come to room temperature on a wire rack. Once thawed, you can then make your glaze and dip them. For the GLAZE TIMING ADVICE, if you plan to store unglazed doughnuts, it’s best to apply the glaze just before serving. This keeps the glaze looking its best and prevents it from getting too soft or sticky.
Frequently Asked Questions
Final Thoughts
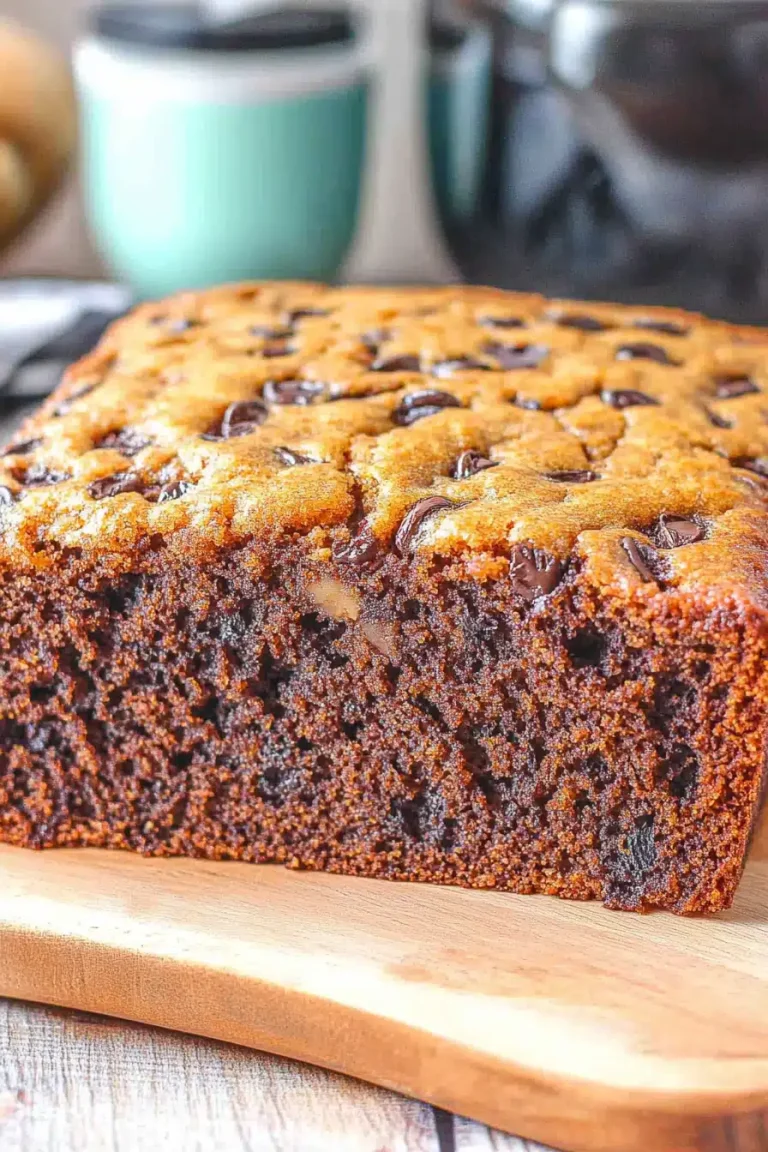
So there you have it – my tried-and-true recipe for the most wonderful sour cream doughnuts. I really hope you give these a try. They’re more than just a recipe; they’re a little slice of homemade happiness. The way they turn out so tender and flavorful, with that delightful hint of tang, never ceases to amaze me. They’re perfect for those moments when you need a little comfort, a little sweetness, or just a really, really good excuse to bake something wonderful. If you love these, you might also enjoy my recipe for Lemon Poppy Seed Muffins (they have a lovely citrusy tang too!) or my classic Chocolate Chip Cookies for another favorite sweet treat. I can’t wait to hear what you think! Please leave a comment below and let me know how your sour cream doughnuts turn out, or if you tried any fun variations. Happy baking, everyone!

Sour Cream Doughnuts
Ingredients
Doughnuts
- 2.5 cups all-purpose flour
- 1.5 teaspoons baking powder
- 0.5 teaspoons baking soda
- 0.25 teaspoons salt
- 1 teaspoons ground nutmeg
- 1.5 cups granulated sugar
- 2 large eggs
- 1 cup sour cream at room temperature
- 0.5 cup unsalted butter melted and slightly cooled
- 1 teaspoons vanilla extract
Glaze
- 2 cups powdered sugar
- 0.25 cup milk or heavy cream
- 1 teaspoons vanilla extract
Instructions
Preparation Steps
- In a large bowl, whisk together the flour, baking powder, baking soda, salt, and nutmeg. Set aside.
- In a separate bowl, beat the granulated sugar and eggs until pale and fluffy.
- Beat in the sour cream, melted butter, and vanilla extract until well combined.
- Gradually add the dry ingredients to the wet ingredients, mixing until just combined. Do not overmix.
- Cover the bowl with plastic wrap and refrigerate for at least 1 hour, or until the dough is firm enough to handle.
- On a lightly floured surface, roll out the dough to about 0.5 inch thickness.
- Cut out doughnuts using a doughnut cutter or two different sized round cutters. Reroll scraps as needed.
- Heat 2-3 inches of oil in a heavy-bottomed pot or Dutch oven to 350°F (175°C).
- Carefully fry the doughnuts, a few at a time, for 1-2 minutes per side, until golden brown. Drain on a wire rack.
- While the doughnuts are cooling, whisk together the powdered sugar, milk, and vanilla extract in a small bowl until smooth. Add more milk if needed to reach desired consistency.
- Dip the cooled doughnuts into the glaze, letting any excess drip off. Place back on the wire rack to set.