Rainbow Jello Sugar Cookies
Oh my goodness, you guys, I’m so excited to share this recipe with you! Remember those bright, happy cookies that always seemed to pop up at every birthday party when we were kids? Well, these Rainbow Jello Sugar Cookies. are basically the grown-up, even more delicious version. I’ve been making these for years, and honestly, they’re a total lifesaver. Picture this: soft, chewy sugar cookies bursting with fruity flavor and vibrant colors, all thanks to a secret ingredient – Jello! I first stumbled upon this recipe years ago when I was trying to recreate the childhood magic of those store-bought cookies, but with a little bit of love (and a lot less artificial ingredients). Now, every time I bake these, it brings back the sweetest memories. They’re a bit like those classic sugar cookies but with a fun, playful twist that everyone always loves. Plus, they’re surprisingly easy to make, which is a huge win for me, especially on busy weeknights. Prepare to have these disappear in minutes!
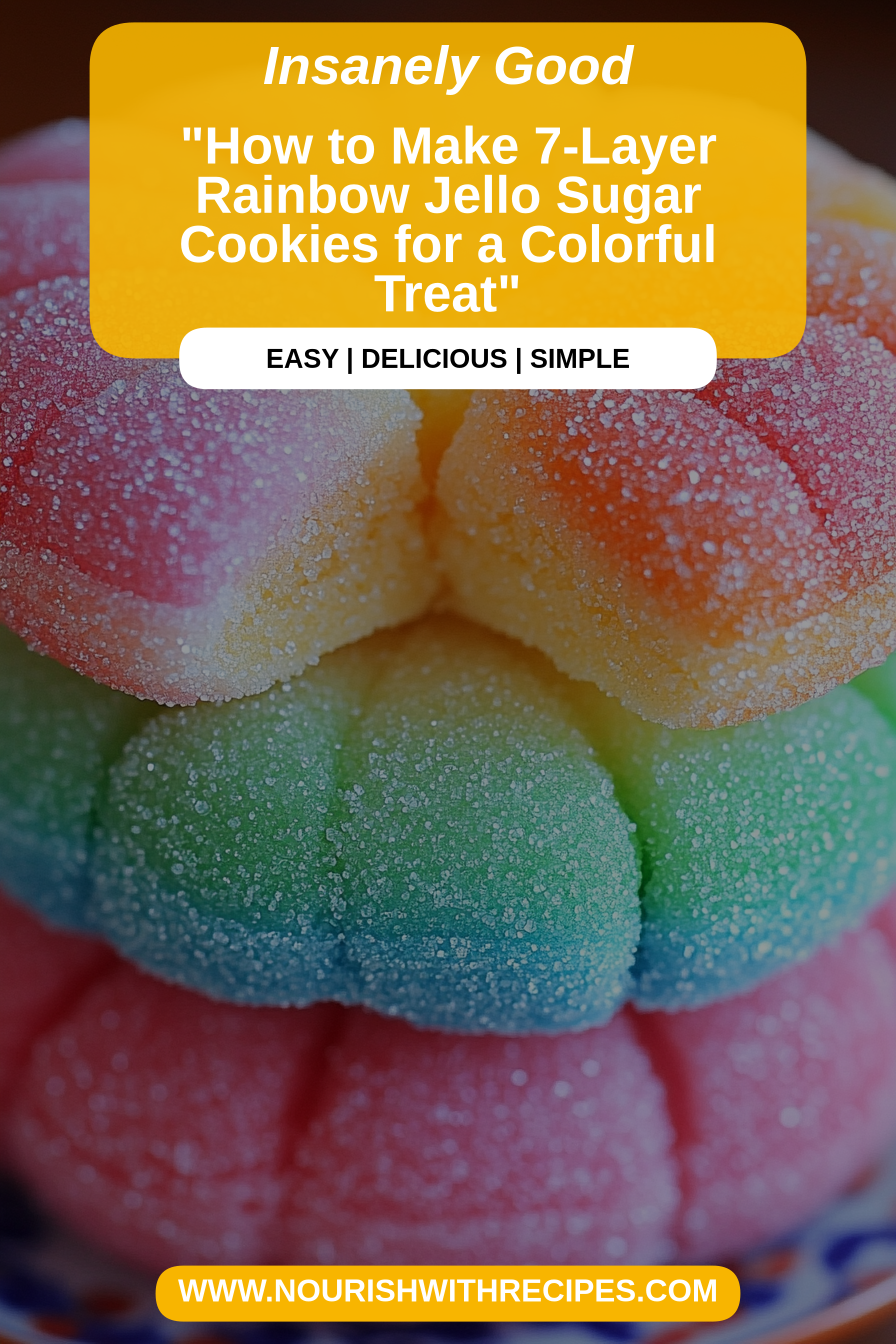
What is Rainbow Jello Sugar Cookies?
So, what exactly *are* Rainbow Jello Sugar Cookies? Think of them as sugar cookies meets a party explosion! They’re soft, pillowy cookies infused with the vibrant colors and fruity flavors of Jello. It’s essentially a Sugar Cookie recipe amped up with a secret ingredient that not only gives them a gorgeous rainbow effect, but also a delightful burst of flavor in every bite. The beauty of this recipe is that it’s incredibly versatile. You can use any flavor of Jello you like, so the possibilities are endless! That means you can tailor these cookies to any occasion, holiday, or personal preference. The cookies are usually round, making them perfect for any event or even just a quick snack. What’s not to love? They’re definitely a crowd-pleaser in my book.
Why you’ll love this recipe?
Where do I start?flavor! These cookies are anything but boring. The Jello adds a delightful punch of fruitiness that complements the classic Sugar Cookie base perfectly. The variety is also a huge plus! Secondly, the simplicityWhat is a selling point? Even if you’re not the most confident baker, you can nail these. The dough comes together quickly, and the baking process is straightforward. No fussy techniques or complicated steps here!Cost-. Most of the ingredients are pantry staples, and a box of Jello is super affordable. How do you make a batch of delicious cookies without breaking the bank? And finally, the last thing: theversatility. These cookies are amazing on their own, but you can also get creative with frostings, sprinkles, and even dipping them in chocolate. I’ve tried this recipe so many times, experimenting with all sorts of flavors. This recipe is a winner every single time, and it stands out because it reminds me so much of the joy of baking with my grandma. What I love most about these cookies is how they instantly bring a smile to anyone’s face. Plus, they’re just so darn cute! I sometimes use the cookie cutters to cut them in special shapes for my kids. They’re perfect for any celebration!
Quick Overview
Alright, here’s the lowdown on making these magical Rainbow Jello Sugar Cookies.. First, you’ll whip up a simple Sugar Cookie dough. What’s the secret ingredient for a burst of Jello? Color and flavor. How do you make cookie dough? Is it safe to bake them until they’re golden brown and slightly puffy? From there, you can add some colorful frosting, if you like. Voila! Soft, chewy, and unbelievably delicious cookies are ready to be enjoyed. How do I make a cake? What are some of the best recipes you can whip up on a whim?
How do I make Rainbow Jello Sugar Cookies?
Ingredients
For the Main Batter: The Power of the Atom
- I always sift my flour for a fluffier cookie!
- 1 teaspoon baking powder: Make sure it’s fresh for the best rise.
- 1/2 teaspoon salt: Balances sweetness and enhances the flavors.
- 1 cup (2 sticks) unsalted butter, softened: Bring it to room temperature so it mixes nicely.
- For that classic Sugar Cookie sweetness, add 1 1/2 cups granulated sugar.
- 1 large egg: Adds richness and helps bind the ingredients.
- Why is vanilla so good?
- 1 (3.4 ounce) package of Jello (any flavor): 1 pound. I love using different flavors for different colors and tastes.
For the Filling:
- What’s your favorite powdered sugar frosting?
- Powdered sugar: About 2 cups, adjust according to your preference
- Milk or water: About 3-4 tablespoons, start with little and add more if needed.
- Vanilla extract: 1 teaspoon.
For the Glaze:
- Optional: Use sprinkles to garnish for the extra touch.
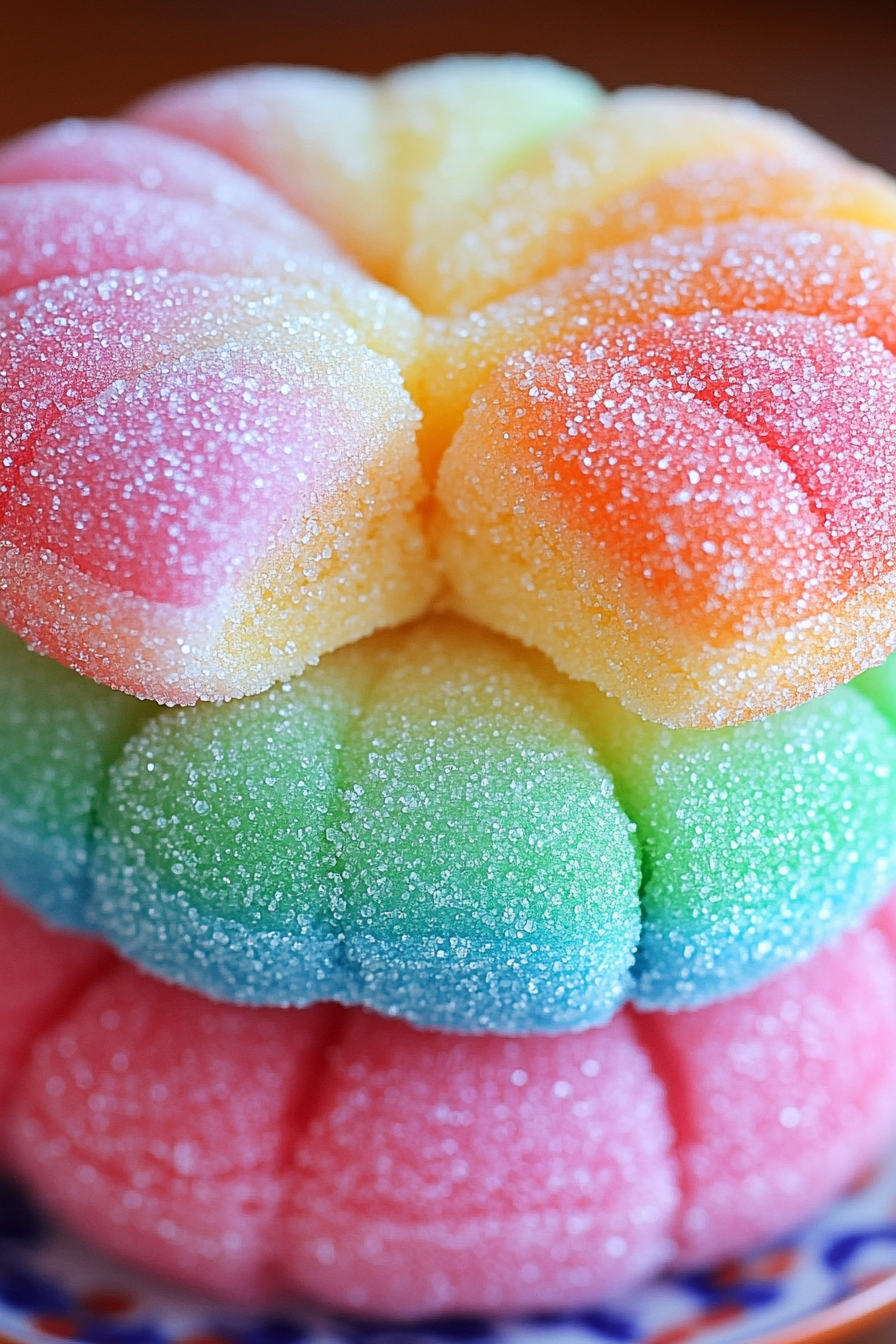
What is the step by
Step 1: Preheat & Prep Pan
First things first, preheat your oven to 350°F (175°C). This is important because if your oven isn’t hot enough, the cookies won’t spread and bake evenly. While your oven is warming up, grab your baking sheets. I like to line mine with parchment paper, so the cookies don’t stick. This also makes for super easy cleanup! If you don’t have parchment paper, you can lightly grease your baking sheets. I always use cooking spray. Just remember to give it a good spray so the cookies don’t stick to the pan. This is also the time to decide what shape you want. Do you want cute round ones, heart-shaped ones for a special occasion, or perhaps some fun holiday shapes? Choose your cookie cutters now!
Step 2: Mix Dry Ingredients
In a medium bowl, whisk together the flour, baking powder, and salt. Make sure everything is well combined. This step ensures that the baking powder is evenly distributed throughout the dough, which leads to a nice, even rise. Whisking is key here – it helps aerate the dry ingredients, making the cookies light and fluffy. If you skip this step, you might end up with pockets of baking powder, and no one wants a bitter bite in their cookie. If you want the dough to be even smoother, you can sift these ingredients using a sifter. That’s what I do. Set this bowl aside for now. That’s a good first step! Keep it handy, because you’ll be using it soon.
Step 3: Mix Wet Ingredients
In a separate, larger bowl, cream together the softened butter and sugar until light and fluffy. This is a crucial step for the texture of your cookies. Make sure the butter is really soft, but not melted, because it affects how well the cookies spread. Beat the butter and sugar on medium speed for about 2-3 minutes, until it’s nice and creamy. Then, beat in the egg and vanilla extract until just combined. Don’t overmix at this stage; you just want everything to be incorporated. If you overmix, you can end up with tough cookies. If the mixture looks curdled, don’t worry. It will smooth out as you add the dry ingredients.
Step 4: Combine
Gradually add the dry ingredients to the wet ingredients, mixing on low speed until just combined. Be careful not to overmix the dough, or the cookies will be tough. Once the flour is mostly incorporated, stir in the Jello powder. This is where the magic happens! The Jello not only adds flavor but also the beautiful colors that make these cookies so special. Make sure the Jello is well incorporated into the dough. You might notice the dough gets a little stiff. Don’t worry; this is normal. This cookie dough might seem a little dry compared to other sugar cookie doughs. That’s because of the Jello powder. Once you start rolling the dough, it will come together just fine. If it seems too dry, you can add a teaspoon of milk.
Step 5: Prepare Filling
If you’re planning on using a glaze or frosting, it’s time to make it now. For a simple glaze, whisk together powdered sugar, milk or water, and vanilla extract until smooth. Adjust the amount of liquid to reach your desired consistency. The glaze should be thick enough to coat the cookies but thin enough to spread easily. If you’re making buttercream frosting, beat together softened butter, powdered sugar, vanilla extract, and a pinch of salt until light and fluffy. You can also add a few drops of food coloring to match the Jello flavor! For a quicker option, you can also buy ready-made frosting.
Step 6: Layer & Swirl
Now, it’s time to chill the dough. Cover the cookie dough with plastic wrap and chill it in the refrigerator for at least 30 minutes. This helps prevent the cookies from spreading too much while baking. If you’re short on time, you can skip this step, but I highly recommend it. Chilling the dough also makes it easier to handle when you’re rolling it out and cutting the shapes. When you’re ready to bake, preheat your oven to 350°F (175°C). On a lightly floured surface, roll out the dough to about 1/4-inch thickness. This is about the perfect thickness for the cookies. Use cookie cutters to cut out shapes, and place them on the prepared baking sheets. Or you can just use a glass to create a round cookie.
Step 7: Bake
Bake the cookies for 8-10 minutes, or until the edges are lightly golden. Keep a close eye on them; baking times can vary depending on your oven. You want the cookies to be set but still soft. If you bake them for too long, they’ll become dry and crumbly. When they’re done, let the cookies cool on the baking sheets for a few minutes before transferring them to a wire rack to cool completely. This allows the cookies to set and prevents them from breaking apart. I usually bake one tray at a time to ensure even baking, but if your oven has good airflow, you can bake two trays at once. Remember, ovens can sometimes have hot spots, so be sure to rotate the trays halfway through baking.
Step 8: Cool & Glaze
Let the cookies cool completely on a wire rack before frosting or glazing. This is really important because if you frost or glaze the cookies while they’re still warm, the frosting will melt, and you’ll end up with a sticky mess. Once the cookies are cool, it’s time to get creative with the toppings! Dip each cookie in the glaze or frost them with a knife. You can also use sprinkles. Sprinkles can add a festive touch for any occasion. Let the glaze set completely before serving. I always add the glaze once the cookies are completely cool to prevent any melting. Remember, patience is key here! This is also a great time to get the kids involved. Let them decorate the cookies with sprinkles, and make it a fun family activity.
Step 9: Slice & Serve
Once the glaze has set, your Rainbow Jello Sugar Cookies are ready to be devoured! Arrange them on a pretty platter, and watch them disappear. These cookies are delicious at room temperature, but you can store them in an airtight container to maintain freshness. They’re also great served with a glass of milk, a cup of coffee, or even a scoop of ice cream. I love to serve these cookies at parties, picnics, and even just as a sweet treat for my kids after school. These cookies are a wonderful treat to enjoy on their own! So, go ahead, take a bite, and enjoy these little bites of pure joy!
What to Serve It With
The best part about these cookies is that they’re so versatile!
For Breakfast: These cookies are perfectly paired with a warm cup of coffee or a glass of cold milk. For a fun breakfast presentation, arrange the cookies on a plate with a side of fresh fruit, such as strawberries or raspberries. If you want to feel a little fancy, you can serve them alongside some whipped cream or a scoop of yogurt.
For Brunch: These cookies are perfect for brunch. They go well with mimosa or other brunch-friendly cocktails. Arrange a variety of the cookies on a tiered cake stand to make a visually stunning centerpiece. Serve alongside a fresh fruit salad or a plate of mini quiches for a balanced and delicious meal.
As Dessert: These cookies shine as an after-dinner treat. Pair them with a scoop of vanilla ice cream, or a dollop of whipped cream. For an even more decadent dessert, serve them with a warm mug of hot chocolate. You can also place some cookies in a sundae for the extra sweet touch.
For Cozy Snacks: These cookies are perfect for a cozy night in. Serve them with a warm mug of tea or a glass of your favorite juice. They’re perfect as a late night snack, as well. Serve them alongside your favorite book or movie for the perfect pairing! I know my family always gets excited when I have these in the house!
I absolutely love to serve these cookies with a simple cup of coffee. They’re also a hit with the kids after school, especially when paired with a glass of cold milk. The options are truly endless! And the best part? You can always customize the serving to match the occasion, whether it’s a casual get-together or a fancy celebration. I’ve made these with different frostings, different colors, and different shapes, and every single time they’re a hit! The combination of textures and flavors is what makes these cookies so special.
Top Tips for Perfecting Your Rainbow Jello Sugar Cookies
Here are some of my tried-and-true tips to make your Rainbow Jello Sugar Cookies absolutely perfect every time!
Jello Choice: The most important one is choosing your Jello flavor. Since this recipe uses Jello powder as a key ingredient, try experimenting with different flavor combinations for the ultimate flavor. Don’t be afraid to mix and match, but I always keep a box of red or blue Jello.
Mixing Advice: This is important to keep the cookies from being hard. Don’t overmix the dough. Mix until just combined. Overmixing develops the gluten in the flour, resulting in a tough cookie. Soften your butter, but don’t melt it! This ensures a light and airy texture.
Swirl Customization: If you want more color, use a toothpick to create a marbled effect. This creates a more visually stunning cookie, but it’s totally optional! You can also try using different shaped cookie cutters for different occasions.
Ingredient Swaps: You can substitute the butter with shortening for a chewier cookie, but the flavor won’t be quite the same. You can also substitute the egg with a flax egg. If you have a dairy allergy, use a dairy-free butter alternative. When substituting ingredients, always check the recipe directions and watch out for any changes in texture, as some ingredients may not be the same.
Baking Tips: Don’t overbake the cookies! Overbaking leads to dry, crumbly cookies. Start checking for doneness around the 8-minute mark. The edges should be lightly golden, and the centers should still be soft. If you’re baking multiple trays, rotate them halfway through for even baking. Also, make sure your oven is at the right temperature!
Glaze Variations: Experiment with different extracts. Adding a teaspoon of almond extract to your glaze can add a lovely depth of flavor. You can also substitute the glaze with other frostings or sprinkles. I always opt for sprinkles, because they add such a fun visual effect to the cookies!
These tips have been developed over the years as I’ve experimented with these cookies. They are a total game-changer in my kitchen! I tested this recipe so many times before I was confident in sharing it with all of you! I’ve tested them with various ingredients and even made them gluten-free once (which, by the way, was a success, with a few minor tweaks!).
Storing and Reheating Tips
Knowing how to store your Rainbow Jello Sugar Cookies properly is key to keeping them fresh and delicious!
Room Temperature: These cookies are best stored at room temperature in an airtight container for up to 3-5 days. Make sure the cookies are completely cool before storing them. This prevents condensation, which can make them soggy. If you live in a warm climate, you might want to store them in the refrigerator.
Refrigerator Storage: You can store these cookies in the refrigerator for up to a week. Place them in an airtight container or a zip-top bag to prevent them from drying out. Refrigerating them will help preserve their freshness.
Freezer Instructions: You can freeze these cookies for up to 2-3 months. Wrap them individually in plastic wrap, then place them in a freezer-safe container or a zip-top bag. To thaw, simply leave them at room temperature for a few hours or overnight in the refrigerator.
Glaze Timing Advice: If you’re planning to freeze the cookies, it’s best to glaze them after they’ve thawed. This prevents the glaze from cracking or becoming sticky in the freezer. You can also glaze the cookies before freezing them, but the glaze might not hold its shape as well.
I’ve tested all of these methods over the years, and they all work perfectly! I’ve learned that storing them in the right container is just as important as baking them! They are a huge hit, so they don’t last long. Just a few days, sometimes a day!
Frequently Asked Questions
Final Thoughts
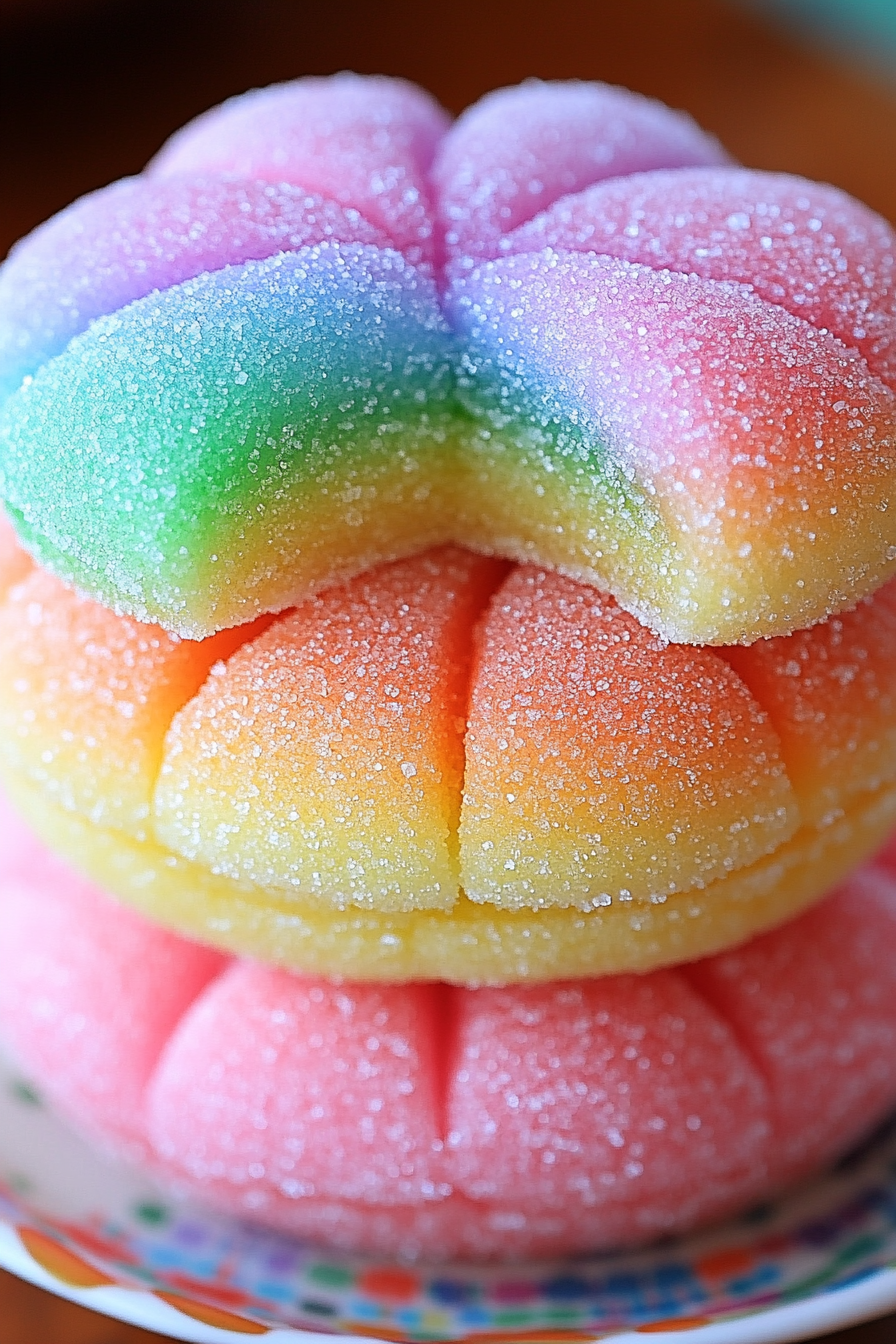
Well, that’s it! I really hope you give these Rainbow Jello Sugar Cookies a try. Trust me, they are seriously a delight and a total crowd-pleaser. They’re perfect for any occasion. Plus, they’re surprisingly easy to make, which is always a bonus in my book. The vibrant colors and fruity flavors are a guaranteed hit with everyone. So go ahead, gather your ingredients, put on some music, and get ready to create some cookie magic. This recipe is a must-try for any cookie lover. These cookies are simply unforgettable. If you try this, I’d love to hear all about it! Let me know what you think, and be sure to share your own variations. Happy baking! I can’t wait to see all of your versions!
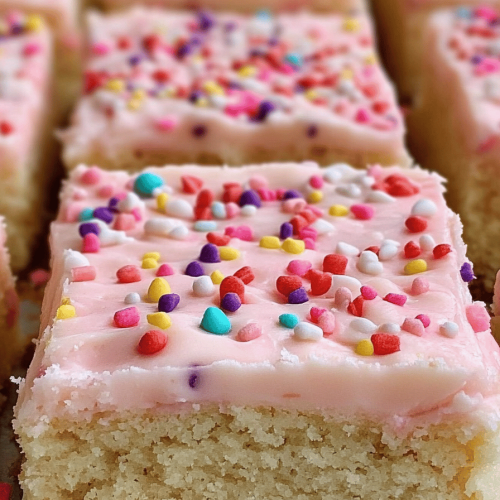
Rainbow Jello Sugar Cookies
Ingredients
Main Ingredients
- 2.75 cups All-purpose flour
- 1 teaspoon Baking powder
- 0.25 teaspoon Salt
- 1 cup Unsalted butter, softened
- 1.5 cups Granulated sugar
- 1 teaspoon Vanilla extract
- 1 large Egg
- 3 ounces Jell-O (different flavors) 6 packets of 0.5 oz each
Instructions
Preparation Steps
- In a bowl, whisk together flour, baking powder, and salt.
- In a separate bowl, cream together butter and sugar until light and fluffy. Beat in vanilla extract and egg.
- Gradually add the dry ingredients to the wet ingredients, mixing until just combined.
- Divide the dough into six equal portions. Add a different flavor of Jell-O to each portion and knead to combine. Wrap each portion in plastic wrap and chill for at least 30 minutes.
- Preheat oven to 375°F (190°C). Line baking sheets with parchment paper.
- Roll out each color of dough and cut into desired shapes using cookie cutters. Place cookies on prepared baking sheets.
- Bake for 8-10 minutes, or until edges are lightly golden. Let cool on baking sheets for a few minutes before transferring to a wire rack to cool completely.

