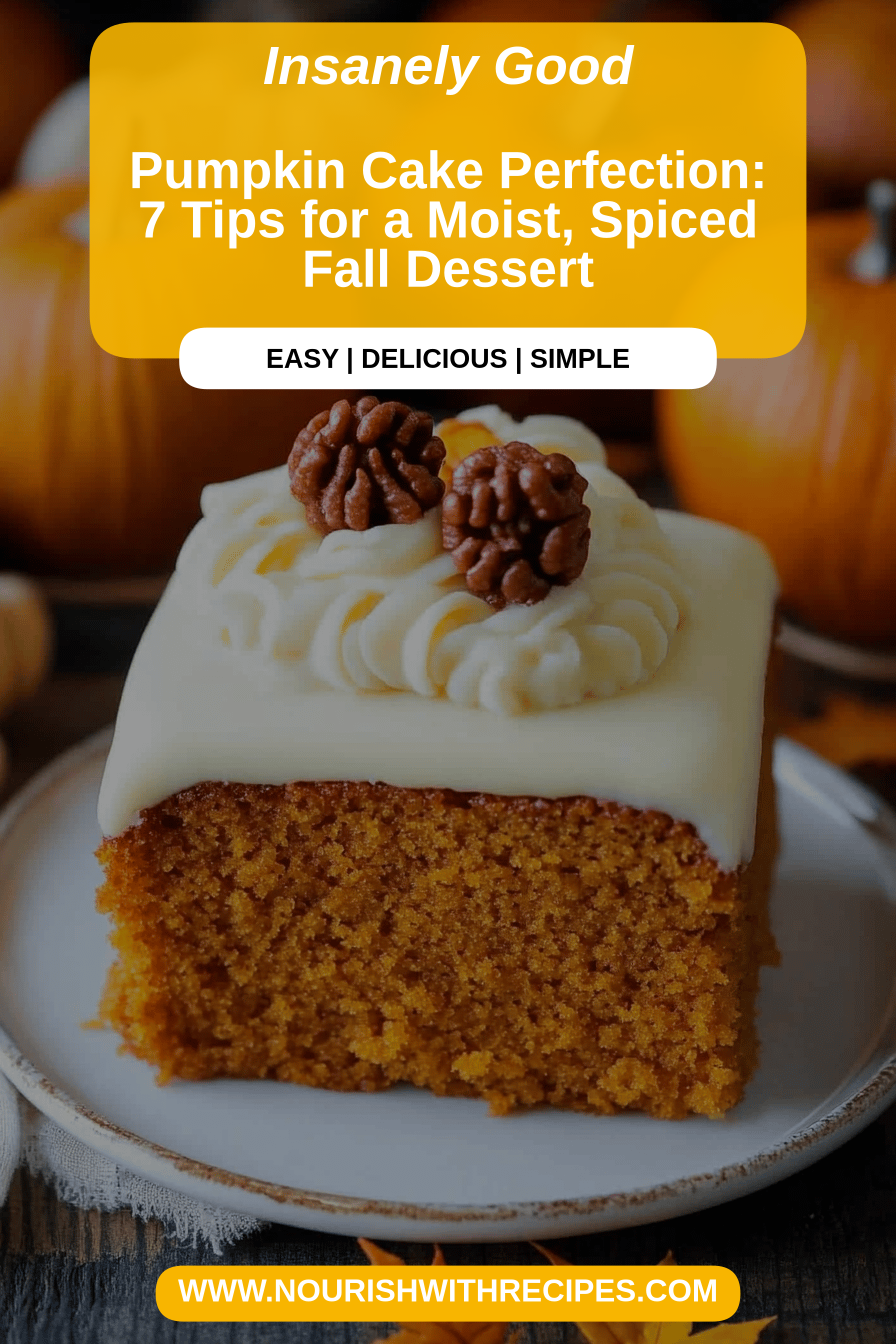
Pumpkin Cake Tips
Oh, pumpkin cake! Just the thought of it brings back memories of crisp autumn days, the smell of cinnamon wafting through the house, and my grandma’s kitchen. It’s one of those recipes that just feels like a hug in cake form, you know? I’ve been making variations of this cake for years, and let me tell you, I’ve learned a thing or two along the way. It’s so much more than just a simple dessert; it’s an experience. Some people might think it’s similar to a spiced apple cake, and while there are some delicious overlaps in those warm, cozy spices, the pumpkin brings a unique richness and moisture that’s just divine. This particular version, though? It’s my go-to. It’s incredibly forgiving, wonderfully moist, and the flavor is just… perfection. I’m so excited to share my Absolute Best pumpkin cake tips with you today, the ones that make all the difference between a good cake and a truly unforgettable one.
What is the best pumpkin cake?
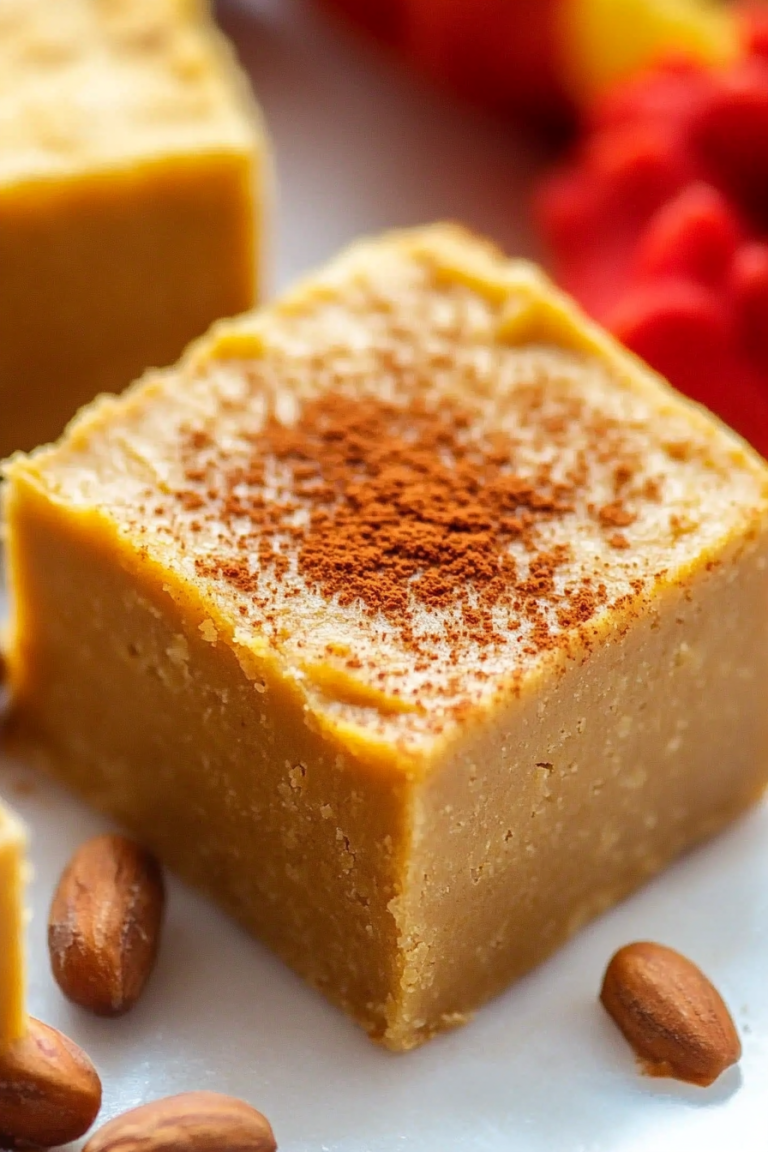
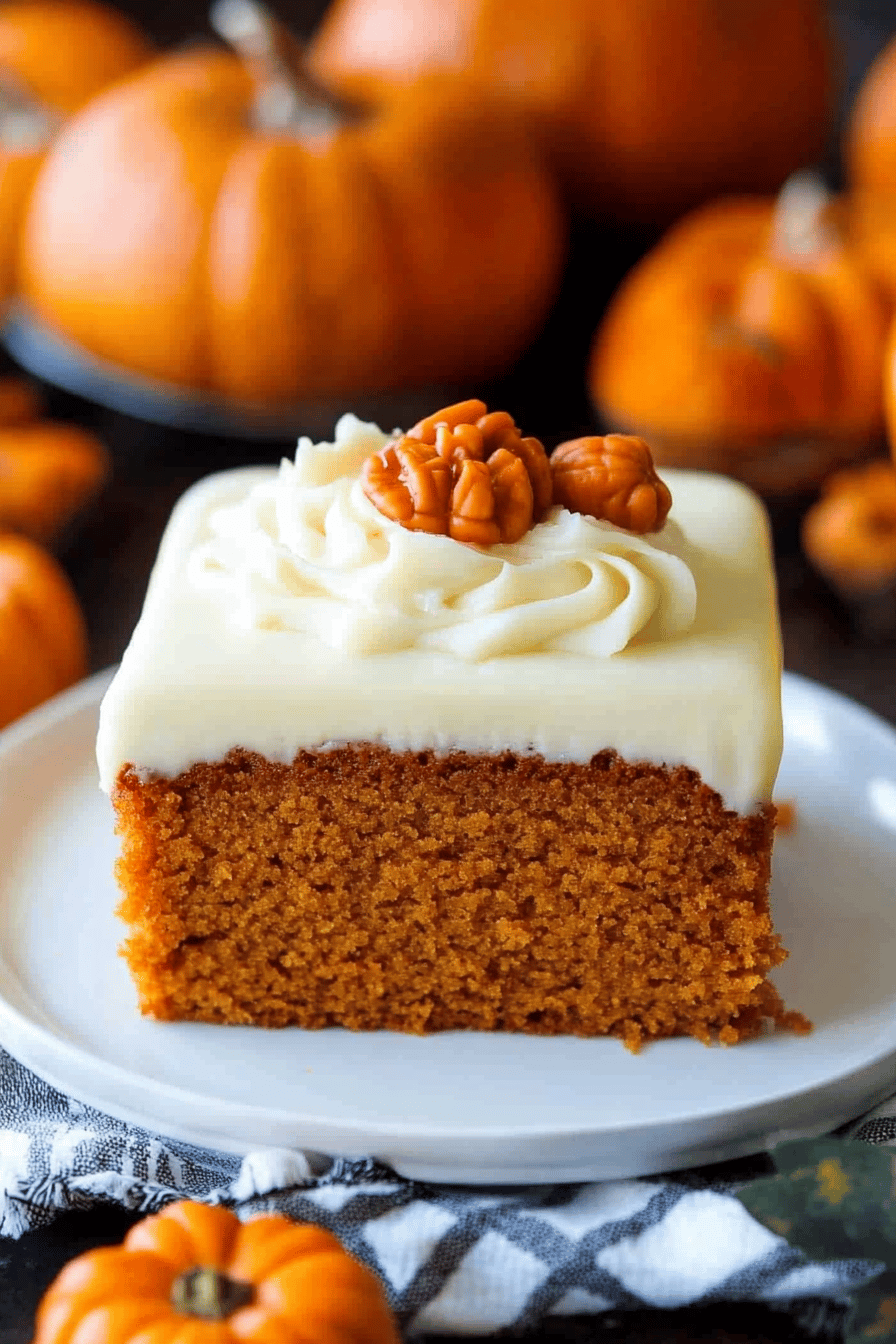
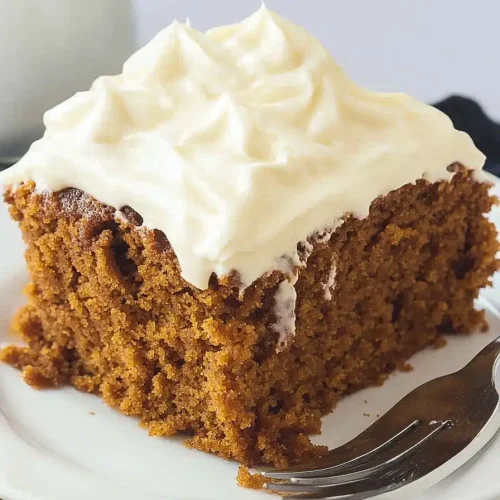
So, what exactly *is* this magnificent Pumpkin Cake we’re talking about? Think of it as your ultimate cozy companion for fall, a slice of pure comfort that’s surprisingly easy to whip up. It’s essentially a moist, tender cake infused with the earthy sweetness of pumpkin and a symphony of warm spices like cinnamon, nutmeg, and cloves. The magic happens when a luscious, creamy filling gets swirled right into the batter, creating beautiful marble patterns and pockets of pure deliciousness. It’s not a heavy, dense cake, nor is it light and airy like a sponge. It sits perfectly in that delightful middle ground – substantial enough to feel like a treat, but light enough to enjoy without feeling weighed down. It’s the kind of cake that makes everyone ask for seconds, and frankly, I’m always happy to oblige!
Why you’ll love this recipe?
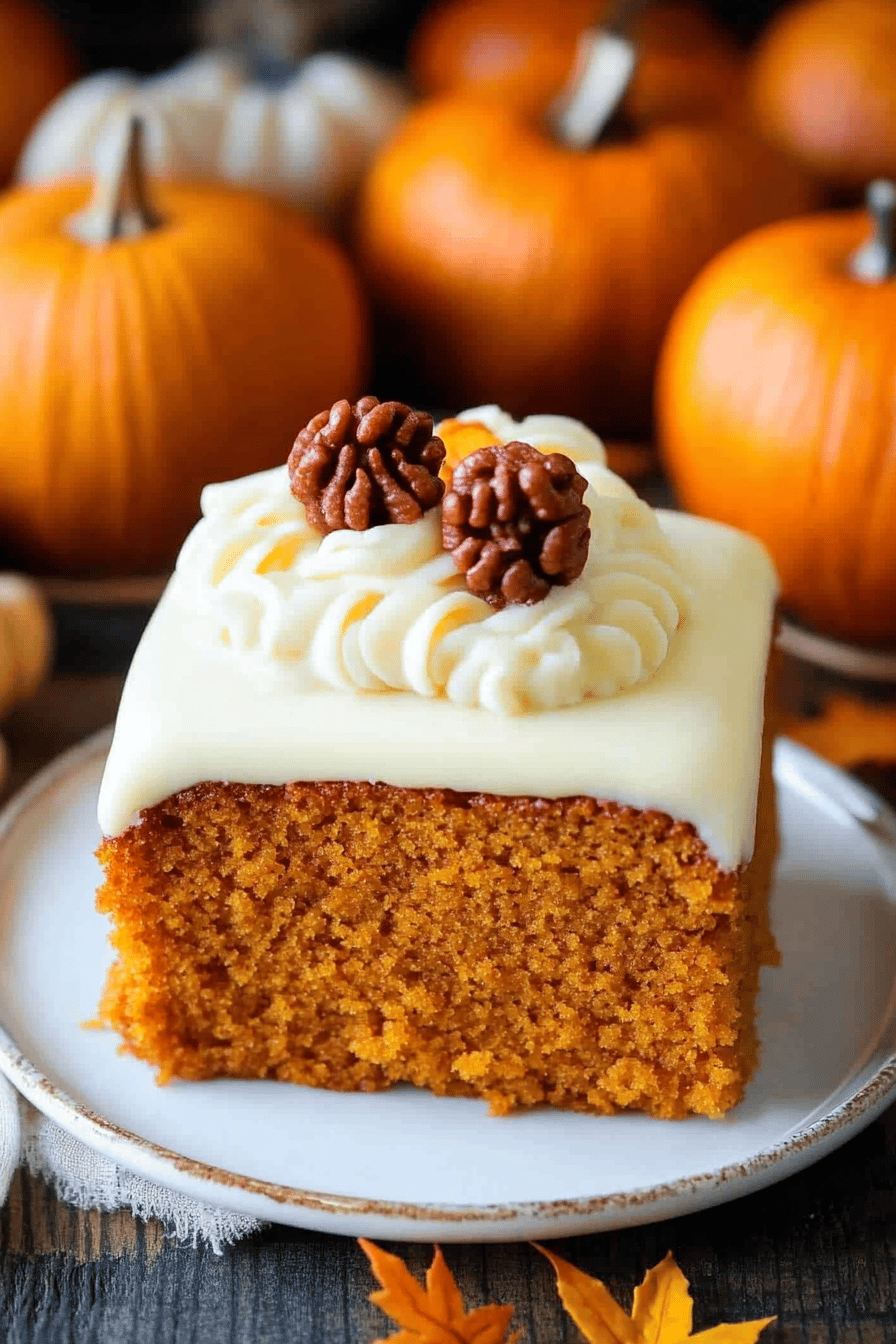
Honestly, if you’re anything like me, you’ll fall head over heels for this pumpkin cake for so many reasons! First off, the flavor. Oh, the flavor! It’s that perfect balance of sweet pumpkin and those warm, comforting spices that just sing together. It smells incredible while it bakes, filling your home with an aroma that’s pure autumn bliss. But it’s not just about the taste; it’s also about how incredibly simple this cake is to make. Even if you’re not a seasoned baker, you can absolutely nail this. I’ve had friends who thought they couldn’t bake try it, and they were stunned at how easy it was and how amazing the result was! And let’s talk about cost-efficiency. Most of the ingredients are pantry staples, making this a budget-friendly way to enjoy a truly decadent dessert. Plus, its versatility is a huge win. You can serve it for breakfast (yes, I do!), brunch, as a show-stopping dessert, or just as a perfect afternoon pick-me-up. What I love most about this pumpkin cake is that it always feels special, even though it uses such simple ingredients and techniques. It’s my secret weapon when I need something that tastes like I spent hours in the kitchen but only took a fraction of the time.
How do I make a pumpkin cake?
Quick Overview
At its heart, making this pumpkin cake is all about combining wet and dry ingredients, creating a delightful filling, and then swirling it all together before a relatively quick bake. It’s a one-bowl wonder for the batter, which is always a huge plus in my book! The swirling step is where the fun really begins, and it guarantees a beautiful, unique look every time. You’ll end up with a moist, tender cake that’s incredibly satisfying, with none of the fuss you might expect from something this delicious.
Ingredients
For the Main Batter:
- All-Purpose Flour: 2 cups. I always use unbleached all-purpose flour for a good structure. Make sure to measure it correctly by spooning it into your measuring cup and leveling it off – don’t scoop directly from the bag, or you’ll end up with a denser cake.
- Granulated Sugar: 1 ½ cups. This provides the sweetness and helps with the cake’s tenderness.
- Baking Soda: 1 teaspoon. This is our leavening agent, giving the cake its lift.
- Baking Powder: ½ teaspoon. A little extra lift never hurts!
- Salt: ½ teaspoon. Crucial for balancing the sweetness and enhancing flavors.
- Ground Cinnamon: 2 teaspoons. The star spice!
- Ground Nutmeg: 1 teaspoon. Adds that warm, slightly sweet, nutty depth.
- Ground Cloves: ½ teaspoon. Use sparingly, as cloves can be potent, but they add that quintessential fall spice profile.
- Eggs: 2 large. They bind everything together and add richness. I like to bring them to room temperature for easier incorporation.
- Vegetable Oil: ½ cup. For that incredible moisture! You can also use canola oil or even a light-flavored olive oil.
- Pumpkin Puree: 1 (15-ounce) can. Make sure it’s 100% pure pumpkin puree, NOT pumpkin pie filling. This is where all that lovely pumpkin flavor and moisture comes from.
- Evaporated Milk: ½ cup. This makes the cake wonderfully tender and rich.
- Vanilla Extract: 1 teaspoon. Always enhances the other flavors!
For the Filling:
- Cream Cheese: 4 ounces, softened. This gives our swirl that luscious, creamy texture.
- Granulated Sugar: ½ cup. For sweetness and structure.
- Egg: 1 large. To bind the cream cheese mixture.
- Vanilla Extract: ½ teaspoon.
For the Glaze:
- Powdered Sugar: 1 cup. Sifted for a smooth glaze.
- Milk or Cream: 2-3 tablespoons. To reach your desired drizzling consistency.
- Vanilla Extract: ½ teaspoon (optional).
Step-by-Step Instructions
Step 1: Preheat & Prep Pan
First things first, let’s get that oven preheating to 350°F (175°C). This is your most important job before you even start mixing! And grab a 9×13 inch Baking Pan. I like to grease mine really well with butter or cooking spray and then dust it with a little flour. This guarantees that your beautiful cake will release without any drama. You can also line the bottom with parchment paper if you’re feeling extra cautious, but a well-greased and floured pan usually does the trick.
Step 2: Mix Dry Ingredients
In a large bowl, whisk together the flour, granulated sugar, baking soda, baking powder, salt, cinnamon, nutmeg, and cloves. Whisking them together thoroughly ensures that your leavening agents and spices are evenly distributed throughout the batter. No one wants a bite that’s just pure clove or a pocket of unmixed baking soda! You’re looking for a uniform, pale tan mixture.
Step 3: Mix Wet Ingredients
In a separate medium bowl, whisk together the eggs, vegetable oil, pumpkin puree, evaporated milk, and vanilla extract until everything is smooth and well combined. This is where you really start to see that gorgeous, rich pumpkin color come through. Make sure there are no streaks of egg yolk or unincorporated pumpkin.
Step 4: Combine
Now, pour the wet ingredients into the bowl with the dry ingredients. Mix with a spatula or wooden spoon until *just* combined. Seriously, don’t overmix! A few small lumps are perfectly fine. Overmixing develops the gluten in the flour, which can lead to a tough cake. We want tender and moist, remember?
Step 5: Prepare Filling
While the batter is resting for a moment, let’s whip up the filling. In a medium bowl, beat the softened Cream Cheese and sugar until smooth and creamy. Then, beat in the egg and vanilla extract until just combined. This filling is what makes our cake extra special – it’s like a mini cheesecake swirl!
Step 6: Layer & Swirl
Pour about half of the pumpkin batter into your prepared baking pan and spread it evenly. Dollop spoonfuls of the Cream Cheese filling evenly over the batter. Then, pour the remaining pumpkin batter over the filling. Now for the fun part! Take a knife or a skewer and gently swirl the layers together. Don’t overdo it; you want distinct swirls, not a muddy mess. A few figure-eights or random zig-zags will do the trick for a beautiful marbled effect.
Step 7: Bake
Bake for 30-40 minutes, or until a wooden skewer or toothpick inserted into the center comes out clean, with perhaps a few moist crumbs attached. Ovens can be quirky, so keep an eye on it. If the top starts to brown too quickly, you can loosely tent it with foil.
Step 8: Cool & Glaze
Let the cake cool in the pan on a wire rack for about 15-20 minutes. While it’s cooling, whisk together the powdered sugar, 2 tablespoons of milk (or cream), and vanilla extract until smooth. Add more milk, a teaspoon at a time, if you want a thinner glaze for drizzling. Once the cake has cooled slightly, drizzle the glaze over the top. I love doing this while the cake is still a little warm; it lets the glaze melt slightly and look gorgeous.
Step 9: Slice & Serve
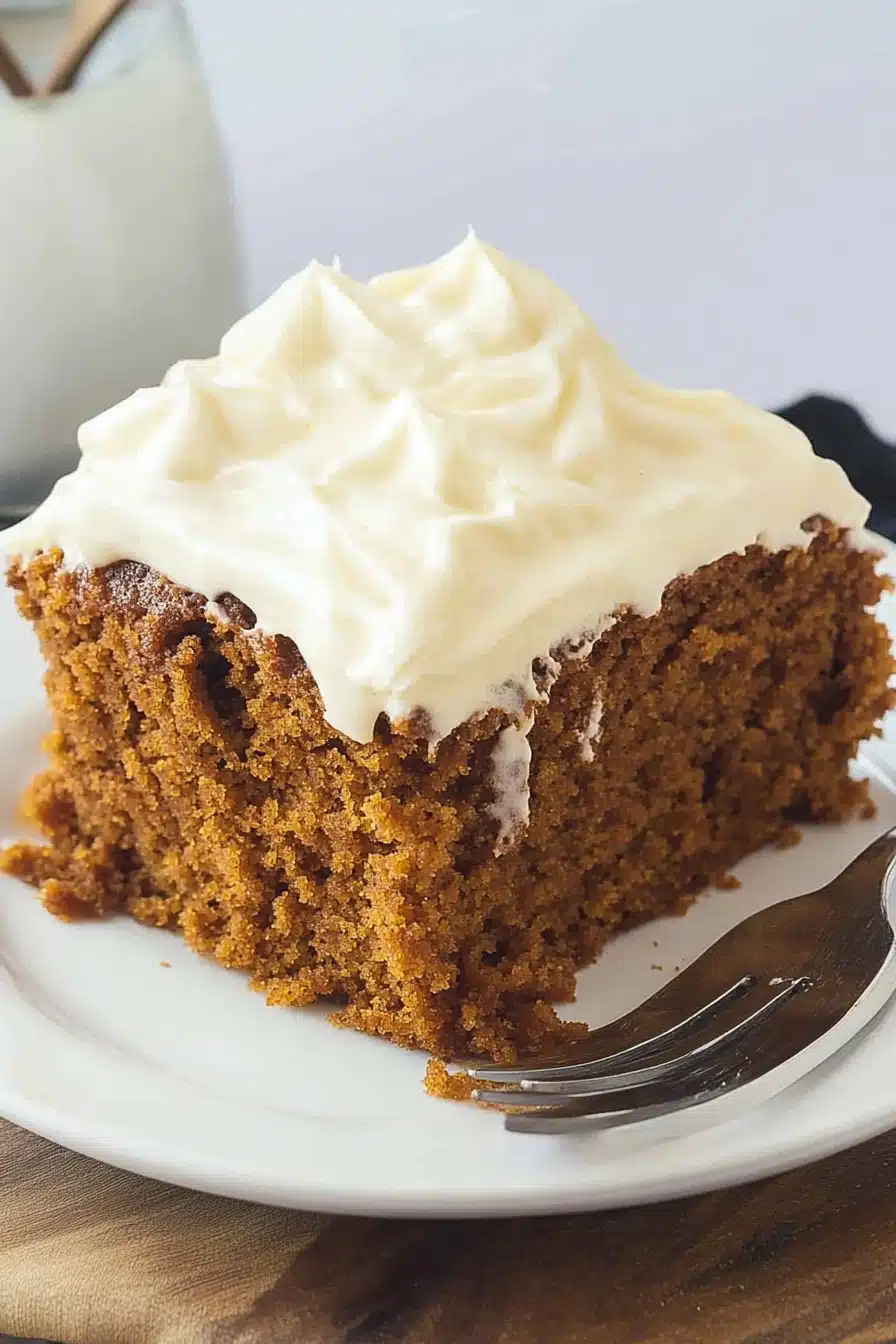
Allow the cake to cool completely before slicing. This is crucial for clean cuts! I usually can’t wait, though, and a warm slice with a little melty glaze is pure heaven. Cut into squares and enjoy!
What to Serve It With
This pumpkin cake is so versatile, it fits into almost any meal or occasion! For breakfast, it’s divine with a hot cup of coffee or a steaming mug of chai tea. I love serving it in slightly smaller squares, maybe with a dollop of plain Greek yogurt for a little tang. For a more elegant brunch spread, I’ll plate it nicely, perhaps with some fresh berries on the side for color and a pop of freshness. A glass of sparkling cider or a light mimosa pairs beautifully. As a dessert, it’s an absolute showstopper. Serve it slightly warm with a scoop of vanilla bean ice cream or a dollop of freshly whipped cream. The contrast of the warm cake and cold ice cream is just unbeatable! And for those cozy, rainy afternoons when you just need something sweet, it’s perfect on its own with a glass of cold milk. My family also loves it with a sprinkle of chopped pecans on top for extra crunch!
Top Tips for Perfecting Your Pumpkin Cake
Over the years, I’ve picked up a few tricks that have elevated my pumpkin cake game from good to truly spectacular. These are the little things that make a big difference!
Pumpkin Prep: Always, always, always use pure pumpkin puree. Not pumpkin pie filling. They are completely different things! The puree is just cooked pumpkin, while the filling has added sugar and spices that can throw off your recipe. If you happen to use fresh pumpkin, make sure it’s a sugar pumpkin or pie pumpkin and that you’ve roasted it until very tender and then pureed it, straining out excess liquid. For canned, draining any excess liquid that might have separated is a good idea, though usually it’s not too much.
Mixing Advice: This is probably my biggest pumpkin cake tip: do NOT overmix the batter once you combine the wet and dry ingredients. Mix until *just* combined, and stop. If you see a few small lumps, that’s totally fine! Overmixing develops gluten, leading to a tough, rubbery cake. We want tender and moist, remember? A gentle hand is key here.
Swirl Customization: Don’t be afraid to get creative with your swirl! You don’t need to be an artist. Use a butter knife or a skewer and make sweeping motions. Some people like a tight swirl, others a more loose, marbled effect. Both are beautiful and delicious. If you want more defined swirls, make sure not to swirl too much – just a few passes through the batter is usually enough.
Ingredient Swaps: If you’re out of evaporated milk, whole milk or even half-and-half will work in a pinch, though the texture might be slightly different. For the oil, melted unsalted butter can be used, but it will change the flavor profile slightly, making it a bit more buttery and less neutral. I’ve even experimented with a bit of applesauce for part of the oil, and it worked, but the oil gives the most consistently moist result for this particular recipe.
Baking Tips: Always trust the toothpick test. It’s the most reliable way to know when your cake is done. If the edges look done but the center is still jiggly, give it a few more minutes. If the top is browning too quickly, a loose tent of aluminum foil can save the day. Baking in the center rack of your oven ensures even heat distribution.
Glaze Variations: For a thinner, more drizzly glaze, add your liquid a tiny bit at a time. For a thicker, more frosting-like glaze, add a little more powdered sugar. You can also add a pinch of cinnamon or a drop of maple extract to the glaze for a different flavor profile. If you’re not a fan of glaze, a simple dusting of powdered sugar after cooling is also lovely.
Storing and Reheating Tips
This pumpkin cake is wonderfully forgiving when it comes to storage. If you have any leftovers (which is rare in my house!), here’s how I handle them:
Room Temperature: If the cake is completely cooled and has no glaze (or a very firm glaze), it can be stored at room temperature for up to 2 days. Make sure it’s covered well with plastic wrap or in an airtight container to prevent it from drying out. This is perfect for those busy days when you want a slice ready to go.
Refrigerator Storage: For longer storage, or if the cake has a softer glaze, the refrigerator is your best bet. Store it in an airtight container for up to 4-5 days. The moisture from the pumpkin tends to keep it quite lovely even after a few days. I find it tastes even better the next day!
Freezer Instructions: Yes, you can freeze this cake! It freezes beautifully, especially unfrosted or with a firm glaze. Wrap the cooled cake tightly in a couple of layers of plastic wrap, then in aluminum foil. It should keep well in the freezer for up to 2-3 months. To thaw, unwrap it and let it come to room temperature on the counter for a few hours. If you plan to reheat, I’ll cover that below.
Glaze Timing Advice: If you’re planning to store the cake for more than a day, I recommend glazing *after* it has cooled completely and *just before* serving, especially if you’re refrigerating or freezing. A glaze applied too early can sometimes become sticky or melty when stored. However, if you’re eating it within a day or two, glazing right after cooling is perfectly fine and looks gorgeous!
Frequently Asked Questions
Final Thoughts
There you have it – my ultimate guide to creating a truly spectacular pumpkin cake. I genuinely believe that with these tips, you’re going to bake the most moist, flavorful, and beautiful pumpkin cake you’ve ever had. It’s more than just a recipe; it’s a little piece of autumn joy that you can create in your own kitchen. It’s perfect for sharing with loved ones, for making those cozy evenings even more special, or just for treating yourself because you deserve it! If you love this recipe, you might also adore my Spiced Pear Upside-Down Cake or my Easy Apple Crumble Bars – they capture that same warm, comforting essence. I can’t wait to hear how your pumpkin cake turns out! Please leave a comment below and tell me what you think, or share any of your own favorite pumpkin cake tips. Happy baking, everyone!
Pumpkin Cake Tips
Ingredients
Main Ingredients
- 1.5 cups all-purpose flour
- 1.5 teaspoons baking soda
- 1 teaspoon ground cinnamon
- 0.5 teaspoon ground nutmeg
- 0.25 teaspoon ground cloves
- 1 teaspoon salt
- 1.5 cups granulated sugar
- 0.5 cup brown sugar
- 0.75 cup vegetable oil
- 3 large eggs
- 1 can (15 ounces) pumpkin puree
- 0.25 cup milk
Instructions
Preparation Steps
- Preheat oven to 350°F (175°C). Grease and flour a 9x13 inch baking pan.
- In a large bowl, whisk together the flour, baking soda, cinnamon, nutmeg, cloves, and salt.
- In a separate bowl, whisk together the granulated sugar, brown sugar, and vegetable oil.
- Beat in the eggs one at a time, then stir in the pumpkin puree and milk until well combined.
- Add the wet ingredients to the dry ingredients and stir until just combined. Do not overmix.
- Pour the batter into the prepared baking pan and spread evenly.
- Bake for 30-35 minutes, or until a wooden skewer inserted into the center comes out clean.
- Let the cake cool in the pan for 10 minutes before inverting onto a wire rack to cool completely.