pretzel bars
Okay, so you know how sometimes you just get that *craving*? That deep, insatiable need for something sweet, something salty, something that just hits all the right notes? Well, I’ve found the answer, and it comes in the form of these utterly divine Pretzel Bars. I’m talking about a base that’s somehow both chewy and crisp, a gooey caramel-like center, and a rich chocolatey topping. It’s basically a hug in bar form. My mom used to make something similar when I was a kid, and honestly, the smell of these baking instantly transports me back to our cozy kitchen. They’re not quite brownies, not quite cookies, but something magical in between, and they’ve become my go-to when I need a serious treat without a whole lot of fuss. If you’re a fan of those classic chocolate-covered pretzels, prepare to have your mind blown. These pretzel bars are a game-changer.
What are pretzel bars?
So, what exactly are these glorious pretzel bars I keep raving about? Think of them as a delightful mashup of your favorite sweet and salty cravings. At their core, they’re a baked bar with a soft, slightly chewy base that often incorporates crushed pretzels for that signature salty crunch. Then, they’re usually layered with a luscious, caramel-like filling – this is where that magic happens, making them irresistibly gooey. Finally, they’re topped off with a generous drizzle or full coating of chocolate. It’s the perfect trifecta of textures and flavors: the salty crunch of the pretzel, the sweet, yielding richness of the filling, and the decadent bliss of chocolate. The beauty of these pretzel bars is that they capture that classic sweet-and-salty appeal in an easy-to-make bar format, making them a surefire hit for any occasion, or just for that late-night snack attack.
Why you’ll love this recipe?
Honestly, the list of reasons to love these pretzel bars is practically endless, but I’ll try to narrow it down! First and foremost, the flavor is just out of this world. You get that irresistible sweet-salty combo that’s so addictive, it’s almost dangerous. The texture is another major win. That base is perfectly chewy, not cakey at all, and then you hit that wonderfully gooey caramel layer. It’s pure bliss. And the chocolate, oh, the chocolate on top just ties it all together. What I love most about this recipe is its surprising simplicity. Despite tasting like they came from a fancy bakery, they’re remarkably easy to whip up. You don’t need any fancy equipment or complicated techniques. Most of the ingredients are pantry staples, too, which is a huge bonus for my wallet and my sanity! Plus, these pretzel bars are incredibly versatile. Serve them as is for a quick treat, dress them up with some sea salt flakes, or even add some nuts for extra crunch. They’re a lifesaver on busy nights when you need a dessert but don’t have hours to spend. They’re also a huge hit at parties and potlucks – they always disappear in minutes! Seriously, if you’re looking for a dessert that’s impressive, delicious, and relatively easy, these pretzel bars are your answer. They’re a definite crowd-pleaser that my family begs me to make over and over.
How do I make pretzel bars?
Quick Overview
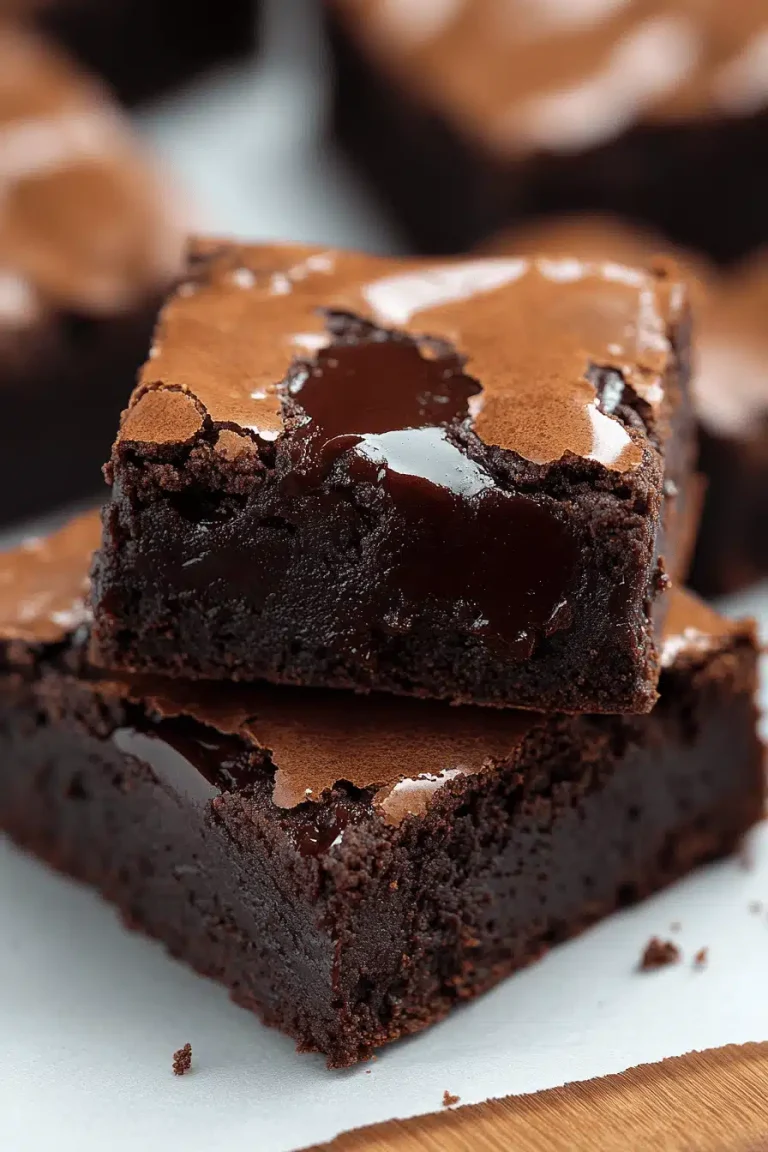
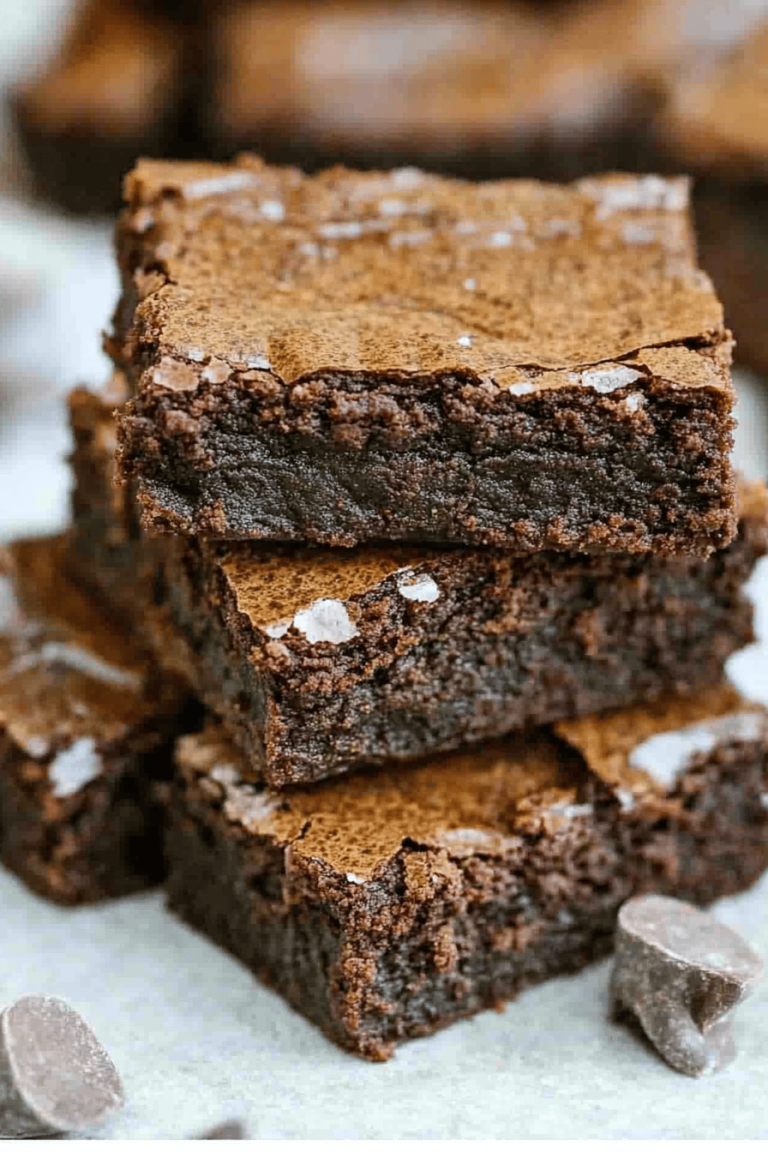
Making these pretzel bars is a straightforward process that involves a few simple steps: preparing the base, creating the gooey filling, baking it all together, and finishing with a decadent chocolate topping. The key is not to overmix the base and to get that filling just right. It all comes together in One Pan, making cleanup a breeze. Trust me, the minimal effort is SO worth the incredible result you’ll get with these pretzel bars.
Ingredients
For the Main Batter:
This is what gives our pretzel bars their fantastic structure and that delightful salty crunch. I always opt for good quality pretzels here – you know, the classic hard, salty ones. You can crush them yourself in a zip-top bag with a rolling pin (that’s my favorite stress reliever!) or pulse them a few times in a food processor. Don’t go for pretzel sticks or twists if you can help it; the classic hard pretzel shape has the best texture when crushed. You’ll need about 2 cups of crushed pretzels. We’ll also mix in some flour (all-purpose works perfectly), a bit of sugar for sweetness, baking soda to give it a little lift, and a pinch of salt to enhance all those flavors.
For the Filling:
This is where the magic happens and what makes them so wonderfully gooey and rich. We’re talking butter, Brown Sugar, and a touch of corn syrup. The corn syrup is important here; it prevents the sugar from crystallizing and helps create that wonderfully smooth, chewy caramel texture. I’ve tried without it, and it just isn’t the same. You’ll want to melt these together gently until they’re smooth and bubbly. Some people like to add a splash of vanilla extract here, and I absolutely do – it just rounds out the flavor beautifully. Make sure your butter is unsalted so you have better control over the saltiness.
For the Glaze:
For the topping, it’s usually a simple chocolate glaze made with melted chocolate chips – semi-sweet or dark work best for me, as they balance the sweetness of the filling. You can also add a tiny bit of butter or coconut oil to the chocolate as it melts; this helps make it smoother and gives it a lovely sheen once it sets. If you’re feeling fancy, a sprinkle of flaky sea salt over the chocolate while it’s still wet is absolutely divine. It really amplifies that sweet and salty contrast that makes these pretzel bars so special.
Step-by-Step Instructions
Step 1: Preheat & Prep Pan
First things first, get your oven preheated to 350°F (175°C). This is a pretty standard baking temperature, so your oven should have no problem with it. Then, grab a 9×13 inch Baking Pan. You’ll want to line it with parchment paper, making sure to leave some overhang on the sides. This parchment sling is your best friend for lifting the bars out cleanly later. Lightly grease the parchment paper too – just a little bit of butter or cooking spray will do. This ensures nothing sticks, and you get those beautiful, clean edges.
Step 2: Mix Dry Ingredients
In a medium-sized bowl, combine your crushed pretzels (about 2 cups), all-purpose flour (1.5 cups), granulated sugar (1/2 cup), baking soda (1 teaspoon), and a generous pinch of salt. Give everything a good whisk until it’s well combined. You want to make sure the baking soda and salt are evenly distributed so you don’t get any weird pockets of flavor or texture. This dry mix is the foundation for our chewy, salty base.
Step 3: Mix Wet Ingredients
In a separate bowl, you’ll melt 1 cup (2 sticks) of unsalted butter. Once melted, stir in 1 cup of packed light Brown Sugar, 1/2 cup of corn syrup (don’t skip this!), and 1 teaspoon of pure vanilla extract. Whisk it all together until the sugar is mostly dissolved and the mixture is smooth. This is our gooey filling that will become a rich caramel layer as it bakes. Make sure your butter isn’t scorching hot when you mix it with the sugar.
Step 4: Combine
Now, pour the wet ingredients into the bowl with the dry ingredients. Stir everything together until *just* combined. I can’t stress this enough: do NOT overmix! You want to see streaks of flour still. Overmixing will make your pretzel bars tough instead of perfectly chewy. It should be a thick, slightly lumpy batter. Get it into your prepared baking pan and spread it out evenly with a spatula. It might seem a bit thick, and that’s exactly what you want.
Step 5: Prepare Filling
Wait, we already made the filling in step 3! That’s the beauty of this recipe – the “filling” is actually part of the batter we’re making. So, technically, this step is covered. My apologies! If I were making these right now, I’d probably be licking the spatula clean after mixing those gooey ingredients. It smells amazing already!
Step 6: Layer & Swirl
This is where the “pretzel bars” really take shape! We already spread the batter into the pan. Now, grab your favorite chocolate chips – about 1.5 to 2 cups should do it. Sprinkle them evenly over the top of the batter. Then, this is optional but highly recommended: drizzle a little more melted butter (maybe 2 tablespoons) over the chocolate chips. Pop the pan into the preheated oven. The heat will melt the chocolate and the butter will help it spread into a gorgeous, unified layer as it bakes. It’s like magic, but tastier!
Step 7: Bake
Bake for about 20-25 minutes. You’re looking for the edges to be lightly golden brown and the chocolate to be melted and gooey. It shouldn’t look completely liquidy, but definitely soft and spreadable. The exact time will vary depending on your oven, so keep an eye on it. You don’t want to overbake these, or they’ll lose that essential chewiness. When they come out, the center will still look a bit soft, and that’s perfectly okay – they’ll set up as they cool.
Step 8: Cool & Glaze
This is perhaps the hardest part: letting them cool! Once they’re out of the oven, let them cool in the pan on a wire rack for at least 1-2 hours. This is crucial for them to set properly. If you try to cut them too soon, they’ll just fall apart. Once they’re mostly cooled, you can carefully lift them out of the pan using the parchment paper overhang. If you want an extra chocolatey kick, melt another cup of chocolate chips (with a teaspoon of butter or coconut oil for smoothness) and drizzle or spread it evenly over the top. If you do this, sprinkle with a little flaky sea salt while the chocolate is still wet. Then, let them cool *completely* – ideally in the fridge for about 30 minutes to help the chocolate set firm.
Step 9: Slice & Serve
Once everything is completely cooled and set, grab a sharp knife and slice the pretzel bars into your desired size. I usually cut mine into 16 squares, but you can go smaller for bite-sized treats or larger if you’re feeling indulgent. For the cleanest cuts, I find running the knife under hot water and wiping it dry between slices really helps. Serve them at room temperature or slightly chilled. They’re perfect on their own, with a cup of coffee, or even a glass of cold milk. Enjoy every single bite!
What to Serve It With
These pretzel bars are wonderfully versatile and can be enjoyed in so many ways! For breakfast, they’re a decadent treat. Imagine a warm cup of coffee paired with one of these bars – it’s like a little moment of pure indulgence to start your day. The salty pretzel and sweet chocolate are surprisingly delicious with morning coffee. For brunch, these bars make a fantastic addition to any spread. You can serve them on a nice platter alongside fruit salad, pastries, or quiches. They add a touch of something special without being overly formal. A mimosa or a sparkling rosé would be a lovely beverage pairing here. As a dessert, well, they’re obviously a dream! They’re fantastic on their own after a meal, or you could serve them with a scoop of vanilla bean ice cream for an extra treat. The contrast of warm brownie-like base and cold ice cream is divine. For cozy snacks, they’re just perfect. Whether you’re curled up with a good book and a cup of tea, or watching a movie with the family, these pretzel bars are the ultimate comfort food. My kids love them after school with a glass of cold milk, and I can never resist one (or two!) myself.
Top Tips for Perfecting Your Pretzel Bars
Over the years, I’ve learned a few tricks that make these pretzel bars consistently amazing. First, for the crushed pretzels, don’t go too fine. You want some little chunks for texture! If they’re too powdery, you lose that signature pretzel bite. I like to pulse mine in the food processor just a few times. For the filling mixture, make sure your brown sugar is nicely packed. This ensures you get that rich, caramel flavor without it being too dry or grainy. And when you’re combining the wet and dry ingredients for the base, seriously, less is more. As soon as you don’t see any dry flour streaks, stop mixing. Overworking the gluten in the flour will make these tough, and nobody wants a tough pretzel bar! I’ve definitely made that mistake before, and the texture was just not right. The consistency of the filling is key too; you want it to be smooth and pourable, but not too thin. If it looks a bit too thick, a tiny splash more butter can help. When it comes to the chocolate topping, don’t use chocolate chips that are too high in cocoa solids unless you really love dark chocolate; they can be harder to melt smoothly. Semi-sweet is usually the sweet spot. And for that perfect sheen and easy spreading, adding a bit of butter or coconut oil to the melted chocolate is a total game-changer. You’ll know your bars are baked just right when the edges are golden and the chocolate looks melted but not completely burnt. They’ll still be a bit soft in the middle, which is exactly what you want. Don’t be tempted to overbake them! Finally, and this is crucial, let them cool completely. Patience is a virtue, especially with these pretzel bars. A warm bar will crumble, but a cooled one slices beautifully and has the perfect texture. If you’re adding that flaky sea salt on top, do it immediately after the chocolate drizzle while it’s still wet so it adheres properly. It makes a world of difference!
Storing and Reheating Tips
One of the best things about these pretzel bars, besides how they taste, is how well they store. At room temperature, if they aren’t fully devoured in the first few hours (which is unlikely, but a girl can dream!), they’ll stay fresh for about 2-3 days. Just make sure to keep them in an airtight container. They’ll maintain their chewiness and flavor pretty well. If you need them to last longer, your refrigerator is your friend. Pop them into an airtight container or wrap them well in plastic wrap and foil, and they should be good for up to a week. I find the texture stays nice and firm, and the chocolate stays crisp. If you know you won’t get through them in a week, freezing is an excellent option. Wrap each bar individually in plastic wrap, then place them in a freezer-safe bag or container. They can stay frozen for up to 2-3 months. To thaw, just unwrap them and let them come to room temperature, or pop them in the fridge overnight. If you’ve glazed them with extra chocolate, the cold from the fridge or freezer will help that topping set up beautifully. Just be sure to let them sit out for a bit before serving if you prefer them at room temp; the chocolate can be quite hard straight from the cold.
Frequently Asked Questions
Final Thoughts
So there you have it – the recipe for pretzel bars that have officially stolen my heart (and my family’s!). They are the perfect balance of sweet, salty, chewy, and chocolatey. I truly believe this is one of those recipes that will become a staple in your kitchen, just like it has in mine. Whether you’re looking for a crowd-pleasing dessert for a party, a comforting treat for a cozy night in, or just something to satisfy that irresistible craving, these pretzel bars deliver every single time. They’re simple enough for a beginner baker but impressive enough to wow anyone. If you love these, you might also enjoy my recipe for [Link to another relevant recipe, e.g., “chewy chocolate chip cookies” or “easy no-bake cookies”] – they share a similar spirit of comfort and deliciousness! I can’t wait to hear what you think of these pretzel bars. Please leave a comment below and let me know how they turned out for you, or if you tried any fun variations! Happy baking!
Sweet Salty Pretzel Bar Bliss
Ingredients
Main Ingredients
- 1.5 cups Creamy peanut butter
- 0.5 cup Unsalted butter (melted)
- 1 cup Brown sugar
- 1.5 cups Pretzels (finely crushed, keep some intact for the top)
- 2 cups Semi-sweet chocolate chips
- 0.5 cup Crushed peanuts (salted or plain)
Instructions
Preparation Steps
- In a saucepan over low heat, melt the peanut butter, butter and brown sugar until it’s smooth and pourable.
- Mix in the crushed pretzels.
- Spread the mixture evenly into the bottom of a parchment-lined baking dish.
- Clean the saucepan and use it to melt the chocolate chips, stirring until fully melted.
- Pour the melted chocolate over the peanut butter layer, spreading it evenly.
- Sprinkle the crushed peanut and add the intact pretzels peanuts over the chocolate layer for added crunch and visual appeal.
- Place the baking dish in the refrigerator for at least 2 hours, or until the bars are fully set.
- Once set, cut into squares and serve.