pierogies
There’s something about the smell of pierogies cooking that instantly transports me back to my grandmother’s cozy kitchen. The way those little pockets of dough filled with creamy potatoes and cheese bubble up in the pan—it’s pure comfort food magic. I remember sneaking into the kitchen as a kid, hoping for just one more before dinner was even served. Pierogies have this incredible knack for making you feel home, no matter where you are. If you’ve ever loved gnocchi or savory dumplings, think of pierogies as their warm, doughy cousin with a simple, hearty filling that’s easy to fall in love with. Honestly, once you try making them at home, it’s tough to go back to store-bought. This recipe is the one I always reach for—easy enough for weeknights, yet special enough for family gatherings.
What is a pierogi?
Pierogies are these delightful little pockets of dough that are stuffed with all sorts of delicious fillings—traditionally potatoes, cheese, and sometimes onions or cabbage. The name “pierogi” comes from the Polish word “pieróg,” which just means dumpling or pastry. But don’t let that intimidate you. They’re essentially homemade ravioli, but with a soft, pillowy dough and a filling that’s often pan-fried to crispy, golden perfection. Think of it as the Eastern European equivalent of comfort food you can eat with your hands. They can be boiled, baked, or fried—each method giving you a slightly different texture. The real fun is in the filling—whether you stick to classic potatoes and cheese or get adventurous with mushrooms or sauerkraut. It’s like a little edible pocket of happiness that brings everyone to the table.
Why you’ll love this recipe?
What I adore most about making pierogies from scratch is the way the flavors come together with so little fuss. The dough is soft and slightly chewy, just begging to be dipped in sour cream or caramelized onions. The filling? Comfort in every bite—warm mashed potatoes with just the right amount of sharp cheese and a whisper of sautéed onion. It’s a flavor combo that’s stood the test of time and generations. This recipe is a total lifesaver on busy nights because once you’ve got the dough and filling prepped, the rest comes together quickly—no fancy equipment needed.
Another thing worth mentioning: it’s a surprisingly budget-friendly meal. Potatoes and cheese are pantry staples for most of us, and with a handful of basic ingredients, you get a dish that tastes like it spent all day cooking. Plus, pierogies are super versatile. You can make them vegetarian or add meat if you want, even play with sweet fillings for dessert versions—yeah, I’ve dabbled with that too. And if you love dishes like gnocchi or pierogi-inspired latkes, this recipe will feel just right in your rotation. I’ve made these countless times, and honestly, the smell alone brings everyone rushing to the kitchen.
How do you make pierogies?
Quick Overview
Making pierogies is easier than you’d think, especially if you take it step by step. Start with a simple dough that’s soft but sturdy enough to hold the filling. The potato and cheese filling comes together with just a few ingredients, and then you get to the fun part: rolling, filling, and folding each pierogi. Boiling brings them to that tender finish, and a quick pan-fry adds the irresistible golden crust. The whole process is pretty forgiving, so even if you’re not an experienced dough handler, you’ll feel like a kitchen rockstar by the end.
Ingredients
For the Dough:
- 2 cups all-purpose flour (sift for lightness) (sift for consistency)
- 1 large egg (room temperature)
- 1/2 cup warm water (adjust as needed)
- 1/2 teaspoon salt
- 2 tablespoons melted butter (brings tenderness)
For the Filling:
- 3 medium potatoes (Russets are best for fluffiness)
- 1 cup shredded cheddar cheese (sharp but creamy works great)
- 1 small onion, finely chopped and caramelized (adds sweetness)
- Salt and pepper to taste
- Optional: a dash of sour cream or cream cheese for extra creaminess
For the Glaze and Serving:
- Butter for frying
- Sour cream, for dipping
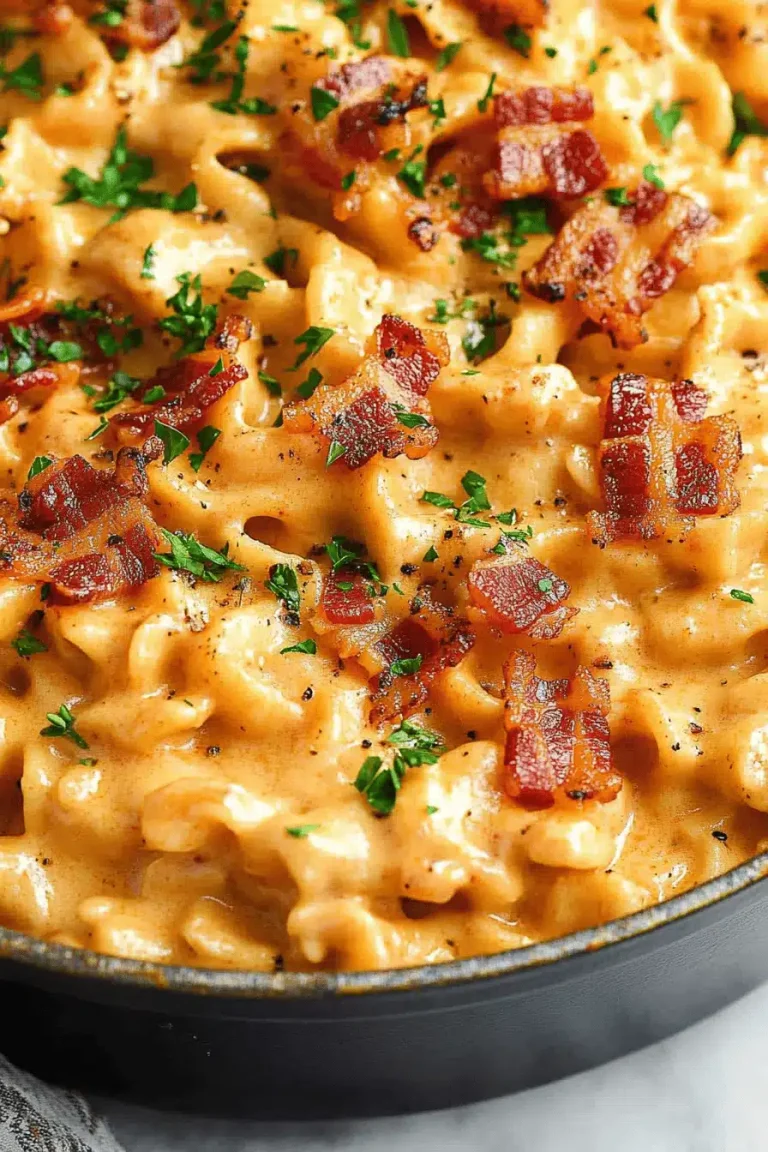
- Sautéed onions or crispy bacon bits (optional toppings)
Step-by-Step Instructions
Step 1: Preheat & Prep Pan
Get a large pot of salted water simmering on the stove—this is for boiling your pierogies before frying. I always do this first because timing is key. Also, prepare a skillet with a couple tablespoons of butter to ready for that final crisp step. It’s worth waiting for the butter to foam up just right to get that golden edge without burning.
Step 2: Mix Dry Ingredients
Start by sifting the flour and salt into a big bowl. Using a whisk or your fingers, give it a good mix to make sure everything’s evenly combined. This little step makes the dough easier to handle later, and it helps keep the texture light. I remember skipping this once and regretting the tough patches it caused in the dough.
Step 3: Mix Wet Ingredients
Whisk your egg and melted butter into the warm water. The water shouldn’t be hot—it’s just warm enough to help everything blend smoothly. Pour this mixture gradually into your flour, stirring gently to avoid lumps. The dough should come together and feel a little sticky but workable.
Step 4: Combine
Turn the dough out onto a floured surface. Knead it for about 5-7 minutes until it’s smooth and elastic. If it feels too sticky, sprinkle a touch more flour, but be careful not to add too much—you want tender pierogies, not tough ones. This kneading step was a game-changer for me because it helps the dough hold its shape without cracking when you fill it.
Step 5: Prepare Filling
Boil peeled potatoes until tender, then mash them until smooth but not watery. Stir in shredded cheese, caramelized onions, salt, pepper, and a spoonful of sour cream if you like. The filling should be creamy but thick enough to hold inside the dough without oozing out. I usually taste-test here to adjust the seasoning—it’s all about balancing that cheesy, savory goodness.
Step 6: Roll & Fill
Roll the dough out thinly on a floured surface, about 1/8 inch thick. Use a drinking glass or cookie cutter around 3 inches wide to cut circles. Spoon a teaspoon or so of filling into each circle, fold over the dough to form a half-moon, and pinch the edges firmly to seal. Wetting the edges slightly with water helps them stick better. Don’t worry if they’re not perfect—each one has its own charm. I learned that lesson after trying to get mine all uniform and ending up frustrated!
Step 7: Boil
Drop the pierogies gently into your simmering water. They’ll sink and then start to float when cooked—usually about 3-4 minutes. Once floated, give them an extra minute and then scoop them out with a slotted spoon. Drain on a towel to remove excess moisture. Boiling first ensures they’re thoroughly cooked before frying.
Step 8: Fry
Heat your buttered skillet until bubbling, then add pierogies in batches—not crowding the pan. Fry each side just until golden brown and crispy, which usually takes about 2-3 minutes per side. This step is where the magic happens—the contrast between the crispy outside and creamy inside is irresistible.
Step 9: Serve
Serve pierogies hot with a generous dollop of sour cream and, if you like, some caramelized onions on top. I swear by adding a sprinkle of crispy bacon when I’m feeling indulgent—it sends them over the edge every time. My kids actually ask for seconds during holiday dinners, so consider yourself warned!
What to Serve It With
For Breakfast: I love serving pierogies alongside a cup of strong black coffee or a creamy latte. Sometimes just with a bit of butter and a dusting of fresh chives, they make an unexpected but delightful morning treat.
For Brunch: Plate them with a simple green salad tossed in lemon vinaigrette and a side of smoked sausage or bacon. Pair with a crisp white wine or sparkling cider for a light yet hearty brunch.
As Dessert: Sweet pierogies are a total game-changer. Fill them with cream cheese and a pinch of sugar, then top with warm fruit compote or dust generously with cinnamon sugar. They’re perfect for when you want something sweet without baking a full cake.
For Cozy Snacks: Fried pierogies with caramelized onions and sour cream spread out on a platter make for perfect cozy snack nights in front of a movie. Add a cold beer or soda, and you’ve got that comfort food vibe mastered. Honestly, the way this recipe brings the family together with those crispy edges and warm filling makes it a staple for me.
Top Tips for Perfecting Your Pierogies
Dough Prep: Always let your dough rest for at least 15 minutes after kneading. It relaxes the gluten and makes rolling much easier. I found skipping this step meant my dough wanted to shrink back, which was so frustrating.
Filling Consistency: The filling can’t be too wet or your dough will struggle to seal properly. If your mashed potatoes feel watery, try squeezing excess moisture out with a clean kitchen towel before mixing in cheese and onions.
Sealing Tips: Wet the edges of your dough circles lightly with water before pinching. Use your fingers or a fork to crimp the edges. If you have room, a small twist twist a little extra security, especially for first-timers.
Swirling Technique: For a fun twist, you can add finely chopped herbs or a swirl of caramelized onions into your filling for a burst of flavor. It always impresses guests when you see flecks of herbs peeking through.
Ingredient Swaps: Don’t have cheddar? Try mozzarella for a milder melt or even feta for a tangy twist. I’ve swapped potatoes for sweet potatoes, which adds a beautiful color and subtle sweetness that’s fantastic with a bit of smoked paprika in the filling.
Baking vs. Frying: If you want a lighter option, bake the pierogies on a parchment-lined tray at 375°F for about 20 minutes, flipping halfway through. They’re still delicious but without the crispy pan-fried finish.
Glaze and Serving: Since I’m a traditionalist, I usually go with butter and onions, but sometimes a dollop of sour cream mixed with fresh dill takes it to another level. Experiment, because adding a little zing with horseradish or mustard sauce is a family favorite for us too.
One thing I’ve learned the hard way—don’t rush the boiling step. If they’re undercooked inside, it throws off the whole texture. Patience pays off every time. And remember, imperfect pierogies taste better because they’re homemade!
Storing and Reheating Tips
Room Temperature: If you’re planning to eat them within a few hours, keep pierogies in a covered dish or loosely wrapped in foil. They’ll stay fresh for about 3-4 hours but definitely best enjoyed warm.
Refrigerator Storage: Store leftover pierogies in an airtight container for up to 3 days. When reheating, I like to pan-fry them again for that fresh crispy edge instead of just microwaving—they come out almost like new.
Freezer Instructions: Freeze cooked pierogies in a single layer on a baking sheet, then transfer to freezer-safe bags or containers. They keep well for up to 3 months. To reheat, pop them straight into boiling water for a few minutes until hot, then finish off in the pan for crispiness.
Glaze Timing Advice: If freezing, skip the butter glaze and onions until you’re ready to serve—fresh toppings always shine brighter. For fridge storage, adding the glaze before reheating or right after frying keeps them luscious without getting soggy.
Frequently Asked Questions
Keep in mind, without gluten, the dough might be a touch trickier to work with, so be patient and handle carefully.
Final Thoughts
Pierogies are more than just a meal—they’re a connection to tradition, comfort, and family moments. Every time I make them, I’m reminded of those warm kitchens and shared stories across generations. This recipe has become a staple in my home because it’s forgiving, delicious, and endlessly adaptable. Whether you’re new to homemade pierogies or rekindling an old love, this one’s sure to make your day a bit brighter and your table a lot happier. Don’t hesitate to leave a comment or share your own twists—I’m always excited to hear how yours turn out. Happy cooking, and trust me, these little dumplings have a way of disappearing in minutes!

How to Make Zesty Feta Pierogies
Ingredients
Main Ingredients
- 1 cup crumbled feta cheese
- 2 tablespoons hot sauce or to taste
- 1 whole egg
- 2 cups all-purpose flour
- 1.25 cups sour cream can add more if needed
- vegetable oil for frying
Instructions
Preparation Steps
- In a medium bowl, mix crumbled feta cheese, hot sauce, and the egg until well combined. Set aside.
- In a mixing bowl, combine flour and sour cream. Use a dough hook to mix until a soft dough ball forms. Adjust by adding flour or sour cream as needed.
- Lightly flour a work surface and turn out the dough. Roll out dough to about 1/4 inch thickness using several passes.
- Cut dough into 20 rounds using a 3-inch cookie cutter, reroll scraps as necessary.
- Place a spoonful of the feta filling in the center of each round. Fold dough over to make a half-moon and seal edges by pressing with a fork.
- Heat vegetable oil in a large skillet to 350°F.
- Fry 2-3 pierogies at a time until they float and edges are golden, about 2 minutes per side.
- Remove pierogies and drain on paper towels.
- Serve warm with sour cream, caramelized onions, or salsa as desired.