oreo cheesecake pops
There’s something magical about small treats that pack a big punch, and Oreo cheesecake pops are *exactly* that. I still remember the first time I whipped these up for a spontaneous family gathering—everyone was ooohing and aaahing over these little delights, and honestly, so was I! They feel indulgent and fancy, yet they’re incredibly simple to make, which is kind of my dream come true. If you love creamy cheesecake and the nostalgic crunch of Oreos, these pops bring them together in this fun, poppable form. Think of it like cheesecake met cookie dough, and they decided to throw a party on a stick. It’s a dessert that’s perfect for when you want something sweet but don’t want the commitment of a whole cake. My kids ask for these all the time, and trust me, they disappear within minutes!
What is Oreo Cheesecake Pops?
So, here’s the scoop: Oreo cheesecake pops are little balls or bite-sized treats made of crushed Oreos mixed with a creamy cheesecake filling, then dipped or rolled in a smooth chocolate or icing glaze like a classic pop. The idea is to get that creamy, dreamy cheesecake flavor combined with the crunchy cookie texture, but all in one cute, handheld portion. Think of it as the love child of a cheesecake and a cookie truffle, on a stick (or without, if you’re feeling casual). These pops get their name because of the great Oreo base, plus that unmistakable cream cheese richness. They’re essentially no-bake or lightly baked cheesecake bites that are perfect for parties, dessert tables, or just because you’re craving something sweet and easy. Don’t let their fancy name fool you—they’re super approachable, whether you’re an amateur or a seasoned baker!
Why you’ll love this recipe?
What I love most about Oreo cheesecake pops is their downright perfect hit of flavor. The Oreos give it that chocolatey crunch with just the right amount of bitterness, which balances beautifully against the rich, smooth cheesecake filling. Seriously, the combo is so good it’s practically addictive. Plus, they’re crazy simple to make—no stress or fancy ingredients required. You’ll likely have most of these ingredients sitting right in your pantry, and the whole process is pretty quick, so you can satisfy those sweet tooth cravings in no time.
Budget-wise, Oreos and cream cheese won’t break the bank, especially when compared to fancy dessert ingredients. And I love how versatile this recipe is—you can add chopped nuts, drizzle caramel, or even sprinkle extra cookie crumbs on top for a fancy flair or leave them classic. These pops are great for anyone who hates slicing and cleaning after a cheesecake; no cutting or fancy plating needed. They’re also perfect for gatherings where finger foods reign supreme.
Compared to classic Oreo cheesecake slices, these pops are easier to make and eat. No fussing with a crust or worrying about crumbling stays behind on your plate. I’ve made these dozens of times for both weeknight treats and bigger celebrations, and every single time they’ve been a crowd-pleaser. My kids especially love helping me make them, and it’s become a fun tradition on rainy afternoons.
How do you make Oreo Cheesecake Pops?
Quick Overview
The whole process is delightfully straightforward. You crush up the Oreos, mix them together with cream cheese and a little sugar, form ’em into balls, and then dip them in your choice of glaze—usually melted chocolate or white chocolate. Chill to set, then enjoy! I always say, it’s one of those fail-proof recipes that make you look like a dessert pro without breaking a sweat. Honestly, the hardest part is waiting for them to chill.
Ingredients
For the Main Batter:
– 24 Oreo cookies (or similar chocolate sandwich cookies) – crushed finely for the perfect texture
– 8 ounces cream cheese, softened to room temperature (full fat gives that rich creaminess)
– 1/4 cup powdered sugar – this sweetens the cheesecake base without being gritty
– 1 teaspoon vanilla extract for that warm, cozy flavor depth
For the Filling:
– Optional 2 tablespoons sour cream or Greek yogurt – this makes the mixture ultra creamy and adds a slight tang, balancing the sweetness
– Optional mini chocolate chips or chopped nuts for texture variations
For the Glaze:
– 12 ounces white or dark chocolate chips – melt smoothly for the coating
– 1 teaspoon coconut oil or vegetable oil to help the glaze set nice and glossy
– Sprinkles or crushed Oreos for decorating the outside, optional but fun!
Step-by-Step Instructions
Step 1: Preheat & Prep Pan
Although this recipe doesn’t require baking, I like to line a baking sheet with parchment paper or a silicone baking mat for the pops to chill on. It keeps them from sticking and makes cleanup a breeze. Place the tray in the fridge or freezer later to help the pops set quickly.
Step 2: Mix Dry Ingredients
Start by crushing the Oreos thoroughly. I use a food processor, but if you don’t have one, a sturdy zip bag and rolling pin work just fine. You want fine crumbs with some slightly chunkier bits mixed in for a nice chewy texture. Sift your powdered sugar over the crushed crumbs to avoid clumps and mix well to distribute evenly.
Step 3: Mix Wet Ingredients
In a separate bowl, beat the cream cheese until smooth and fluffy, which usually takes around 2-3 minutes with a hand mixer. Add vanilla extract and the optional sour cream or Greek yogurt at this stage if you’re using them—it really enriches the flavor and texture!
Step 4: Combine
Gently fold the Oreo crumbs into the cream cheese mix, being careful not to overwork it. You want a uniform, slightly sticky dough. If it feels too crumbly, a teaspoon or two of milk can rescue it, but don’t go overboard. My personal tip: mixing by hand ensures you keep a lovely chunky texture whereas over beating sometimes makes it too smooth.
Step 5: Prepare Filling
This step is mostly about making sure your mixture is the right consistency. If you want to sneak in mix-ins like mini chocolate chips or crushed nuts, fold them in now. I swear by adding a few chocolate chips for those little bursts of gooey happiness on biting.
Step 6: Layer & Swirl
Form the mixture into small, even-sized balls using a cookie scoop or your hands. Wet your hands slightly to prevent sticking—it’s a small but game-changing trick I learned the hard way. If you want to get fancy, you can swirl a bit of melted chocolate into the mixture before rolling for a marbled effect, but honestly, simple pops taste just as divine.
Step 7: Bake
No baking needed here! Instead, place your pops on the lined tray and refrigerate for at least 30 minutes to firm up before glazing—this is key or they’ll melt when dipped.
Step 8: Cool & Glaze
Melt your chocolates gently in a double boiler or microwave in short bursts, stirring often. Add a teaspoon of oil to get that smooth, glossy finish that sets beautifully. Dip each pop into the chocolate, swirl off excess, and place back on the tray. This part is the fun “artsy” moment—feel free to sprinkle crushed Oreos or sprinkles before the chocolate sets.
Step 9: Slice & Serve
Once glazed, pop them back in the fridge to set fully—around 15-20 minutes. Serve chilled or at room temperature, but I find chilling brings out the best texture. You can present them on a lovely platter or stick them into a foam block for a cute “pop” display. My kids adore when I use colorful sticks—it makes it feel like a party in their hands!
What to Serve It With
For Breakfast: It might sound odd but a chilled cheesecake pop with a fresh cup of strong coffee or latte turns a simple start into a little morning treat. The creaminess and chocolate hit are a neat treat that helps make Monday mornings bearable.
For Brunch: Place these pops on a rustic tray alongside fresh fruit, mini muffins, and sparkling lemonade. They add a classy sweet note that balances savory dishes perfectly. Plus, they’re an easy finger food, so no worries about utensils!
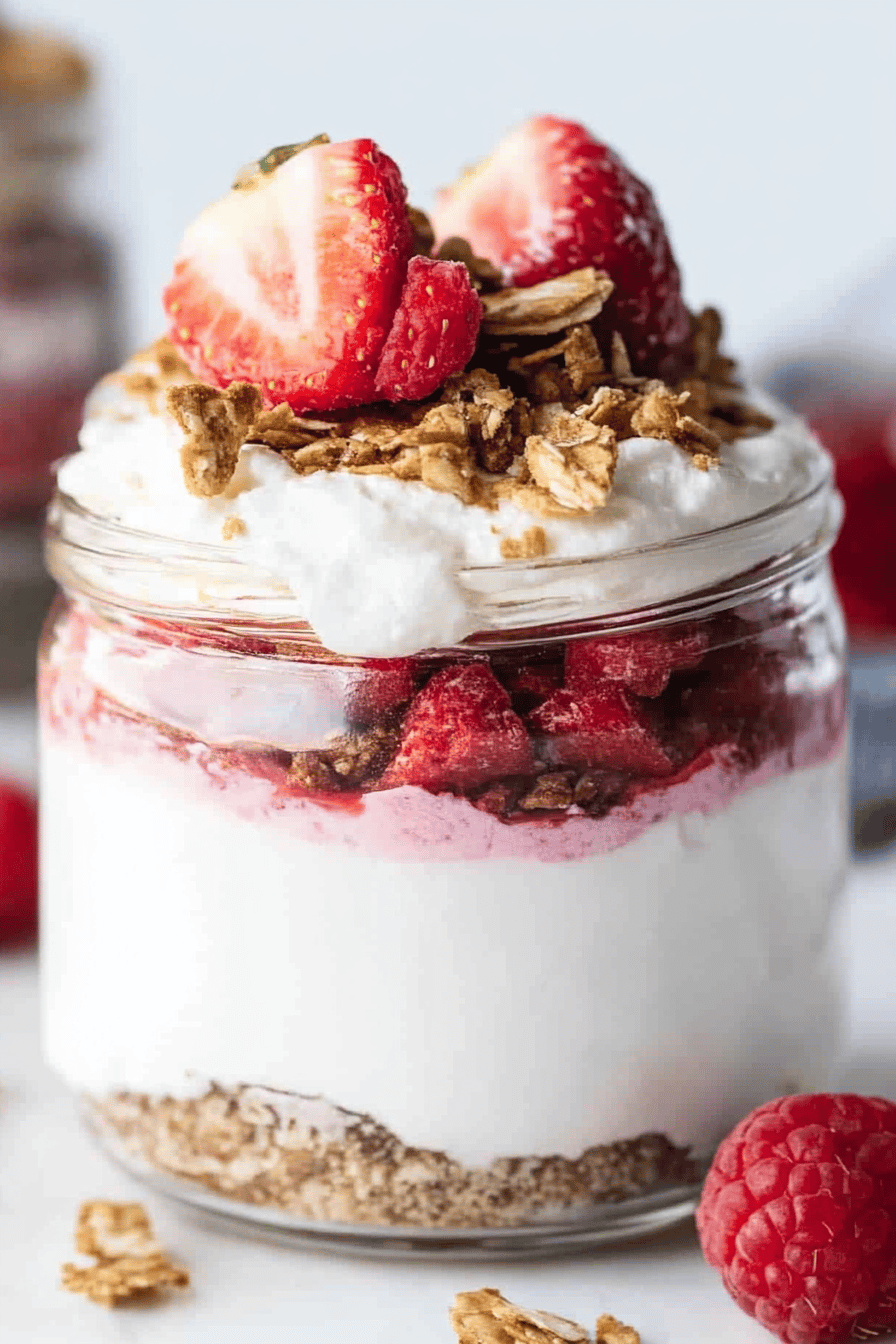
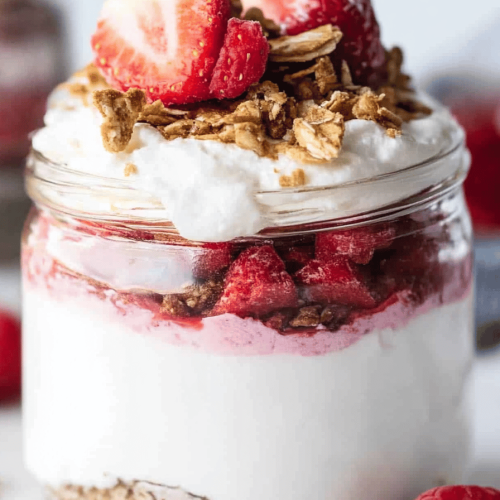
As Dessert: These are my go-to dessert when I want something easy yet impressive. Serve with fresh berries or a drizzle of raspberry sauce, and maybe a chilled glass of prosecco for adults. The little pops pack enough flavor to satisfy without filling everyone up too much.
For Cozy Snacks: I often make a batch of these when I’m curled up on the couch with a movie. Pair them with hot chocolate or a lightly brewed tea and you’re set for that perfectly cozy vibe. My kids steal these from my stash more often than I care to admit!
Top Tips for Perfecting Your Oreo Cheesecake Pops
Oreo Prep: Crushing the Oreos properly is the foundation. I like some chunkier bits mixed with fine crumbs for texture contrast. Avoid pulverizing them all the way into powder unless you want a very dense pop.
Mixing Advice: Don’t overmix! Once the wet and dry ingredients come together, gently fold rather than whipping like crazy. Too much mixing can lose that tender texture you want in cheesecake.
Swirl Customization: For a pretty pop, try swirling melted chocolate into the mixture before forming balls. Use a toothpick to create light marbling. A little goes a long way—too much swirl can overpower that lovely Oreo flavor.
Ingredient Swaps: I tested this using almond milk instead of cream cheese to lighten it up—it thinned the mixture a bit but made it creamier and dairy-free. You can also swap regular Oreos for gluten-free versions if needed, just watch the texture as some crumbs absorb moisture differently.
Baking Tips: Since these aren’t baked, chilling is key. Make sure your fridge is cold enough, or pop them into the freezer for a quick firm-up. If your glaze seems dull or sticky, the issue is usually temperature—try adding a bit more oil for shine or tempering your chocolate properly.
Glaze Variations: Don’t stick to just chocolate—white chocolate or flavored candy melts like caramel or strawberry are fun alternatives. If you’re in a rush, a dusting of powdered sugar or crushed cookies can be just as elegant.
Storing and Reheating Tips
Room Temperature: Oreo cheesecake pops are best kept cool, but if you’re serving them at a party, they can sit out at room temperature for a couple of hours safely. Keep them covered with a dome or plastic wrap to prevent drying out.
Refrigerator Storage: Store pops in an airtight container lined with parchment paper between layers. They’ll keep fresh for up to 5 days. I always make a double batch and portion some to freeze so I’m covered for the week.
Freezer Instructions: Wrap pops individually in plastic wrap, then tuck them into a freezer-safe container or bag. They freeze beautifully for up to 3 months. Thaw overnight in the fridge for best texture—don’t rush it or they might get soggy.
Glaze Timing Advice: Always glaze after chilling the pops to avoid melting. If storing in the freezer, you can glaze before freezing, but make sure the glaze is fully set—this helps protect the pops during freezing and thawing.
Frequently Asked Questions
Final Thoughts
Oreo cheesecake pops are one of those recipes that feels like a little gift from me to you. They’re simple, comforting, and downright delicious—all the things you want from a sweet treat without the fuss of a whole cheesecake. Whether you’re making them for a special occasion or just because “Monday needs chocolate,” these pops fit the bill perfectly. They bring smiles and a touch of homemade magic to any table, and honestly, they’ve become a staple in my kitchen. Don’t hesitate to play with the glaze or mix-ins to make them your own; that’s half the fun!
If you love these, you might want to check out my no-bake cheesecake bites or my chocolate-dipped cookie truffles for more quick and decadent treats. And hey, if you try these out, drop me a comment! I always love hearing how your kitchen adventures go, or any cool twists you come up with. Happy baking, friends—can’t wait to hear how your Oreo cheesecake pops turn out!
Easy Cookie Cheesecake Pops Delight
Ingredients
Main Ingredients
- 11.25 oz Oreo cookies divided
- 8 oz cream cheese softened
- unit white chocolate wafers melted
- unit lollipop sticks
- unit styrofoam block
Instructions
Preparation Steps
- Make Oreo cookie crumbs by placing 5 Oreo cookies in a food processor and grinding them to a fine crumb. Set aside.
- Break the remaining Oreo cookies into pieces and place them in the food processor bowl. Add the softened cream cheese and process until well blended. Refrigerate the mixture for one hour.
- Remove the mixture from the refrigerator and shape it into 1-inch balls. Return the balls to the fridge for 20 minutes.
- Melt the white chocolate wafers according to package directions.
- Dip one end of a lollipop stick into the melted chocolate, then insert it halfway into a cheesecake ball. Dip the ball into the melted white chocolate to fully coat it.
- Sprinkle some of the reserved Oreo cookie crumbs on top of each coated cheesecake pop.
- Place the cake pops into a styrofoam block to let the chocolate set. Refrigerate until ready to serve or freeze for 2 hours for a cool ice cream-like treat.