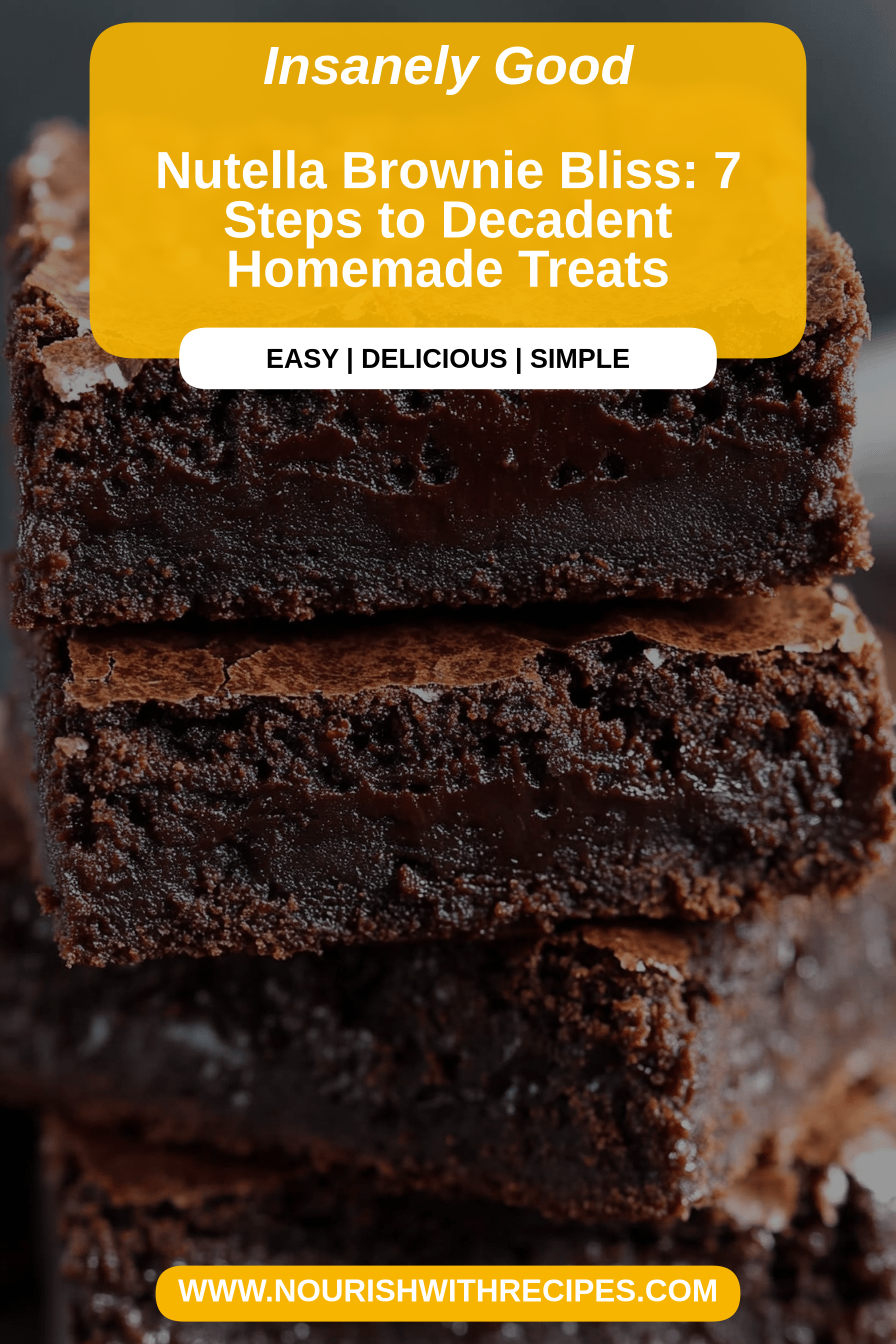
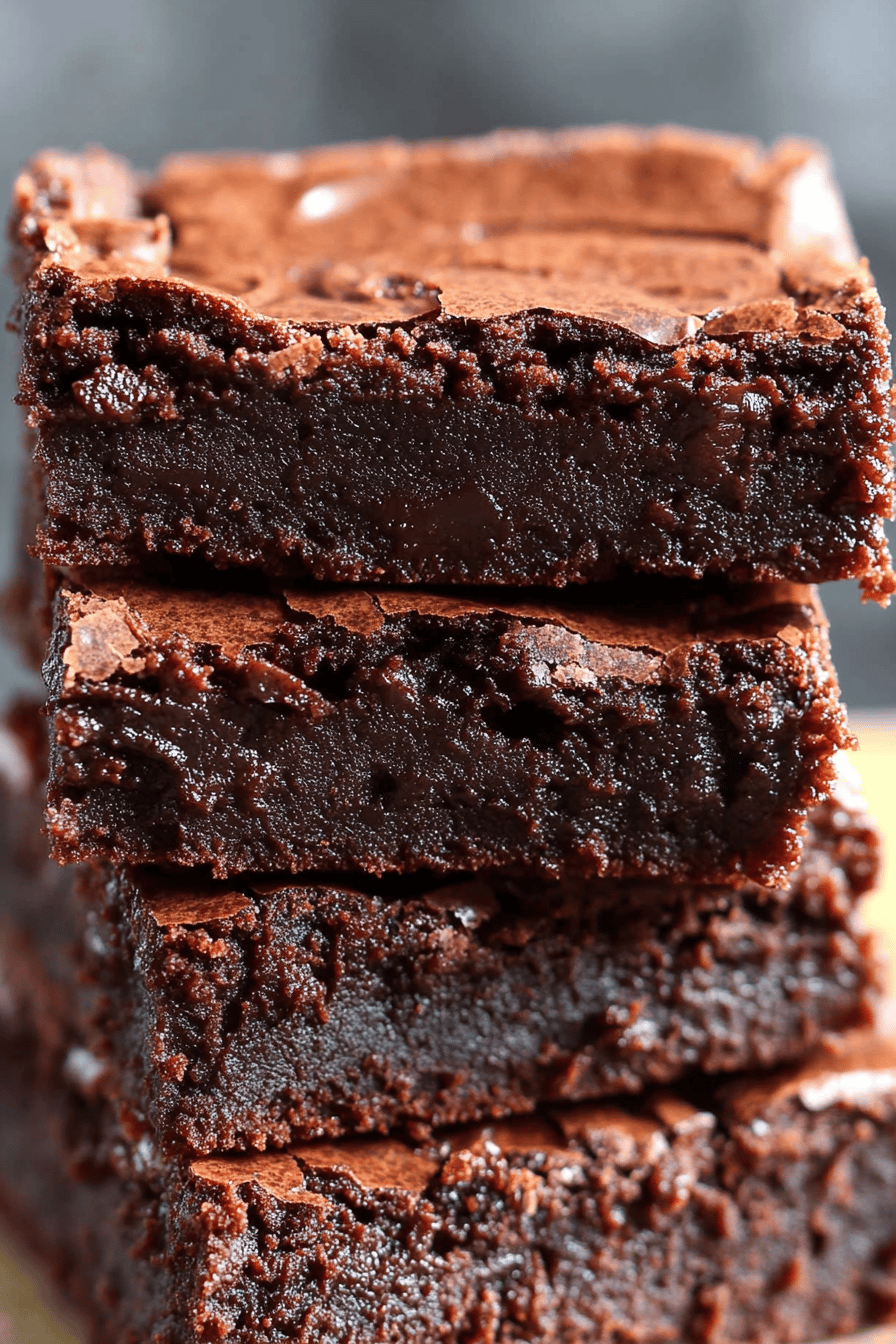
Nutella Brownie Recipe
Oh, you are going to *love* this Nutella Brownie Recipe. Seriously, if there’s one thing that can instantly turn my day around, it’s the smell of these rich, fudgy brownies baking in the oven. It’s like a warm hug for your senses! I’ve been making these for years, and they never, ever disappoint. They’re like a super-powered version of your childhood brownie favorites, but with that irresistible creamy hazelnut chocolate goodness swirled throughout. If you’re a fan of classic brownies, imagine taking that chewy, fudgy texture and infusing it with the comforting, nutty sweetness of Nutella. It’s pure magic. This Nutella brownie recipe is the one I turn to when I need a serious chocolate fix or when I’m trying to impress someone without spending hours in the kitchen. It’s my go-to for potlucks, movie nights, and honestly, just because it’s Tuesday.
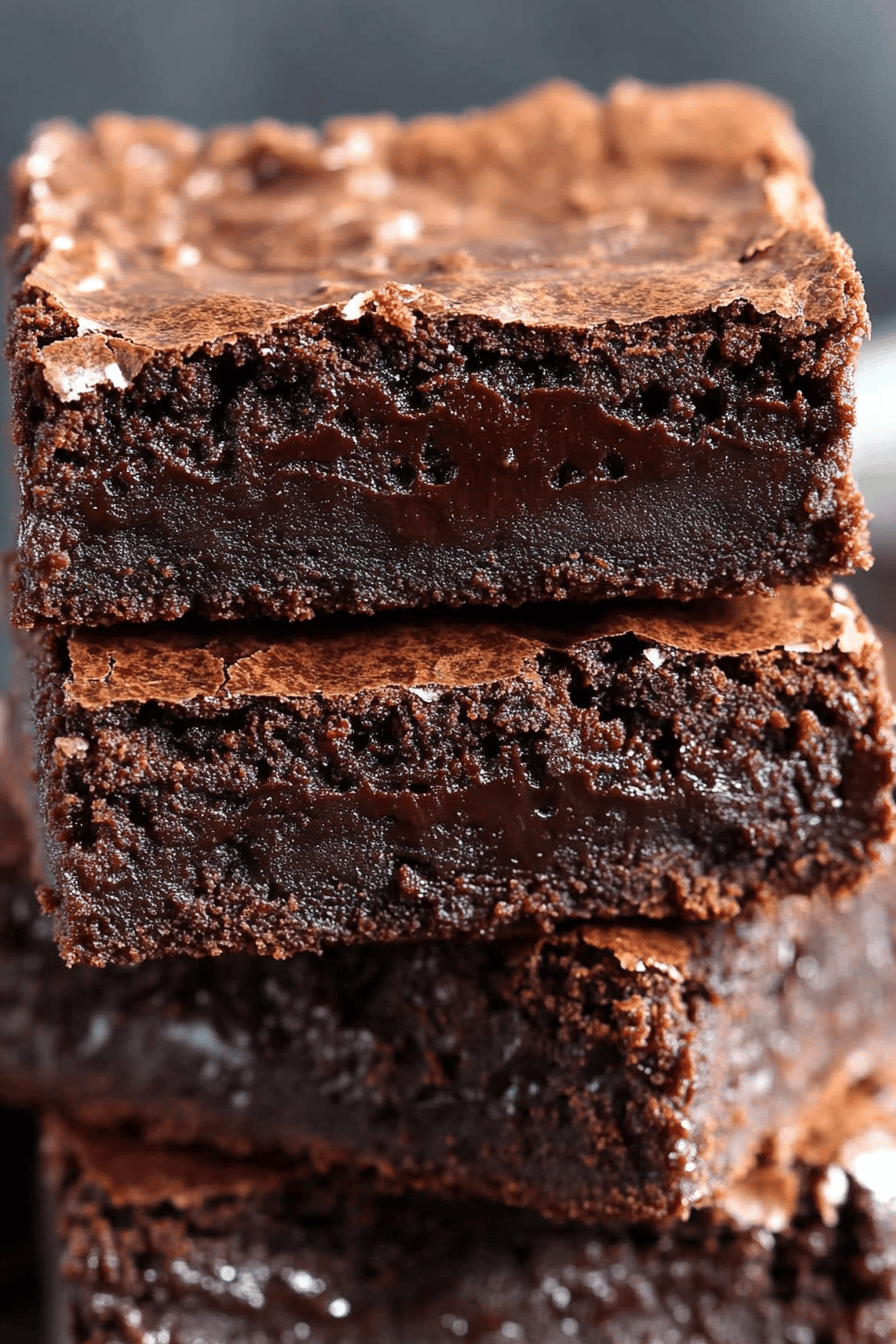
What is Nutella Brownie?
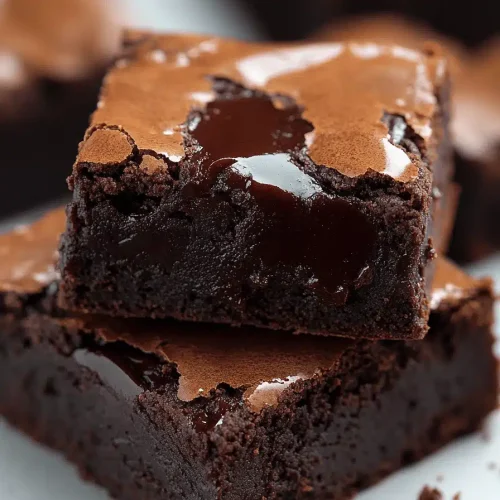
So, what exactly *is* a Nutella brownie? Think of it as your favorite fudgy brownie, but with a delicious twist! Instead of just plain chocolate, we’re incorporating the iconic spread, Nutella, right into the batter and often swirling it on top. It’s essentially a marriage of two beloved desserts: the classic, dense brownie and the creamy, hazelnut-chocolate sensation that is Nutella. It’s not just about adding flavor; Nutella also contributes to the incredible texture, making these brownies unbelievably moist and fudgy. The hazelnut notes are subtle but wonderfully present, elevating the chocolate experience to a whole new level. It’s the kind of dessert that makes you close your eyes with the first bite and just savor every single moment. It’s comfort food at its finest, really.
Why you’ll love this recipe?
What are some of the ways to count the ways?flavor. It’s just out-of-this-world good. You get that deep, rich chocolate flavor from the cocoa powder and melted chocolate, perfectly balanced by the sweet, nutty undertones of Nutella. The combination is just sublime, and the texture is pure perfection – chewy edges, a fudgy center, and that amazing, slightly crackly top. It’s everything you want in a brownie and then some!
What is the second part of the puzzle?simplicity. Honestly, this recipe is a lifesaver. You don’t need any fancy equipment or complicated techniques. Most of the ingredients are probably already in your pantry. Even if you’re a beginner baker, you can totally nail this. I’ve taught my niece how to make these, and she’s only ten! That’s how foolproof it is.
And let’s talk about cost-efficiency. While Nutella itself can feel like a treat, the other ingredients are super standard baking staples. Compared to buying fancy bakery brownies, this homemade Nutella brownie recipe is incredibly budget-friendly, especially when you consider the sheer deliciousness you get. It’s a win-win for your taste buds and your wallet.
Finally, the versatility is a huge plus. These are fantastic on their own, of course, but they’re also amazing served warm with a scoop of vanilla Ice Cream. My family loves them with a dusting of powdered sugar, and I’ve even crumbled them over ice cream sundaes. They’re so good that they’ve become my go-to when I’m bringing a dessert to a friend’s house. They’re a guaranteed crowd-pleaser, and I always get asked for the recipe. It makes me so happy to share something that brings so much joy!
How to Make Nutella Brownies
Quick Overview
Making these incredible Nutella brownies is surprisingly straightforward. We’ll start by melting some chocolate and butter together, then whisking in sugar and eggs until everything is smooth and glossy. Next, we’ll gently fold in the dry ingredients and a generous amount of Nutella. The magic happens when we swirl extra Nutella on top for those irresistible ribbons of hazelnut goodness before baking. The whole process from start to finish takes less than 20 minutes of active prep time, and the result is a pan of pure chocolate hazelnut heaven. It’s the perfect balance of effort and reward, delivering maximum deliciousness with minimum fuss.
Ingredients
For the Main Batter:
- 1 cup (2 sticks or 226g) unsalted butter, melted: Using good quality butter really makes a difference. I always opt for unsalted so I can control the saltiness.
- 1 ¾ cups (350g) granulated sugar: This gives us that lovely sweetness and helps create that signature chewy texture.
- 3 large eggs, room temperature: Room temperature eggs incorporate much better into the batter, giving you a smoother, more emulsified mix.
- 1 teaspoon vanilla extract: A classic for a reason! It rounds out the chocolate and hazelnut flavors beautifully.
- 1 cup (100g) unsweetened cocoa powder: I like to use a good Dutch-processed cocoa for a deeper, richer flavor, but natural works too.
- 1 ½ cups (190g) all-purpose flour: Just enough to give structure without making them cakey.
- ½ teaspoon salt: Crucial for balancing the sweetness and bringing out all those flavors.
- 1 cup (240g) Nutella, plus more for swirling: This is the star! Make sure it’s a good quality Nutella.
For the Filling:
- ½ cup (120g) Nutella: This is what creates those beautiful marbled swirls.
For the Glaze:
- (Optional, but highly recommended!) ½ cup (120g) Nutella, slightly warmed: Warming it makes it much easier to drizzle.
Step-by-Step Instructions
Step 1: Preheat & Prep Pan
First things first, let’s get our oven preheated to 350°F (175°C). I like to line a 9×13 inch Baking Pan with parchment paper, leaving some overhang on the sides. This makes it super easy to lift the brownies out once they’re baked. A light spray of cooking oil on the pan before the parchment helps it stick. Trust me, you’ll thank yourself later when it’s time to clean up!
Step 2: Mix Dry Ingredients
In a medium bowl, whisk together your cocoa powder, all-purpose flour, and salt. Give it a good whisk to make sure there are no lumps, especially from the cocoa powder. This ensures everything is evenly distributed throughout the batter, preventing pockets of dry flour or bitter cocoa.
Step 3: Mix Wet Ingredients
In a large bowl, combine the melted butter and granulated sugar. Whisk them together until well combined. Then, add your three large eggs, one at a time, whisking after each addition until the mixture is smooth and glossy. Stir in the vanilla extract. This combination is the base of our Fudgy Brownies and creates that wonderful richness.
Step 4: Combine
Now, it’s time to bring it all together! Gradually add the dry ingredients to the wet ingredients. Mix with a spatula or wooden spoon until *just* combined. Don’t overmix! Overmixing can develop the gluten too much, leading to tougher brownies. Once it’s almost incorporated, gently fold in the 1 cup of Nutella. Swirl it in a bit, but don’t fully blend it in yet – we want those lovely pockets of nutty goodness.
Step 5: Prepare Filling
In a small bowl, take the remaining ½ cup of Nutella. If it’s a little stiff, you can microwave it for about 10-15 seconds, just to make it more pourable. This will make it easy to swirl into the batter for that beautiful marbled effect.
Step 6: Layer & Swirl
Pour about half of the Brownie Batter into your prepared pan and spread it out evenly. Dollop about half of the slightly warmed Nutella over the batter. Then, pour the remaining brownie batter on top and spread it out gently. Dollop the rest of the Nutella on top of this layer. Now, take a knife or a skewer and gently swirl the Nutella into the batter, creating beautiful marbled patterns. Don’t over-swirl, or you’ll lose the definition!
Step 7: Bake
Pop the pan into your preheated oven and bake for 30-35 minutes. How do you know they’re done? The edges should look set, and a toothpick inserted into the center should come out with moist crumbs attached, not wet batter. If it comes out completely clean, they might be slightly overbaked. I always pull mine out just when the toothpick test is mostly clean but still a little gooey. They continue to bake a bit as they cool.
Step 8: Cool & Glaze
This is probably the hardest part – letting them cool! Let the brownies cool in the pan for at least 20-30 minutes before you even think about glazing or cutting. This is crucial for them to set properly. If you’re adding the optional glaze, warm up the extra ½ cup of Nutella until it’s pourable and drizzle it over the cooled brownies. You can use a spoon or a piping bag for this. Let the glaze set a bit before slicing.
Step 9: Slice & Serve
Once fully cooled (or at least mostly cooled), use the parchment paper overhang to lift the brownies out of the pan onto a cutting board. For the cleanest cuts, use a sharp knife dipped in hot water and wiped dry between each cut. Slice into squares and enjoy your incredible homemade Nutella brownies!
What to Serve It With
These Nutella brownies are so decadent on their own, but they also play wonderfully with other flavors and can be dressed up or down for any occasion.
For Breakfast: While these are definitely a treat, I sometimes cut them into smaller squares and have one with my morning coffee. It feels like a little indulgence to start the day. They pair beautifully with a strong black coffee or a creamy latte.
For Brunch: For a more elegant brunch spread, I love to serve them with a dusting of powdered sugar or a few fresh raspberries. You could also cut them into mini squares and arrange them on a tiered stand. A glass of sparkling cider or even a mimosa would be a lovely accompaniment.
As Dessert: This is where they truly shine! Serve a warm brownie (pop it in the microwave for 10 seconds!) with a generous scoop of vanilla bean ice cream. A drizzle of extra chocolate sauce or some chopped toasted hazelnuts makes it even more special. They’re also fantastic alongside a strong espresso or a rich hot chocolate.
For Cozy Snacks: My kids love these as an after-school snack, or honestly, whenever they spot them in the pantry! They’re perfect with a cold glass of milk. For a grown-up cozy snack, I might pair a brownie with a glass of red wine – the fruit notes in some wines really complement the chocolate and hazelnut flavors surprisingly well. It’s my little secret indulgence!
Top Tips for Perfecting Your Nutella Brownies
I’ve made this Nutella brownie recipe more times than I can count, and through trial and error, I’ve picked up a few tricks that I think you’ll find super helpful.
Moisture Control: While this recipe doesn’t use zucchini, the principle of moisture is key for fudgy brownies. Make sure your butter is properly melted and not overheated. For the Nutella, it adds its own moisture and fat content, which is exactly what we want for that dense, fudgy texture. Don’t try to “lighten up” this recipe by reducing the fat – that’s where the magic happens!
Mixing Advice: This is probably the MOST important tip for fudgy brownies: do NOT overmix the batter once you add the flour. Seriously. Mix until *just* combined. You should still see a few streaks of flour, and that’s okay. Overmixing develops gluten, which will make your brownies cakey and tough, not the chewy, fudgy texture we’re aiming for. Use a gentle hand and a spatula. You want to coax the ingredients together, not beat them into submission.
Swirl Customization: When you’re swirling the extra Nutella on top, the goal is beautiful marbling, not a uniform mix. Use a knife or a skewer and make gentle figure-eights or swirling motions. Don’t go crazy; just a few passes are enough to create gorgeous patterns. Too much swirling will just blend the Nutella into the batter, and you’ll lose that distinct swirl effect. You can also try dolloping the Nutella in a more abstract pattern for a unique look each time!
Ingredient Swaps: While this recipe is designed to be perfect with these ingredients, I know we all sometimes need substitutions. If you don’t have all-purpose flour, a good 1:1 gluten-free baking blend usually works well (I’ve tested this!). For the cocoa powder, Dutch-processed gives a darker, smoother flavor, but natural cocoa powder will still work. If you absolutely can’t find Nutella, a good quality hazelnut spread or even a smooth, rich chocolate-hazelnut spread from another brand will do the trick. However, the unique flavor of Nutella is truly something special here.
Baking Tips: Oven temperatures can vary! I always recommend using an oven thermometer to ensure your oven is actually at 350°F (175°C). Baking time is also crucial. The toothpick test is your best friend here. Remember, you want to pull them out when there are still moist crumbs attached. They’ll continue to cook as they cool, and this is how you achieve that perfect fudgy center. If you bake them too long, they’ll be dry. If you don’t bake them long enough, they’ll be gooey and underdone in a way that doesn’t feel intentional. So, watch them closely!
Glaze Variations: The optional Nutella glaze is delicious, but you can get creative! If you want a lighter topping, a simple dusting of powdered sugar is lovely. For something a bit richer, you could make a simple chocolate ganache. If you’re feeling adventurous, a drizzle of salted caramel sauce would also be phenomenal. Just remember to let the brownies cool completely before adding any liquid glaze, or it will just melt and soak in rather than setting on top.
Storing and Reheating Tips
The best part about these Nutella brownies is that they actually get even better the next day, as the flavors meld together beautifully. Proper storage will ensure they stay deliciously fudgy.
Room Temperature: Once completely cooled, you can store these brownies in an airtight container at room temperature for up to 3-4 days. I usually just leave them in the baking pan, covered tightly with plastic wrap or foil. They retain their moisture really well this way. If your kitchen is particularly warm, though, popping them in the fridge might be a safer bet to prevent them from getting too soft.
Refrigerator Storage: If you live in a warmer climate or know you won’t be eating them within a few days, storing them in the refrigerator is a great option. Place them in an airtight container, layering them with parchment paper if you’re stacking them, and they should stay good for about a week. They’ll be a bit firmer straight from the fridge, which some people actually prefer for a chewier bite.
Freezer Instructions: These brownies freeze remarkably well, which is a lifesaver when you want to have some on hand without them going stale. Once completely cooled (and ideally glazed, if using), cut them into individual portions. Wrap each brownie tightly in plastic wrap, then place them in a freezer-safe bag or container. They’ll keep for up to 3 months. To thaw, simply unwrap them and let them come to room temperature, or for a warmer treat, microwave them for about 15-20 seconds.
Glaze Timing Advice: If you plan to freeze your brownies, I recommend glazing them *after* thawing. Glazing them before freezing can sometimes make the glaze slightly sticky or uneven when thawed. For room temperature or refrigerator storage, you can glaze them before storing, as long as they are completely cool. The glaze will set up nicely over the days.
Frequently Asked Questions
Final Thoughts
So there you have it – my absolute favorite Nutella brownie recipe. I really hope you give these a try. They’re more than just a dessert; they’re a little bit of happiness baked into every square. The way the chocolate and hazelnut come together is just divine, and the fudgy texture is pure perfection. They’re simple enough for a weeknight craving but special enough to serve to guests. They truly are a testament to how a few simple ingredients can create something so wonderfully decadent and satisfying. If you love this recipe, you might also enjoy my Ultimate Fudgy Chocolate Brownies or my Hazelnut Chocolate Chip Cookies – they’re in a similar vein of chocolatey goodness!
I can’t wait to hear what you think! Please let me know in the comments below if you make these Nutella brownies, or if you have any variations you love. Your feedback and stories always make my day. Happy baking!
Nutella Brownie Recipe
Ingredients
Main Ingredients
- 0.5 cup unsalted butter melted
- 1 cup Nutella
- 2 large eggs
- 0.5 cup all-purpose flour
- 0.25 cup granulated sugar
- 0.125 teaspoon salt
Instructions
Preparation Steps
- Preheat your oven to 350°F (175°C). Grease and flour an 8x8 inch baking pan, or line it with parchment paper.
- In a medium bowl, whisk together the melted butter and Nutella until smooth.
- Whisk in the eggs one at a time, then stir in the granulated sugar and salt until just combined.
- Fold in the flour until just combined. Do not overmix.
- Pour the batter into the prepared baking pan and spread evenly.
- Bake for 25-30 minutes, or until a toothpick inserted into the center comes out with moist crumbs attached.
- Let the brownies cool completely in the pan before cutting into squares.