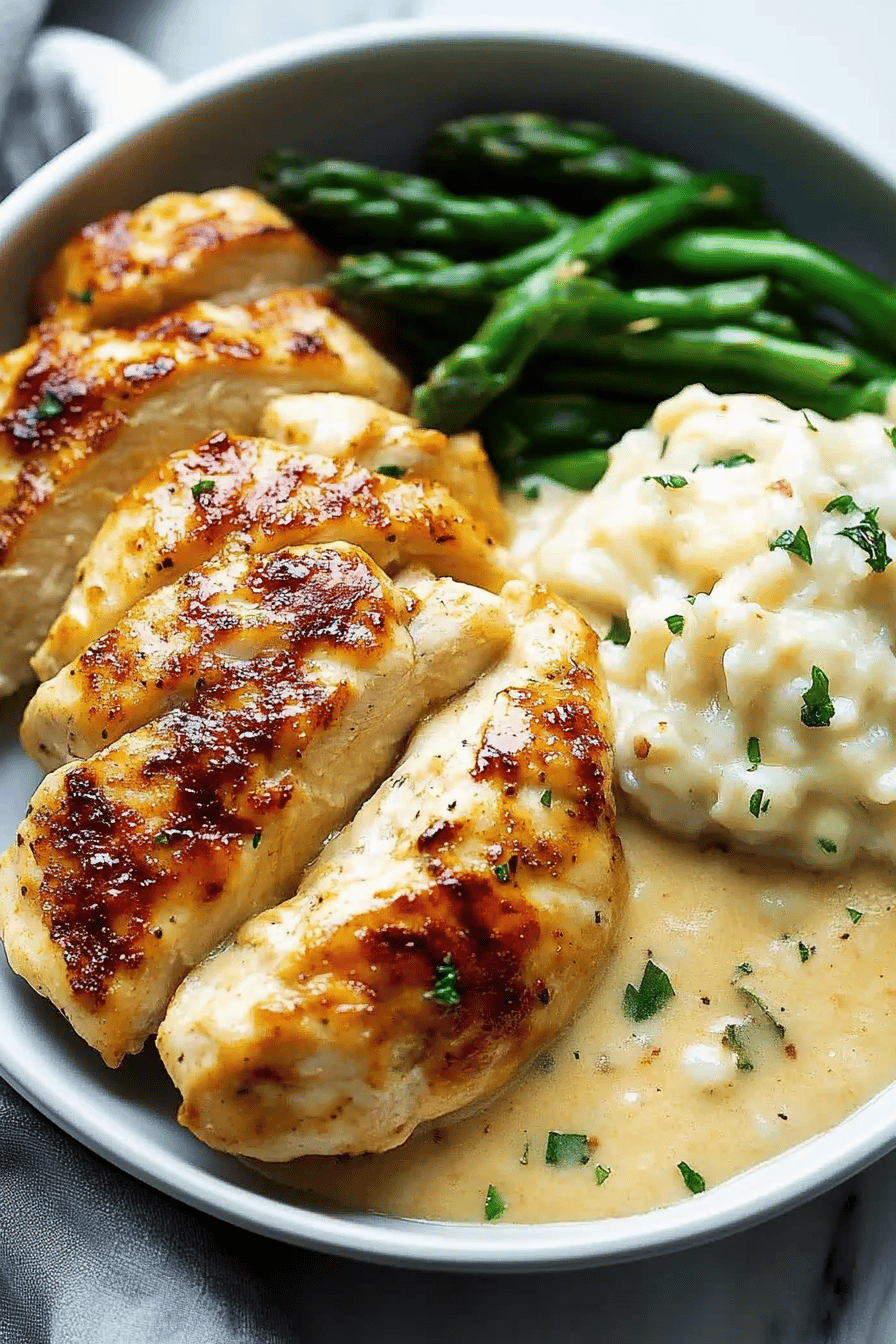
No-Peek Chicken Recipe
You know those nights? The ones where the clock is ticking, the kids are practically vibrating with hunger, and the thought of making a complicated meal feels like climbing Mount Everest in flip-flops? Yeah, those. Well, I’ve got a secret weapon for those nights, and honestly, it’s become a total lifesaver in my kitchen. It’s my go-to What are some no-peek chicken recipes?. Forget fussing, forget constant checking, and definitely forget any last-minute dashes to the store. This dish is ridiculously easy, surprisingly elegant, and tastes like you spent hours slaving away. It’s the kind of meal that makes people ask, “Wow, what’s your secret?” and you can just smile and say, “It’s magic!” It’s got this comforting, homey vibe that reminds me of my grandma’s cooking, but with a modern twist that’s perfect for today’s busy lives. If you’ve ever loved a simple Baked Chicken but wished it had a little something extra, you’re in for a treat.
What is no peek chicken?
What is magic?What are some no-peek chicken recipes? all about? Think of it as Baked Chicken’s ultimate upgrade, done with maximum flavor and minimum effort. The “no-peek” part is the genius – it means once it’s in the oven, you mostly leave it alone. No peeking, no basting, just pure, unadulterated oven magic. It’s essentially chicken baked in a creamy, dreamy sauce, often with a savory topping, all tucked away in a baking dish, usually covered. This method ensures the chicken stays incredibly moist and tender, soaking up all those delicious flavors. It’s not a fancy, complicated dish; it’s more like comfort food that’s been perfectly refined. The simplicity is its superpower. It’s the kind of meal that makes you feel like a culinary rockstar without breaking a sweat. It’s essentially a one-dish wonder that tastes like it came from a gourmet restaurant, but you made it in your own kitchen with ingredients you likely already have.
Why You’ll Love This Recipe
Honestly, there are so many reasons why this no-peek Chicken Recipe has earned a permanent spot in my recipe rotation, and I have a feeling it will do the same for you. First off, the FLAVOR is out of this world. The chicken comes out so tender and juicy, it practically melts in your mouth. The sauce that forms around it is rich, savory, and utterly addictive. I’ve tried it with various herbs, and it always comes out tasting incredible. Then there’s the SIMPLICITY. This is where the “no-peek” magic really shines. You toss everything into a baking dish, cover it up, and let the oven do its thing. No pan-frying, no complex sauces to whisk, no constant attention needed. It’s perfect for those evenings when you’re juggling homework help, after-school activities, or just trying to unwind. It’s also incredibly COST-EFFECTIVE. Chicken thighs are usually budget-friendly, and the other ingredients are pantry staples. You get a restaurant-quality meal without the restaurant price tag. And let’s not forget VERSATILITY! While I love it as is, you can easily tweak the seasonings, add different vegetables, or even use different types of cheese for the topping. It’s adaptable and always delicious. It truly stands out because it delivers on all fronts – taste, ease, and value. It’s the kind of dish that makes me feel good about what I’m serving my family, and that’s priceless.
How to Make No-Peek Chicken
Quick Overview
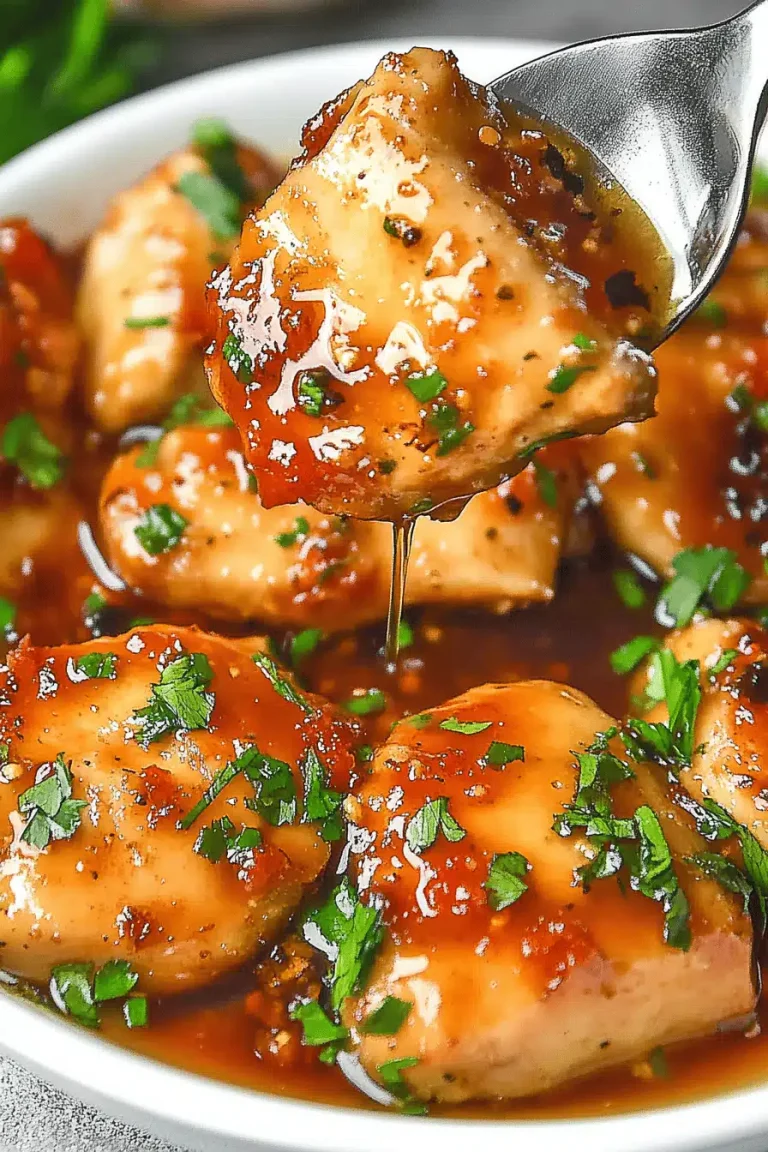
This no-peek Chicken Recipe is all about creating a wonderfully moist and flavorful chicken dish with minimal fuss. The core idea is to combine simple ingredients, layer them in a baking dish, and let the oven work its magic, undisturbed. You’ll mix up a creamy sauce, nestle your chicken in it, and top it with something that crisps up beautifully. Then, you cover it to steam and cook, creating an incredibly tender result, before a final brief uncovered bake to get that perfect golden-brown finish. The best part? Once it’s in the oven, you can relax, set the table, or even take a quick break. It’s the ultimate “set it and forget it” meal, but with incredibly sophisticated flavor.
Ingredients
For the Main Chicken & Creamy Base:
You’ll need about 1.5 to 2 pounds of chicken. I personally love using boneless, skinless chicken thighs because they stay incredibly moist and tender, but chicken breasts work too if you trim them to be an even thickness. If you use breasts, just be extra careful not to overcook them. I also grab a can of condensed cream of chicken soup – yes, the classic! It’s the secret to that luscious, creamy sauce that coats everything beautifully. If you want to get a little fancy, you can absolutely make your own Cream Sauce from scratch, but honestly, for a weeknight win, this canned stuff is my hero. I also add about half a cup of milk (any kind works, I’ve even used almond milk in a pinch and it was surprisingly creamy!) to thin out the soup slightly. A good pinch of salt and freshly ground black pepper are a must for seasoning. Oh, and don’t forget a tablespoon or two of Worcestershire sauce for a little umami depth – it’s a flavor booster you won’t regret.
For the Savory Topping:
This is where you get that lovely texture and extra layer of flavor. My absolute favorite is a generous amount of crushed buttery crackers. Ritz crackers are my go-to because they have that perfect salty, buttery taste. You’ll want about 1 to 1.5 cups of crushed crackers. To make them extra delicious and help them get golden and crispy, I mix them with about 4 tablespoons of melted butter. Sometimes, I’ll throw in a tablespoon of grated Parmesan cheese for an extra cheesy kick. You could also use panko breadcrumbs for an even crispier crunch, or even a blend of both! Whatever you choose, make sure it’s seasoned well.
Optional Add-ins for Extra Goodness:
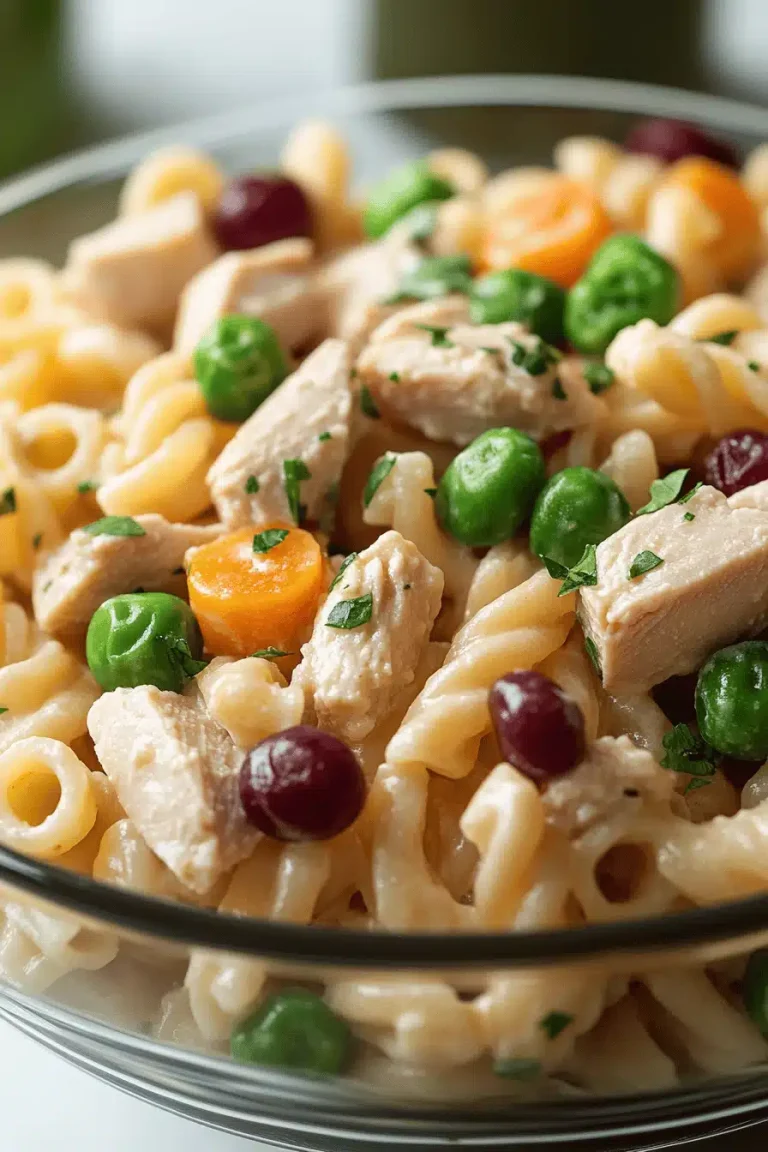
If you want to sneak in some veggies or add a little more complexity, try adding a cup of frozen peas and carrots (they cook right in the sauce!) or even some sautéed mushrooms. A sprinkle of garlic powder or onion powder in the cracker topping can also elevate it. Some people swear by adding a little lemon zest to the creamy base for brightness, which is a lovely touch if you have it on hand!
Step-by-Step Instructions
Step 1: Preheat & Prep Pan
First things first, let’s get that oven preheated. You want to set it to 375 degrees Fahrenheit (that’s about 190 degrees Celsius). While the oven is heating up, grab a 9×13 inch baking dish. You don’t need to grease it heavily, but a little spray of cooking oil or a quick swipe of butter will help ensure nothing sticks, especially if you’re using chicken breasts. Make sure the dish is big enough to hold all the chicken and that delicious sauce without overflowing.
Step 2: Mix Dry Ingredients
This is for the topping, so set it aside for now. In a medium bowl, add your crushed crackers (or breadcrumbs) and the melted butter. If you’re adding Parmesan cheese or any other dry seasonings like garlic powder or onion powder to the topping, now’s the time to mix them all together. Stir it until the crackers are evenly coated with the butter. This ensures a nice, crispy topping that isn’t soggy in spots. Set this bowl aside.
Step 3: Mix Wet Ingredients
Now for the creamy base! In a separate bowl, pour in your can of condensed cream of chicken soup. Add your milk and the Worcestershire sauce. Whisk it all together until it’s smooth and well combined. You want a nice, pourable consistency. If it seems too thick, you can add another tablespoon or two of milk. Taste this mixture and add your salt and pepper here. Remember, the crackers are also salty, so don’t go overboard with the salt just yet. Seasoning is key, and this is where you lay the foundation.
Step 4: Combine
Arrange your chicken pieces in the bottom of your prepared baking dish in a single layer. Try not to overcrowd them too much so they cook evenly. Now, pour that creamy sauce mixture evenly over the chicken, making sure to coat each piece. If you’re adding any frozen veggies like peas and carrots, you can scatter them in now, right over the chicken and sauce.
Step 5: Prepare Filling
This step is technically covered in step 4 with the sauce mixture, but the “filling” is really the creamy sauce base. It’s what hugs the chicken and makes it so tender and flavorful. You’re not really “preparing” a separate filling in the traditional sense, but rather creating the luscious environment for the chicken to cook in. The soup, milk, and Worcestershire sauce combine to create a rich, savory liquid that will envelop the chicken, infusing it with flavor as it bakes.
Step 6: Layer & Swirl
Once the chicken is nestled in the creamy sauce, take your prepared cracker topping mixture and sprinkle it evenly over the entire dish, covering the chicken and sauce. Gently press it down just a little so it adheres, but don’t pack it too tightly, or it won’t get as crispy. The goal here is an even layer of buttery crunch.
Step 7: Bake
This is the “no-peek” part! Cover the baking dish tightly with aluminum foil. Pop it into your preheated oven. Bake for about 45 to 55 minutes. The exact time will depend on the thickness of your chicken. You want the chicken to be cooked through and tender. After that initial covered bake, carefully remove the foil. Leave the dish uncovered and bake for another 10-15 minutes, or until the topping is golden brown and crispy, and the sauce is bubbly around the edges. This final uncovered step is crucial for that delicious golden crust.
Step 8: Cool & Glaze
Once it’s out of the oven, resist the urge to dig in immediately! Let the no-peek chicken recipe rest for about 5-10 minutes. This allows the juices to redistribute throughout the chicken, making it even more tender and flavorful. There’s no separate glaze to make or apply in this version; the magic is all in the creamy sauce and crispy topping. The “glaze” is essentially the rich, reduced sauce that surrounds the chicken after baking.
Step 9: Slice & Serve
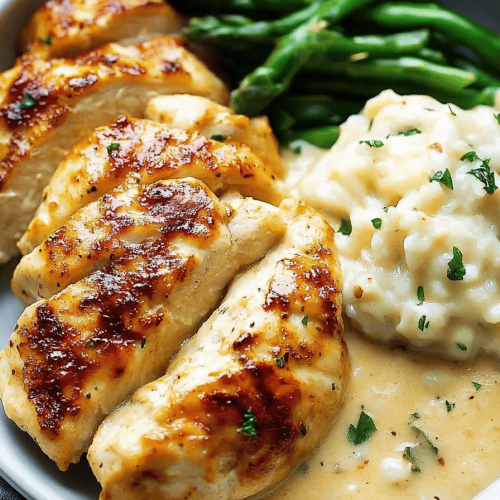
After it’s had a little rest, you can serve this directly from the baking dish. If you used chicken breasts, you might want to slice them into thicker pieces before serving. Chicken thighs can often be served whole or sliced. Spoon some of that delicious creamy sauce over each serving, making sure to get some of the crispy topping too. It’s best served warm, right out of the oven.
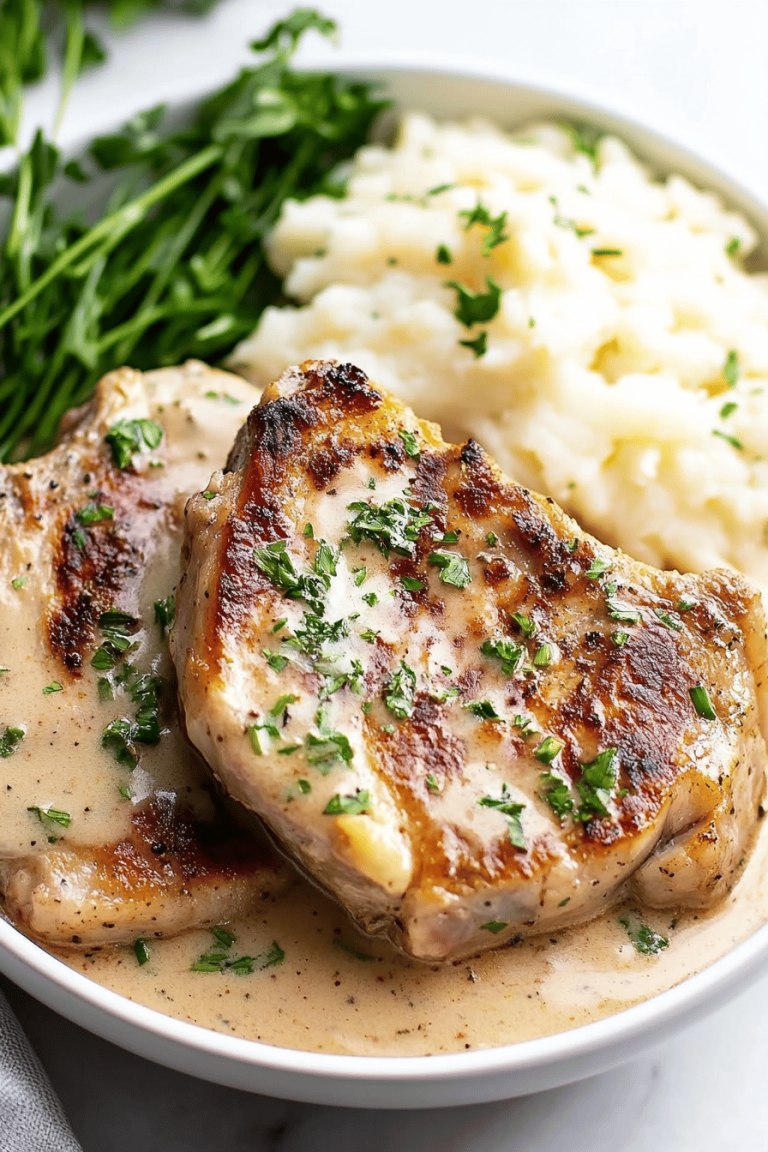
What to Serve It With
This no-peek chicken recipe is so comforting and versatile, it pairs beautifully with a variety of sides, depending on the meal occasion. For a cozy BREAKFAST, though it’s more commonly a dinner dish, imagine serving smaller portions with some scrambled eggs and a side of fresh fruit. It’s a hearty start! For a lovely BRUNCH, I love to serve it with a light, crisp salad with a lemon vinaigrette to cut through the richness of the chicken. Some roasted asparagus or green beans also make a wonderful addition. If you’re serving it AS DESSERT (of sorts – it’s more of a savory treat!), it’s perfect on its own after a lighter meal, or perhaps with a small scoop of mashed potatoes. For those COZY SNACKS, this is just pure comfort. I often serve it with a side of fluffy rice to soak up all that amazing sauce, or even some crusty bread for dipping. My family’s favorite is with simple steamed broccoli or peas; the green adds a nice pop of color and freshness. Another great pairing is a classic baked potato. We also have a family tradition of serving it with a dollop of sour cream on top for extra tanginess – it’s delicious! The key is to balance the richness of the chicken with lighter, fresher sides.
Top Tips for Perfecting Your No-Peek Chicken
Over the years, I’ve picked up a few tricks that make my no-peek chicken recipe consistently amazing. For the chicken itself, if you’re using breasts, make sure they’re all roughly the same thickness. You can pound the thicker end down a bit with a meat mallet or the bottom of a heavy pan. This ensures they cook evenly, preventing some pieces from being dry while others are still undercooked. My biggest lesson learned? Don’t skip the foil! Covering the dish tightly is what steams the chicken and keeps it unbelievably moist. Peeking too early is the enemy here. When it comes to the cracker topping, I find that using a rolling pin inside a zipped plastic bag works best for crushing crackers evenly. You want a mix of fine crumbs and some slightly larger pieces for texture. If you don’t have buttery crackers, Panko breadcrumbs mixed with a little melted butter and a pinch of garlic powder make a fantastic crunchy alternative. For the creamy sauce, always taste and season before you pour it over the chicken. Canned soups can vary in saltiness. If you’re feeling adventurous and want to add veggies, frozen peas and carrots are fantastic because they cook right in the sauce without getting mushy. Some folks like to add sliced onions or bell peppers to the bottom of the dish before adding the chicken – this adds another layer of flavor and moisture. If your sauce seems a little too thick after opening the can, just whisk in a splash more milk or even chicken broth until it reaches a good consistency. When it comes to baking, every oven is a little different. The timings I give are a guideline. You’re looking for the chicken to be cooked through (an internal temperature of 165°F or 74°C) and the topping to be golden brown and bubbly. If the topping is browning too quickly and the chicken isn’t done, you can always loosely tent the dish with foil again for the remainder of the covered baking time. For the absolute best results, let it rest for at least 5-10 minutes after it comes out of the oven. This is crucial for juicy chicken!
Storing and Reheating Tips
One of the best things about this no-peek chicken recipe is how well it stores and reheats, making it perfect for leftovers. If you have any (and believe me, there’s usually not much!), you’ll want to store it properly to maintain its deliciousness. At ROOM TEMPERATURE, it’s best not to leave it out for more than two hours, as with any cooked food. For REFRIGERATOR STORAGE, once it has cooled down a bit, transfer any leftovers to an airtight container. It will keep well in the fridge for about 3-4 days. The cracker topping might lose some of its crispness as it sits, but it will still be wonderfully moist and flavorful. When it comes to FREEZER INSTRUCTIONS, this dish freezes reasonably well, though the topping won’t be as crispy upon thawing. Let the chicken cool completely, then portion it into freezer-safe containers or bags. You can freeze it for up to 2-3 months. To reheat, it’s often best to thaw it in the refrigerator overnight. For the best results when reheating, I highly recommend using your oven. Transfer the leftovers to an oven-safe dish, cover it loosely with foil, and bake at around 350°F (175°C) for 15-20 minutes, or until heated through. If you want to try and crisp up the topping a bit, you can remove the foil for the last few minutes of baking. Reheating in the microwave is also an option for speed, but the topping will definitely be softer. Just microwave on a medium power setting until heated through, checking periodically.
Frequently Asked Questions
Final Thoughts
So there you have it, my absolute favorite no-peek chicken recipe! It’s the kind of meal that truly delivers comfort, flavor, and incredible ease, all wrapped up in one delightful dish. It’s proof that you don’t need complicated steps or fancy ingredients to create something truly special for your family. The tender chicken, the rich, creamy sauce, and that perfectly crisp topping… it’s just pure magic in a baking dish. I hope you give it a try on one of your busy nights, or even when you have a little more time and just want something reliably delicious. It’s a recipe that has brought so much joy and saved me so much stress in my kitchen, and I really think it will do the same for you. If you love easy weeknight meals that taste like a weekend treat, you might also enjoy my creamy chicken and broccoli bake or my super-simple lemon herb roasted chicken. Both are also big hits in my home! I can’t wait to hear how your no-peek chicken turns out! Let me know in the comments below if you try it, or if you have your own special twist on it. Happy cooking, everyone!
No-Peek Chicken Recipe
Ingredients
Main Ingredients
- 1.5 pounds boneless, skinless chicken thighs
- 1 can cream of mushroom soup 10.5 oz
- 1 can cream of chicken soup 10.5 oz
- 0.75 cup water
- 0.5 cup shredded cheddar cheese
- 1 tablespoon soy sauce
- 1 teaspoon garlic powder
- 0.5 teaspoon onion powder
Instructions
Preparation Steps
- Preheat your oven to 375°F (190°C).
- Place the chicken thighs in a greased 9x13 inch baking dish.
- In a medium bowl, whisk together the cream of mushroom soup, cream of chicken soup, water, soy sauce, garlic powder, and onion powder until well combined.
- Pour the soup mixture evenly over the chicken in the baking dish.
- Cover the baking dish tightly with aluminum foil. Do not peek during baking!
- Bake for 60 minutes.
- Remove the foil and sprinkle the shredded cheddar cheese over the top. Return to the oven, uncovered, for another 5-10 minutes, or until the cheese is melted and bubbly.
- Let it rest for a few minutes before serving.