Holiday Cookies
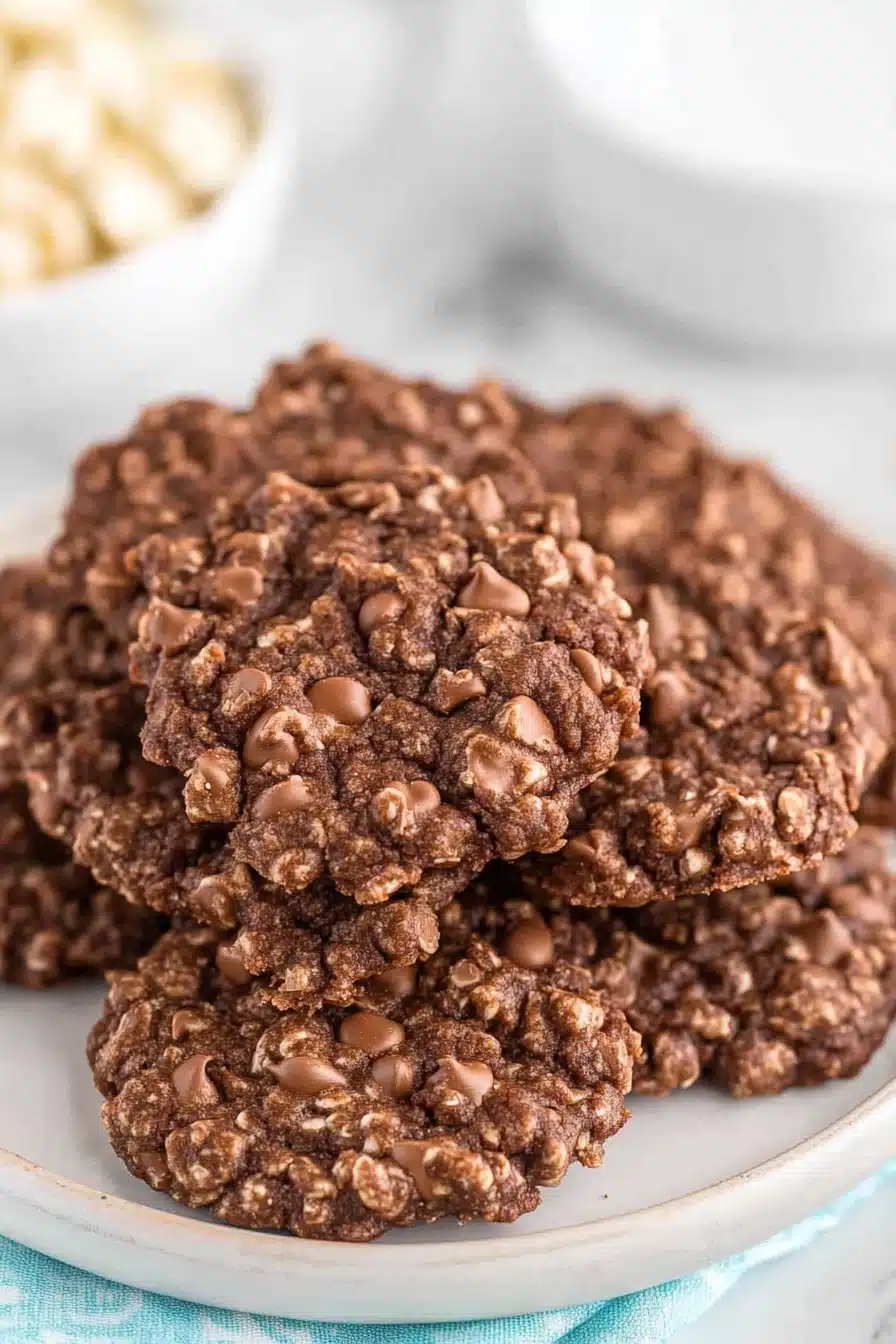
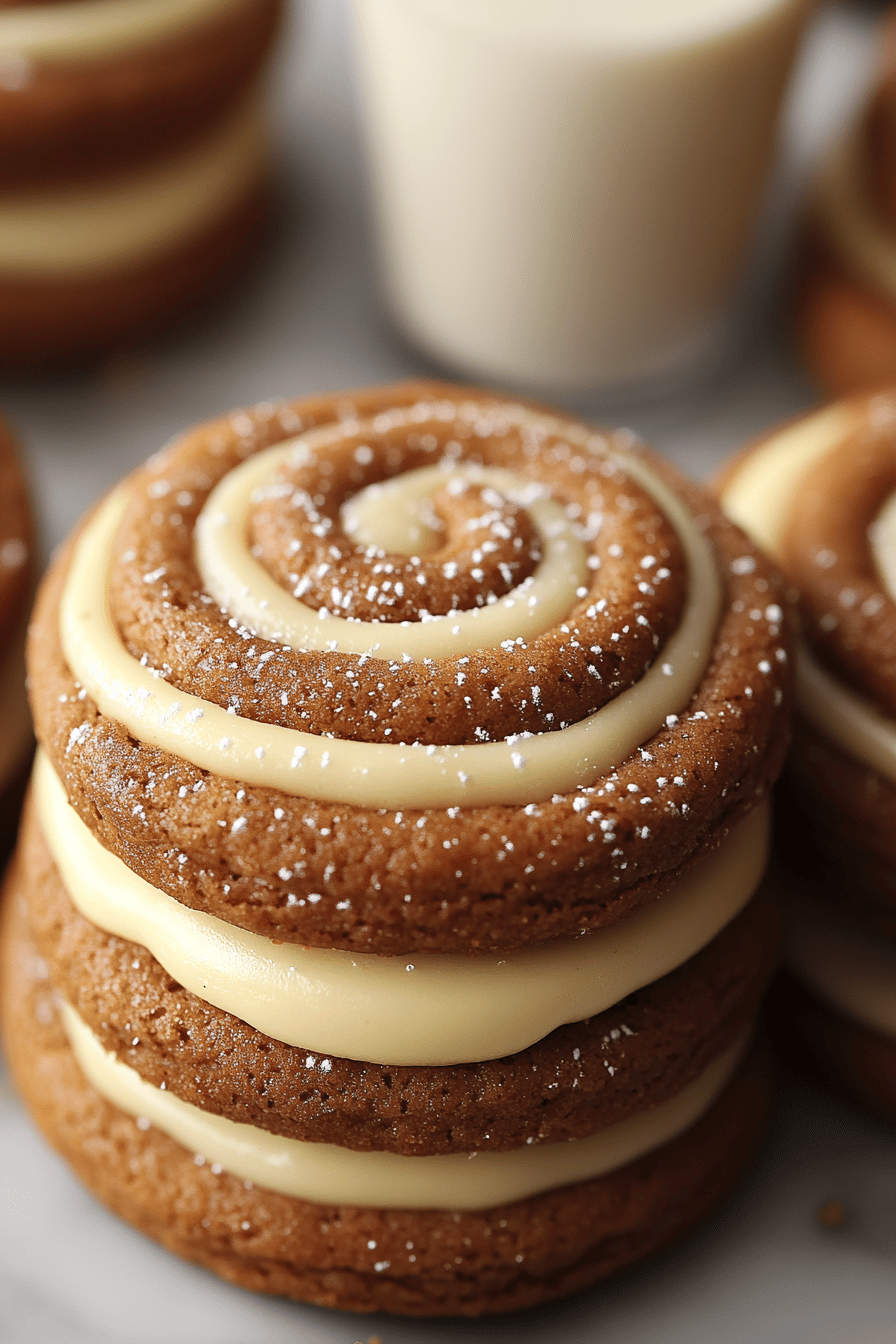
Okay, friends, buckle up because I’m about to share my absolute, hands-down, no-contest favorite recipe for **Holiday Cookies**. These aren’t your average Sugar Cookies – think of them as sugar cookies amped up with festive spices and a melt-in-your-mouth glaze. Honestly, these are so good, they put plain old sugar cookies to shame. My grandma used to make something similar every year, and the smell alone would transport me back to being a kid, running around with my cousins while the snow fell outside. I’ve tweaked her recipe over the years, and I think I’ve finally perfected it! The subtle warmth from the cinnamon and nutmeg, the creamy sweetness of the glaze… it’s pure holiday magic in every bite.
What is a holiday cookie?
So, what *are* **Holiday Cookies** exactly? Well, imagine a buttery, slightly crisp Sugar Cookie, but with a hint of warm spices that whisper “Christmas” with every bite. It’s essentially a spiced shortbread cookie, topped with a simple, yet decadent glaze. It is the perfect festive treat. These cookies are also incredibly versatile – you can cut them into any shape you like, decorate them with sprinkles, or just enjoy them plain with a cup of hot cocoa. Honestly, they’re the epitome of holiday baking! It’s the kind of cookie that disappears in minutes at any holiday gathering, and one that gets everyone in the festive spirit. They’re simple enough for a beginner baker, but impressive enough to bring to a cookie exchange.
Why you’ll love this recipe?
Honestly, where do I even begin? The reasons to adore these **Holiday Cookies** are endless! First off, the flavor is simply incredible. The combination of butter, sugar, and those warm, inviting spices is just divine. They’re not overly sweet, which I really appreciate. They have this lovely delicate sweetness. And let’s be real: the glaze just sends them over the top. It’s so creamy and smooth, it just melts in your mouth. What I love most about this recipe, though, is how simple it is. You really don’t need any fancy equipment or hard-to-find ingredients. It’s a super accessible recipe, especially if you’re just starting to bake. My other favorite thing about these cookies is that they’re incredibly cost-effective to make. With just a few pantry staples, you can whip up a huge batch of these cookies and feed a crowd. Plus, they’re so versatile! You can customize the glaze with different extracts and colors, and they are a great base for sprinkles or edible glitter. Honestly, these cookies are similar to Gingerbread Cookies in their festive flair but are much simpler to make! These are truly perfect for those busy holiday weekends.
How do I make homemade cookies?
Quick Overview
Making these **Holiday Cookies** is easier than you might think! You’ll start by creaming together the butter and sugar, then adding in the spices and dry ingredients. The dough comes together quickly and easily. After a short chill, you’ll roll it out and cut out your desired shapes. Pop them in the oven until they’re lightly golden, then let them cool before drizzling with that luscious glaze. The whole process takes just over an hour, including chilling time, but trust me, it’s worth every minute. I promise, it’s simpler than it sounds – you’ll be amazed at how quickly they come together! It is also a super relaxing way to spend an afternoon when it is snowy and cold outside!
Ingredients
For the Main Batter: What are some examples?
* 1 cup (2 sticks) unsalted butter, softened to room temperature. Make sure it’s soft, but not melted, or the cookies will spread too much.
* ¾ cup granulated sugar. I’ve tried using Brown Sugar before, but it changes the texture too much. Granulated is best for crispness.
* 1 large egg. Make sure it’s at room temperature too. It helps it emulsify better with the butter and sugar.
* 1 teaspoon vanilla extract. I always use pure vanilla extract, but imitation will work in a pinch.
* 2 ½ cups all-purpose flour. When measuring flour, scoop and level the flour or you’ll end up with too much and the cookies will be too dry.
* 1 teaspoon baking powder. This helps the cookies rise slightly and gives them a nice texture.
* ½ teaspoon ground cinnamon. This adds a warm, festive flavor. Don’t skip it!
* 14 teaspoon ground nutmeg. A little goes a long way! Nutmegger adds nutty flavor to any dish.
* 18 teaspoon salt. This enhances the sweetness and balances flavors.
For the Glaze:
* 2 cups powdered sugar. Sift it before using to avoid any lumps in the glaze.
* ¼ cup milk. I use whole milk for glaze, but I find it gives the glaze the best richness.
* 1 teaspoon vanilla extract. Again, pure vanilla is best for flavor.
* Optional: Food coloring. For that extra festive touch!
What is the step by
Step 1: Preheat & Prep Pan
Preheat your oven to 350°F (175°C). Is it necessary to line a baking sheet with parchment paper or silicone baking mat? How do you clean cookies? I always do this first so that the oven is ready when the dough is.
Step 2: Mix Dry Ingredients
In a medium bowl, whisk together the flour, baking powder, cinnamon, nutmeg, and salt. Whisking ensures that everything is evenly distributed, which is important for the texture of the cookies. This prevents pockets of baking powder and salt from forming.
Step 3: Mix Wet Ingredients
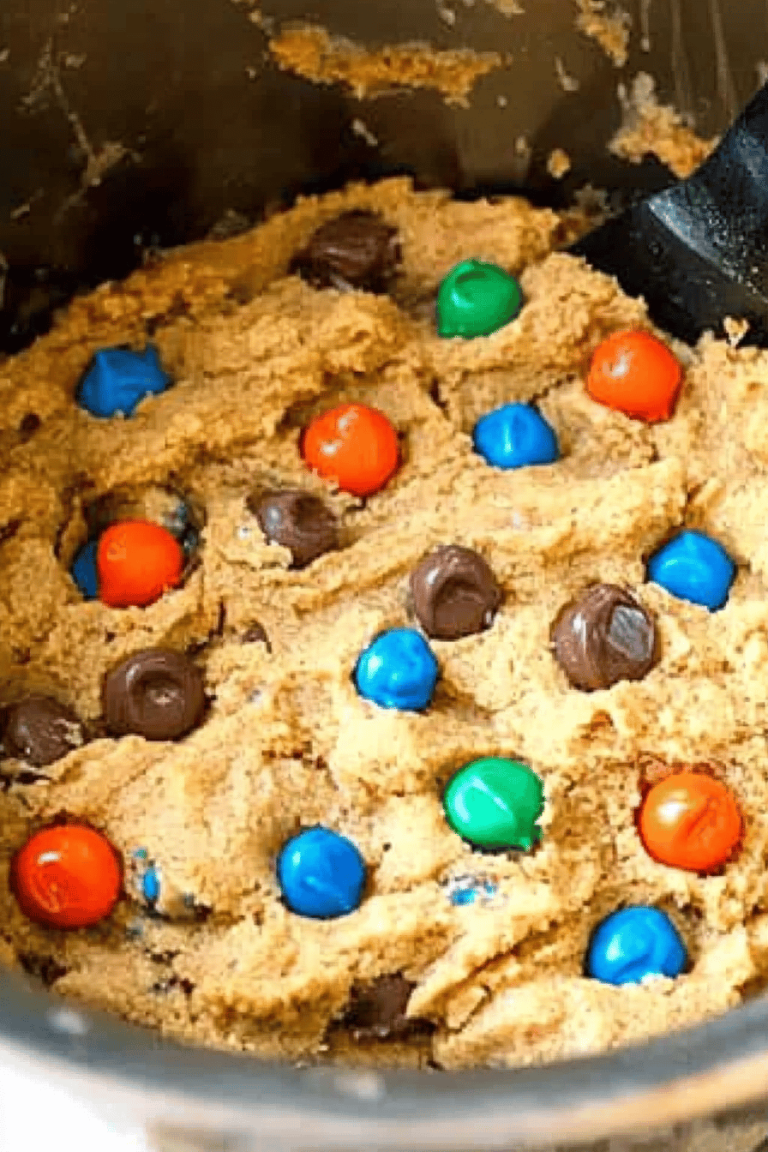
In a large bowl, cream together the softened butter and granulated sugar until light and fluffy. This usually takes about 3-5 minutes with an electric mixer. Add the egg and vanilla extract and beat until well combined. The mixture should be smooth and creamy. This is where you’ll want to take the time to really cream these ingredients together – it’s what gives the cookies their light and airy texture.
Step 4: Combine
Gradually add the dry ingredients to the wet ingredients, mixing on low speed until just combined. Be careful not to overmix, as this can make the cookies tough. The dough should be soft and slightly sticky. I like to mix until *almost* combined and then finish it off with a spatula to avoid overmixing.
Step 5: Chill the Dough
Wrap the dough in plastic wrap and chill in the refrigerator for at least 30 minutes. This helps the dough firm up and makes it easier to roll out. I usually chill it for an hour or two for best results. Sometimes I even make the dough the night before and let it chill overnight – it works great!
Step 6: Roll & Cut Out
On a lightly floured surface, roll out the dough to about 14 inch thickness. Use cookie cutters to cut out your desired shapes. If you have leftover dough, reroll it and continue cutting until all the dough is used. Can you use any cookie cutter you like?
Step 7: Bake
Place the cookies on the prepared baking sheet, about 1 inch apart. Bake for 8-10 minutes, or until the edges are lightly golden. Keep a close eye on them, as they can burn easily. The baking time will depend on the size and thickness of your cookies, so keep an eye on them.
Step 8: Cool & Glaze
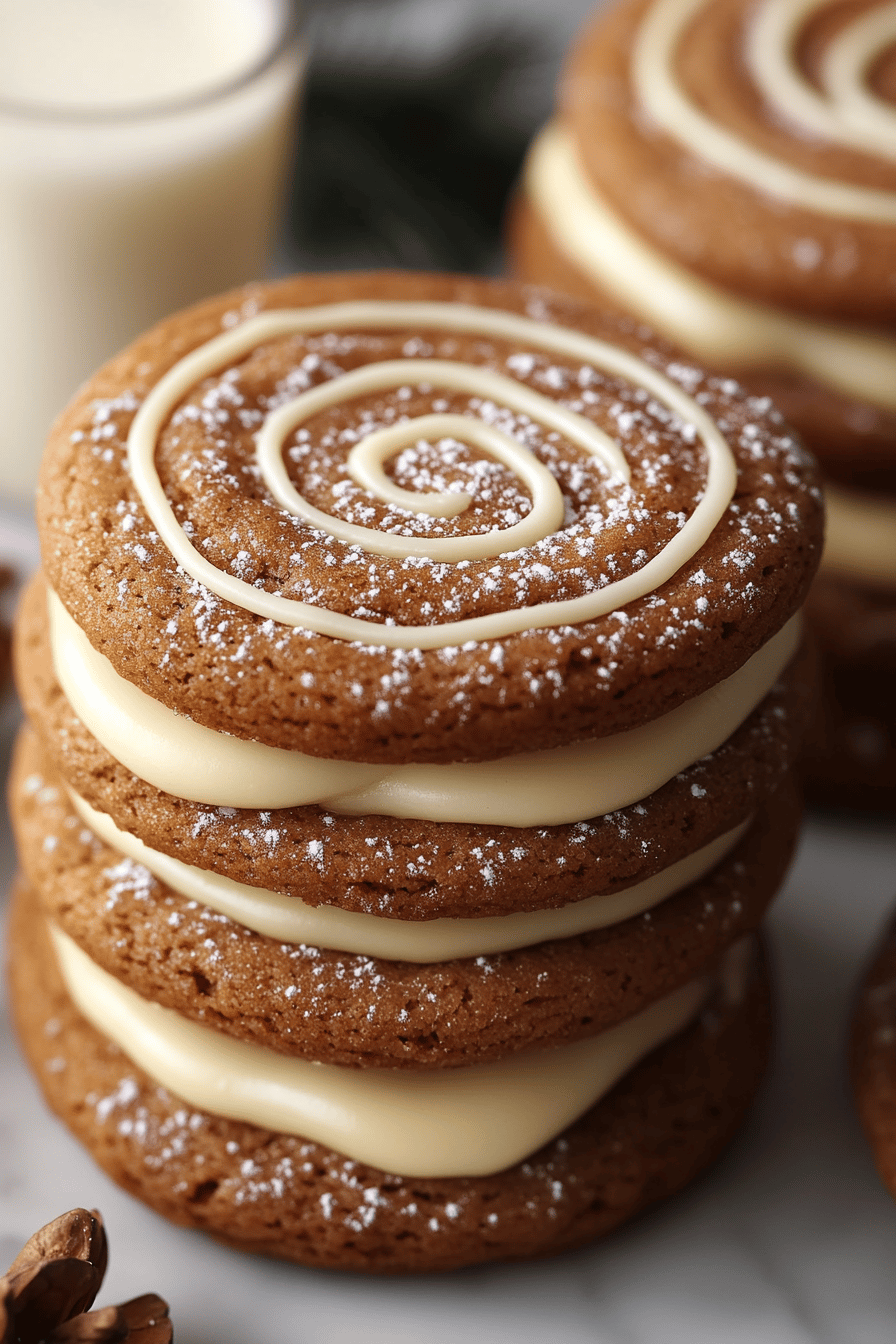
Let the cookies cool on the baking sheet for a few minutes before transferring them to a wire rack to cool completely. While the cookies are cooling, prepare the glaze. In a medium bowl, whisk together the powdered sugar, milk, and vanilla extract until smooth. Add food coloring, if desired. Once the cookies are completely cool, drizzle them with the glaze. I like to use a spoon or a piping bag for this. Let the glaze set before serving.
Step 9: Slice & Serve
If desired, sprinkle the glazed cookies with sprinkles or other decorations. Serve immediately, or store in an airtight container at room temperature for up to 3 days. What are the best cookies to eat fresh?
What to Serve It With
What are some of the best holiday cookies? What are some of the best sweet treats ever?
For Breakfast:What are some good ways to start your day with a cup of coffee? I love having two of these alongside a simple black coffee. What is the perfect combination of flavors?
For Brunch:Arrange them on a pretty platter alongside fresh fruit, muffins, and scones for an elegant brunch. Is it possible to make a Christmas Tree? I like to make a variety of shapes and sizes to add visual interest.
As Dessert:Serve them after dinner with a scoop of vanilla Ice Cream or whipped cream. What are some good ways to enjoy a cup of tea with milk? My family loves hot chocolate!
For Cozy Snacks:What are some good winter drinks to enjoy with mulled wine? What are some of the best comfort foods? I love to eat these while watching a festive holiday movie on the couch. How my family enjoys them.
What are some tips for perfecting your holiday cookies?
What are some tips for taking your holiday cookies from good to bad? After years of baking these, I’ve learned a few tricks along the way!
Butter Matters: What Make sure your butter is *truly* softened to room temperature. If it’s too cold, it won’t cream properly with the sugar. If it’s melted, the cookies will spread too much and be flat. The perfect consistency is when you can easily press your finger into it, but it still holds its shape.
Don’t Overmix: Overmixing the dough develops the gluten in the flour, which can make the cookies tough. Mix until just combined, then stop. It’s better to have a few streaks of flour remaining than to overmix.
Chill Time is Key: Don’t skip the chilling time! This allows the gluten to relax and prevents the cookies from spreading too much in the oven. Plus, it makes the dough much easier to roll out.
Flour Power: When rolling out the dough, use a light hand with the flour. Too much flour can make the cookies dry and crumbly. I like to use a silicone rolling mat to prevent sticking.
Oven Temp: Every oven is different, so keep a close eye on the cookies while they’re baking. If they’re browning too quickly, lower the oven temperature by 25 degrees.
Glaze Consistency: Adjust the amount of milk in the glaze to achieve your desired consistency. For a thinner glaze, add more milk. For a thicker glaze, add more powdered sugar. I also found that a tablespoon of lemon juice really makes it pop! This is the tip that elevates the recipe.
Storing and Reheating Tips
Want to keep your **Holiday Cookies** fresh and delicious? Here’s the lowdown on storing them properly:
Room Temperature: Store the glazed cookies in an airtight container at room temperature for up to 3 days. They’re best enjoyed fresh, but they’ll still be tasty after a few days. Make sure they are covered well, as they can dry out.
Refrigerator Storage: For longer storage, you can refrigerate the cookies in an airtight container for up to 1 week. Let them come to room temperature before serving. Keep in mind that the glaze may become slightly sticky in the fridge.
Freezer Instructions: These cookies freeze beautifully! Wrap them individually in plastic wrap, then place them in a freezer-safe bag or container. They can be frozen for up to 2 months. Thaw at room temperature before serving.
Glaze Timing Advice: If you plan to freeze the cookies, it’s best to freeze them unglazed. Then, you can glaze them after they’ve thawed. This will prevent the glaze from becoming sticky or cracking.
Frequently Asked Questions
Final Thoughts

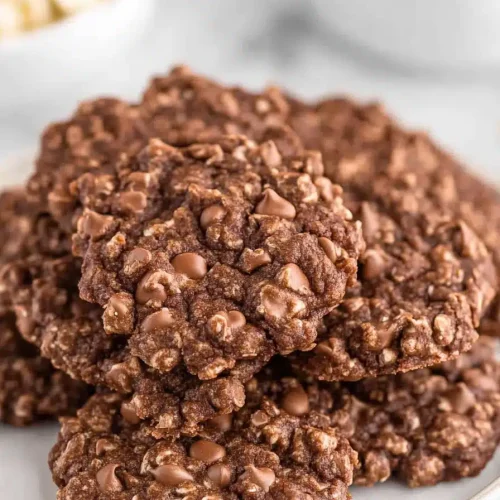
I truly hope you give these **Holiday Cookies** a try this year! They’re more than just a recipe; they’re a little piece of my holiday tradition that I’m so excited to share with you. The warm spices, the buttery flavor, and that dreamy glaze – it’s a winning combination that’s sure to bring a smile to everyone’s face. I promise, once you make these, they’ll become a holiday staple in your own home! If you love these **Holiday Cookies**, you might also enjoy my recipe for gingerbread loaf. Happy baking, friends! I can’t wait to hear how yours turn out! Be sure to leave a comment and let me know if you try these and share your own variations. Happy Holidays!
Holiday Cookies
Ingredients
Main Ingredients
- 1 cup Butter, softened Unsalted
- 1 cup Granulated sugar
- 1 cup Packed brown sugar
- 2 large Eggs
- 2 teaspoon Vanilla extract
- 3 cups All-purpose flour
- 1 teaspoon Baking soda
- 1 teaspoon Salt
- 2 cups Chocolate chips
Instructions
Preparation Steps
- Preheat oven to 375°F (190°C).
- Cream together the butter, granulated sugar, and brown sugar until smooth.
- Beat in eggs, then add the vanilla.
- Dissolve baking soda in hot water and add this to the batter along with salt.
- Stir in the flour and chocolate chips.
- Drop by rounded tablespoons onto ungreased baking sheets.
- Bake for 10-12 minutes, or until edges are nicely browned.

