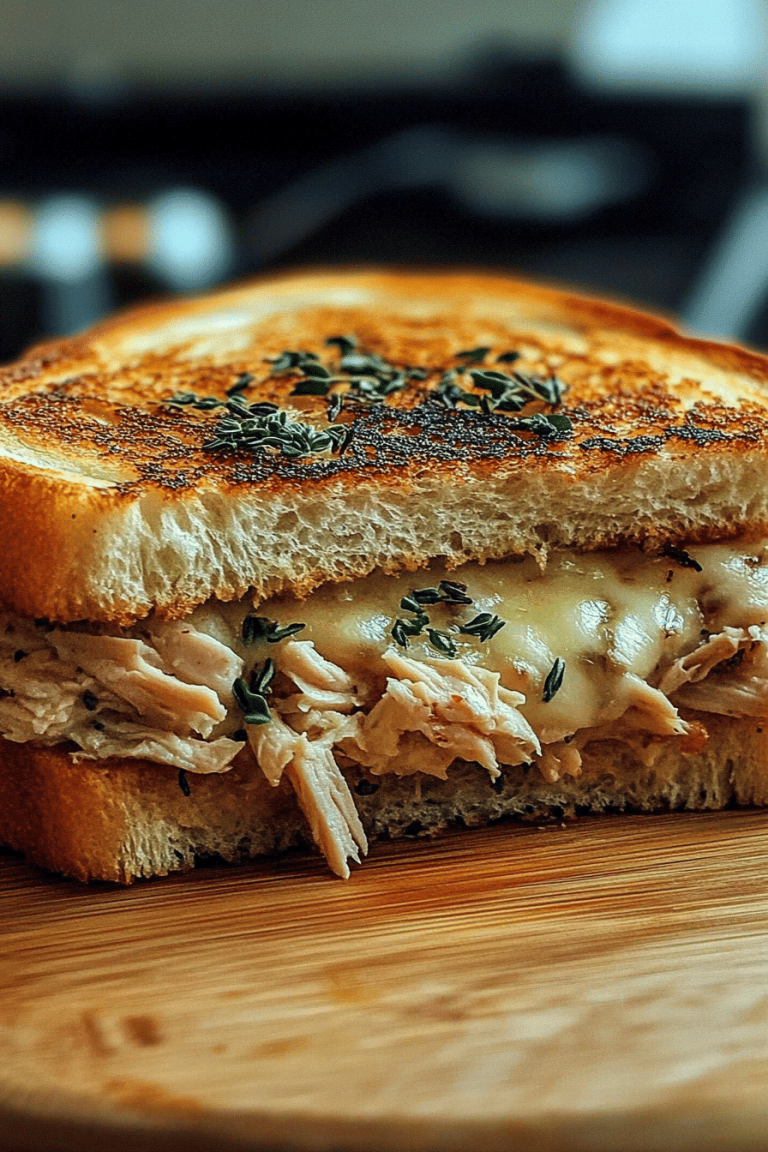
ham and cheese roll-ups
I remember those frantic weeknights when the clock was ticking, the kids were buzzing with energy (or meltdown energy, depending on the day), and the thought of making a full meal felt like climbing Everest. That’s where these ham and cheese roll-ups come in. They’re not fancy, they’re not complicated, but oh my goodness, they are a lifesaver. Seriously, if you’re looking for a go-to recipe that’s practically foolproof and always a hit, you’ve found it. They remind me a little of those cheesy Crescent Roll appetizers you see everywhere, but in a way that feels more substantial, more like a real meal you can whip up in a pinch. My little ones ask for these by name, and honestly, I’m not complaining because they’re so simple to throw together. They’re a warm hug in food form, perfect for when you just need something comforting and delicious without all the fuss.
What is a Ham and Cheese Roll-Up?
So, what exactly are these magical little things? Think of them as a delightful surprise hiding inside a soft, fluffy, slightly savory baked package. It’s essentially a simple, quick batter that gets poured over layers of thinly sliced ham and melty cheese, then baked until golden and gooey. The name itself, “ham and cheese roll-ups,” just tells you exactly what you’re getting – simple, classic flavors rolled into one easy-to-make dish. It’s not a complicated casserole or a fussy layered bake. It’s more like a savory Bread Pudding meets a giant, soft, cheesy ham sandwich that bakes up beautifully. It’s the kind of dish that makes you feel like you’ve accomplished something great, even if you spent less than 15 minutes actively preparing it. The beauty is in its simplicity and how wonderfully those familiar ham and cheese flavors come together.
Why you’ll love this recipe?
Okay, let me count the ways you’re going to fall head over heels for these ham and cheese roll-ups. First off, the flavor! It’s that unbeatable combination of salty ham and creamy, melty cheese, all hugged by a tender, slightly sweet baked dough. It’s pure comfort food, no doubt about it. But what really seals the deal for me is how ridiculously simple it is. We’re talking minimal prep time and ingredients you probably already have in your fridge and pantry. This isn’t a recipe that requires a special trip to the store or a degree in culinary arts. It’s cost-effective too. Ham and cheese are generally budget-friendly, and you can stretch them quite a bit with the batter. Plus, the versatility is incredible. While I love them as a quick dinner, they’re also fantastic for brunch, a hearty snack, or even as a “breakfast-for-dinner” option. What I love most about this is that it’s so forgiving. You can tweak the cheese, add a pinch of herbs, or even swap the ham for turkey, and it still turns out wonderfully. It’s just one of those recipes that delivers big on taste and satisfaction without demanding a ton of your precious time or energy. It truly is a weeknight warrior in my kitchen.
How do you make ham and cheese roll-ups?
Quick Overview
The entire process for these ham and cheese roll-ups is surprisingly straightforward. You’ll mix up a quick batter, layer it with ham and cheese in a baking dish, and bake until it’s puffed up and golden. It’s a hands-off baking dream that transforms simple ingredients into a crowd-pleasing meal. The batter acts like a gentle binder, ensuring every bite is perfectly balanced with the savory ham and creamy cheese. It’s the kind of recipe that makes you feel like a kitchen wizard without actually having to do much wizardry.
Ingredients
For the Main Batter:
You’ll need all-purpose flour for structure, baking powder to give it that lovely lift, a pinch of salt to enhance all the flavors, and a little sugar to balance the saltiness and help with browning. I usually go for about 2 cups of flour, 2 teaspoons of baking powder, half a teaspoon of salt, and a tablespoon of sugar. Using a good quality all-purpose flour is key here; nothing fancy, just your standard store brand works perfectly. I’ve even tested this with a gluten-free blend, and while the texture is a little different, it’s still totally doable if you need to make it GF.
For the Filling:
This is where the magic happens! We’re talking about thinly sliced deli ham – the more you like, the better! I usually go for about 8-12 slices, depending on how generous I’m feeling. And cheese, of course! Shredded cheddar is my go-to because it melts like a dream and has that classic, tangy flavor. But feel free to mix it up – Monterey Jack, Colby, or even a little Gruyère for a more sophisticated twist works wonders. About 1.5 to 2 cups of shredded cheese should do the trick. I always shred my cheese myself from a block because pre-shredded stuff has anti-caking agents that can affect the meltiness, but if you’re in a rush, pre-shredded is fine!
For the Glaze:
This is optional but highly recommended for that extra touch of deliciousness. A simple glaze made from melted butter and a touch of milk or cream adds a beautiful sheen and a lovely richness. About 1/4 cup of melted butter and a tablespoon or two of milk is usually plenty. You can even add a pinch of garlic powder or some finely chopped parsley to this for an extra flavor kick. It’s that little finishing touch that elevates these simple roll-ups from good to absolutely irresistible.
Step-by-Step Instructions
Step 1: Preheat & Prep Pan
First things first, get that oven preheating to 375 degrees Fahrenheit (about 190 degrees Celsius). While the oven is doing its thing, grab an 8×8 inch or a similar-sized baking dish. You don’t need to grease it heavily, just a light coating with butter or cooking spray is perfect. This ensures your beautiful ham and cheese roll-ups don’t stick, and it makes for easy cleanup, which, let’s be honest, is a win in my book.
Step 2: Mix Dry Ingredients
In a medium-sized bowl, whisk together your flour, baking powder, salt, and sugar. Give it a good whisk so everything is evenly distributed. This is important for an even rise and consistent flavor in every bite. You want to make sure there are no pockets of baking powder or salt. The texture should be light and fluffy.
Step 3: Mix Wet Ingredients
Now, in a separate bowl or a large liquid measuring cup, whisk together your milk and eggs until they’re well combined. Make sure the eggs are fully incorporated into the milk; you don’t want any globs of raw egg floating around. I usually use large eggs for this, and about 1.5 cups of milk. If you happen to use skim milk, it’ll still work, but whole milk will give you a slightly richer result.
Step 4: Combine
Pour the wet ingredients into the bowl with the dry ingredients. Now, here’s a little tip: mix until just combined. Overmixing is the enemy of tender baked goods! You want to see a few small lumps; that’s totally okay. Overmixing develops the gluten too much, which can make your roll-ups tough instead of delightfully soft. A few quick stirs with a spatula or whisk should do it.
Step 5: Prepare Filling
While your batter is resting for a minute, get your filling ready. If you’re using a block of cheese, shred it now. Lay out your ham slices. You’ll be layering these directly into the batter, so it’s good to have them ready to go. I usually tear my ham slices slightly if they are very large, so they fit better into the nooks and crannies of the baked batter.
Step 6: Layer & Swirl
Pour about half of your batter into the prepared baking dish and spread it out evenly. Now, arrange your ham slices over the batter. Don’t worry about them being perfectly placed; a little overlap is fine. Sprinkle about half of your shredded cheese evenly over the ham. Then, dollop the remaining batter over the cheese and ham. You don’t need to cover it completely; some ham and cheese peeking through is perfectly fine and adds to the rustic charm. Finally, sprinkle the rest of your cheese on top.
Step 7: Bake
Pop that baking dish into your preheated oven. Bake for about 30-35 minutes, or until the top is golden brown and a toothpick inserted into the center comes out clean. The exact baking time can vary depending on your oven, so keep an eye on it. You want that beautiful, slightly puffed-up look, and the cheese should be wonderfully melty and bubbly around the edges.
Step 8: Cool & Glaze
Once baked, carefully remove the dish from the oven. If you’re using the glaze, now’s the time! Whisk together the melted butter and milk (and any optional flavorings). Drizzle this mixture evenly over the hot roll-ups. The heat will help it soak in beautifully, adding a lovely sheen and extra flavor. Let them cool in the pan for about 10-15 minutes before slicing. This allows them to set up a bit, making them easier to cut and serve cleanly.
Step 9: Slice & Serve
Using a sharp knife, cut the ham and cheese roll-ups into squares or rectangles. The size is up to you – I usually cut mine into about 9-12 pieces. Serve them warm. The gooey cheese and tender batter are at their Absolute Best when fresh out of the oven, with that lovely glaze glistening on top.
What to Serve It With
These ham and cheese roll-ups are so versatile, they can truly fit into any meal. For breakfast, they’re fantastic alongside a steaming mug of coffee and a side of fresh fruit. The savory and slightly sweet notes are just the perfect way to start the day. If you’re planning a brunch, these are a must-have. Serve them in the baking dish or cut into individual portions, perhaps with a sprinkle of fresh chives on top for a pop of color. They pair beautifully with mimosas or a light fruit salad. As a dessert? Believe it or not, a smaller, sweeter version with a touch more sugar in the batter and a fruit glaze can be surprisingly delightful! For cozy snacks, they’re perfect on their own, warm from the oven, perhaps with a dollop of Sour Cream or a little spicy mustard on the side for dipping. My family loves having these for a quick “breakfast-for-dinner” night, usually paired with some scrambled eggs and a glass of milk. It’s just comforting and always a winner!
Top Tips for Perfecting Your Ham and Cheese Roll-Ups
Over the years, I’ve picked up a few tricks that make these ham and cheese roll-ups even better. First, for the batter, always make sure your baking powder is fresh. Stale baking powder is the number one reason for flat, dense baked goods. A quick test: drop a teaspoon into hot water – if it fizzes vigorously, it’s good to go! When combining the wet and dry ingredients, really heed the “mix until just combined” rule. I know it’s tempting to whisk it into a perfectly smooth batter, but trust me, those little lumps are your friend for a tender crumb. If you see streaks of flour, that’s fine; they’ll disappear in the oven. For the filling, don’t be shy with the cheese! The more gooey, melty cheese, the happier everyone will be. If you can, using a mix of cheeses adds another layer of flavor – cheddar for meltiness and a bit of Gruyère or Swiss for nuttiness. When layering, I sometimes like to tear the ham into smaller pieces so they distribute more evenly throughout the batter, ensuring you get ham in almost every bite. For baking, getting to know your oven is key. If you find your baked goods tend to brown too quickly on top, you can loosely tent it with foil during the last 10-15 minutes of baking. And for that beautiful glaze, make sure to apply it while the roll-ups are still hot from the oven. This allows the butter to melt and soak in, creating that irresistible sheen and rich flavor. I’ve also experimented with adding a pinch of garlic powder or a sprinkle of dried herbs like dill or parsley to the glaze, which is lovely if you’re serving these with a savory meal.
Storing and Reheating Tips
These ham and cheese roll-ups are best enjoyed fresh, but they store surprisingly well! If you happen to have any leftovers (which is rare in my house!), you can leave them at room temperature, covered loosely with foil or plastic wrap, for up to a day. They’ll still be delicious, though the texture might be slightly less crisp than when they’re fresh. For longer storage, I always pop them into an airtight container in the refrigerator. They’ll keep well for about 3-4 days. The cheese might firm up a bit, but they’re still perfectly good. If you want to freeze them, and I do this quite often for easy grab-and-go breakfasts or snacks, make sure they’re completely cooled first. Wrap them tightly in plastic wrap, then place them in a freezer-safe bag or container. They can stay frozen for up to 2 months. To reheat, I usually just pop a few squares in the microwave for about 30-60 seconds, or until warmed through. If you want them a bit crispier, you can reheat them in a toaster oven or a conventional oven at around 300°F (150°C) for 10-15 minutes. If you’ve glazed them, the glaze holds up well during reheating, though it might become less shiny. Just a little tip from my kitchen to yours – don’t try to glaze them if you know you’ll be freezing them right away, as the glaze can sometimes affect the texture over long freezer storage. It’s better to glaze them *after* reheating from frozen.
Frequently Asked Questions
Final Thoughts
There you have it – my super simple, incredibly satisfying ham and cheese roll-ups recipe! It’s one of those dishes that has earned a permanent spot in my recipe rotation because it just *works*. It delivers on flavor, it’s ridiculously easy, and it’s something the whole family, from the pickiest eaters to the most discerning adults, can get behind. I truly hope you give these a try the next time you’re in a dinner rut or just craving something comforting and cheesy. They’re a reminder that delicious food doesn’t have to be complicated. If you enjoy this recipe, you might also love my Quick Sausage and Cheese Biscuits or my Easy Cheesy Garlic Breadsticks – they’re in a similar vein of comfort and simplicity! I can’t wait to hear how yours turn out. Please leave a comment below and let me know your thoughts, or share any fun variations you tried! Happy baking!

ham and cheese roll-ups
Ingredients
Main Ingredients
- 8 slices ham
- 4 slices Swiss cheese
- 2 tablespoons mayonnaise
- 0.5 teaspoon Dijon mustard
Instructions
Preparation Steps
- Lay out the ham slices.
- In a small bowl, mix together the mayonnaise and Dijon mustard.
- Spread a thin layer of the mayonnaise mixture onto each slice of ham.
- Place a slice of Swiss cheese on top of the mayonnaise mixture on each ham slice.
- Carefully roll up each ham and cheese slice.
- Serve immediately or chill before serving.


