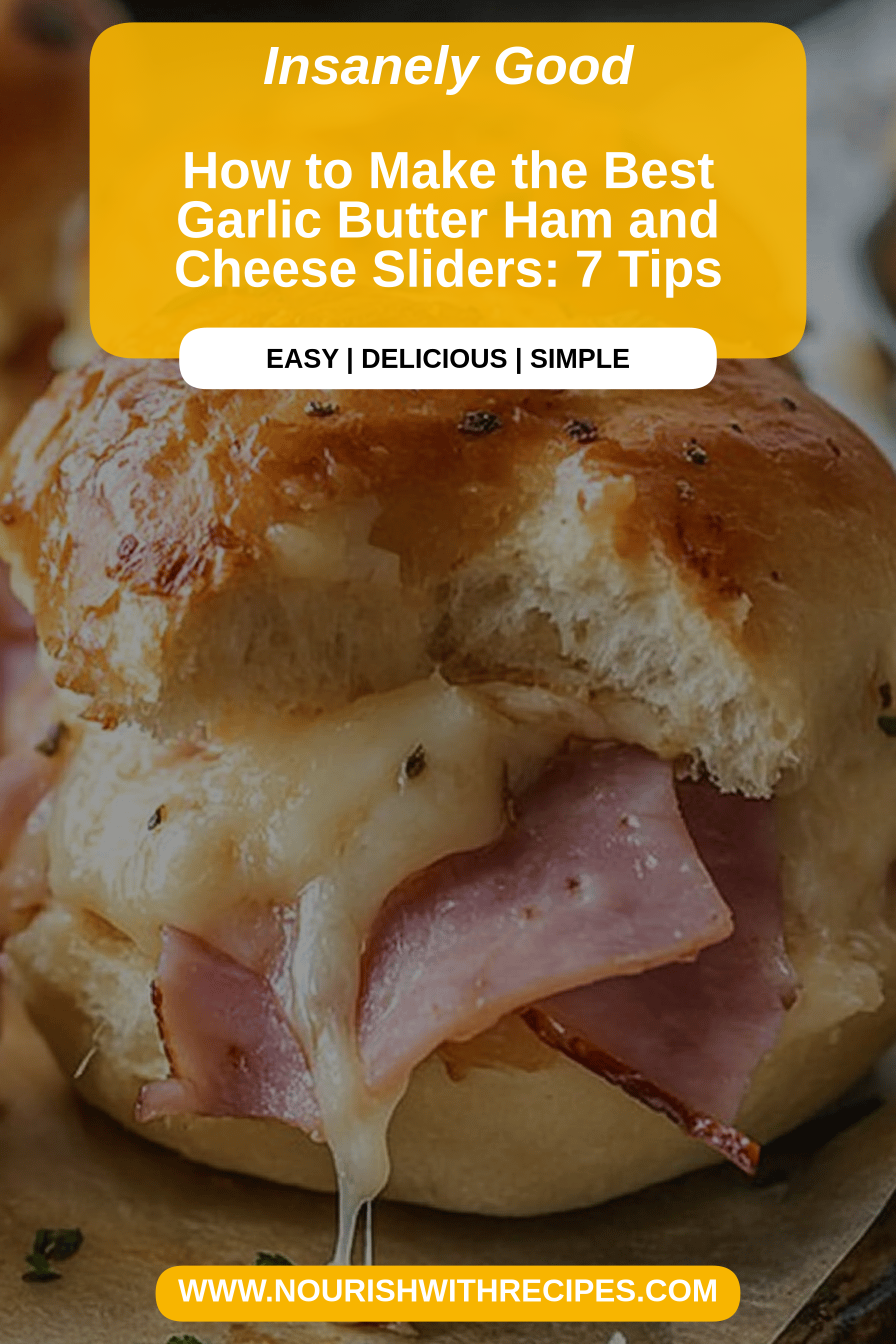
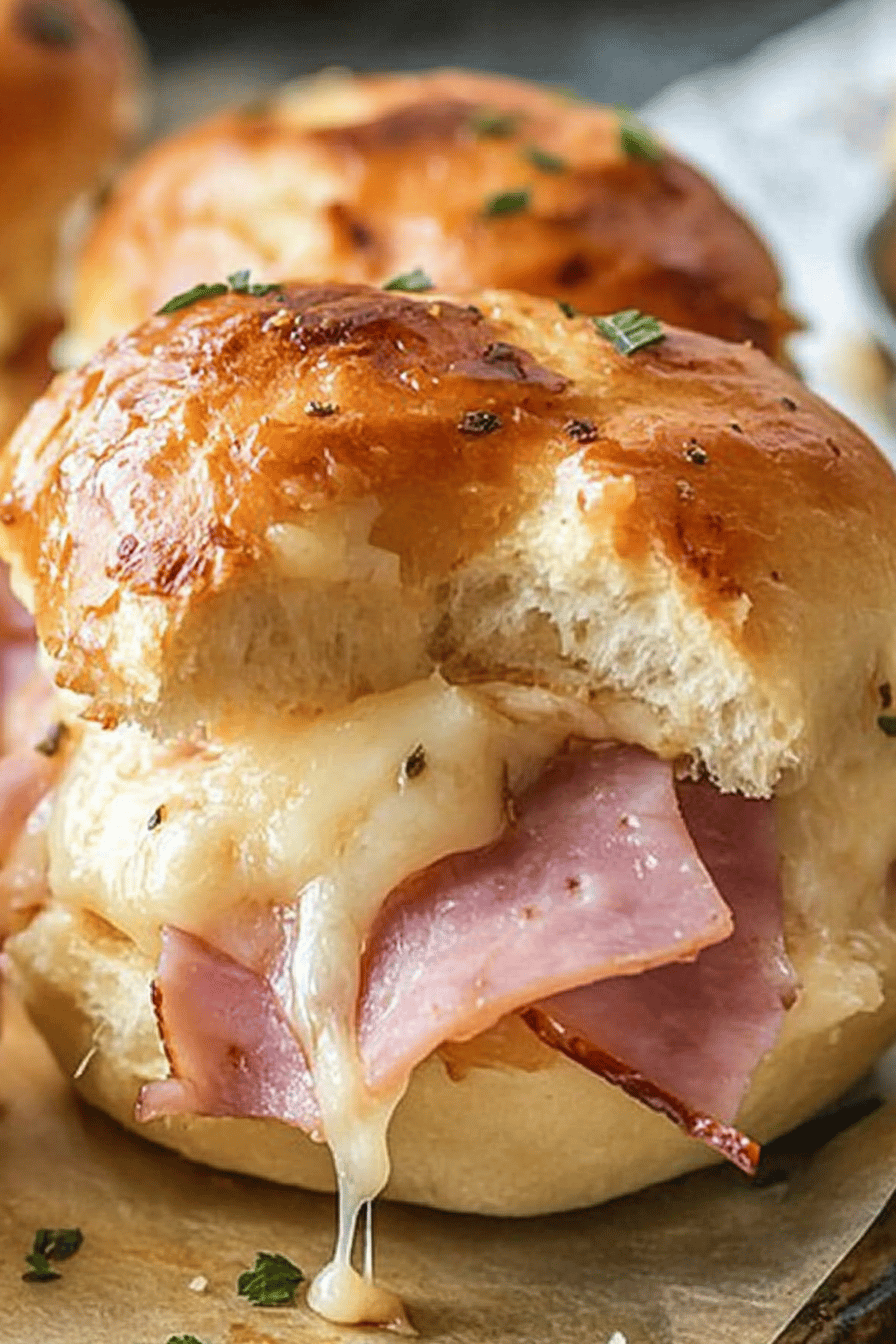
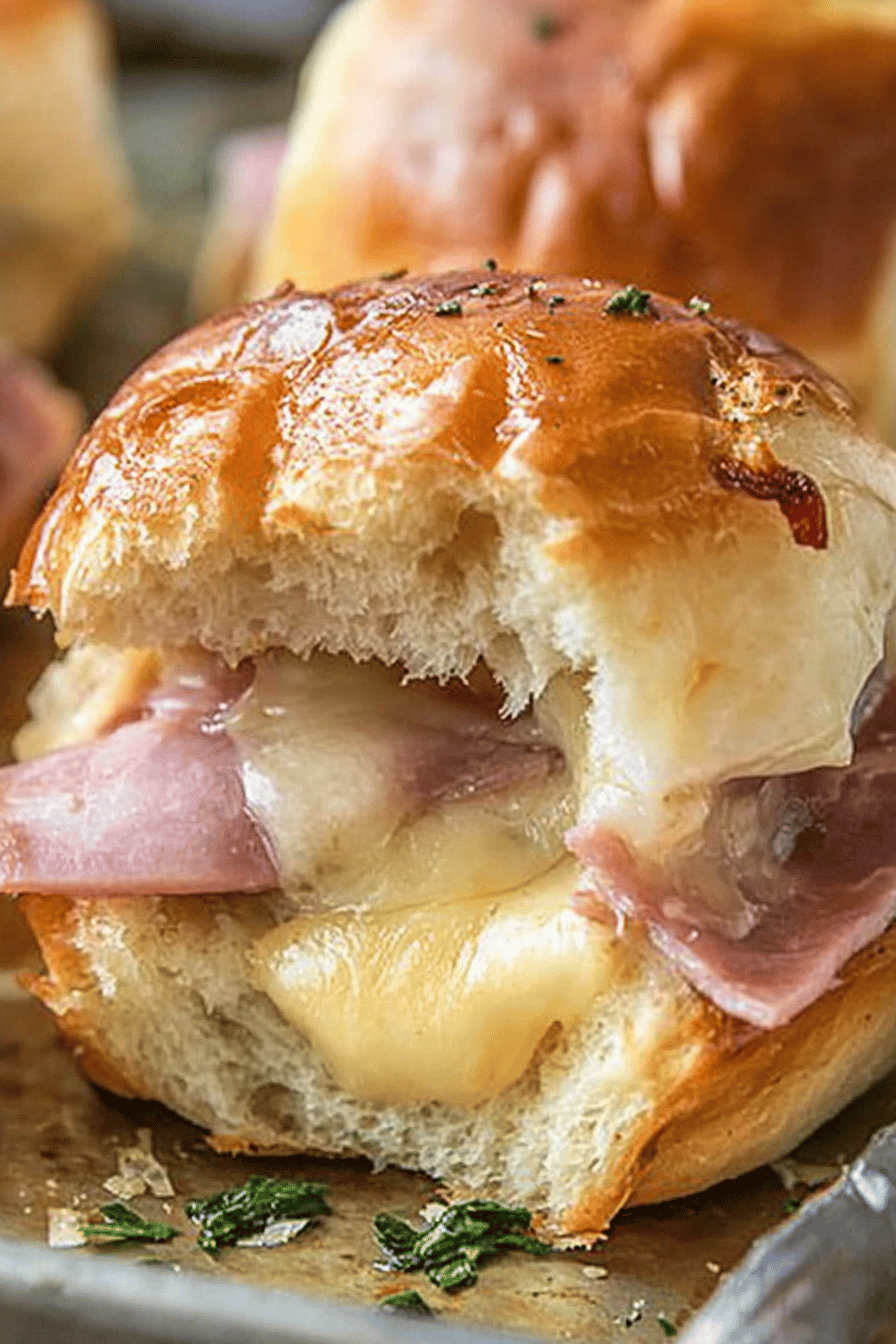
Garlic Butter Ham and Cheese Sliders
There are some recipes that just feel like a warm hug, you know? The kind that make your kitchen smell like pure comfort and bring a smile to everyone’s face the moment they walk in. For me, that’s exactly what these Garlic Butter Ham and Cheese Sliders do. I’ve been making variations of these for years, and they’ve become an absolute staple, especially when life gets a little hectic or when I just need a seriously delicious, crowd-pleasing bite. Think of them as the grown-up, incredibly flavorful version of a ham and cheese sandwich, but with a magical buttery, garlicky twist that elevates everything. Honestly, if you’re looking for something that’s surprisingly easy to whip up but tastes like you spent hours in the kitchen, these sliders are your answer. They’re a lifesaver on busy weeknights and always disappear in minutes at parties. I’m so excited to share this version with you, because the garlic butter situation? Pure genius.
What are Garlic Butter Ham and Cheese Sliders?
So, what exactly are these glorious little things? Essentially, they’re miniature sandwiches, typically made with slider buns, layered with delicious ham and melty cheese, all bathed in a rich, savory Garlic Butter sauce and baked until golden and irresistible. The magic happens when that garlic butter seeps into the buns, infusing every bite with incredible flavor. It’s not just a simple spread; it’s a flavour bath! They’re often called “party sliders” or “copycat sliders” because they’re so perfect for gatherings, but don’t let that fool you into thinking they’re complicated. They’re meant to be easy, approachable, and utterly delicious for any occasion. Think of it as the ultimate comfort food sandwich, miniaturized and amplified with that irresistible garlic butter goodness.
Why you’ll love this recipe?
How do I start with this recipe?flavor. Oh my goodness, the flavor! That combination of savory ham, gooey cheese, and the aromatic, buttery garlic is just divine. It hits all the right notes – salty, savory, a little bit rich, and totally satisfying. It’s the kind of flavor that makes you close your eyes in delight. Then there’s the simplicity. Seriously, you can have these ready to bake in about 15 minutes flat, which is a miracle on busy nights. I’ve tested this recipe countless times, and it always comes out perfectly, even when I’m rushing. What I love most about this recipe is its Cost-efficiency: What is the best way to measure cost-efficiency?. Ham, cheese, and basic pantry staples – it’s incredibly budget-friendly, making it a fantastic option for feeding a crowd without breaking the bank. And the versatility! While they’re amazing on their own, you can easily customize them. Want to add a thin slice of tomato? Go for it. A sprinkle of fresh chives? Why not! They’re also incredibly forgiving. If you’re out of one type of cheese, another will work just fine. Compared to other slider recipes, this one truly strikes the perfect balance between ease, flavor, and affordability. It’s the kind of dish that makes you feel like a kitchen rockstar without all the fuss.
How to Make Garlic Butter Ham and Cheese Sliders
Quick Overview
The process is wonderfully straightforward. We’ll simply layer our ingredients into slider buns, create a quick but flavorful garlic butter topping, pour it all over, and bake until the cheese is melted and bubbly and the buns are golden brown. It’s an assembly line of deliciousness that requires minimal effort for maximum reward. This method ensures every bite is packed with flavor, from the toasted bun to the gooey center. Trust me, it’s almost laughably easy!
Ingredients
Here’s what you’ll need to create these little flavor bombs:
For the Main Batter:
12 slider buns (Hawaiian sweet rolls or Dinner Rolls work beautifully)
1 pound thinly sliced deli ham (I like a good quality honey ham or smoked ham)
8 ounces sliced cheese (a mix of Swiss and cheddar is my personal favorite, but provolone or Monterey Jack are also fantastic. Make sure it’s thinly sliced for best melting!) If you can find cheese slices specifically for sandwiches, they are perfect here.
For the Glaze:
1/2 cup unsalted butter, melted
2-3 cloves garlic, minced (or 1 teaspoon garlic powder if you’re in a pinch and don’t have fresh garlic – though fresh is always better for that punch!)
1 tablespoon Dijon mustard (this adds a wonderful subtle tang)
1 teaspoon Worcestershire sauce (don’t skip this, it adds so much depth!)
1/2 teaspoon dried parsley (or 1 tablespoon fresh, finely chopped)
Pinch of salt and black pepper, to taste
Step-by-Step Instructions
Step 1: Preheat & Prep Pan
First things first, preheat your oven to 350°F (175°C). Grab a 9×13 inch baking dish. You don’t need to grease it, but make sure it’s large enough to hold all your sliders snugly. This helps them bake evenly and keeps that delicious butter sauce contained.
Step 2: Slice the Buns
Carefully slice your slider buns in half horizontally. I like to do this with a serrated knife, going slowly to get a clean cut. Place the bottom halves of the buns, cut-side up, into your baking dish. You want them nestled in there, ready for their cheesy, hammy goodness.
Step 3: Layer the Ham and Cheese
Now for the fun part! Layer the thinly sliced ham evenly over the bottom buns. Don’t be shy; pack it in there! Next, add your cheese slices on top of the ham. I usually do one layer of cheese, then the ham, then another layer of cheese to really get that gooey factor. If you’re using shredded cheese, you can sprinkle it generously here. Ensure the cheese covers as much of the ham as possible.
Step 4: Top with Bun Halves
Place the top halves of your slider buns back on top of the cheese and ham, completing the sandwiches. Gently press down so they sit nicely.
Step 5: Prepare the Garlic Butter Glaze
In a small bowl, whisk together the melted butter, minced garlic, Dijon mustard, Worcestershire sauce, dried parsley, salt, and pepper. Give it a good stir until everything is well combined. This is where the magic really happens, folks! The aroma alone is incredible.
Step 6: Pour the Glaze
Evenly pour the garlic butter mixture all over the tops of the slider buns. Make sure to get it into all the nooks and crannies. You can use a spoon or a pastry brush to help distribute it if needed, ensuring every inch of the buns gets that glorious coating. Don’t worry if some pools at the bottom; that’s good flavor!
Step 7: Bake
Cover the baking dish tightly with aluminum foil. This traps the steam and helps the buns get wonderfully soft and absorb all that deliciousness. Bake for 15-20 minutes. Then, remove the foil and bake for another 5-10 minutes, or until the cheese is fully melted and bubbly and the tops of the buns are a beautiful golden brown. Keep an eye on them so they don’t burn!
Step 8: Let Them Rest
This is a crucial step, and it’s hard to resist! Let the sliders rest for about 5 minutes after they come out of the oven. This allows the cheese to set slightly and prevents you from burning your mouth on molten cheese (we’ve all been there!).
Step 9: Slice and Serve
Using a sharp knife, carefully slice through the entire block of sliders into individual sandwiches. Serve them immediately while they are warm, gooey, and utterly irresistible. The smell alone will have everyone gathering around!
What to Serve It With
These Garlic Butter Ham and Cheese Sliders are so versatile, they can truly be the star of any meal. For Breakfast, I love to pair them with a strong cup of coffee and maybe some fresh fruit. They’re savory enough to be satisfying but just sweet enough from the buns to feel like a treat. For Brunch, they’re fantastic alongside a frittata or a big bowl of fresh greens. A mimosa or a Bloody Mary would be the perfect beverage to complement them. As a more decadent Dessert (yes, I’ve totally done this!), they can be a fun, savory counterpoint to something sweet. Imagine serving a platter of these after a rich chocolate cake – it’s unexpected and delicious. And for those Cozy Snacks? They’re pure comfort. I often make a half batch just for my family on a lazy Sunday afternoon. Serve them with a side of Creamy Tomato Soup or a crisp garden salad for a complete, satisfying meal. My personal family tradition is to make a big batch for game nights; they’re always the first thing to go!
Top Tips for Perfecting Your Garlic Butter Ham and Cheese Sliders
I’ve made these so many times that I’ve picked up a few tricks along the way. For the buns, using Hawaiian sweet rolls really adds an extra layer of flavor and a delightful sweetness that contrasts beautifully with the savory filling. However, good quality dinner rolls work just as well if you prefer something less sweet. When it comes to mixing the glaze, using fresh garlic truly makes a difference for that pungent, aromatic kick. If you’re short on time, garlic powder is a decent substitute, but don’t expect the same vibrant flavor. I’ve found that adding Dijon mustard and Worcestershire sauce are non-negotiable for me; they add a complexity that makes these sliders truly special. They provide a depth of flavor that you just can’t get from butter and garlic alone. For the cheese, using thinly sliced cheese melts much more evenly and quickly than thicker slices or shredded cheese (though shredded works in a pinch!). A combination of Swiss and cheddar is my go-to because the Swiss adds a nutty note and the cheddar brings that classic cheesy goodness. However, feel free to experiment! Monterey Jack, provolone, or even a mild gouda would be delicious. When it comes to baking, covering the sliders with foil for the first part of baking is key. This steams the buns slightly, making them incredibly soft and tender, while also allowing the cheese to melt beautifully without the tops getting too browned. Uncovering them at the end gives you that perfect golden crust. If your buns are browning too quickly, you can always loosely tent them with foil. I’ve learned this trick after a few batches that got a little too crispy on top! For ingredient swaps, if you don’t have Dijon mustard, a little bit of yellow mustard will work, though it will alter the flavor profile slightly. And for the ham, while deli ham is fantastic, leftover cooked ham, thinly sliced, can also be used – just make sure it’s not too thick.
Storing and Reheating Tips
These sliders are absolutely best enjoyed fresh, but they do store and reheat quite well. For room temperature storage, they are generally good for about 2-3 hours, especially if they’re not covered. However, I usually recommend refrigerating them if you plan to keep them longer than that. For refrigerator storage, place any leftovers in an airtight container or wrap them tightly with plastic wrap. They should stay fresh and delicious for up to 3 days. The buns might soften slightly over time, but the flavor is still incredible. When it comes to freezer instructions, I find these freeze best before baking, but reheating baked ones is also an option. To freeze unbaked sliders, assemble them completely, wrap them tightly in plastic wrap, and then in foil. They can be frozen for up to 2 months. To bake from frozen, remove the plastic wrap, keep the foil on, and bake at 350°F (175°C) for about 30-40 minutes, then remove the foil and bake for another 10-15 minutes until golden and bubbly. If you’re freezing already baked sliders, let them cool completely, then wrap them individually or in small batches in plastic wrap and then in foil. Freeze for up to 2 months. Reheating is simple: place desired amount on a baking sheet and reheat in a 300°F (150°C) oven for about 10-15 minutes, or until heated through. The glaze timing advice is simple: for the best texture, it’s always ideal to pour the glaze just before baking. If you’re freezing unbaked sliders, the glaze will soak in during the longer baking time. If you’re reheating baked sliders, you can brush a little extra melted butter with garlic on top before reheating if they seem a bit dry, but it’s usually not necessary.
Frequently Asked Questions
Final Thoughts
Honestly, these Garlic Butter Ham and Cheese Sliders are more than just a recipe to me; they’re a memory-maker. They’re the perfect blend of simple ingredients coming together to create something truly spectacular. Whether you’re hosting a party, looking for a quick weeknight dinner, or just craving something incredibly comforting and delicious, these sliders never disappoint. They’re proof that sometimes, the most wonderful meals are the ones that are the easiest to make. If you love this recipe, you might also enjoy my recipe for Cheesy Garlic Breadsticks or my Mini Meatball Subs – they have that same crowd-pleasing vibe! I really hope you give these a try. I can’t wait to hear how yours turn out and what variations you come up with! Don’t forget to leave a comment below and let me know your thoughts. Happy baking, and more importantly, happy eating!

Garlic Butter Ham and Cheese Sliders
Ingredients
Main Ingredients
- 12 slices Hawaiian rolls
- 0.5 pound Ham thinly sliced
- 0.5 pound Swiss cheese thinly sliced
Garlic Butter Sauce
- 0.5 cup Butter melted
- 2 cloves Garlic minced
- 1 teaspoon Worcestershire sauce
- 0.5 teaspoon Dijon mustard
- 0.25 teaspoon Salt
- 0.25 teaspoon Black pepper
- 1 tablespoon Poppy seeds
- 1 tablespoon Dried minced onion
Instructions
Preparation Steps
- Preheat oven to 350 degrees F (175 degrees C).
- Slice the Hawaiian rolls in half horizontally. Place the bottom halves in a greased 9x13 inch baking dish.
- Layer the ham and Swiss cheese on top of the bottom halves of the rolls.12 slices Hawaiian rolls
- In a small bowl, whisk together the melted butter, minced garlic, Worcestershire sauce, Dijon mustard, salt, and pepper.12 slices Hawaiian rolls
- Pour the garlic butter mixture evenly over the ham and cheese.
- Sprinkle the poppy seeds and dried minced onion over the top.12 slices Hawaiian rolls
- Place the top halves of the rolls over the filling.
- Cover the baking dish tightly with foil.
- Bake for 20 minutes, or until heated through and the cheese is melted.
- Remove foil and bake for an additional 5 minutes, or until lightly browned.
- Let stand for a few minutes before serving.