fudge recipe
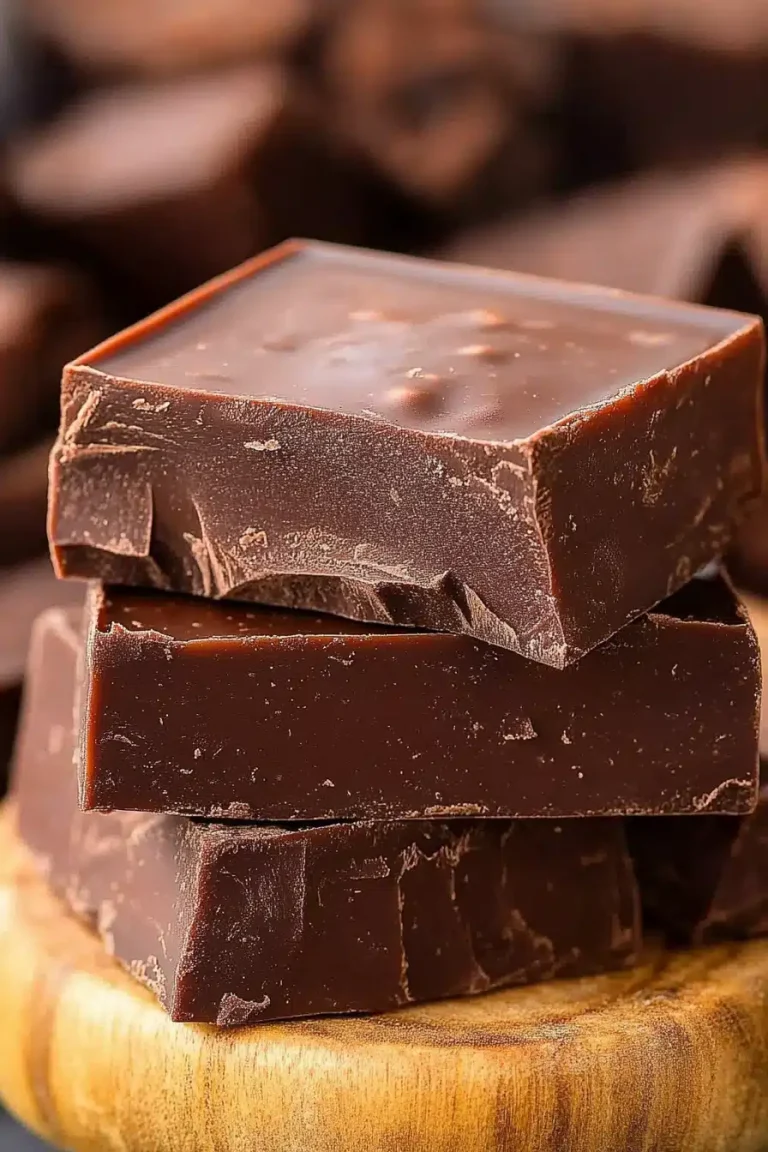
Oh, you guys! I am so, so excited to finally share this recipe with you. It’s one of those gems that feels like a secret, but honestly, it’s too good not to share. Picture this: a rich, decadent, melt-in-your-mouth chocolate fudge. Now, imagine that fudge is secretly packed with goodness, making it not just a treat, but something you can feel *slightly* better about indulging in. That’s exactly what this zucchini Fudge Recipe is. It’s a little bit magical, if you ask me. My kids devour it, my husband always asks for more, and nobody ever guesses the secret ingredient. It’s become my go-to when that chocolate craving hits hard, or when I need a quick dessert for unexpected guests. If you love classic chocolate fudge but are looking for a little twist that boosts the nutrition without sacrificing an ounce of flavor, you’ve landed in the right place. This is going to be your new favorite obsession, I promise!
What is Zucchini Fudge?
So, what exactly *is* zucchini fudge, you might be wondering? Well, think of it as your favorite, super-rich, intensely chocolatey fudge, but with a hidden superpower. The “zucchini” part might sound a little…odd, right? I get it. When I first heard about it, I was skeptical too. But trust me, the zucchini doesn’t add any zucchini flavor whatsoever. What it *does* add is incredible moisture, a wonderfully smooth texture, and a subtle creaminess that takes regular fudge to a whole new level. It’s essentially a classic fudge base, but instead of relying solely on butter and Condensed Milk for that luscious texture, we’re using finely grated zucchini. It’s a brilliant way to sneak in a veggie, and it makes the fudge so forgiving to make. It’s less prone to crystallization than traditional fudge, which is a lifesaver for home cooks like us!
Why you’ll love this recipe?
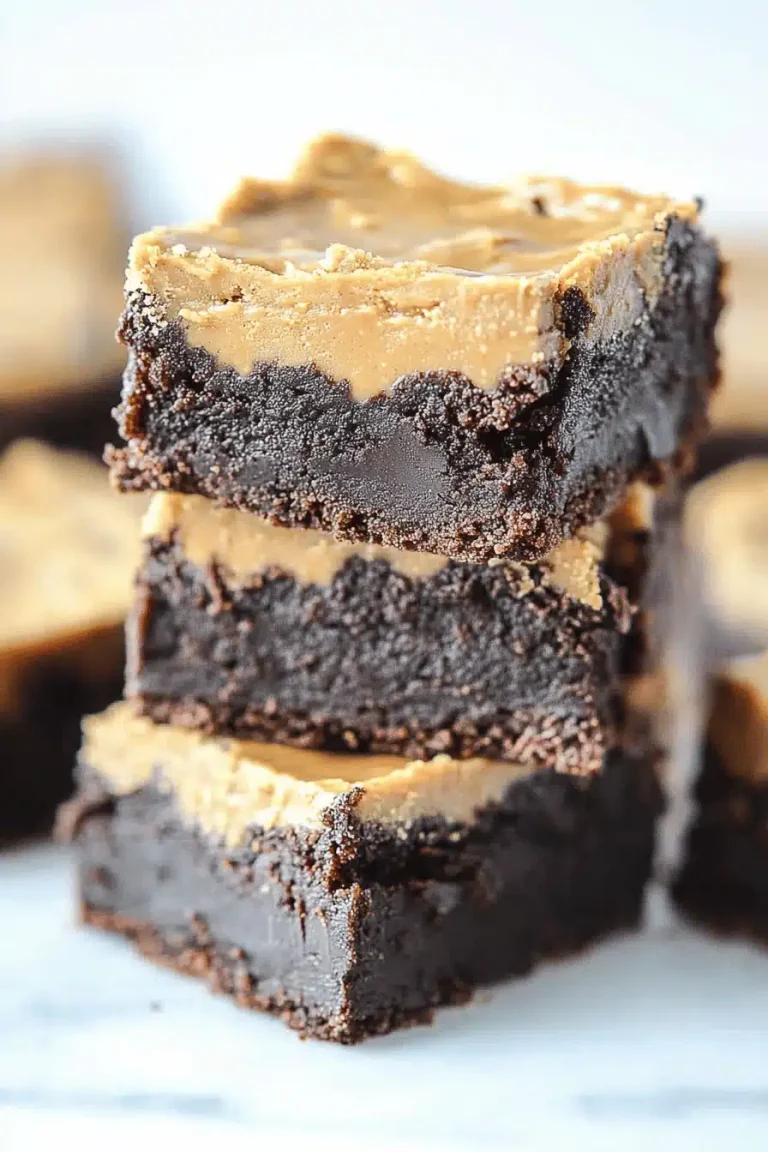
Why is this zucchini fudge recipe in my recipe box?flavorWhat I love most about this chocolatey, rich, and utterly satisfying dessert is that it’s the best fudge you’ve eversimple it is to make. Seriously, there’s no candy thermometer involved, no tricky stirring for hours. It comes together in a handful of steps, making it a lifesaver on busy nights when you need a quick sweet treat. And thecost-efficiency? It’s fantastic! Most of the ingredients are pantry staples, and the zucchini is usually super affordable, especially when it’s in season. Plus, it’s incrediblyversatile. You can dress it up with nuts, add a swirl of caramel, or keep it classic. It’s perfect for bake sales, teacher gifts, or just a weeknight indulgence. Honestly, it’s the easiest way I know to make a truly spectacular chocolate treat that feels a little bit virtuous. I’ve tested this with different types of cocoa powder, and Dutch-process always gives me the richest color and deepest flavor. If you’re a fan of my No-Bake Chocolate Peanut Butter Bars, you’ll appreciate the similar ease and decadent flavor profile here.
How to Make Zucchini Fudge
Quick Overview
Making this fudgy delight is surprisingly straightforward! You’ll start by prepping your pan and your zucchini, then melt a few simple ingredients together to create a smooth, chocolatey base. Once everything is beautifully combined and glossy, you’ll pour it into your prepared pan, let it set, and then slice into pure bliss. It’s honestly as simple as stirring and waiting. The key is using good quality chocolate and not overmixing. This recipe is designed to be foolproof, so don’t stress about it!
Ingredients
For the Main Fudge Base:
• 1 ½ cups (about 2 medium) finely grated zucchini, squeezed dry (this is super important!)
• 1 ½ cups granulated sugar
• ¾ cup unsalted butter, cut into cubes
• 2/3 cup unsweetened cocoa powder (I love Dutch-process for its richness)
• 1 teaspoon vanilla extract
• Pinch of salt
For the Swirl (Optional but highly recommended!):
• ½ cup chocolate chips (milk or dark, your preference!)
• 1 tablespoon unsalted butter
Step-by-Step Instructions
Step 1: Preheat & Prep Pan
First things first, grab an 8×8 inch Baking Pan. Line it with parchment paper, leaving some overhang on the sides. This makes lifting the fudge out *so* much easier later on. I always like to grease the paper lightly with a little cooking spray or butter, just for good measure. Set this aside.
Step 2: Mix Dry Ingredients
In a medium saucepan (make sure it’s heavy-bottomed to prevent scorching!), whisk together the granulated sugar and the cocoa powder. Give it a good stir to make sure there are no clumps. This step is simple, but it helps ensure everything melts together smoothly.
Step 3: Mix Wet Ingredients
Add the cubed butter to the saucepan with the sugar and cocoa. Place the saucepan over medium heat. Stir constantly as the butter melts and the mixture begins to warm up. Keep stirring until the butter is completely melted and the sugar has dissolved. You want a nice, smooth, glossy mixture. Don’t let it boil vigorously!
Step 4: Combine & Cook
Once the butter has melted and everything is smooth, bring the mixture to a gentle boil. This is where the magic starts happening. Let it boil for exactly 5 minutes, stirring constantly. This cooking time is crucial for the fudge to set properly. After 5 minutes, remove the pan from the heat. Stir in the vanilla extract and the pinch of salt. The salt really enhances the chocolate flavor, so don’t skip it!
Step 5: Add the Zucchini & Cool Slightly
Now, here comes the star ingredient! Gently fold in your squeezed-dry grated zucchini. Stir until it’s evenly distributed throughout the chocolate mixture. The mixture will seem a bit thicker now. Let it cool for about 10-15 minutes, stirring occasionally. You want it to be warm, but not piping hot, when you transfer it to the pan.
Step 6: Pour & Swirl (Optional)
Pour the slightly cooled fudge mixture into your prepared pan. Smooth the top with a spatula. If you’re doing the swirl, melt the ½ cup of chocolate chips and 1 tablespoon of butter in a small microwave-safe bowl (or a double boiler). Stir until smooth and pourable. Drizzle this melted chocolate over the fudge in the pan. Then, use a toothpick or a knife to swirl it through the fudge. Don’t over-swirl; you want distinct ribbons of chocolate!
Step 7: Chill & Set
This is the hardest part – waiting! Place the pan in the refrigerator and let the fudge chill and set for at least 2-3 hours, or until it’s firm to the touch. The longer it chills, the better it sets.
Step 8: Slice & Serve
Once the fudge is completely set, use the parchment paper overhang to lift it out of the pan. Place it on a cutting board and use a sharp knife to cut it into small squares. I like to make mine about 1-inch by 1-inch. Enjoy your amazing homemade zucchini fudge!
What to Serve It With
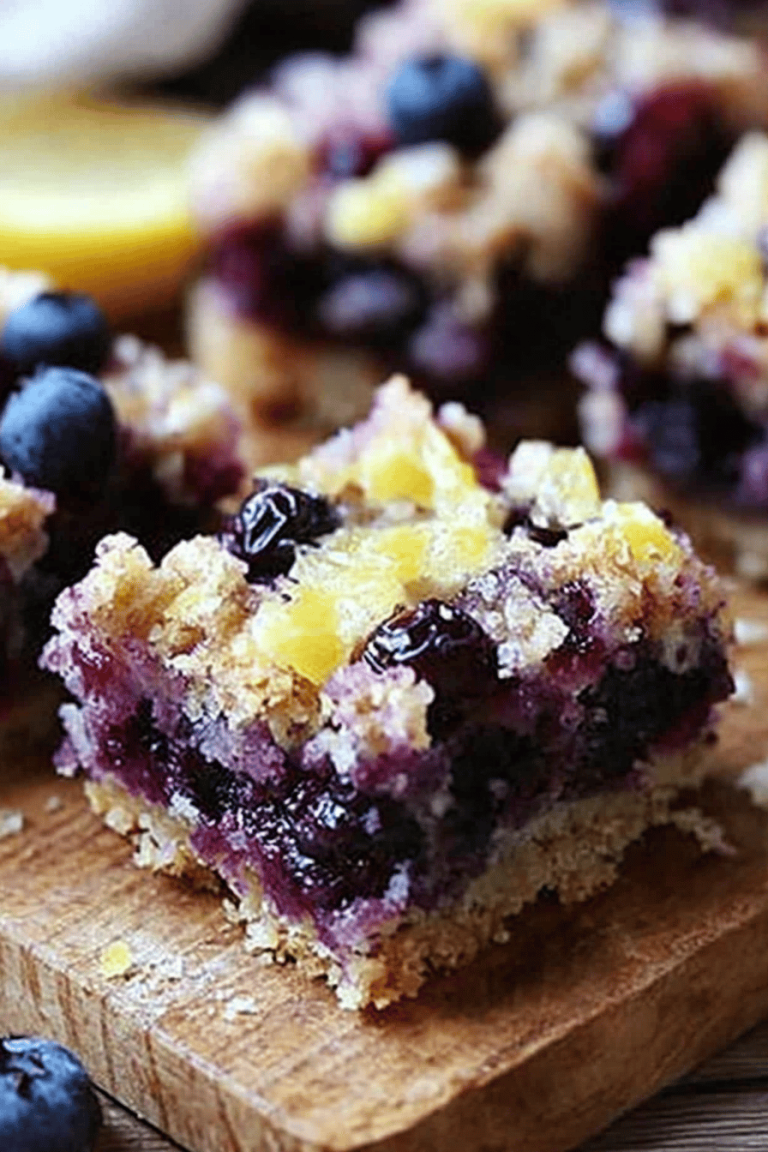
This zucchini fudge is so versatile, it’s perfect for almost any occasion! Forbreakfast, I love cutting it into tiny squares and serving one or two alongside a strong cup of coffee. It’s like a little secret indulgence to start the day. Forbrunch, it’s a decadent addition to a dessert platter. I like to arrange the squares artfully with some Fresh Berries and maybe a dollop of whipped cream. A nice glass of milk or a lighter dessert wine pairs beautifully. Asdessert, well, it speaks for itself! It’s rich, so a small piece is usually enough after a meal. It’s particularly wonderful with a scoop of vanilla bean ice cream or a dusting of powdered sugar. And for thosecozy snacks? This is my absolute favorite. A warm mug of tea, a good book, and a few pieces of this fudge – pure bliss. My kids always ask for seconds, and honestly, so do I!
Top Tips for Perfecting Your Zucchini Fudge
I’ve made this zucchini fudge more times than I can count, and along the way, I’ve picked up a few tricks that make it even better. Here are my top tips to help you achieve fudge perfection:
Zucchini Prep: This is absolutely critical! You *must* squeeze as much moisture out of the grated zucchini as possible. I use a clean kitchen towel or cheesecloth and wring it out like a wet sponge. If you don’t squeeze it dry, your fudge can end up too soft or watery. Use fresh zucchini for the best flavor and texture.
Mixing Advice: When you’re melting the butter, sugar, and cocoa, stir constantly and don’t let it get too hot or boil too vigorously. We’re aiming for a smooth dissolution of sugar. Overheating can lead to a grainy texture. After adding the zucchini, stir it in gently but thoroughly. The cooling time before pouring is also important; too hot and it might not set well, too cool and it might be too stiff to pour evenly.
Swirl Customization: The swirl is optional, but it adds such a lovely visual appeal and extra chocolatey punch! Don’t overdo it with the toothpick. Just a few gentle swirls will create beautiful ribbons. You can also try adding a pinch of sea salt on top of the swirl for a little salty-sweet contrast. If you’re feeling adventurous, a drizzle of white chocolate or even a peanut butter ganache can be fun!
Ingredient Swaps: For the cocoa powder, Dutch-process gives the richest, darkest color and flavor, but natural cocoa powder will work too. You might need to adjust sweetness slightly depending on the cocoa. If you don’t have unsalted butter, salted can work in a pinch, but you’ll want to reduce or omit the added salt in the recipe. For the chocolate chips in the swirl, milk, semi-sweet, or dark all work beautifully; it’s really about your personal preference.
Baking Tips: This fudge doesn’t actually bake in an oven! It sets up in the refrigerator. The key is ensuring it’s fully chilled. If your kitchen is particularly warm, or you want to speed things up, you can place the pan in the freezer for an hour or so, but make sure it doesn’t freeze solid. I’ve found placing it on the back of the fridge shelf where it’s coldest usually does the trick.
Glaze Variations: While the chocolate swirl is my favorite, you can skip it entirely and just have plain fudge. Alternatively, you could do a light dusting of cocoa powder or powdered sugar once the fudge is set. A sprinkle of chopped nuts (walnuts or pecans are lovely) on top before it sets is also a fantastic addition if you’re not worried about allergies!
Storing and Reheating Tips
Storing this delicious zucchini fudge is pretty straightforward, and thankfully, it keeps well! For best results, I always recommend keeping it chilled. Atroom temperature, it can start to get a little soft, especially if your house is warm. It’s best stored in an airtight container in a cool, dry place for up to 2 days. If you’re in a humid climate or it’s summertime, I’d err on the side of caution and head straight to the fridge.Refrigerator storage is my preferred method. Once the fudge is set, I cut it into squares and store them in an airtight container, separated by layers of parchment paper so they don’t stick together. It stays wonderfully firm and delicious in the fridge for up to a week, sometimes even longer! Forfreezer instructions, wrap the cut fudge squares tightly in plastic wrap, then in aluminum foil, or place them in a freezer-safe airtight container. It can be frozen for up to 2-3 months. To thaw, simply transfer the frozen fudge to the refrigerator and let it come to room temperature slowly. I find this prevents any condensation. As forglaze timing advice, if you plan to freeze it, it’s best to add the glaze *after* thawing. If you’re storing it in the fridge or at room temp for a short period, applying the glaze before chilling is perfectly fine.
Frequently Asked Questions
Final Thoughts
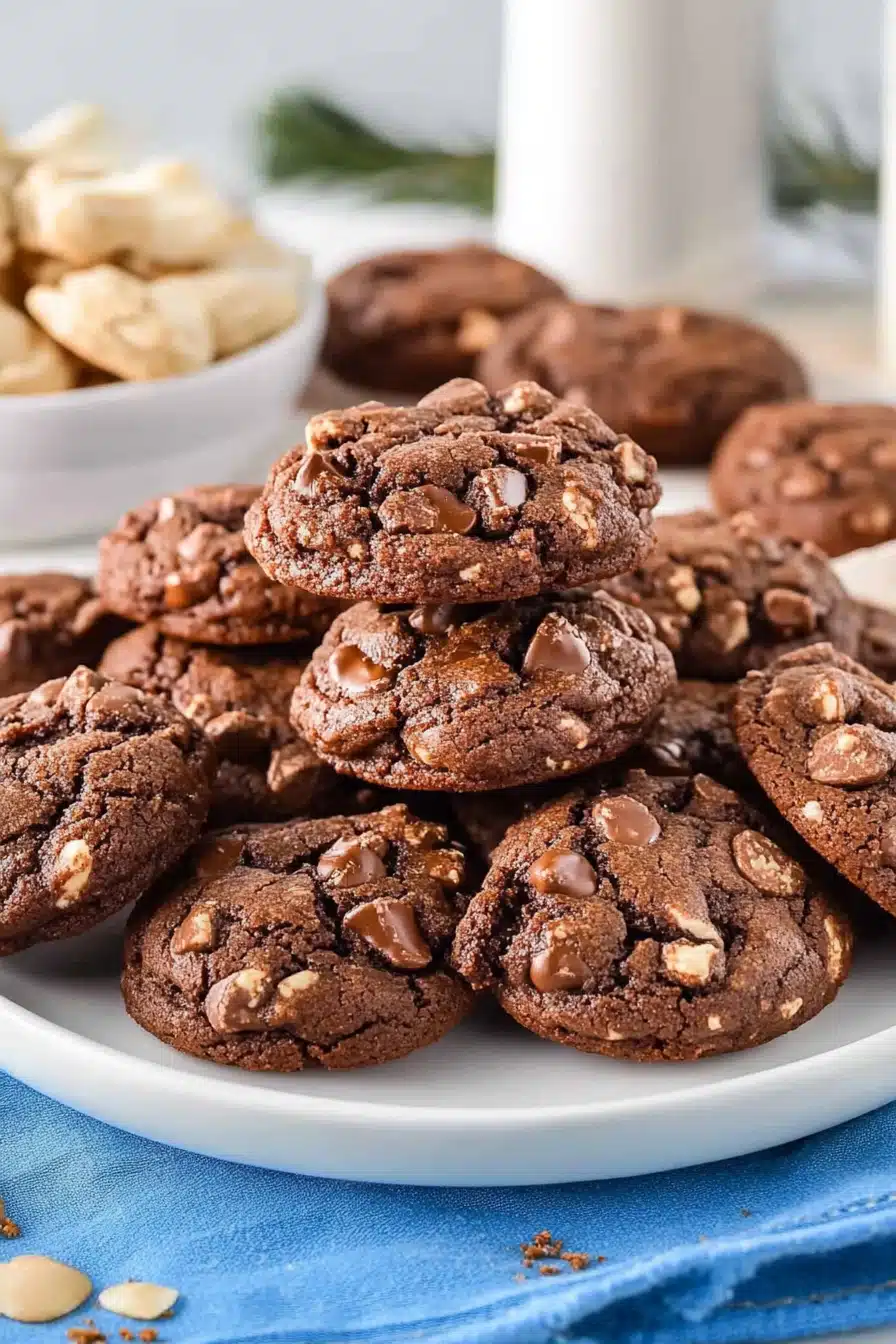
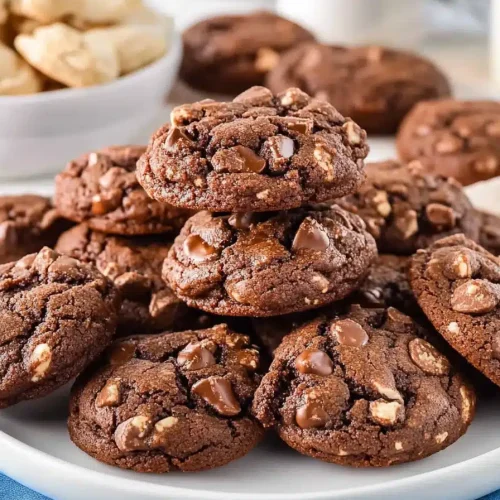
So there you have it – my absolute favorite zucchini fudge recipe! It’s a testament to how simple ingredients and a little bit of kitchen magic can create something truly special. This fudge is proof that you don’t need complicated techniques or exotic ingredients to make an incredibly decadent treat. It’s rich, it’s chocolatey, and it’s surprisingly easy. I really hope you give this a try, especially if you’re a chocolate lover like me. It’s become a staple in my home, and I’m so excited for it to become a staple in yours too. If you enjoy this, you might also want to check out my recipe for Double Chocolate Chip Cookies – they’re another family favorite! I can’t wait to hear how your zucchini fudge turns out! Please leave a comment below with your thoughts, any variations you tried, or just to say hello!
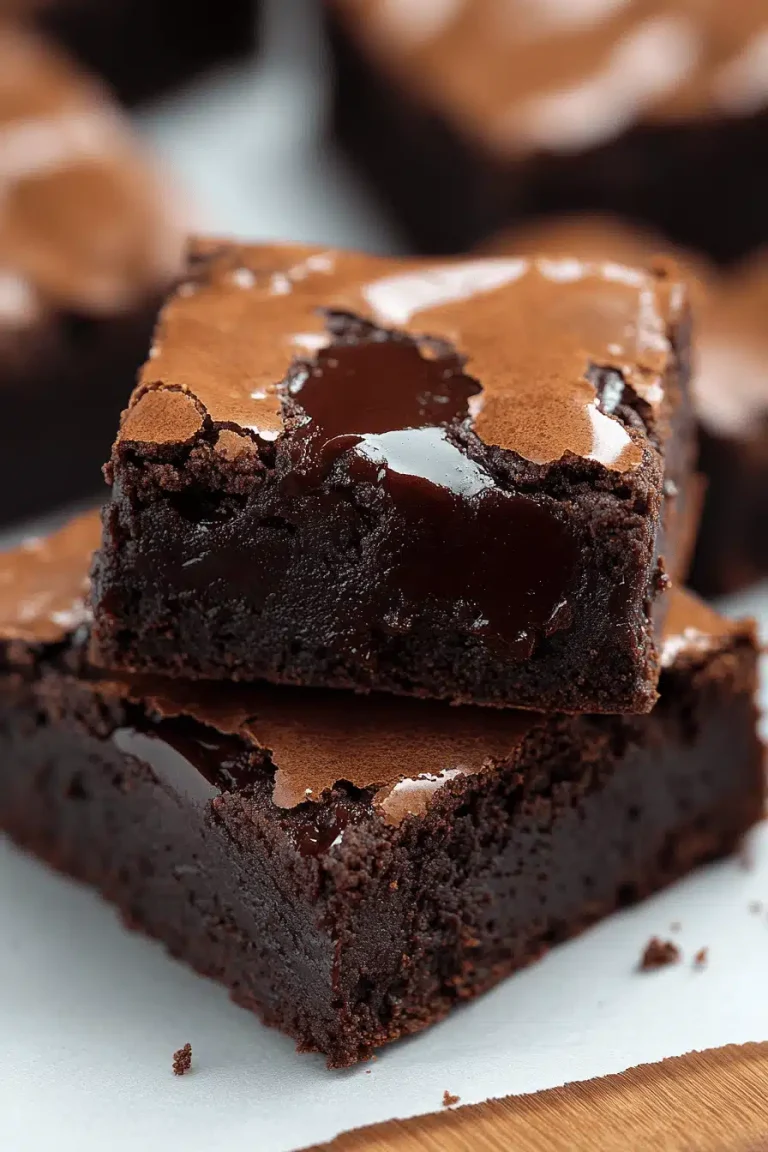
Easy Chocolate Fudge
Ingredients
Main Ingredients
- 3 cups granulated sugar
- 0.5 cup butter unsalted
- 0.5 cup evaporated milk
- 1 teaspoon vanilla extract
- 6 ounces semi-sweet chocolate chips
- 1 jar marshmallow creme
Instructions
Preparation Steps
- Line an 8x8 inch baking pan with parchment paper, leaving some overhang on the sides.
- In a medium saucepan, combine sugar, butter, and evaporated milk. Bring to a rolling boil over medium heat, stirring constantly.
- Boil for exactly 4 minutes, stirring constantly. Do not overcook.
- Remove from heat. Stir in chocolate chips and marshmallow creme until smooth. Then stir in vanilla extract.
- Pour the fudge mixture into the prepared baking pan and spread evenly. You can also add nuts at this stage if desired.
- Let it cool completely at room temperature for about 2-3 hours, or until firm.
- Once firm, lift the fudge out of the pan using the parchment paper overhang. Cut into squares and serve.