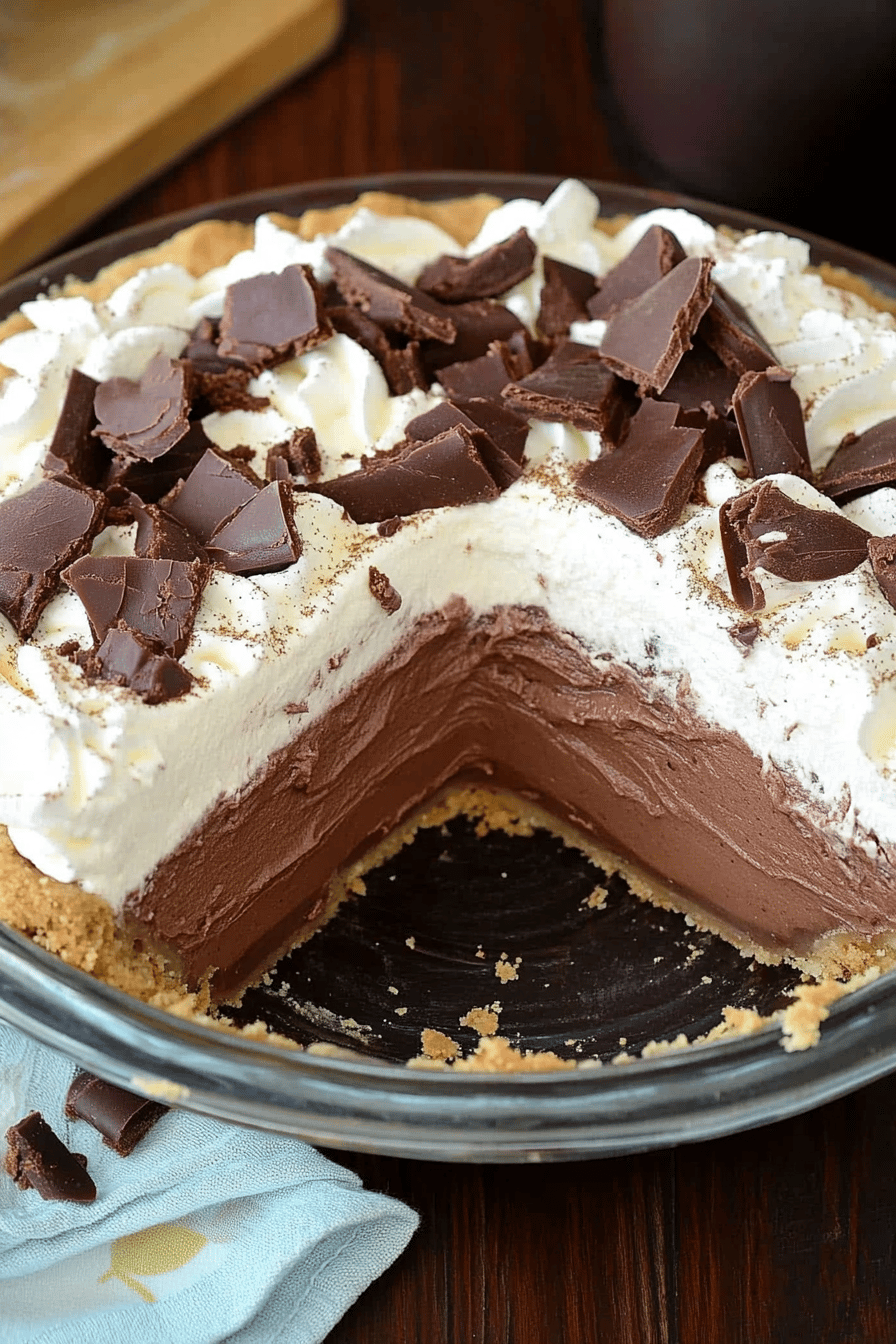
French Silk Pie Recipe
If you are a dessert enthusiast looking for a decadent treat, this French silk Pie Recipe will surely become a favorite in your kitchen. With its velvety chocolate filling and flaky crust, it’s a perfect blend of rich flavors and silky textures. This recipe is straightforward to follow, and within no time, you will have a dessert that impresses both visually and gastronomically.
When I was a child, Sunday dinners at my grandmother’s house were a family tradition. She would always surprise us with a lavish dessert, but nothing compared to her absolutely divine French silk pie. I remember the first time she let me in on the secret process — I was captivated by how simple ingredients could create such elegance. Recreating this dish always brings back heartfelt memories of those cherished family gatherings.
Why You’ll Love This Recipe
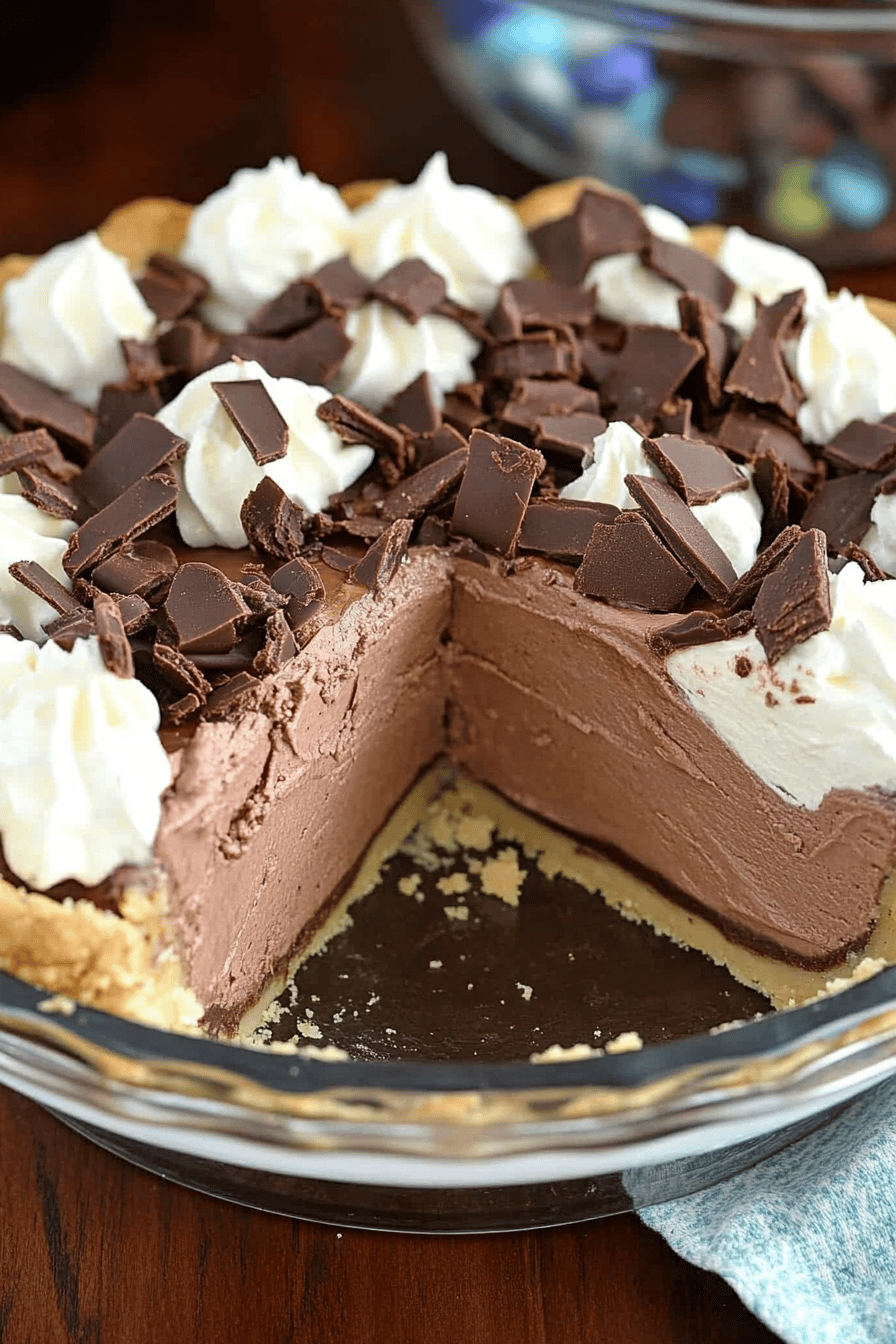
This French silk Pie Recipe stands out for its exceptional creaminess and the balance of richness it offers without being overly sweet. The smooth texture feels luxurious on the palate, and when paired with a homemade buttery crust, it’s pure perfection. The recipe is great for both novice and seasoned bakers looking for an impressive yet feasible dessert. Additionally, it uses simple ingredients that are readily available.
Ingredients Notes
Every ingredient plays a crucial role in crafting the perfect pie. High-quality unsweetened chocolate is recommended for the best flavor. If you can’t find it, Dark Chocolate will work as well. A top tip is to use unsalted butter to control the salt levels. For those in a pinch, pre-made pie crust can be a time-saver, though homemade is best for the authentic taste.
Recipe Steps
Step 1
Preheat your oven to 375°F (190°C). Prepare your pie crust by gently placing it into a pie pan, trimming the edges neatly. Bake for 20 minutes until golden and let it cool slightly.
Step 2
While the crust cools, melt the chocolate gently over a double boiler, stirring occasionally until it’s smooth. Allow it to cool at room temperature — this is crucial for maintaining texture.
Step 3
In a separate bowl, cream together butter and sugar until fluffy. Gradually add the cooled melted chocolate, mixing constantly. Make sure the chocolate is cool to prevent melting the butter.
Step 4
Beat in eggs one at a time, ensuring each is fully incorporated before adding the next. This step is essential for achieving a light, airy texture.
Step 5
Spoon the chocolate filling into the prepared crust, smoothing the top with a spatula. Chill in the refrigerator for at least 4 hours or until the filling is firm. Serve with whipped cream, if desired.
Storage Options
To store leftovers, cover the pie with plastic wrap and refrigerate for up to 3 days. For longer storage, the pie can be frozen without cream topping; wrap tightly in plastic and aluminum foil, and freeze for up to 2 months. Thaw overnight in the refrigerator before serving. If reheating, do so gently to preserve the texture.
Variations & Substitutions
For those with dietary restrictions, swap regular butter for a dairy-free alternative to create a lactose-free version. You can also experiment with flavored extracts such as mint or orange for an exciting twist. For a low-sugar variant, replace sugar with a suitable sweetener, although it may slightly impact taste and texture.
Serving Suggestions
This pie is ideal for special occasions like holidays or dinner parties, where its elegance can truly shine. Serve with a dollop of freshly whipped cream or a scoop of vanilla Ice Cream. Pair with a cup of strong coffee or dessert wine to enhance the chocolate’s rich flavor.
Frequently Asked Questions
Can I make this pie ahead of time? Yes, this is a great make-ahead dessert. The pie can be prepared a day in advance, allowing the flavors to meld more deeply overnight in the fridge. Simply add any toppings just before serving to keep them fresh.
Is it safe to eat raw eggs in French silk pie? Traditional French silk pie uses raw eggs, which can pose a small risk. For peace of mind, you can use pasteurized eggs as a safer alternative. Pasteurizing eggs involves heating them to a specific temperature that destroys bacteria while keeping the eggs usable in recipes that require raw eggs.
What can I do if my filling is too runny? If your filling doesn’t set properly, it might be that the chocolate was too warm when mixed. Try placing the pie in the freezer for an hour to help the filling firm up. Next time, ensure the chocolate is fully cooled and consider reducing butter slightly for a firmer texture.
In conclusion, this French silk pie is a delightful addition to any dessert repertoire, celebrating the harmonious blend of simplicity and luxury. Whether it’s for a festive holiday or an intimate dinner, it’s bound to leave a lasting impression on all who taste it.
French Silk Pie Recipe
Ingredients
Main Ingredients
- 1.5 cups sugar
- 0.5 cup softened butter
- 2 tablespoons unsweetened cocoa powder best quality
Instructions
Preparation Steps
- In a large mixing bowl, cream together sugar and butter until light and fluffy.
- Add cocoa powder and mix until fully incorporated.