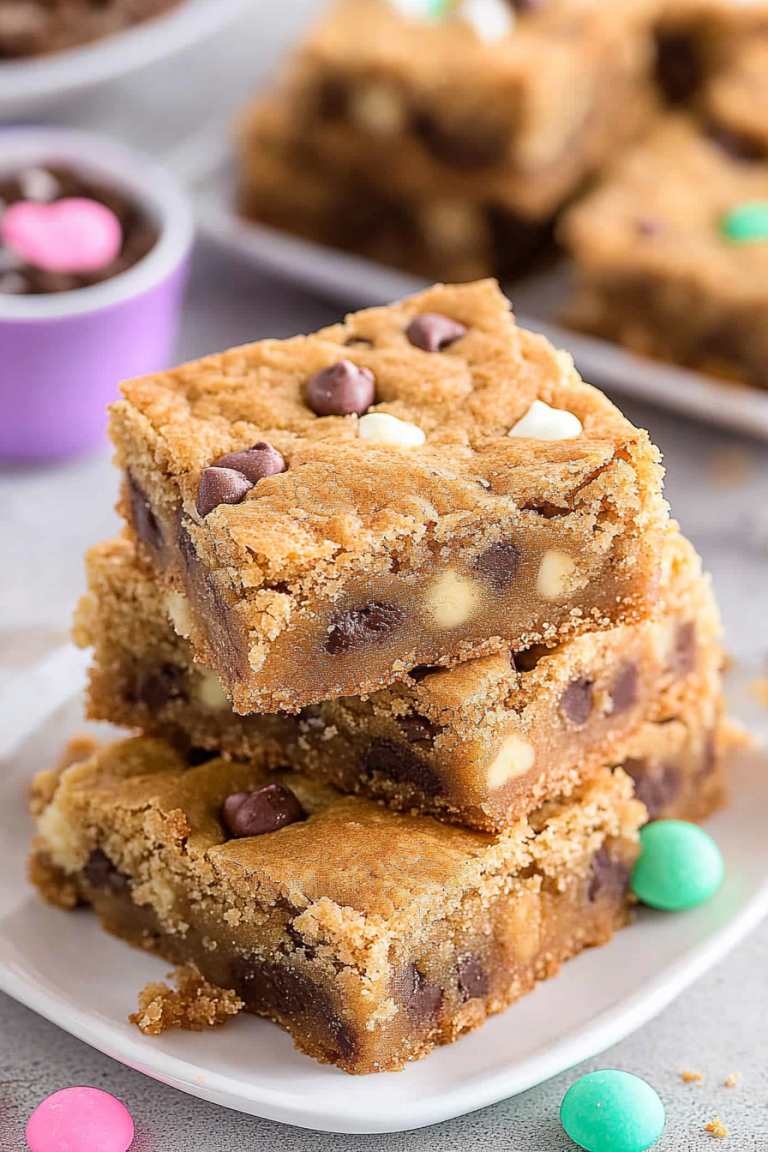
crumb cake recipe
Oh, this crumb cake! Just the thought of it makes my kitchen smell like pure happiness. It’s one of those recipes that’s been passed down, tinkered with, and loved so much that it’s practically part of our family history. I remember my grandma making this every Sunday after church, and the scent of cinnamon and brown sugar wafting through the house was the signal that a perfect afternoon was about to unfold. It’s not just a cake; it’s a warm hug in dessert form, and I swear it has this magical ability to make any day feel special, even a random Tuesday. If you’re looking for a truly decadent, melt-in-your-mouth Crumb Cake Recipe that’s surprisingly simple to whip up, you’ve found your new best friend. It’s honestly a lifesaver when you need something impressive without all the fuss of a fancy layered cake. This is the kind of treat that disappears in minutes, and I always get asked for the recipe – so I’m thrilled to share my tried-and-true version with you all today!
What Is Crumb Cake?
So, what exactly is crumb cake, you ask? Think of it as a glorious celebration of two of the best things in baking: a tender, moist cake base and an absolutely overflowing, buttery, crunchy streusel topping. It’s essentially a cake that’s generously blanketed in a sweet, spiced, crumbly mixture. Some people call it streusel cake, others know it as a Coffee Cake (though this version is definitely more dessert-focused than breakfast-y, in my opinion!), but no matter the name, it’s always a crowd-pleaser. The magic really happens in that topping – it’s packed with flavor and creates this irresistible texture contrast with the soft cake underneath. It’s less about intricate frosting and more about pure, unadulterated, delicious simplicity. My version leans into that generous topping philosophy; I’m not shy with the crumbs, and neither should you be!
Why you
Honestly, why *wouldn’t* you love this recipe? I’ve tested so many Crumb Cake variations over the years, and this one always comes out on top for so many reasons. First, the flavor is just out of this world. That buttery, cinnamon-spiced crumb topping isn’t just sprinkled on; it’s piled high, getting delightfully crisp on top and wonderfully soft underneath from the cake’s moisture. The cake itself is incredibly tender and moist, not too sweet, which is the perfect canvas for all that glorious crumb. It’s the kind of cake that makes you close your eyes with every bite.
But it’s not just about the taste, is it? This recipe is surprisingly simple. I’ve had nights where I’ve needed a last-minute dessert for unexpected guests, and this crumb Cake Recipe has saved the day more times than I can count. The steps are straightforward, and you likely have most of the ingredients in your pantry already. Plus, it’s incredibly cost-effective. You’re not dealing with specialty ingredients or expensive extracts; just good old-fashioned, wholesome goodness.
What I love most, though, is its versatility. While it’s absolutely divine on its own, it’s also fantastic served with a scoop of vanilla Ice Cream, a dollop of whipped cream, or even a drizzle of caramel sauce. It’s perfect for a special occasion, but it’s also cozy enough for a quiet afternoon with a cup of tea. It’s not as fussy as a birthday cake but far more impressive than a standard loaf. It’s also incredibly forgiving – if you accidentally leave it in the oven a minute or two longer, it’s usually still perfect. Unlike some delicate cakes, this crumb cake recipe has a forgiving nature that makes it a joy to bake. It’s truly the best of all worlds, and I know you’re going to fall head over heels for it, just like my family and I have.
How to Make Crumb Cake
Quick Overview
This recipe is designed for maximum flavor and minimal stress. We’ll start by preparing a simple, moist cake batter, then create an irresistible, buttery crumb topping that’s piled generously over the batter. Once baked to golden perfection, a simple glaze ties it all together. The beauty of this method is that it’s incredibly forgiving, and the “wow” factor is off the charts for the effort involved. You’ll be amazed at how quickly this comes together, making it perfect for weeknights or spontaneous baking sessions.
Ingredients
For the Main Batter:
2 ½ cups all-purpose flour: Make sure it’s fresh! Sifting it isn’t strictly necessary but can give you a slightly lighter cake.
1 ½ teaspoons baking powder: This gives our cake its lift.
½ teaspoon baking soda: Works with the leavening agents for a tender crumb.
½ teaspoon salt: Balances the sweetness and brings out other flavors.
1 cup (2 sticks) unsalted butter, softened: Crucial for flavor and texture. Don’t use margarine; it won’t be the same!
1 ¾ cups granulated sugar: For sweetness, but not overwhelmingly so.
2 large eggs: Room temperature eggs incorporate better and create a more emulsified batter.
1 teaspoon vanilla extract: Pure vanilla extract makes a difference!
1 cup milk: Whole milk is best for richness, but 2% works too. I’ve even tested this with almond milk and it actually made it even creamier!
For the Filling:
½ cup packed light brown sugar: This gives our filling that classic caramel-like sweetness.
1 tablespoon ground cinnamon: Generous cinnamon is key to that cozy flavor.
1 teaspoon ground nutmeg (optional, but highly recommended!): Adds a warm, subtle spice that complements the cinnamon beautifully.
¼ cup all-purpose flour: Helps bind the filling and keep it from being too wet.
4 tablespoons (½ stick) unsalted butter, melted: This is what makes the filling gooey and delicious.
For the Glaze:
1 cup powdered sugar: For that smooth, sweet finish.
2-3 tablespoons milk (or cream): Start with 2 tablespoons and add more until you reach your desired drizzling consistency.
½ teaspoon vanilla extract: Enhances the glaze flavor.
Step-by-Step Instructions
Step 1: Preheat & Prep Pan
First things first, let’s get our oven ready. Preheat it to 350°F (175°C). You’ll need a 9×13 inch baking pan for this. I like to grease and flour it thoroughly – really get into all the corners. Alternatively, you can line it with parchment paper, leaving some overhang on the sides to make it easier to lift the cake out later. This little step prevents any heartbreak of the cake sticking!
Step 2: Mix Dry Ingredients
In a medium bowl, whisk together the flour, baking powder, baking soda, and salt. Give it a good whisk to make sure everything is evenly distributed. This ensures your leavening agents and salt are spread throughout, leading to a perfectly risen and balanced cake.
Step 3: Mix Wet Ingredients
In a large bowl, cream together the softened butter and granulated sugar until light and fluffy. This usually takes about 3-5 minutes with an electric mixer. Beat in the eggs, one at a time, then stir in the vanilla extract. Don’t worry if it looks a little curdled at this stage; it will come together.
Step 4: Combine
Now, we’ll alternate adding the dry ingredients and the milk to the wet ingredients. Start by adding about a third of the dry ingredients and mix until just combined. Then, add half of the milk and mix. Repeat this process, ending with the dry ingredients. Be careful not to overmix! Overmixing develops the gluten in the flour, which can lead to a tough cake. Just mix until no dry streaks remain.
Step 5: Prepare Filling
In a separate bowl, combine the brown sugar, cinnamon, nutmeg (if using), and flour. Pour in the melted butter and stir until it forms a crumbly, moist mixture. This is your glorious streusel filling! It should be thick but spreadable.
Step 6: Layer & Swirl
Pour about half of the cake batter into your prepared pan and spread it evenly. Now, spoon about half of the filling mixture over the batter. Gently spread it as best you can without mixing it into the batter. Pour the remaining batter over the filling and then top with the rest of the filling mixture. If you’re feeling adventurous, you can use a knife or skewer to gently swirl the filling through the top layer of batter for a marbled effect. But honestly, just piling it on is perfectly delicious!
Step 7: Bake
Bake in your preheated oven for 35-45 minutes, or until a toothpick inserted into the center of the cake comes out clean. The topping should be golden brown and irresistible. Keep an eye on it towards the end, as oven temperatures can vary. If the topping starts to brown too quickly, you can loosely tent the pan with foil.
Step 8: Cool & Glaze
Let the cake cool in the pan on a wire rack for at least 20-30 minutes before glazing. While it’s cooling, whisk together the powdered sugar, vanilla extract, and 2 tablespoons of milk in a small bowl. Add more milk, a teaspoon at a time, until you reach a pourable, but not too thin, consistency. Drizzle the glaze over the still-warm cake. The warmth of the cake will help the glaze set beautifully.
Step 9: Slice & Serve
Once the glaze has set a bit, you can slice into this masterpiece. It’s absolutely divine when still slightly warm, but also fantastic at room temperature. Enjoy every crumb!
What to Serve It With
This crumb cake is so wonderfully versatile, it fits into almost any occasion. For a relaxed Saturday morning breakfast, I love serving it alongside a steaming mug of my favorite dark roast coffee. The rich coffee flavor is the perfect complement to the sweet, spiced cake. It’s also fantastic with a side of fresh berries, like raspberries or blueberries, if you want a little fresh contrast.
If you’re hosting a brunch, this crumb cake is a showstopper. I like to present it on a nice cake stand, perhaps with a few extra berries artfully arranged around it. A glass of fresh orange juice or a sparkling mimosa pairs wonderfully. It adds that touch of homemade elegance without requiring you to spend hours in the kitchen.
As a dessert, it truly shines. Imagine serving a generous slice after dinner with a scoop of high-quality vanilla bean ice cream that slowly melts into the warm cake. Or, for something a bit richer, a dollop of lightly sweetened whipped cream or a drizzle of warm caramel sauce takes it to a whole new level. It’s the perfect sweet ending without being overly complicated.
And for those cozy, quiet moments when you just need a little comfort? This cake is your answer. It’s perfect with a cup of herbal tea, like chamomile or peppermint, or even just a glass of cold milk. It’s the ultimate “treat yourself” snack that feels both indulgent and comforting. My kids actually ask for this all the time when they want something sweet after school, and it always hits the spot. It’s truly a recipe that brings joy, no matter how you serve it.
Top Tips for Perfecting Your Crumb Cake
Over the years, I’ve learned a few tricks that really elevate this crumb cake from good to absolutely unforgettable. First, when it comes to the brown sugar for the topping, make sure it’s nice and moist. If your brown sugar has hardened up, you can revive it by popping it in the microwave with a damp paper towel for about 10-15 seconds, or by placing it in an airtight container with a slice of apple for a day. This ensures your topping will be wonderfully gooey and flavorful, not dry and chalky.
For the cake batter, resist the urge to overmix! I know it’s tempting to beat everything until it’s perfectly smooth, but a few tiny lumps are actually a good thing. Overmixing develops gluten, which can make your cake tough and dense. Mix only until the dry ingredients are just incorporated. You’ll get a much more tender crumb this way. Trust me on this one; I learned that the hard way years ago!
Don’t be shy with the crumb topping! The picture in your mind of a truly magnificent crumb cake should involve a thick, generous layer of those delicious crumbs. Don’t just sprinkle it on; really pile it up. The beauty of this recipe is that the topping gets delightfully crisp on the edges and wonderfully soft and cake-like underneath, absorbing some of the moisture from the cake. It’s that textural contrast that makes it so addictive.
When it comes to ingredient swaps, I’ve experimented quite a bit. If you find yourself out of regular milk, I’ve had success using buttermilk or even Greek yogurt thinned with a little water for added tang and moisture in the cake batter. For the glaze, if you prefer a lemon flavor, swap out the vanilla for a teaspoon of lemon zest and a tablespoon of lemon juice in the glaze. It adds a lovely brightness that cuts through the sweetness beautifully. And if you’re not a fan of cinnamon or nutmeg, you can omit them and add a bit of cardamom or even some finely chopped orange zest to the topping for a different twist.
Baking temperature is always a bit of a personal journey depending on your oven. My oven tends to run a little hot, so I often bake this at 325°F (160°C) for a few extra minutes. Always do the toothpick test in the center; that’s your most reliable indicator. The edges should be golden brown, and the center should spring back lightly when touched. For the glaze, the key is consistency. If it’s too thick, add milk a tiny bit at a time. If it’s too thin, whisk in a little more powdered sugar. You want it to drizzle nicely, not run off the cake entirely.
Storing and Reheating Tips
One of the best things about this crumb cake recipe is how well it stores. If you happen to have any leftovers (which is rare in my house!), you can keep it at room temperature for up to two days. Just make sure it’s covered tightly with plastic wrap or an airtight container. The moisture from the cake helps keep it from drying out too much. It’s honestly just as good, if not better, the next day!
If you know you won’t finish it within a couple of days, or if your kitchen tends to be warm, storing it in the refrigerator is a great option. Place it in an airtight container. It will stay fresh in the fridge for about 4-5 days. When you’re ready to enjoy a slice, I highly recommend letting it come back to room temperature for about 20-30 minutes before serving. This brings out the best flavor and texture. If you prefer it slightly warm, you can pop a slice in the microwave for about 10-15 seconds, but be careful not to overheat it, as it can make the cake a bit tough.
For longer storage, this crumb cake freezes beautifully! Once it has cooled completely, you can wrap it tightly in a layer of plastic wrap, followed by a layer of aluminum foil, or place it in a freezer-safe airtight container. It will keep well in the freezer for up to 2-3 months. To thaw, simply remove it from the freezer and let it come to room temperature on the counter. If you plan to reheat it, you can gently warm slices in a low oven (around 300°F or 150°C) for about 5-10 minutes until warmed through. It’s a lifesaver for those moments you want a homemade treat without any last-minute baking!
Regarding the glaze, I always recommend adding it *after* the cake has cooled a bit. If you’re freezing the cake, it’s often best to freeze it *without* the glaze. Then, once it’s thawed and you’re ready to serve, you can whip up a fresh glaze and drizzle it over the top. This ensures the glaze stays nice and smooth and doesn’t get icy in the freezer. However, if you’re just storing it for a day or two, glazing before storing is perfectly fine!
Frequently Asked Questions
Final Thoughts
So there you have it – my absolute favorite crumb cake recipe! I truly hope you give this one a try. It’s more than just a recipe; it’s a little piece of home and comfort that’s so simple to bring into your own kitchen. The way the golden, crisp topping gives way to that tender, moist cake is just pure bliss. It’s the kind of cake that sparks joy with every bite, and it’s so rewarding to see the smiles it brings to faces. It’s one of those dependable recipes that always delivers, no matter what else is going on.
If you love this crumb cake, you might also enjoy my recipe for [Link to another delicious cake recipe, e.g., “Apple Cinnamon Coffee Cake”] or my guide to [Link to a baking tips article, e.g., “Perfecting Pie Crusts”]. They all come from that same place of wanting to create delicious, approachable baked goods that everyone can enjoy. Baking should be fun, and this crumb cake recipe truly embodies that spirit.
I can’t wait to hear how yours turns out! If you make it, please let me know in the comments below. Did you add anything special? How did your family like it? I love seeing your creations and hearing your baking stories. Happy baking, and enjoy every single crumb!
Best Crumb Cake Recipe Taste New York
Ingredients
Cake Ingredients
- 2.5 cups All-purpose flour
- 1 teaspoon Baking powder
- 1 teaspoon Baking soda
- 0.5 teaspoon Salt
- 1.5 sticks Butter (softened)
- 1.5 cups Sugar
- 2 Eggs
- 1 cup Sour cream
- 1 teaspoon Pure vanilla extract
Crumb Topping Ingredients
- 1 cup Light brown sugar
- 0.5 cup Sugar
- 0.5 teaspoon Salt
- 1.5 tablespoons Ground cinnamon
- 2 sticks Butter (melted)
- 2.5 cups All-purpose flour
Instructions
Mix the Batter
- Preheat oven to 350°F (175°C).
- Butter a 9x13 inch baking dish and set aside.
- In a medium bowl, sift together the flour, baking powder, baking soda, and salt. Set aside.
- In a mixing bowl, cream the softened butter until smooth.
- Add the sugar and continue to beat until the mixture is fluffy.
- Add the eggs and beat until completely incorporated, scraping down the sides of the bowl as needed.
- Mix in the sour cream and vanilla.
- Gradually add the flour mixture, scraping down the sides of the bowl, beating until incorporated.
- Pour the batter into the prepared baking dish and set aside.
Make the Topping
- In a medium bowl, whisk together the brown sugar, sugar, salt, and cinnamon; add melted butter and continue to whisk until thoroughly combined.
- Fold in the flour until absorbed; drop chunks of the topping over the entire cake.
Bake the Cake
- Bake for 50 to 55 minutes, or until a toothpick inserted in the center comes out clean.
- Cool in pan for 30 minutes.
- Cut into 24 equal pieces and serve.