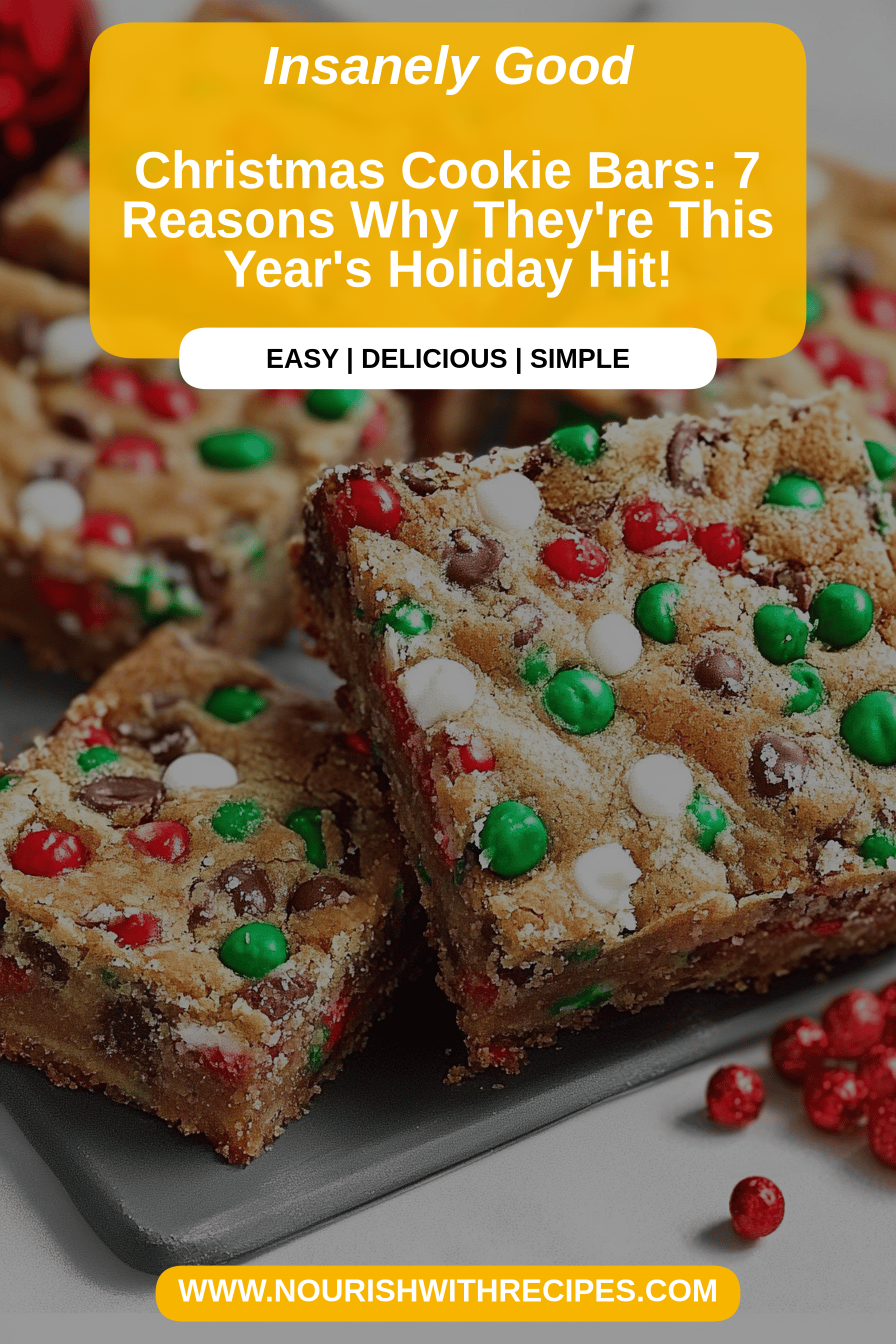
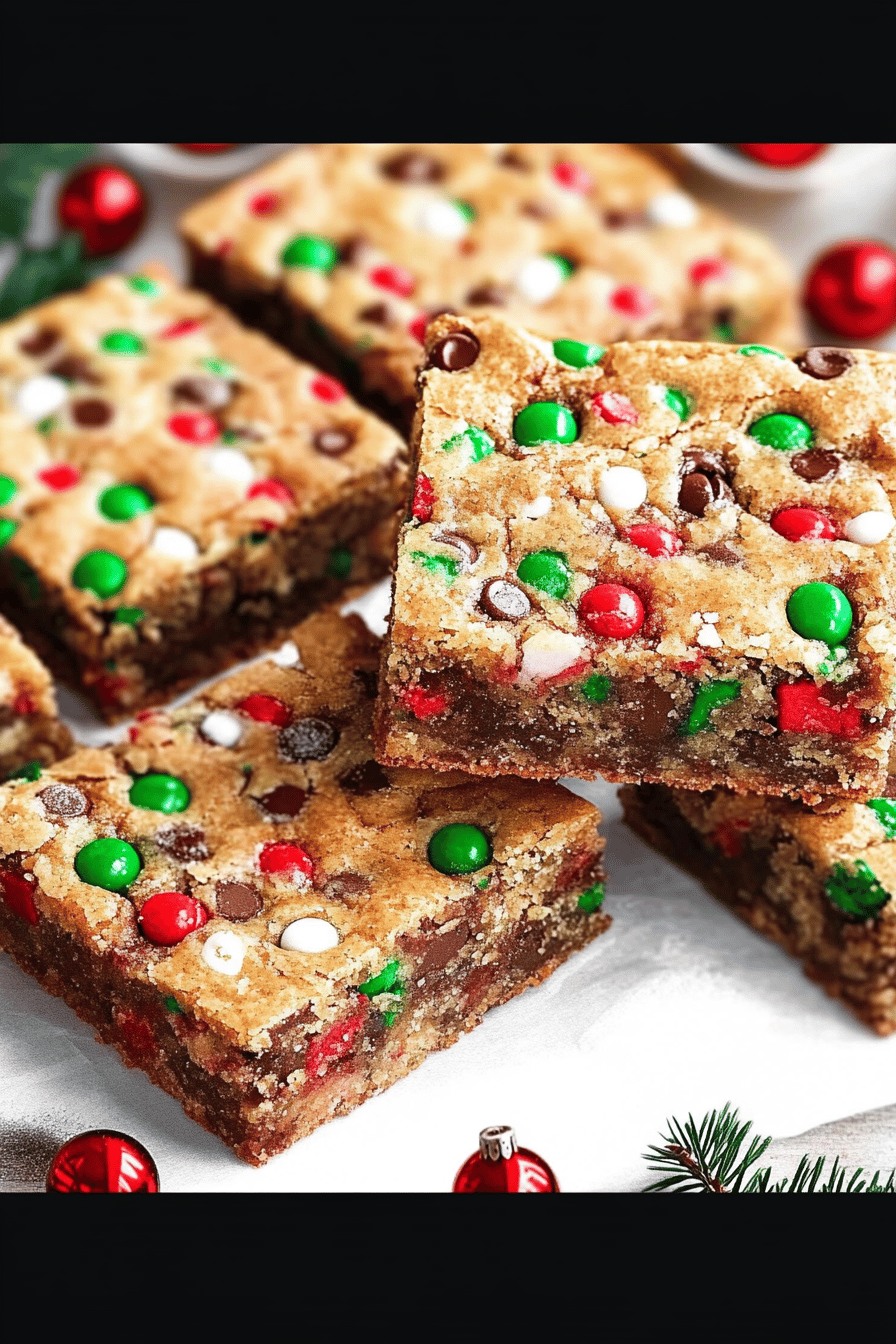
Christmas Cookie Bars
Oh, my goodness, you guys. I’m practically vibrating with excitement to share this recipe with you. These Christmas Cookie Bars aren’t just any cookie bars; they’re a little slice of holiday magic, packed with all the cozy, comforting flavors of the season. I remember the first time I made these for my family – it was a chaotic December evening, and I desperately needed a win in the kitchen. I whipped these up on a whim, and let me tell you, the smell that filled our house was pure bliss. My kids, who usually have the attention span of a goldfish when it comes to baking smells, were instantly drawn into the kitchen, noses twitching. By the time they cooled enough to cut, they were gone in about five minutes flat. It’s become a non-negotiable tradition ever since, right up there with decorating the tree and singing carols slightly off-key. If you’re looking for a simpler, yet equally delicious, alternative to rolling out dozens of sugar cookies, these Christmas Cookie Bars are an absolute lifesaver.
What are Christmas cookie bars?
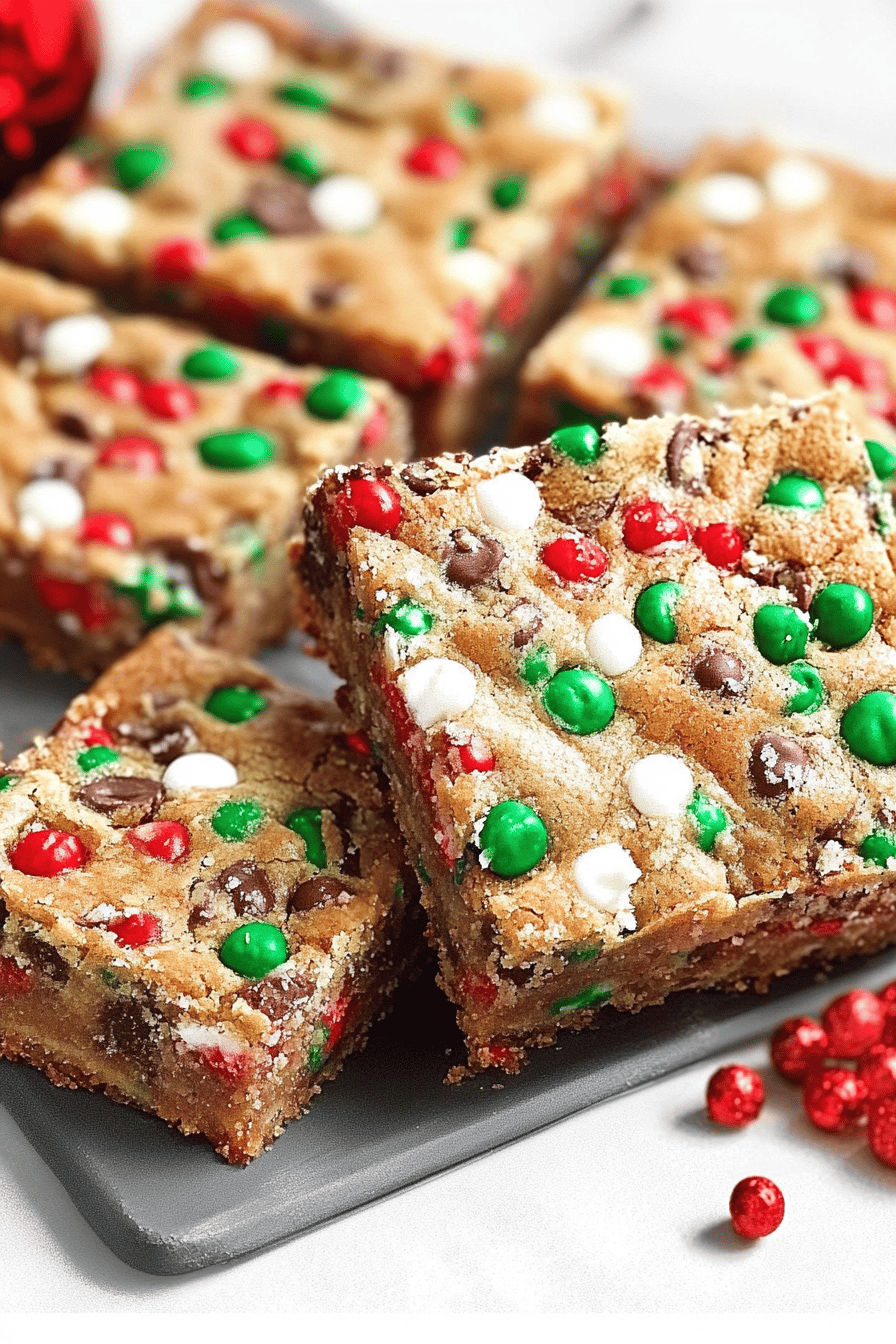
So, what exactly are these little gems? Think of them as the ultimate shortcut to that classic Sugar Cookie flavor we all adore, but in a wonderfully easy-to-manage bar form. It’s essentially a soft, slightly chewy sugar cookie dough baked in a sheet pan and then topped with a dreamy, sweet glaze. The magic really happens with the flavors – a hint of vanilla, a touch of almond extract (if you like it, and I *highly* recommend it!), and that perfect balance of sweetness that just screams “holidays.” Unlike traditional cut-out cookies that require rolling, cutting, and intricate decorating, these bars come together so much faster. You press the dough into the pan, bake it, and then drizzle on a simple glaze. It’s that effortless elegance that makes them so special, especially when you’re juggling a million other things during the festive season. They’re less fussy, more forgiving, and honestly, just as, if not more, delightful to eat!
Why you’ll love this recipe?
Honestly, where do I even begin with why I’m obsessed with these Christmas Cookie Bars? First off, the *flavor*. It’s that quintessential sugar cookie taste, but with an extra layer of richness from being baked as a bar. The texture is just perfect – soft and slightly cakey in the center, with just a hint of chewiness. And the glaze? Oh, that glaze! It adds that perfect sweet finish without being overpowering. What I love most is the sheer *simplicity* of it all. Seriously, if you can stir ingredients together, you can make these. No fancy cookie cutters, no intricate piping skills needed. It’s a lifesaver when you want that homemade holiday feel without spending hours in the kitchen. Plus, the ingredients are super budget-friendly; you probably have most of them in your pantry right now. And talk about *versatility*! You can customize the glaze with different extracts or even add sprinkles to make them extra festive. They’re perfect for cookie exchanges, school parties, or just a cozy night in with a mug of hot cocoa. I’ve even made them with a splash of lemon zest in the glaze, and it was divine! They truly stand out because they deliver maximum holiday cheer with minimal effort, which, let’s be real, is the dream during Christmas time.
How do I make Christmas cookie bars?
Quick Overview
The process for these Christmas Cookie Bars is incredibly straightforward. You’ll start by mixing up a simple sugar cookie dough, press it into a prepared baking pan, and bake until golden. Once cooled, a quick and easy glaze is whisked together and drizzled over the top. That’s it! The beauty lies in its simplicity. You get all the nostalgic holiday cookie flavor without the fuss of rolling and cutting. This method ensures a consistent texture throughout, making them reliably delicious every single time.
Ingredients
For the Main Batter:
You’ll need 1 cup (2 sticks) unsalted butter, softened. Make sure it’s truly softened, not melted. This is key for that tender texture. Then, 1 ½ cups granulated sugar. I find this gives the perfect sweetness balance, but you could slightly reduce it if you prefer. Next, 2 large eggs. Room temperature eggs incorporate better, so try to remember that! 1 teaspoon pure vanilla extract is non-negotiable for that classic flavor. And for a little something extra that really makes these sing, ½ teaspoon almond extract. Trust me on this, it’s a game-changer, but if you’re not an almond fan, you can skip it or replace it with more vanilla.
Now for the dry bits: 3 cups all-purpose flour. I always use unbleached all-purpose flour for a slightly better texture. 1 teaspoon baking powder for a little lift. And ½ teaspoon salt to balance out all that sweetness.
For the Filling:
Okay, there’s no separate “filling” in the traditional sense for these bars, because the magic is in the swirl and the glaze! But if you want to add something fun, you could fold in ½ cup of your favorite Christmas sprinkles into the batter *before* pressing it into the pan. Or, for a twist, you could swirl in some raspberry or apricot jam after pressing the dough, right before baking. Just be sure to use a good quality, seedless jam.
For the Glaze:
This is where the real simplicity shines! You’ll need 2 cups powdered sugar. Sift it if you can, it makes for a smoother glaze. Then, 2-4 tablespoons of milk or heavy cream. Start with 2 tablespoons and add more, a teaspoon at a time, until you reach your desired drizzling consistency. Too thick and it’s hard to drizzle; too thin and it’ll just run off. Finally, ½ teaspoon vanilla extract for flavor, or you can swap this for another extract like peppermint or even a little citrus zest.
Step-by-Step Instructions
Step 1: Preheat & Prep Pan
Alright, first things first! Go ahead and preheat your oven to 350°F (175°C). This is a pretty standard baking temperature, so most ovens are good to go. Now, grab a 9×13 inch baking pan. I like to line mine with parchment paper, leaving an overhang on the sides. This is my little trick for easy removal later – you can just lift the whole thing out once it’s cooled. Then, grease the parchment paper and the exposed sides of the pan with a little butter or cooking spray. This ensures nothing sticks, and nobody wants stuck Cookie Bars!
Step 2: Mix Dry Ingredients
In a medium bowl, whisk together the 3 cups of all-purpose flour, 1 teaspoon of baking powder, and ½ teaspoon of salt. Give it a good whisk until everything is evenly distributed. This ensures your leavening and salt are spread throughout, so you don’t get any weird pockets of saltiness or flat spots. It’s a simple step, but it makes a difference in the final texture!
Step 3: Mix Wet Ingredients
In a large bowl, cream together the 1 cup of softened butter and 1 ½ cups of granulated sugar. You can use an electric mixer for this, or just a good old-fashioned whisk and some elbow grease. Beat them together until the mixture is light and fluffy. This usually takes a few minutes. Then, beat in the 2 large eggs, one at a time, making sure each egg is fully incorporated before adding the next. Stir in the 1 teaspoon of vanilla extract and ½ teaspoon of almond extract (if using). It should smell absolutely divine at this point!
Step 4: Combine
Now, it’s time to bring the wet and dry ingredients together. Gradually add the dry ingredients to the wet ingredients, mixing on low speed or stirring until just combined. Be careful not to overmix! Overmixing can lead to tough cookies, and we want these to be tender and chewy. Stop mixing as soon as you no longer see streaks of flour. The dough will be thick and a little sticky, which is exactly what we’re going for.
Step 5: Prepare Filling
As mentioned earlier, there’s no separate “filling” required for the base recipe. However, if you’re feeling adventurous, this is the stage where you could gently fold in ½ cup of Christmas sprinkles into the dough for extra color and fun. Or, if you’re opting for a jam swirl, dollop spoonfuls of seedless jam (raspberry or apricot are great!) over the pressed dough in the pan and then use a knife or skewer to gently swirl it in. Just be mindful not to swirl too vigorously, or you’ll mix it all into the dough.
Step 6: Layer & Swirl
Take about two-thirds of the cookie dough and press it evenly into the bottom of your prepared 9×13 inch pan. This can be a little sticky, so I find it helpful to lightly flour my hands or use a piece of parchment paper to press it down evenly. Once that base layer is in, you can crumble the remaining one-third of the dough and sprinkle it over the top. If you are adding sprinkles or jam, do that now as described in Step 5. The goal is an even layer of dough, ready for baking.
Step 7: Bake
Pop your pan into the preheated oven. Bake for 20-25 minutes, or until the edges are lightly golden brown and the center is set. You don’t want them to be too dark; a slightly pale center is perfectly fine as they’ll continue to cook a bit as they cool. To check for doneness, you can gently press the center – it should feel firm but not hard. Keep an eye on them, as oven temperatures can vary!
Step 8: Cool & Glaze
This is a crucial step for perfect bars! Let the bars cool in the pan on a wire rack for at least 30 minutes. You want them to set up a bit before you try to glaze them. While they’re cooling, whisk together the 2 cups of powdered sugar, 2-4 tablespoons of milk (or cream), and ½ teaspoon of vanilla extract in a small bowl until smooth. Add milk a teaspoon at a time until you get a drizzly consistency. Once the bars are mostly cooled, drizzle the glaze evenly over the top. You can use a spoon or a piping bag for a neater look, but a simple drizzle is perfectly charming!
Step 9: Slice & Serve
Once the glaze has set slightly (about 15-20 minutes), you can carefully lift the bars out of the pan using the parchment paper overhang. Place them on a cutting board and slice into squares or rectangles. I find a sharp knife dipped in hot water and wiped dry works best for clean cuts, especially with the glaze. Serve them at room temperature and watch them disappear!
What to Serve It With
These Christmas Cookie Bars are honestly delightful on their own, but I love pairing them with all sorts of festive beverages and accompaniments. For a classic morning treat with coffee, a simple dusting of powdered sugar instead of the glaze is lovely, or you can keep the glaze and serve with a rich, dark roast coffee. They’re also fantastic for a holiday brunch! I often arrange them on a festive platter with some fresh berries like raspberries or cranberries, and a glass of bubbly prosecco or a mimosa is always a welcome addition. As a dessert, these bars are amazing alongside a scoop of vanilla bean ice cream or a warm cup of spiced mulled wine. And for those cozy, late-night snack cravings, there’s nothing better than a warm mug of hot chocolate and a perfectly sweet Christmas Cookie Bar. My kids especially love them with a big glass of cold milk, and honestly, who can blame them? They’re that comforting and nostalgic.
Top Tips for Perfecting Your Christmas Cookie Bars
I’ve made these Christmas Cookie Bars more times than I can count, and over the years, I’ve picked up a few tricks that really elevate them from good to absolutely spectacular. First, about the butter: make sure it’s *truly* softened, not melted. If it’s melted, your bars will spread too much and won’t have that lovely thick, chewy texture. I learned this the hard way early on! When mixing the wet and dry ingredients, resist the urge to overmix. Seriously, stop as soon as the flour is incorporated. Overmixing develops gluten, which leads to tough bars, and nobody wants that. You want tender, melt-in-your-mouth goodness.
For the glaze, consistency is key. Start with the smaller amount of liquid and add more gradually. You’re looking for a pourable but not runny texture. If it gets too thin, just whisk in a bit more powdered sugar. If it’s too thick, add a tiny splash more milk. I sometimes like to add a drop of red food coloring to the glaze to make it extra festive, especially if I’m not using sprinkles.
Ingredient swaps? Absolutely! If you don’t have almond extract, it’s fine to just use more vanilla extract. For a citrusy twist, add a teaspoon of orange or lemon zest to the batter or the glaze. If you want to make them a bit more decadent, you can drizzle some melted chocolate over the glaze once it’s set. Baking time is also flexible. Ovens can be tricky! Keep an eye on the edges; once they’re lightly golden brown, they’re likely done. A slightly underbaked center is better than an overbaked, dry bar.
Finally, cooling is really important. Don’t rush it! Letting them cool properly in the pan ensures they set up nicely, making them much easier to cut into clean squares. Resist the temptation to cut into them while they’re still warm and gooey, unless you want more of a cookie crumble situation (which is also delicious, by the way!). These little tips have taken my Christmas Cookie Bars from good to I-need-to-make-another-batch-immediately!
Storing and Reheating Tips
So, you’ve made these amazing Christmas Cookie Bars (hooray!) and now you need to know how to keep them fresh and delicious. Here’s the lowdown. At room temperature, these bars will stay wonderfully fresh for about 3-4 days. Just make sure they’re covered tightly with plastic wrap or stored in an airtight container. I usually leave them in the pan and just cover the pan really well. If you’ve glazed them, the glaze will help seal in moisture, which is a bonus!
If you need them to last a bit longer, the refrigerator is your friend. Store them in an airtight container in the fridge for up to a week. They might firm up a bit in the fridge, so if you prefer them softer, just let them sit at room temperature for about 20-30 minutes before serving. They’re actually quite refreshing when slightly chilled, though!
And for those times when you want a taste of the holidays all year round, these bars freeze beautifully! Once they’re completely cooled and the glaze is set, you can cut them into individual servings. Wrap each bar tightly in plastic wrap, then place them in a freezer-safe bag or container. They’ll keep well in the freezer for up to 2-3 months. To thaw, simply unwrap them and let them come to room temperature on a wire rack. I usually don’t recommend reheating them in the oven or microwave, as it can alter the texture, but a gentle warming on the counter is perfect. If you’re freezing unglazed bars, you can add the glaze after thawing for maximum freshness!
Frequently Asked Questions
Final Thoughts
So there you have it – my absolute favorite Christmas Cookie Bars recipe! I truly believe these bars capture the essence of holiday baking: simple, delicious, and full of heartwarming flavor. They’re the perfect sweet treat for sharing with loved ones, whether it’s at a festive gathering or just a quiet moment at home. The ease with which they come together means you can spend less time stressing in the kitchen and more time enjoying the magic of the season. If you love these, you might also enjoy my recipe for Classic Gingerbread Cookies or my decadent Peppermint Bark Brownies, which are also holiday staples in my house!
I can’t wait for you to try these Christmas Cookie Bars and make them a part of your own holiday traditions. If you give them a whirl, please let me know how they turn out in the comments below – I love hearing your feedback and seeing your baking adventures! And don’t forget to share your own variations or any special tips you discovered along the way. Happy baking, everyone!
Christmas Cookie Bars
Ingredients
Cookie Base
- 0.5 cup unsalted butter softened
- 1 cup granulated sugar
- 1 large egg
- 1 teaspoon vanilla extract
- 1.5 cups all-purpose flour
- 0.5 teaspoon baking soda
- 0.25 teaspoon salt
Frosting
- 0.5 cup unsalted butter softened
- 2 cups powdered sugar
- 2 tablespoons milk
- 1 teaspoon vanilla extract
Toppings
- 0.5 cup Christmas sprinkles
Instructions
Preparation Steps
- Preheat oven to 350°F (175°C). Grease and flour a 9x13 inch baking pan.
- In a large bowl, cream together the softened butter and granulated sugar until light and fluffy.0.5 cup unsalted butter
- Beat in the egg and vanilla extract until well combined.0.5 cup unsalted butter
- In a separate bowl, whisk together the flour, baking soda, and salt.0.5 cup unsalted butter
- Gradually add the dry ingredients to the wet ingredients, mixing until just combined. Do not overmix.
- Spread the dough evenly into the prepared baking pan.
- Bake for 20-25 minutes, or until the edges are lightly golden brown and a toothpick inserted into the center comes out clean.
- Let the bars cool completely in the pan before frosting.
- While the bars are cooling, prepare the frosting: In a medium bowl, beat together the softened butter, powdered sugar, milk, and vanilla extract until smooth and creamy.0.5 cup unsalted butter
- Once the bars are completely cooled, spread the frosting evenly over the top.
- Immediately sprinkle the Christmas sprinkles over the frosting.0.5 cup unsalted butter
- Cut the bars into squares and serve.