Christmas Cookie Bars
Okay, friends, gather ’round because I’m about to share a recipe that’s become an absolute staple in our house during the holiday season – Christmas Cookie Bars! If you love the idea of sugar cookies, but dread the thought of rolling, cutting, and decorating each one individually, then these bars are about to become your new best friend. Seriously, think of all that delicious, buttery flavor, but in easy-to-bake, slice-and-serve form. I swear, these are even easier than making a batch of brownies, and they look so festive on a holiday dessert platter. The keyword here is easy, without sacrificing any of that Christmas cheer!
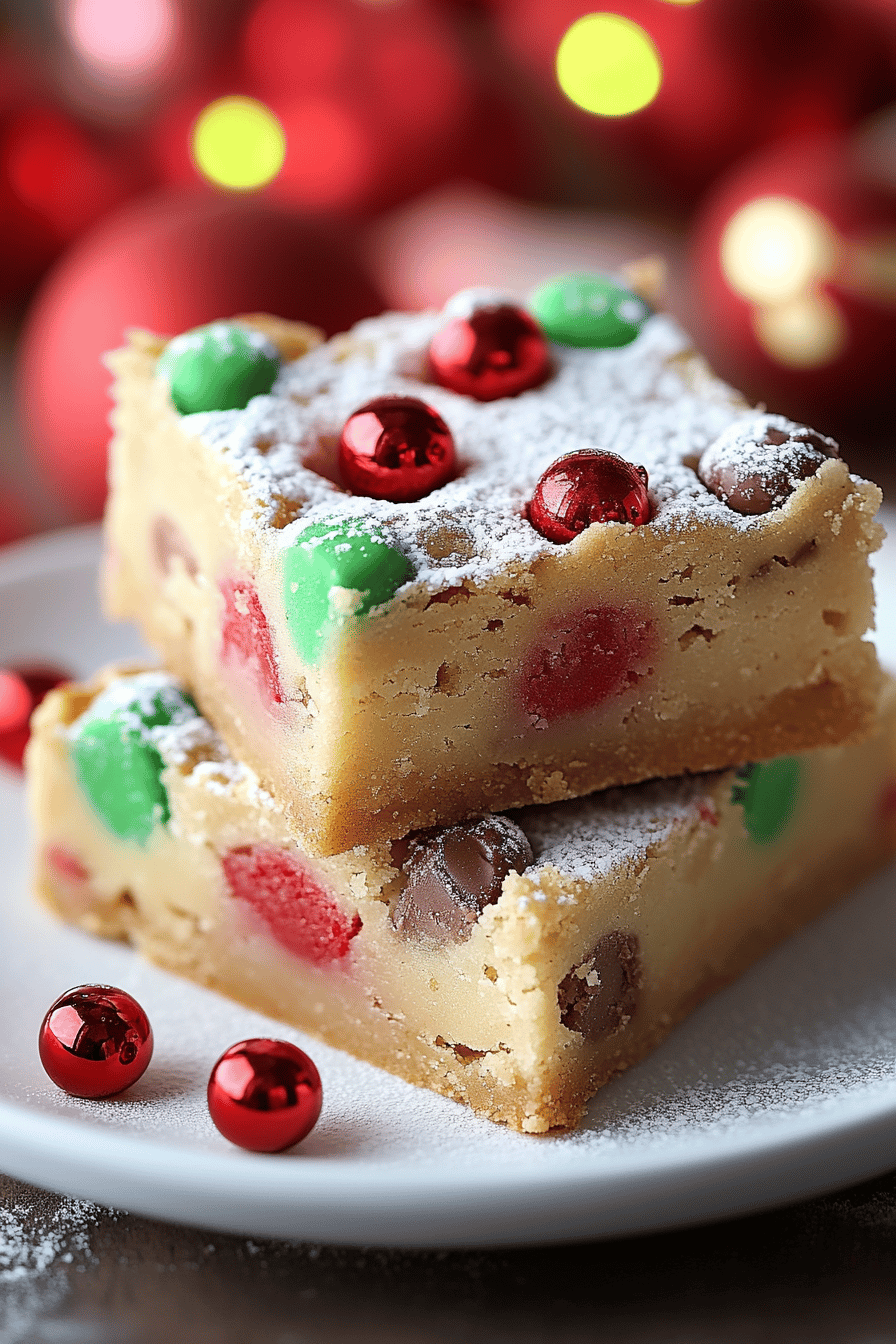
What are Christmas cookie bars?
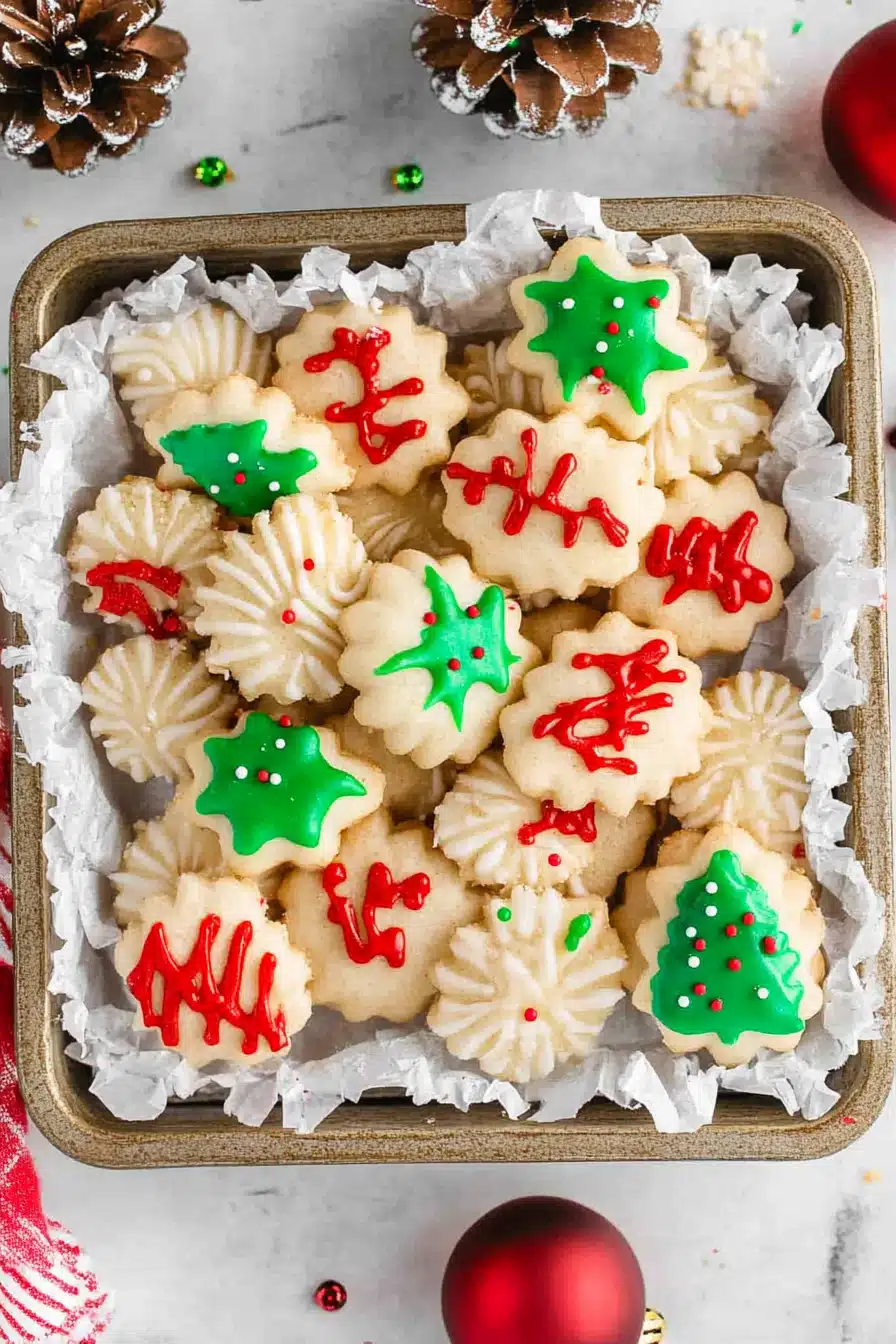
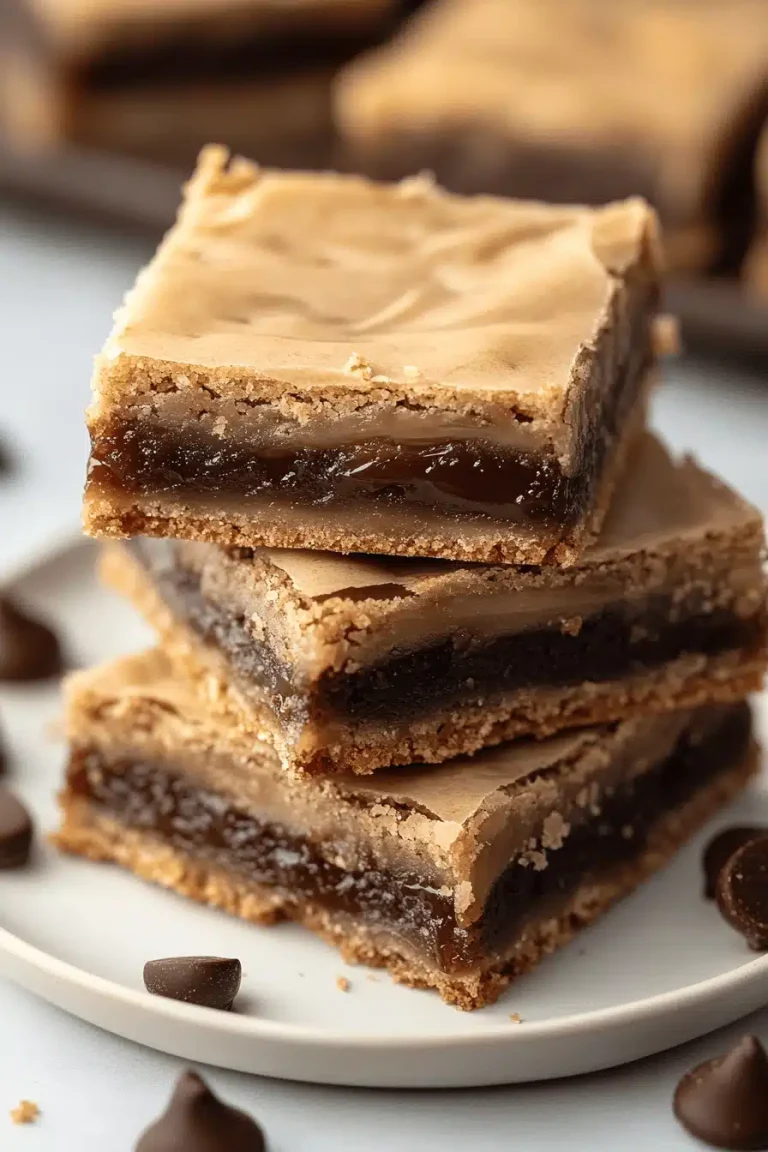
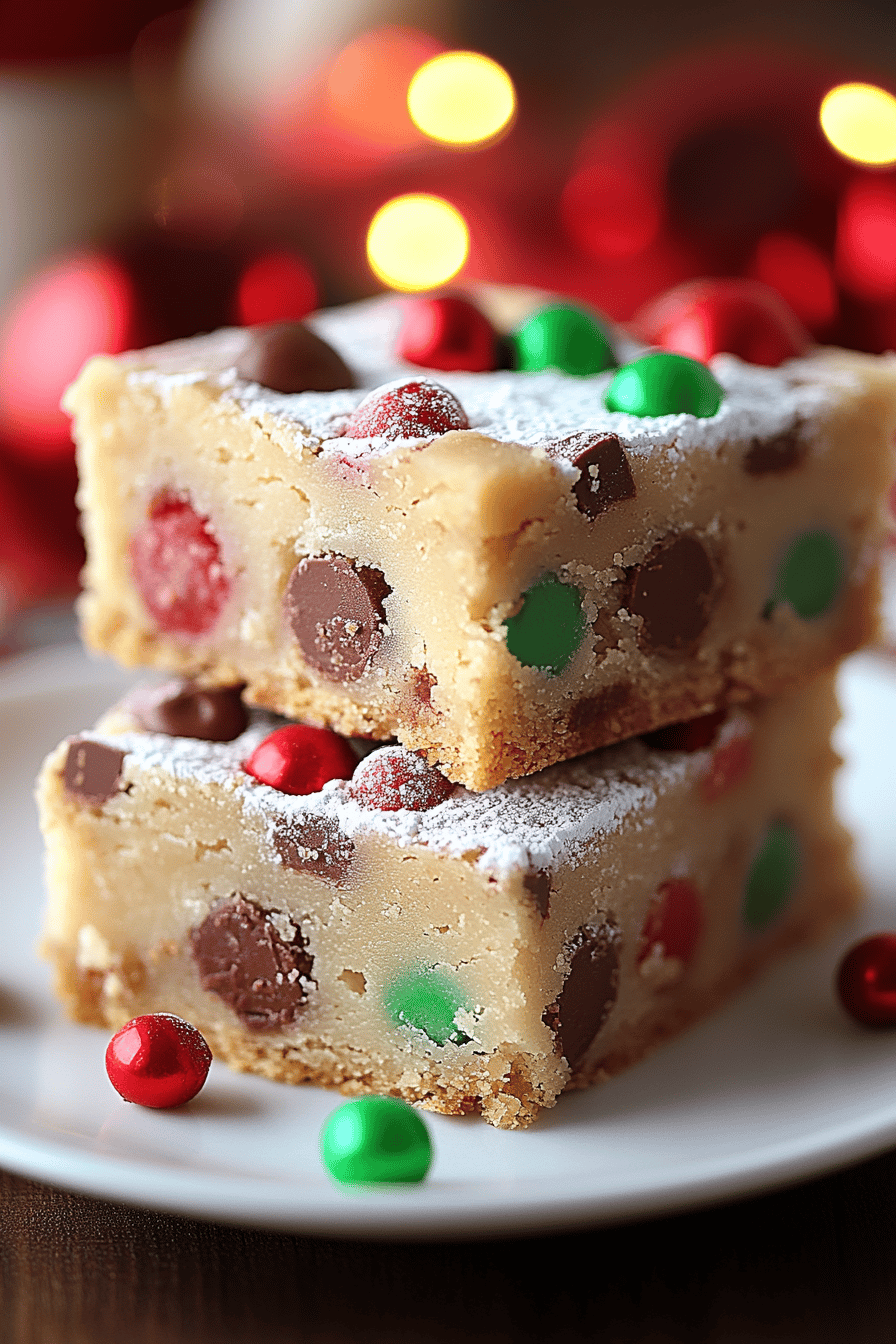
Christmas Cookie Bars are essentially a shortcut to Christmas cookie perfection. It’s like taking all the best parts of a classic sugar cookie recipe – that soft, chewy texture, that sweet, vanilla-infused flavor – and turning it into a bar cookie. Instead of meticulously crafting each individual cookie, you simply press the dough into a baking pan, top it with festive sprinkles or icing, bake it until golden, and then slice it into perfect little squares or rectangles. It’s essentially like a giant Christmas sugar cookie baked in a pan. Plus, you can really get creative with the toppings. Think of it as a blank canvas for your holiday spirit!
Why do I love this recipe?
Where do I even begin? There are so many reasons why I adore this recipe, but let me try to narrow it down. First and foremost, the flavor is incredible. It’s that classic, comforting sugar cookie taste that just screams “Christmas.” But what I love most about this is how incredibly easy they are to make. We’re talking minimal effort for maximum reward here, people! You don’t need any fancy equipment or complicated techniques. The ingredients are super cost-efficient too – you probably already have most of them in your pantry. Flour, butter, sugar, eggs – the usual suspects. Plus, these Christmas Cookie Bars are so versatile! You can customize the toppings to your heart’s content. Sprinkles, chocolate chips, chopped nuts, even a drizzle of melted chocolate – the possibilities are endless! These bars are a total lifesaver when you need a quick and easy dessert for a holiday party or potluck. And trust me, they always disappear in minutes. My kids ask for these all the time, and I never feel guilty making them because they’re so simple. They’re also much easier to pack in lunchboxes than individual cookies! I’ve got other cookie recipes, sure, but these are my go-to for pure, unadulterated Christmas cookie goodness with minimal fuss. These Christmas Cookie Bars just feel like pure holiday magic!
How do you make Christmas cookie bars?
Quick Overview
Making Christmas Cookie Bars is surprisingly simple. You’ll start by making a basic sugar cookie dough, then press it into a prepared baking pan. Next, you’ll add your favorite festive toppings, bake until golden brown, let it cool, and slice into squares. The magic is in the simplicity – no rolling, no cutting, just pure cookie goodness in bar form. And I promise, even if you’re a baking novice, you can totally nail this recipe. Don’t be intimidated, just follow the steps, and you’ll have a batch of beautiful Christmas Cookie Bars in no time!
Ingredients
For the Main Batter:
* 1 cup (2 sticks) unsalted butter, softened to room temperature – Make sure your butter is dry. *actually* soft, not melted! It makes a huge difference in texture. I always take mine out of the fridge about an hour before I start baking.
* 1 cup granulated sugar – For that classic sweetness.
* 1 large egg – Use a high-quality egg for the best flavor.
* 1 teaspoon vanilla extract – Don’t skimp on the vanilla! It really enhances the flavor.
* 2 cups all-purpose flour – I usually use unbleached, but regular all purpose works just fine.
* 1 teaspoon baking powder – For a little lift.
* 1/4 teaspoon salt – To balance out the sweetness.
For the Frosting: What is
* 3 cups powdered sugar
* 6 tablespoons milk
* 1/2 teaspoon vanilla extract
* Food coloring of your choice (optional)
For the Toppings:
* Festive sprinkles, of course! – The more, the merrier!
* Mini chocolate chips – Optional, but delicious.
What are the steps to
Step 1: Preheat & Prep Pan
First things first, preheat your oven to 350°F (175°C). While the oven is heating up, grease and flour a 9×13 inch Baking Pan. If you want to remove stains on your floor, you can line it with parchment paper. Is it a lifesaver?
Step 2: Cream Butter and Sugar
In a large bowl, cream together the softened butter and granulated sugar until light and fluffy. Set aside. This usually takes about 3-5 minutes with an electric mixer. Don’t rush this step – it’s important for the texture of the bars. It really creates a more consistent baking pattern, and helps make the cookies less hard.
Step 3: Add Egg and Vanilla
Beat in the egg and vanilla extract until well combined. Make sure you scrape down the sides of the bowl to ensure everything is evenly mixed.
Step 4: Combine Dry Ingredients
In a separate bowl, whisk together the flour, baking powder, and salt. Set aside. How do I distribute baking powder evenly across the flour? I skip it sometimes but it’s usually noticable in the cookies.
Step 5: Gradually Add dry ingredients to wet ingredients.
Gradually add the dry ingredients to the wet ingredients, mixing until just combined. Do not overmix, as this can result in tough bars. I usually mix until there are still streaks of flour, then stop and finish mixing by hand.
Step 6: Press Dough into Pan
How do you press dough into a Baking Pan? Use the bottom of a measuring cup to smooth out the surface. Get your hands wet to prevent stickyness.
Step 7: Bake
Bake for 20-25 minutes, or until the edges are golden brown and a toothpick inserted into the center comes out clean. Is it true that a person Keep a close eye on them, as baking times can vary depending on your oven.
Step 8: Cool Completely
Let the bars cool completely in the pan before frosting. What is the best way to prevent frosting warm bars? I usually let them cool for at least an hour.
Step 9: Prepare Frosting
In a medium bowl, whisk together the powdered sugar, milk, and vanilla extract until smooth. I like to use gel food coloring for a more vibrant color.
Step 10: Frost and Decorate
Spread the frosting evenly over the cooled bars. Then, immediately sprinkle with festive sprinkles and mini chocolate chips. The frosting will set quickly, so you want to add sprinkles while it’s still wet.
Step 11: Slice and Serve
Once the frosting has set, slice the bars into squares or rectangles. Serve and enjoy!
What should I serve it with?
Christmas Cookie Bars are incredibly versatile and can be served with a variety of accompaniments, depending on the occasion. For a festive Christmas Breakfast, serve them with a warm cup of coffee or hot chocolate. The sweetness of the bars pairs perfectly with the bitterness of the coffee. If you’re serving them at a brunch, consider plating them alongside fresh fruit and a mimosa. The bright colors of the fruit complement the festive look of the bars. As a dessert, they’re delicious on their own, but you can also serve them with a scoop of vanilla ice cream or a dollop of whipped cream. I always make sure to have a big platter of these out at Christmas parties. And for a cozy night in, enjoy them with a glass of milk or a cup of herbal tea. Honestly, my favorite pairing is a simple glass of cold milk – it’s pure comfort food! My family has a tradition of leaving a plate of these out for Santa on Christmas Eve, and he always seems to enjoy them! So there are infinite options, these bars are a go to, and will be great no matter what!
What are some good ways to make Christmas cookie bars?
Over the years, I’ve learned a few tricks for making the perfect Christmas Cookie Bars. First and foremost, make sure your butter is *actually* soft, not melted. It makes a huge difference in the texture of the bars. I always take mine out of the fridge about an hour before I start baking. Secondly, don’t overmix the dough. Overmixing can result in tough bars. Mix until just combined, then stop and finish mixing by hand. When it comes to sprinkles, the more, the merrier! Don’t be afraid to pile them on. But make sure you add them immediately after frosting, as the frosting will set quickly. If you want to get really fancy, you can try swirling different colors of frosting together for a marbled effect. Just dollop different colors of frosting onto the bars, then use a toothpick or knife to swirl them together. For gluten-free Christmas Cookie Bars, you can substitute a gluten-free all-purpose flour blend for the regular flour. I’ve tried this with several different brands, and they all work pretty well. Just be sure to add a little extra baking powder to help with the texture. Also, make sure to rotate the bars in the oven halfway through baking to ensure even baking. I’ve found that some ovens have hot spots, and this helps to prevent the bars from browning too much on one side. And finally, don’t be afraid to experiment with different toppings. Mini M&Ms, chopped nuts, crushed peppermint candies – the possibilities are endless!
Storing and Reheating Tips
Christmas Cookie Bars are best stored in an airtight container at room temperature. They’ll stay fresh for about 3-4 days. You can also store them in the refrigerator for up to a week, but they may become a little drier. To freeze, wrap the bars tightly in plastic wrap, then place them in a freezer-safe bag or container. They’ll keep in the freezer for up to 2 months. I personally love to store the dough frozen for baking on demand. This way my kids can bake them any time they want! When thawing, let them thaw in the refrigerator overnight. If you’re freezing the bars with frosting, it’s best to add the frosting after thawing. Otherwise, the frosting may become sticky or watery. However, I do not recommend storing with the frosting. The bar is much better off without the frosting in terms of shelf life and taste!
Frequently Asked Questions
Final Thoughts

So there you have it – my go-to Christmas Cookie Bars Recipe! I hope you love it as much as my family does. It’s truly the perfect combination of ease and deliciousness, making it a winner in my book. If you’re looking for other easy holiday dessert recipes, be sure to check out my other cookie recipes. And don’t forget to leave a comment below letting me know how your bars turned out! I can’t wait to hear about your own creative topping combinations. Happy baking, and Merry Christmas!
Christmas Cookie Bars
Ingredients
Main Ingredients
- 1 cup butter, softened
- 1 cup granulated sugar
- 2 large eggs
- 2 teaspoons vanilla extract
- 2 cups all-purpose flour
- 1 teaspoon baking soda
- 0.5 teaspoon salt
- 1 cup chocolate chips
- 0.5 cup chopped nuts (optional)
Instructions
Preparation Steps
- Preheat oven to 350°F (175°C). Grease and flour a 9x13 inch baking pan.
- In a large bowl, cream together the butter and sugar until light and fluffy. Beat in eggs one at a time, then stir in the vanilla.
- In a separate bowl, whisk together the flour, baking soda, and salt. Gradually add to the creamed mixture and mix until just combined.
- Stir in the chocolate chips and nuts (if using).
- Spread the batter evenly into the prepared pan.
- Bake for 25-30 minutes, or until a toothpick inserted into the center comes out clean.
- Let cool completely before cutting into bars.

