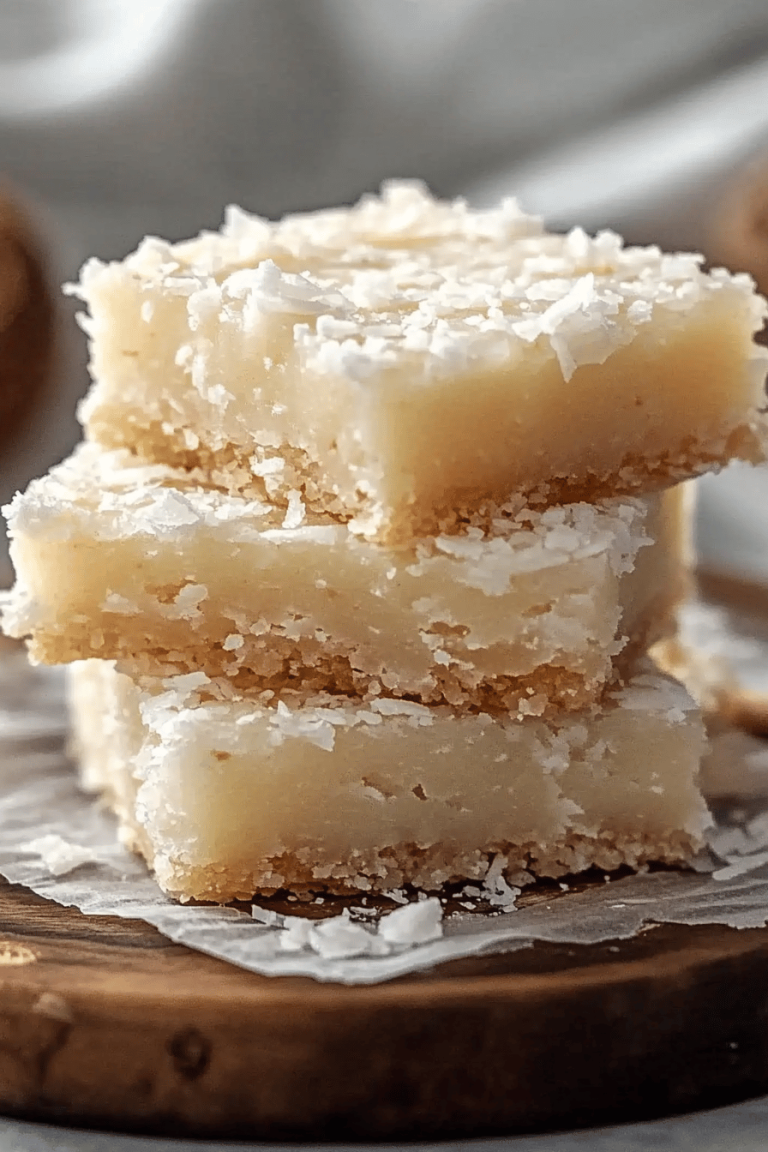
Brown Butter Rice Crispy Treats
You know those nights when the sweet craving hits hard, but the thought of firing up the oven for cookies or a cake feels like too much effort? Yeah, me too. And usually, I’d reach for a bag of those store-bought rice crispy treats, which are fine, but let’s be honest, they’re just *fine*. Then, one day, I had a little moment of inspiration (or maybe desperation, we’ll call it inspiration now!) and decided to elevate my childhood favorite. What I ended up with, my friends, are these Brown Butter Rice Crispy Treats. They’re not just *good*, they’re *revelatory*. The subtle nutty depth of the browned butter completely transforms the simple marshmallow and cereal into something sophisticated, yet still wonderfully nostalgic and ridiculously easy to whip up. Seriously, if you think you know rice crispy treats, prepare to have your mind blown. This is the brown butter rice crispy Treats Recipe you’ve been dreaming of.
What are some of the best Brown Butter Rice Crispy Treats?
Okay, so at its heart, this is still that beloved crispy, chewy, marshmallowy goodness you remember from your childhood. Think of it as the grown-up, much more sophisticated version. The “Brown Butter” part is the magic wand. Instead of just melting butter, we gently cook it until it turns a beautiful amber color and releases this incredible, toasty, nutty aroma. It’s like the butter just got a whole lot more interesting and delicious. Then, we combine that glorious browned butter with fluffy marshmallows, a hint of vanilla, and those classic crispy rice cereal pieces. It’s essentially an upgrade to a classic, bringing in a depth of flavor that makes these treats feel both comforting and a little bit fancy. It’s the kind of dessert that’s so simple, yet so impactful.
Why you’ll love this recipe?
Honestly, there are so many reasons why this recipe has become a permanent fixture in my kitchen. First and foremost, the flavor is just out of this world. That nutty, toasted depth from the brown butter? It’s subtle but it makes such a massive difference. It takes something familiar and makes it exciting again. Then there’s the sheer simplicity of it. If you can melt marshmallows, you can make these. I’m talking about a dessert that can be ready in under 20 minutes, start to finish. This is a lifesaver on busy weeknights when the kids suddenly declare they need a treat for school the next day, or when unexpected guests pop by. And speaking of budget-friendly, these are incredibly cost-effective. You probably have most of the ingredients already in your pantry. Beyond that, the versatility is amazing. You can swirl in chocolate chips, add a sprinkle of sea salt, or even layer them into a parfait. What I love most about this particular brown butter rice crispy Treats Recipe is that it’s a little bit of nostalgia with a whole lot of grown-up flavor. It feels special without being complicated, and that’s a winning combination in my book. They’re also way better than the store-bought ones, and the satisfaction of making them yourself is just the cherry on top!
How do I make Brown Butter Rice Crispy Treats?
Quick Overview
This is almost embarrassingly easy. You’ll start by browning your butter, then melting marshmallows into it, stirring in your cereal, and pressing it all into a pan. The whole process takes less time than it takes to preheat a conventional oven, and the result is pure, chewy, crispy magic. The key is really just giving that butter a little extra attention to unlock its full flavor potential. It’s the perfect recipe for when you need a quick win in the kitchen.
Ingredients
For the Main Batter:
- 1 cup (2 sticks or 227g) unsalted butter: Using unsalted butter gives you control over the saltiness. Plus, for browning, it’s perfect.
- 10 oz (283g) mini marshmallows, divided: Mini marshmallows melt more evenly and quickly. I always use about 3/4 of the bag to bind everything, and then stir in a few extra at the end for gooey pockets.
- 1 teaspoon pure vanilla extract: Don’t skimp on the good stuff here! It really enhances the butter’s flavor.
- 6 cups crispy rice cereal: The classic choice! Make sure it’s fresh for the best crunch.
- 1/4 teaspoon fine sea salt: This just balances the sweetness beautifully.
For the Optional Filling/Swirl:
- 1/2 cup chocolate chips (milk, dark, or semi-sweet): These are optional but highly recommended for an extra layer of indulgence.
- A sprinkle of flaky sea salt: For that sophisticated sweet-and-salty finish.
For the Optional Glaze:
- 1/2 cup powdered sugar
- 1-2 tablespoons milk or water
Step-by-Step Instructions
Step 1: Preheat & Prep Pan
First things first, get your pan ready. You’ll want a 9×13 inch baking dish. Lightly grease it with cooking spray or butter, or line it with parchment paper, leaving an overhang on the sides. This makes getting the treats out a breeze. You don’t need to preheat an oven for this recipe, which is one of the many reasons I adore it!
Step 2: Mix Dry Ingredients
In a very large bowl (seriously, go big or go home, you don’t want cereal flying everywhere!), combine your 6 cups of crispy rice cereal and the 1/4 teaspoon of fine sea salt. Give it a quick stir to distribute the salt. Set this aside.
Step 3: Mix Wet Ingredients (Brown the Butter!)
Now for the star of the show: browning the butter. Melt the 1 cup (2 sticks) of butter in a medium saucepan over medium heat. Keep swirling the pan or stirring it occasionally. You’ll see it melt, then start to foam. Keep watching closely. Small brown bits will start to form at the bottom of the pan, and the butter will smell nutty and toasty. This usually takes about 5-8 minutes. Once it’s a lovely amber color and smells amazing, immediately remove it from the heat to stop the cooking. Stir in about 3/4 of your marshmallows (so, roughly 7.5 oz) and the vanilla extract. Stir until the marshmallows are completely melted and the mixture is smooth and glossy. This is where the magic starts to happen – that rich, warm aroma will fill your kitchen.
Step 4: Combine
Pour the melted marshmallow mixture over the cereal in your large bowl. Work quickly because the mixture starts to set. Using a spatula or a wooden spoon, gently fold the cereal into the marshmallow mixture until it’s evenly coated. Try not to overmix or mash the cereal too much; we want to keep those crispy bits intact!
Step 5: Prepare Filling (Optional but Recommended!)
If you’re adding chocolate chips, stir them in now, along with the remaining 1/4 bag of mini marshmallows. The residual heat will slightly melt them, creating delicious pockets of gooeyness throughout your treats. This step is completely optional, but trust me, it’s worth it!
Step 6: Layer & Swirl
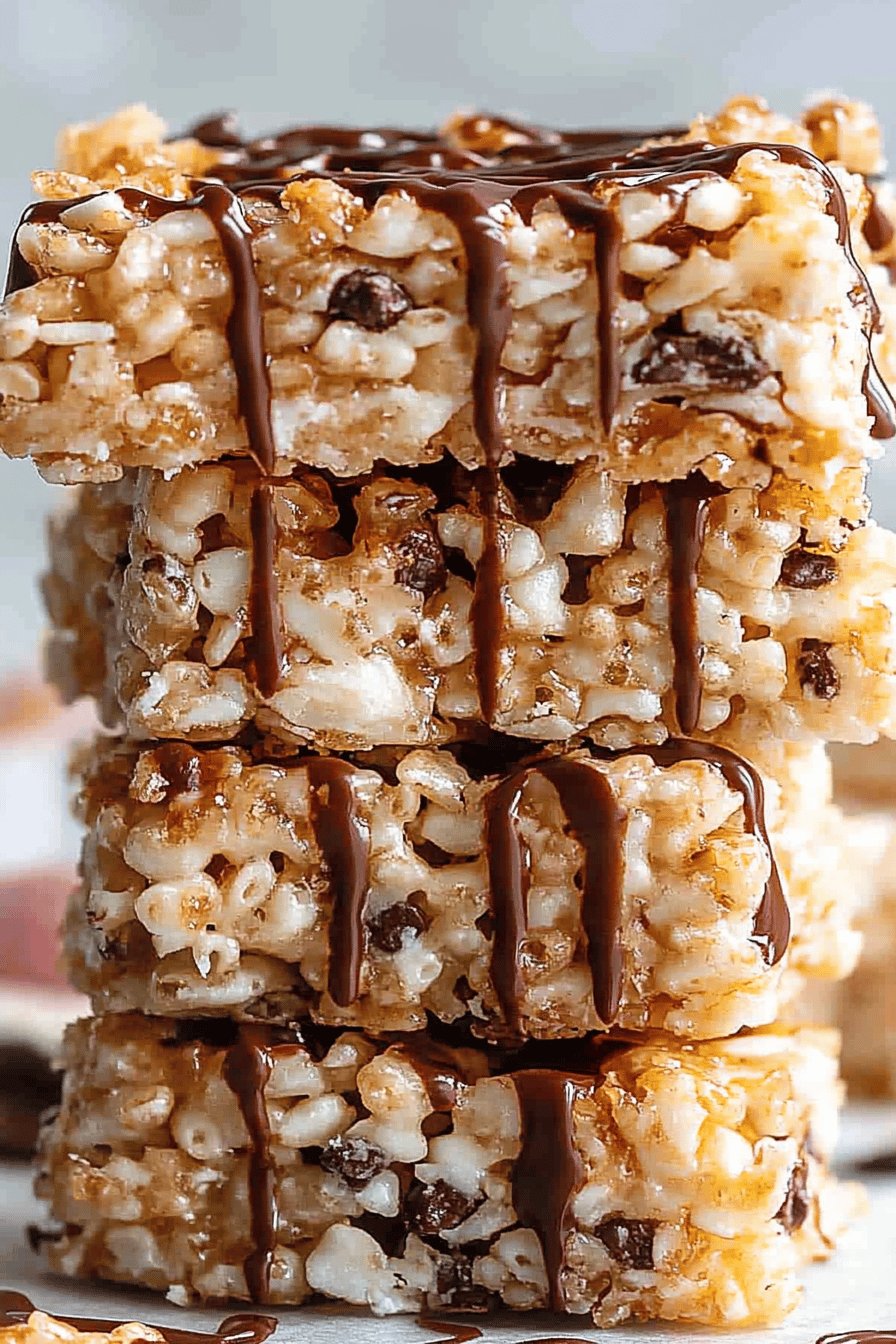
Transfer the mixture to your prepared baking dish. Using a lightly greased spatula or your hands (lightly greased also works well!), gently press the mixture evenly into the pan. Don’t press too hard, or your treats will be dense. You want them light and airy. If you’re feeling fancy, you can swirl in some extra chocolate chips or a drizzle of melted chocolate on top at this stage. A sprinkle of flaky sea salt over the top is also divine here!
Step 7: Bake (Just kidding, no baking!)
That’s right, no oven required! Let the treats sit at room temperature for about 10-15 minutes to firm up slightly.
Step 8: Cool & Glaze (Optional)
Once they’ve firmed up a bit, you can add an optional glaze. Whisk together the powdered sugar and 1 tablespoon of milk or water until smooth. Add more liquid, a teaspoon at a time, until you reach your desired drizzling consistency. Drizzle over the treats. If you added chocolate chips, let them set a bit before cutting.
Step 9: Slice & Serve
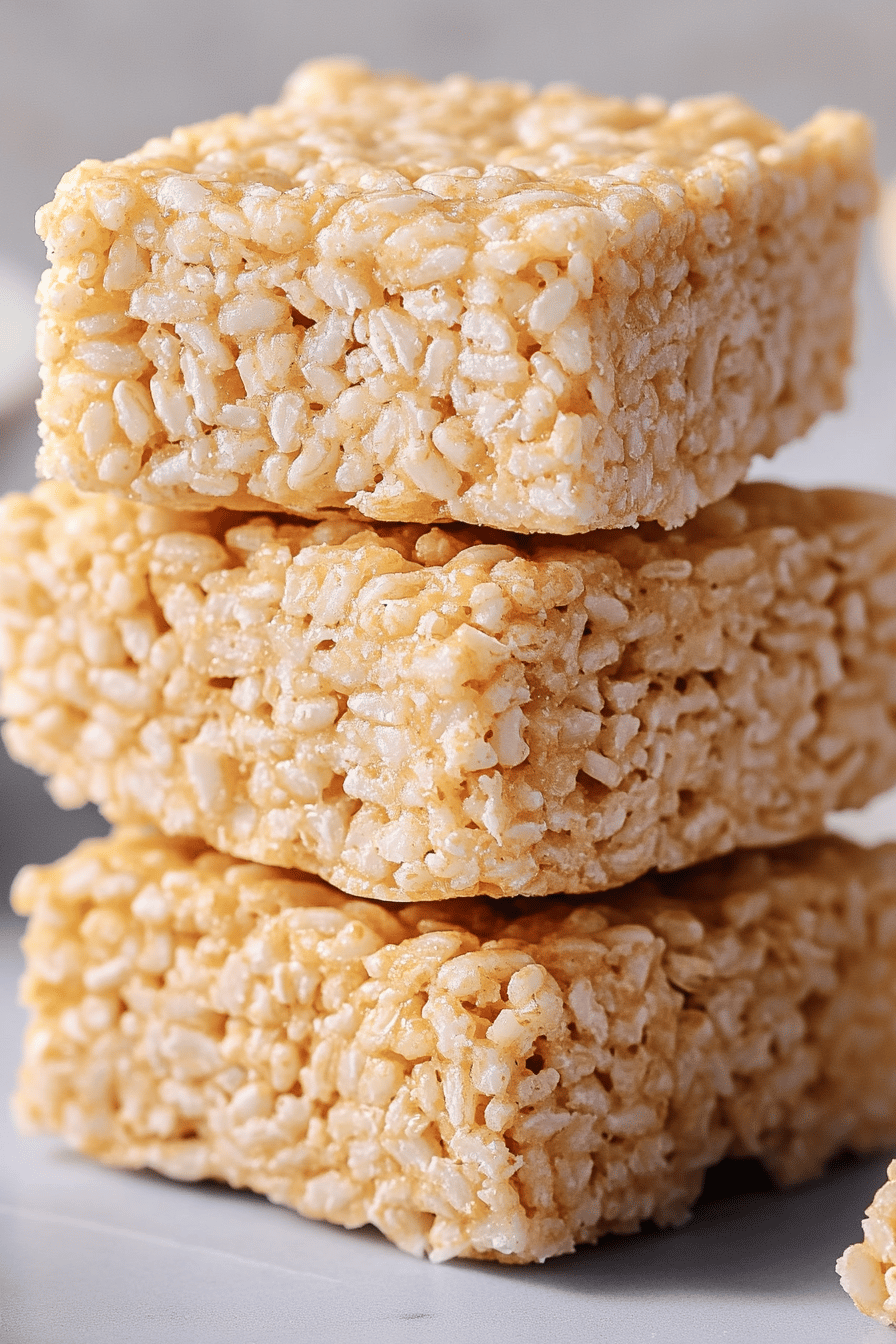
Once the treats are set (about 30 minutes at room temp after pressing), use the parchment paper overhang to lift the entire slab out of the pan. Place it on a cutting board and cut into squares using a sharp knife. For the best texture, I like to let them cool completely before slicing, but if you can wait that long, you’re a stronger person than I am! Enjoy these incredible Brown Butter rice crispy treats immediately.
What to Serve It With
These brown butter rice crispy treats are so versatile, they can fit into almost any occasion. For a cozy breakfast, I love serving a warm square with a strong cup of coffee – it’s surprisingly satisfying and cuts through the sweetness perfectly. For brunch, these are a guaranteed hit. I’ll cut them into smaller, more elegant squares and arrange them on a platter alongside fresh fruit and maybe some mini quiches. They add a fun, nostalgic element to any brunch spread. As a dessert, they’re fantastic on their own, but you can also pair them with a scoop of vanilla bean Ice Cream or a drizzle of caramel sauce for an extra decadent treat. And for those late-night, “I need something sweet, like, now” moments, they’re perfect! Just grab one (or two!) straight from the pan. My kids also love them dipped in chocolate, and we often have them as a special after-school snack. Honestly, they’re so good, they rarely need anything else alongside them.
Top Tips for Perfecting Your Brown Butter Rice Crispy Treats
I’ve made these brown butter rice crispy treats more times than I can count, and along the way, I’ve picked up a few tricks that I think really make a difference. First, when you’re browning the butter, don’t walk away! It can go from perfectly browned to burnt in mere seconds. Keep your eyes on it, and trust your nose – that nutty aroma is your cue. Another thing I learned is about the marshmallows. I usually measure out all the marshmallows needed (around 10 oz for a 9×13 pan), but I only melt about 3/4 of them with the butter. Then, I stir in the remaining ones and any chocolate chips right at the end. This creates those wonderful gooey pockets that make the treats extra delightful. For the cereal, make sure it’s fresh. Stale cereal will result in sad, not-so-crispy treats. If your box has been open for a while, give it a quick toast in a low oven for a few minutes to bring back the crunch. When you’re mixing the cereal into the marshmallow mixture, be gentle! You want to coat the cereal, not crush it. Overmixing can lead to dense, tough treats. And speaking of density, don’t pack the mixture too firmly into the pan. A light, even press is all you need. If you’re adding chocolate chips or swirling anything on top, do it while the mixture is still warm but not molten, so they adhere nicely. For an extra touch of elegance and flavor, a sprinkle of flaky sea salt over the top right after pressing them into the pan is absolutely divine. It adds that perfect sweet-and-salty contrast. Lastly, resist the urge to cut them immediately! Letting them cool and set for at least 30 minutes at room temperature will make for cleaner cuts and a better texture.
Storing and Reheating Tips
These brown butter rice crispy treats are best enjoyed fresh, but they do store pretty well! If you’re planning to eat them within a day or two, keeping them at room temperature is ideal. I like to store them in an airtight container or cover the pan tightly with plastic wrap. They’ll maintain their lovely chewiness and crispness for about 2-3 days this way. If you need them to last a bit longer, you can store them in the refrigerator. Just make sure they are well-wrapped or in an airtight container to prevent them from drying out. They’ll be good in the fridge for up to a week, though they might become a little firmer. If you prefer them softer, you can gently reheat them. A few seconds in the microwave (just 10-15 seconds usually does the trick!) will bring back some of that gooey softness. Just be careful not to overheat them, or they can become too melty. For longer storage, freezing is also an option. I like to cut them into individual squares, wrap each one tightly in plastic wrap, and then place them in a freezer-safe bag or container. They can last in the freezer for up to 2-3 months. When you’re ready to enjoy them, simply thaw them at room temperature. They’re surprisingly good even after freezing!
Frequently Asked Questions
Final Thoughts
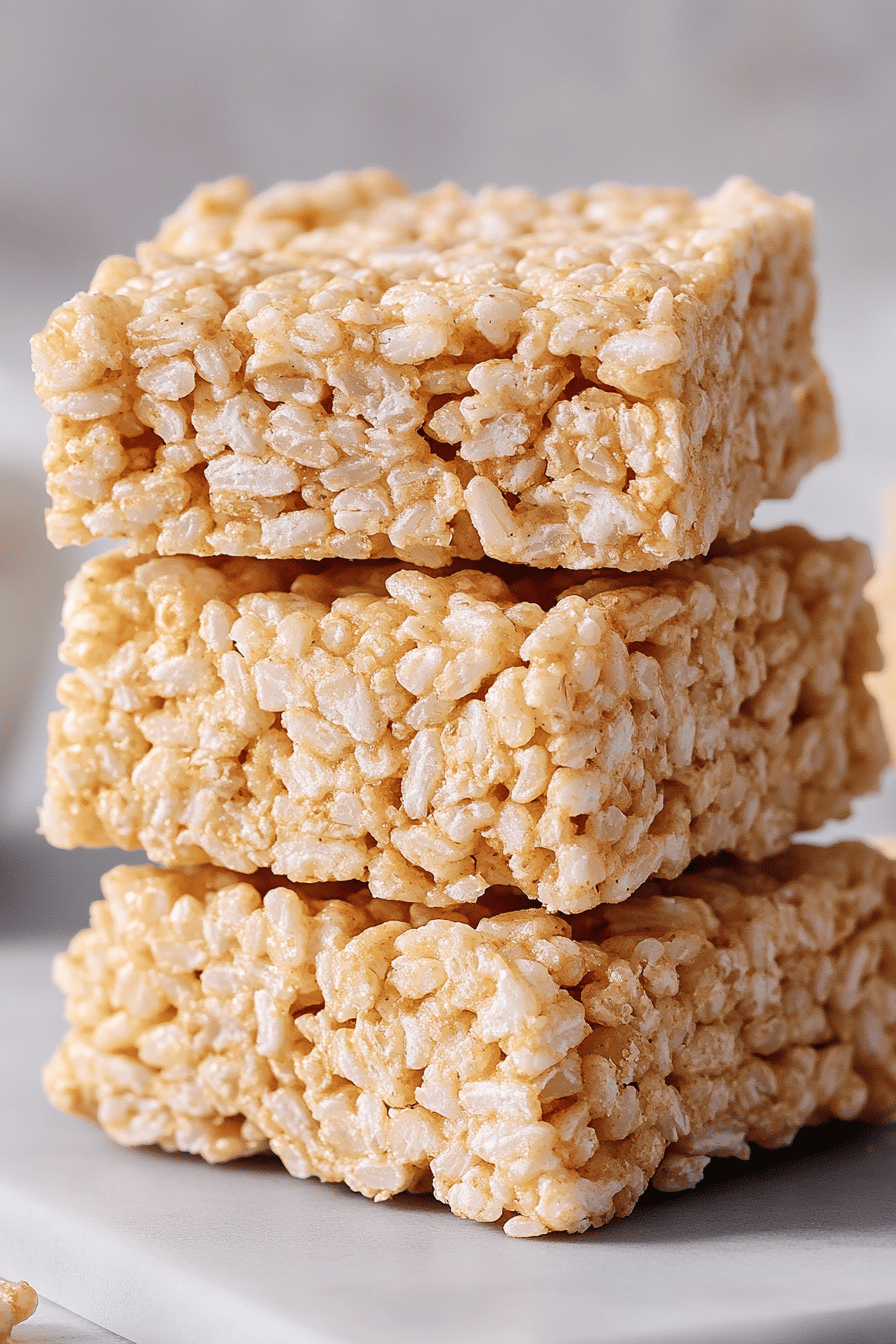
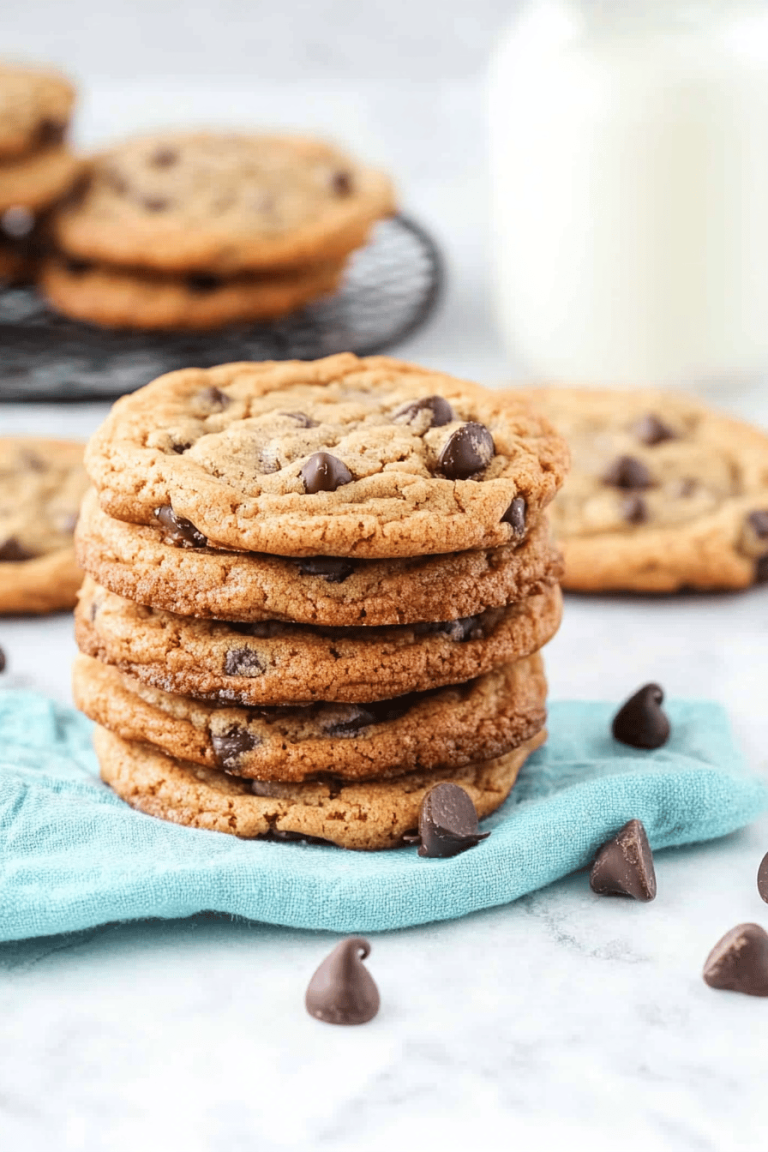
So there you have it – my absolute favorite way to make rice crispy treats! It’s amazing how a simple step like browning butter can elevate a childhood favorite into something truly special. These brown butter rice crispy treats are proof that sometimes, the simplest ingredients and techniques yield the most incredible results. They’re perfect for parties, a quick snack, or just when you need a little taste of nostalgia with a sophisticated twist. If you love this recipe, you might also enjoy my No-Bake Chocolate Peanut Butter Bars for another quick treat, or my Ultimate Chewy Chocolate Chip Cookies for something a bit more classic. I really hope you give these brown butter rice crispy treats a try – they’ve brought so much joy to my kitchen, and I have a feeling they’ll do the same for yours. Please let me know in the comments below how yours turn out, or if you try any fun variations! Happy baking (or rather, no-baking)!

Brown Butter Rice Crispy Treats
Ingredients
Main Ingredients
- 0.5 cup unsalted butter divided
- 10 oz marshmallows about 40 regular size or 1 bag of mini marshmallows
- 0.25 tsp salt
- 6 cup rice krispie cereal
Instructions
Preparation Steps
- In a large saucepan, melt 0.25 cup (half of the butter) over medium heat. Cook, swirling occasionally, until the butter begins to foam and turn a golden brown color with a nutty aroma. This takes about 5-7 minutes. Be careful not to burn it.
- Add the remaining 0.25 cup of butter to the brown butter and stir until melted. Then, add the marshmallows and salt. Stir constantly until the marshmallows are completely melted and smooth.
- Remove the saucepan from the heat. Immediately add the rice krispie cereal and stir until well coated with the marshmallow mixture.
- Lightly grease a 9x13 inch baking pan with butter or cooking spray. Press the rice krispie mixture evenly into the prepared pan using a buttered spatula or your hands.
- Let the treats cool in the pan for at least 15 minutes before cutting into squares. Enjoy!