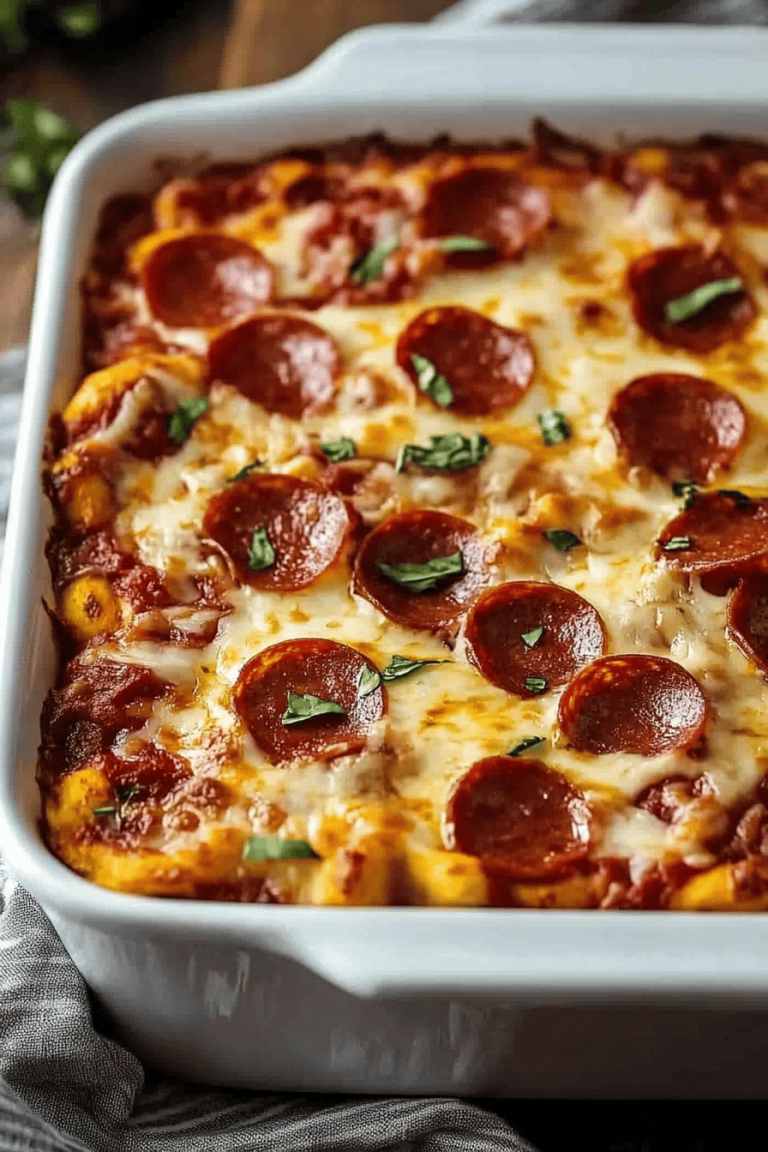
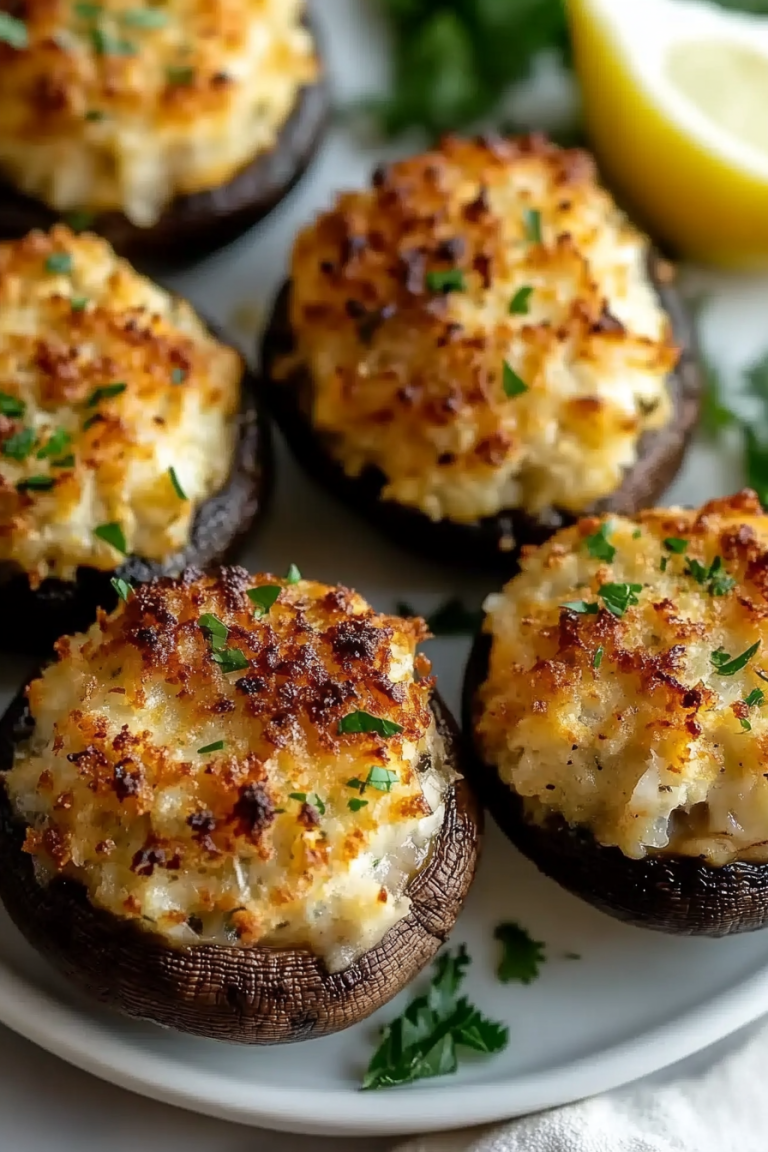
Bacon Cheeseburger Bombs
Okay, friend, let me tell you about these Bacon Cheeseburger Bombs. I swear, these little guys are pure magic. Think of a slider, but instead of flat burgers, it’s all the best parts of a cheeseburger – juicy beef, crispy bacon, melty cheese – wrapped in the softest, most delightful dough. It’s like a party in your mouth! I sometimes think of them as a savory cousin to pigs in a blanket, but, oh honey, they are SO much more than that. These things disappear faster than I can make them, and trust me, that’s saying something.
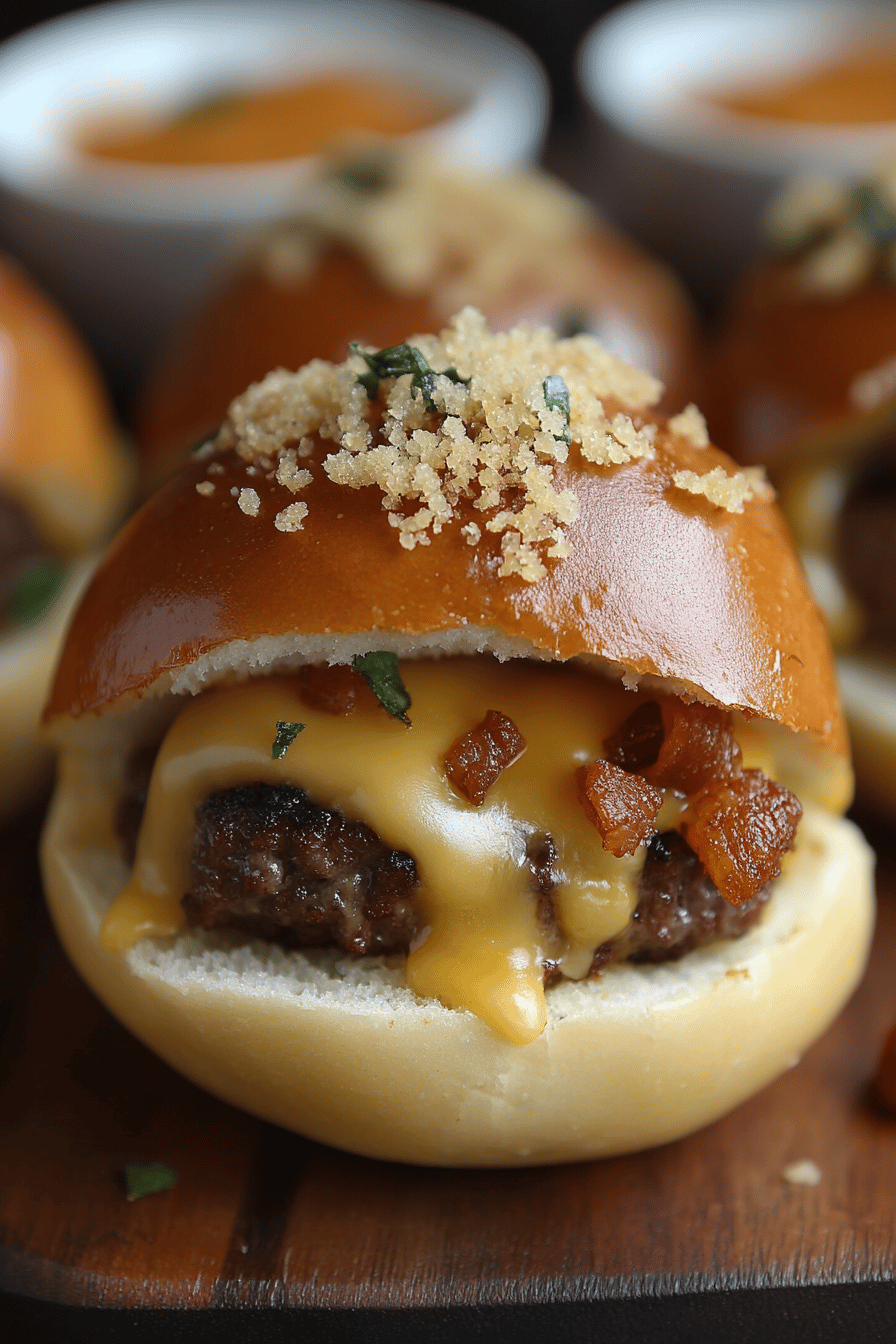
What are Bacon Cheeseburger Bombs?
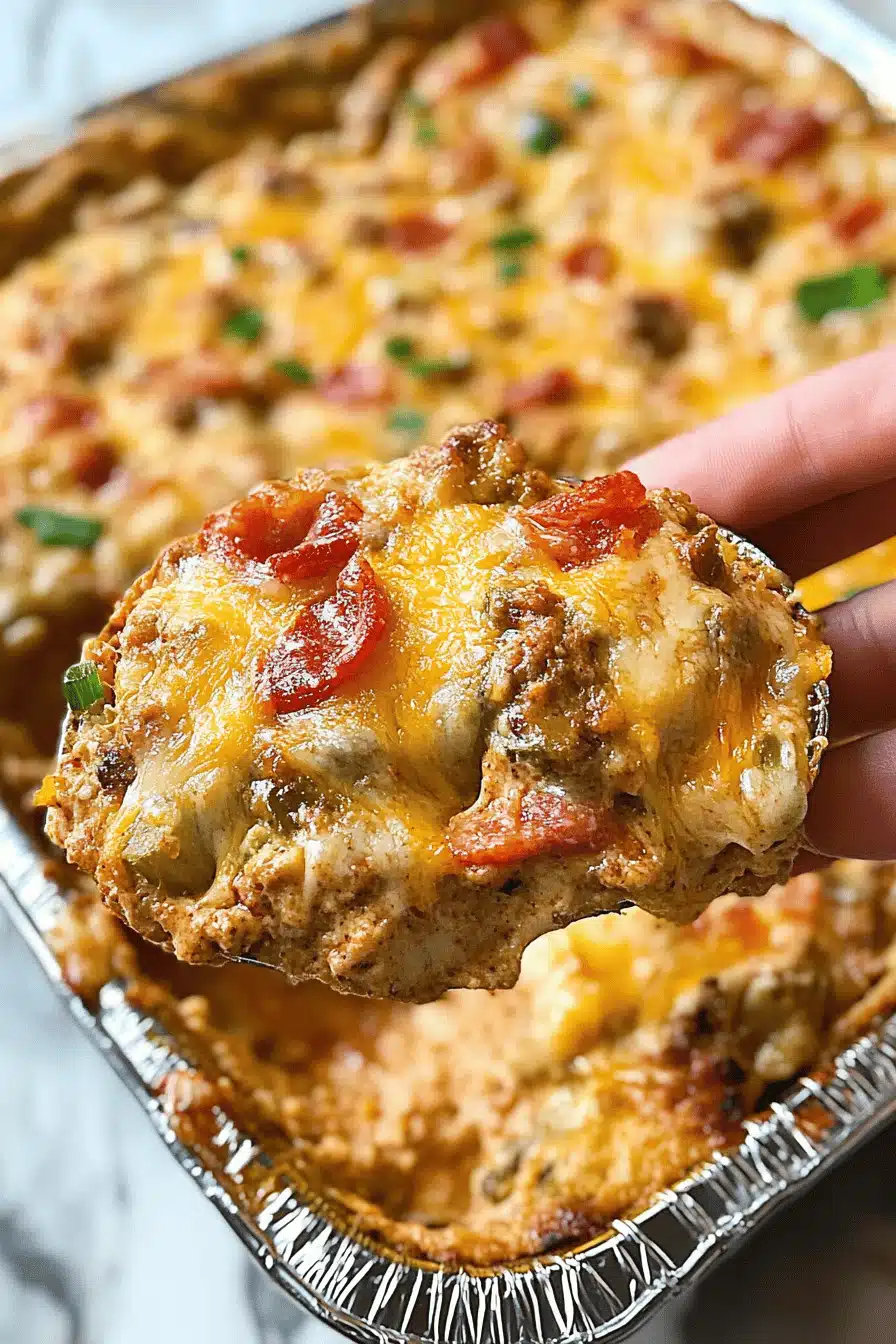
So, what *are* Bacon Cheeseburger Bombs? Well, imagine taking all your favorite things about a classic cheeseburger – the savory beef, the smoky bacon, the gooey cheese – and wrapping them up in a pillowy soft dough that’s just begging to be devoured. It’s essentially a self-contained, handheld cheeseburger experience. It’s comfort food elevated, made incredibly easy, and perfect for anything from a casual weeknight dinner to a game-day snack-fest. The name comes from that “explosion” of flavors you get in every bite – a cheesy, meaty, bready bomb of deliciousness!
Why you’ll love this recipe?
Oh, where do I even begin? The list of reasons why I adore these Bacon Cheeseburger Bombs is longer than my grocery list on Thanksgiving! What I love most is the sheer simplicity of it all. Don’t let the name intimidate you; they are surprisingly easy to make. I mean, *really* easy. And the flavor? Out of this world! You get that classic cheeseburger taste, but with an added textural element that’s just irresistible.
The cost-efficiency is a major bonus too. You’re using GROUND BEEF, bacon (which you can totally use leftover!), and cheese – ingredients you probably already have in your fridge. It’s a budget-friendly way to get a restaurant-worthy meal at home. Plus, they’re SO versatile! You can change up the cheese, add different toppings, even make them vegetarian (more on that later).
I also love how kid-friendly they are. My kids practically BEG me to make these. I’ve tried other similar recipes like sliders, but these are always a winner! They’re the perfect size for little hands, and who can resist a bite-sized cheeseburger bomb? Seriously, if you’re looking for a crowd-pleasing, easy-to-make, and seriously delicious recipe, look no further. These are your new best friends in the kitchen.
How do you make Bacon Cheeseburger Bombs?
Quick Overview
Making these Bacon Cheeseburger Bombs is easier than you think! Basically, you’ll whip up a quick dough, cook some ground beef with bacon, stuff the dough with that delicious mixture and cheese, and then bake until golden brown. The best part? You can even make the dough ahead of time. Trust me, once you get the hang of it, you’ll be making these all the time!
Ingredients
For the Dough:
* 1 cup warm milk (about 110°F – I always use whole milk for the best flavor, but 2% works great).
* 2 1/4 teaspoons (1 packet) active dry yeast (make sure your yeast isn’t expired, or the dough is crumbly). * 1 packet active yeast.
* 2 tablespoons sugar (just regular granulated sugar)
* 1 teaspoon salt (I prefer sea salt but table salt is fine)
* 2 tablespoons melted butter (unsalted is best)
* 2 1/2 – 3 cups all-purpose flour (start with 1 1/2 and add more until the dough comes together).
For the Filling:
* 1 pound ground beef (80/20 is my go-to, but you can use leaner if you prefer)
* 4 slices bacon, cooked and crumbled (or more if you’re a bacon fanatic like me)
* 1/2 cup chopped onion (yellow or white)
* 1 teaspoon of garlic powder (fresh minced garlic works too, about 2 cloves)
* Salt and pepper to taste (don’t be shy with the pepper)
* 1 cup shredded cheddar cheese (or your favorite cheese – Monterey Jack, pepper jack, or even a banana) or 1 tsp. of Black Pepper. What are some of the best blends
For the Topping: What is the
* 1 egg, beaten (for brushing on top)
* Sesame seeds (optional, but they add a nice touch)
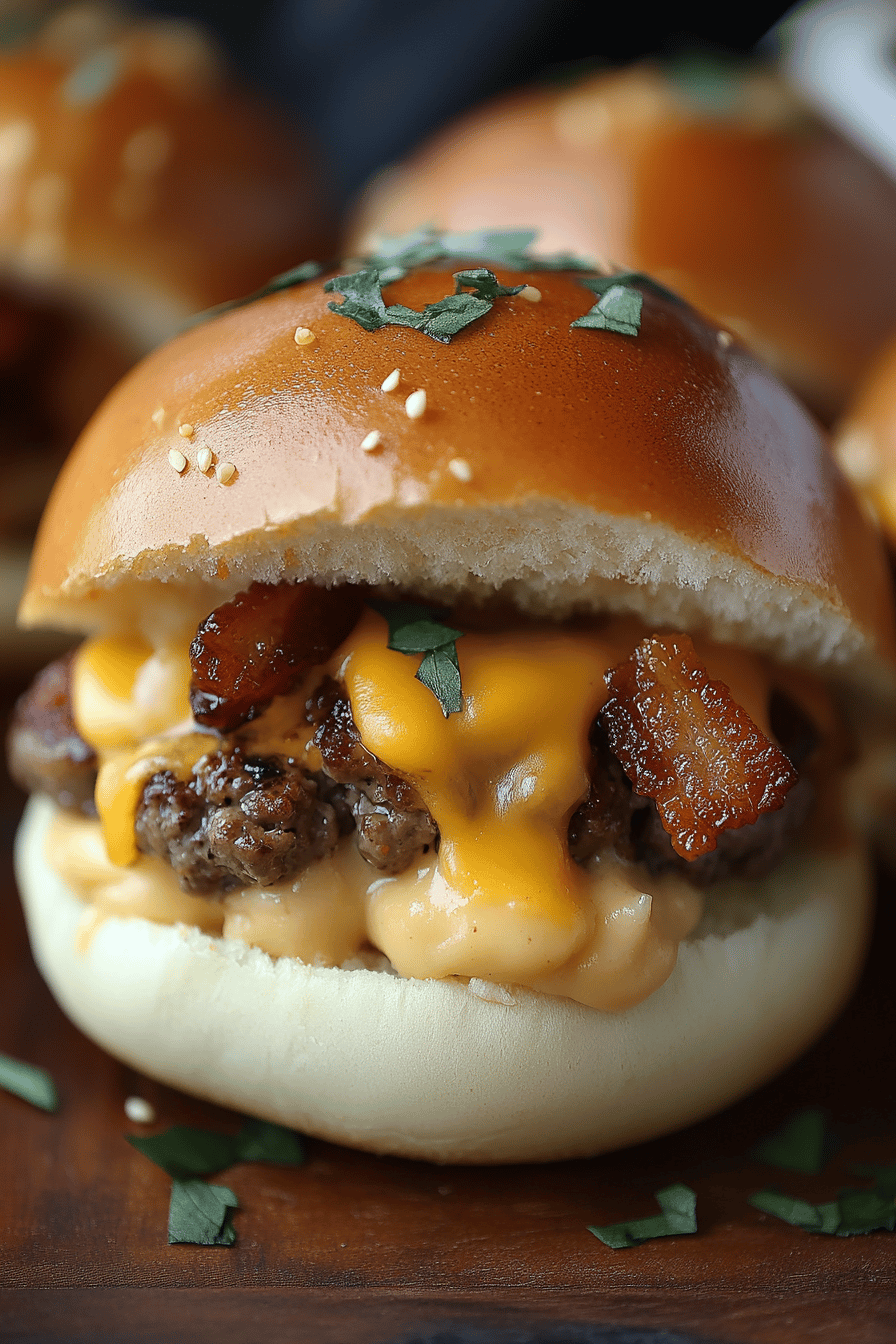
How do I follow step
Step 1: Activate the Yeast
In a large bowl, or the bowl of your stand mixer, combine the warm milk, yeast, and sugar. Mix well. Let it sit for 5-10 minutes, until the yeast is foamy. What is the best way to keep yeast alive? If the dough doesn’t foam, it will never rise.
Step 2: Add the Remaining Dough Ingredients
Add the yeast mixture to the melted butter, salt, and 2 1/2 cups of flour. Stir well. Mix with a wooden spoon or the dough hook attachment of your stand mixer until dough starts to form. Add flour to the dough and mix until smooth. Add salt and pepper to taste.
Step 3: Knead the Dough
Turn out the dough onto a lightly floured surface and knead for 5-7 minutes, or until it’s smooth. If you’re using a stand mixer, knead with the dough hook for 5-7 minutes. Should the dough be soft and supple, not too sticky? If you want to make a bomb, you can add flour if you like, but be careful not to add too much.
Step 4: Let the Dough Rise
Place dough in a lightly oiled bowl, turning to coat. Cover with plastic wrap or a clean kitchen towel and let rise for 1-1. I always put mine in a slightly warm oven (turned off! Is it the perfect spot to climb?
Step 5: Prepare the Filling
While the dough is rising, cook GROUND BEEF in a large skillet over medium heat. How do you drain off grease? Add the chopped onion and garlic powder and cook until softened, about 5 minutes. What is the best way to serve bacon with arugula?
Step 6: Assemble the Bombs
Punch down the risen dough and turn it out onto a lightly floured surface. Divide the dough into 12 equal pieces. Roll each piece into a ball. Flatten each ball into a circle, about 4 inches in diameter. Place a spoonful of the beef mixture in the center of each circle. Top with shredded cheese. Bring the edges of the dough up and pinch them together to seal, forming a ball. Make sure the seam is tightly sealed so the filling doesn’t leak out during baking.
Step 7: Bake the Bombs
Place bombs seam-side down on a baking sheet lined with parchment paper. If desired, brush the tops with the beaten egg and sprinkle with sesame seeds. In a preheated oven at 375°F (190°C), bake for 15-20 minutes, or until golden brown. What are ovens?
Step 8: Cool and Serve
Let the bombs cool on the baking sheet for a few minutes before transferring them to another wire rack. Is it cool to Serve warm and enjoy!
What should I serve it with?
What are Bacon Cheeseburger Bombs? What are the possibilities?
For a casual lunch:Serve them alongside a simple side salad with Olive Oil. The crispness of lettuce and the tang of the dressing will perfectly complement the richness and flavor of this salad.
For Game Day:What are some good dipping sauces to serve with ketchup, mustard, ranch, or even a wedge? What is sriracha Don’t forget the chips and wings!
What is a quick dinner?Pair them with some roasted vegetables like broccoli, carrots, or Brussels sprouts. Is it a complete meal in minutes?
What is a good kid-friendly feast?Serve them with a side of sweet potato fries and some fresh fruit. My kids love this combination, and it’s a great way to sneak in some extra nutrients.
My family often enjoys them with a big bowl of homemade coleslaw – the creamy, tangy dressing is the perfect contrast to the savory cheeseburger filling. I also love to serve them with a side of pickle spears for that classic cheeseburger experience. Honestly, though, they’re pretty amazing all on their own!
Top Tips for Perfecting Your Bacon Cheeseburger Bombs
Alright, friends, let’s talk about the secrets to making these Bacon Cheeseburger Bombs truly epic. I’ve made these countless times, and I’ve learned a few tricks along the way:
The Dough is Key: Don’t overwork the dough! Overmixing will result in tough bombs. Knead it just until it’s smooth and elastic. Also, make sure your yeast is fresh. Expired yeast will ruin the whole batch!
Bacon Matters: Don’t skimp on the bacon! The bacon adds so much flavor and texture to the filling. I prefer thick-cut bacon for extra crispy bits.
Cheese Choices: Experiment with different cheeses! Cheddar is classic, but Monterey Jack, pepper jack, or even a smoky Gouda would be delicious.
Filling Variations: Get creative with the filling! Add some chopped pickles, diced tomatoes, or even a dollop of Cream Cheese for extra flavor and moisture. You could even throw in some jalapenos if you like a little kick! This is a great way to use up leftovers, too.
Sealing the Deal: Make sure you seal the edges of the dough tightly to prevent the filling from leaking out during baking. Pinch them together really well. If you’re worried, you can even brush the edges with a little water before sealing.
Baking Time: Keep an eye on the bombs while they’re baking. Ovens can vary, so the baking time might need to be adjusted. They’re done when they’re golden brown and the dough is cooked through. You can always check the internal temperature with a thermometer; it should be around 200°F (93°C).
Egg Wash Magic: Don’t skip the egg wash! It gives the bombs a beautiful golden sheen and helps the sesame seeds stick. If you don’t have eggs, you can use milk or melted butter instead.
Make Ahead Magic: You can totally make the dough ahead of time! Just prepare it as directed, then wrap it tightly in plastic wrap and store it in the refrigerator for up to 24 hours. Let it come to room temperature before using. Also, you can assemble the bombs ahead of time and store them in the refrigerator until you’re ready to bake. Just add a few extra minutes to the baking time.
Storing and Reheating Tips
Okay, let’s say you actually have some of these Bacon Cheeseburger Bombs left over (which is a rare occurrence in my house, but hey, it could happen!). Here’s how to store and reheat them so they’re just as delicious as the first time:
Room Temperature: If you’re planning on eating them within a few hours, you can store them at room temperature in an airtight container. But honestly, I wouldn’t leave them out for more than 2 hours, just to be safe.
Refrigerator Storage: For longer storage, pop them in the fridge in an airtight container. They’ll stay good for up to 3 days. I like to wrap them individually in plastic wrap or foil to prevent them from drying out.
Freezer Instructions: If you want to freeze them, let them cool completely, then wrap them individually in plastic wrap and place them in a freezer-safe bag or container. They’ll keep in the freezer for up to 2 months.
Reheating: To reheat, you have a few options. You can microwave them for about 30-60 seconds, but they might get a little soggy. My preferred method is to reheat them in the oven at 350°F (175°C) for about 10-15 minutes, or until heated through. You can also reheat them in an air fryer for a few minutes, which will help them crisp up nicely.
Glaze Timing Advice: I don’t recommend glazing (or adding any toppings) until right before serving, especially if you’re planning on storing them. The moisture from the glaze can make the bombs soggy.
Frequently Asked Questions
Final Thoughts

So there you have it – my famous Bacon Cheeseburger Bombs! I truly hope you give this recipe a try. They’re so easy to make, incredibly delicious, and always a crowd-pleaser. Whether you’re looking for a quick weeknight dinner, a fun party snack, or just a way to satisfy your cheeseburger craving, these bombs are the answer. And if you loved this, you might also enjoy my recipe for pizza rolls – same concept, but with a totally different flavor profile! Can’t wait to hear how yours turn out! Happy baking!

Bacon Cheeseburger Bombs
Ingredients
Main Ingredients
- 1 pound Ground beef 80/20 blend recommended
- 1 cup Shredded cheddar cheese
- 0.5 cup Chopped onion
- 6 slices Bacon cooked and crumbled
- 1 teaspoon Salt
- 0.5 teaspoon Black pepper
- 12 pieces Refrigerated crescent roll dough
Instructions
Preparation Steps
- Preheat oven to 375°F (190°C).
- In a large bowl, combine ground beef, cheddar cheese, onion, bacon, salt, and pepper. Mix well.
- Unroll crescent roll dough and separate into 12 triangles.
- Place a spoonful of the beef mixture onto the wide end of each triangle. Roll up and place onto a baking sheet.
- Bake for 15-20 minutes, or until golden brown and heated through.

