pineapple dessert
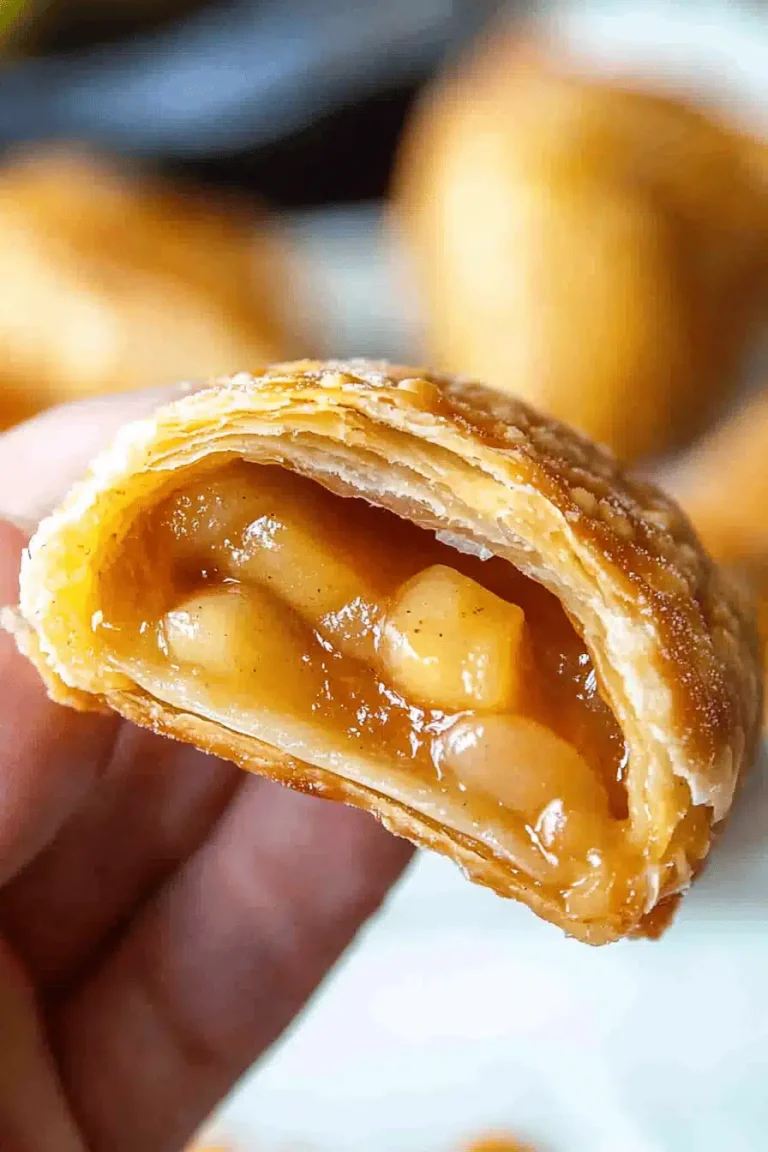
There’s something utterly magical about the smell of caramelized pineapple wafting from the oven, isn’t there? Every time I make this pineapple dessert, it takes me back to those warm summer afternoons at my grandmother’s house, where the kitchen was filled with laughter and the sweet tang of tropical fruit. This recipe isn’t just about slapping pineapple into a dessert — it’s about capturing that perfect blend of sweet, tangy, and buttery comfort in every bite. If you’ve ever loved a classic pineapple upside-down cake, you’ll be thrilled by these bars — easier to make, less fuss, and seriously, ridiculously tasty. I’ve found myself whipping this up on random weeknights when I want something sweet but don’t want to commit to a whole cake. Plus, it’s a total crowd-pleaser, whether for family dinners or casual get-togethers. Trust me, one slice (or two) of this pineapple dessert will have you hooked.
What is a Caribbean Pineapple Dessert?
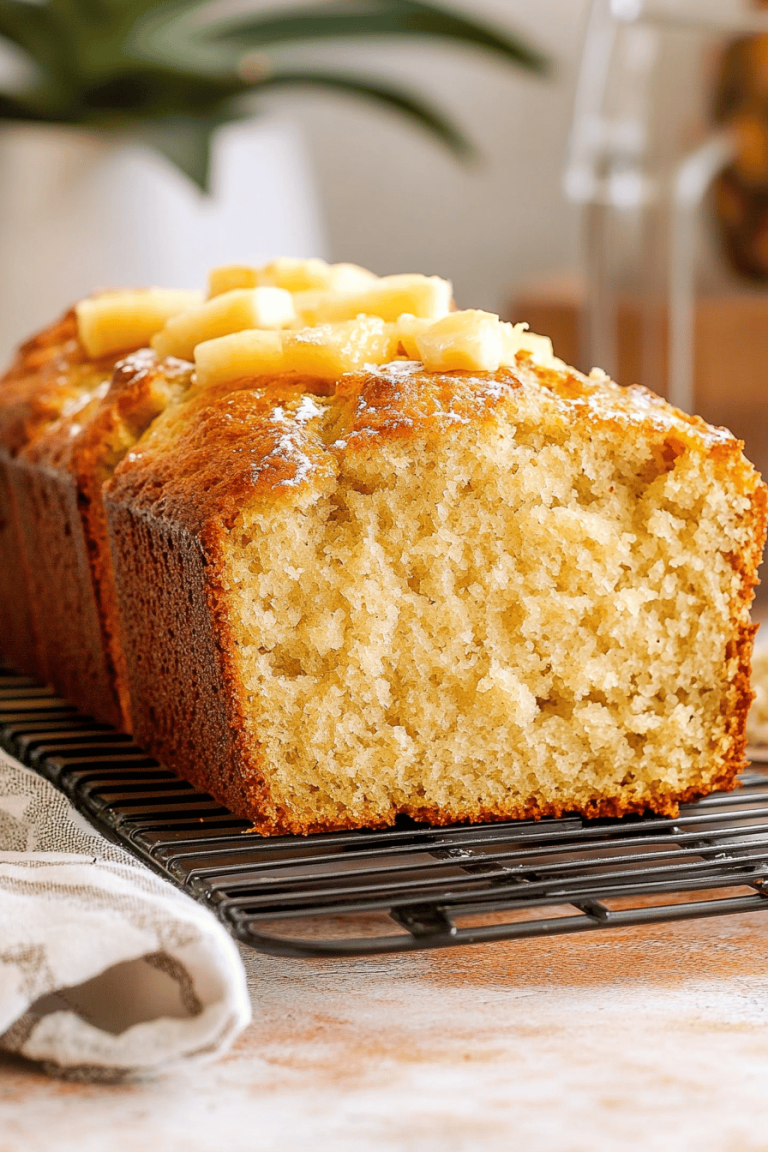
Think of this as a tropical twist on those good ol’ bars you might love — like a pineapple upside-down cake’s fun cousin who’s a bit more laid-back and snack-friendly. This Caribbean pineapple dessert bars recipe layers tender, buttery cake infused with fresh pineapple chunks and a sprinkle of warm spices, baked to golden perfection, then drizzled with a luscious glaze that balances the sweetness just right. The “Caribbean” part comes from the use of bright pineapple, hints of warm spices like cinnamon and nutmeg, and sometimes a splash of rum or vanilla extract. It’s essentially a slice of sunshine baked right into your dessert plate. It’s approachable too — no fancy techniques or exotic ingredients, just something that feels special but is totally doable in your own kitchen.
Why you’ll love this recipe?
What I love most about this pineapple dessert is how it hits every note without making you jump through hoops in the kitchen. First off, the flavor — oh, that blend of juicy pineapple, buttery batter, and warm spices is a little slice of tropical heaven. It’s naturally sweet but not overpowering, with just enough tartness to keep things interesting. Then, there’s the simplicity factor. This dessert doesn’t demand hours or a laundry list of ingredients. Typically, you’ll have most of what you need right in your pantry, which means it’s a go-to for those last-minute cravings or casual weekend baking. And the cost-efficiency? Pineapple is affordable fresh or canned, and the other ingredients are basic staples, so it’s easy on the wallet, especially when you want something homemade but don’t want to break the bank. Plus, versatility is a big win — serve it warm with ice cream, cut into bars for your kid’s lunchbox, or jazz it up with a bit of coconut or pecans folded in. I’ve also swapped out the glaze for a dollop of whipped cream or a drizzle of caramel, and honestly, it’s all delicious. This recipe has earned its place on my recipe playlist, sitting right beside other favorites like my banana bread or lemon poppy seed muffins.
How do you make Caribbean Pineapple Dessert Bars?
Quick Overview
Making these pineapple dessert bars is kind of like a mini adventure in the kitchen — quick, easy, and rewarding. You’ll start by preheating your oven and prepping your baking pan, then whisk together your dry and wet ingredients separately before gently combining them. Next, stirring up the pineapple filling is simple since it’s mostly just fresh chunks mixed with a few warming spices. Then is the fun part: layering and swirling the pineapple into the batter before baking it all until golden and fragrant. Once out of the oven, you’ll let it cool just enough to spread a smooth, sweet glaze on top to finish it off. It’s a straightforward process that’s really forgiving — no stressing about overmixing or complex techniques, which is why it’s become my favorite “comfort-meets-casual” dessert.
Ingredients
For the Main Batter:
- 2 cups all-purpose flour – I always sift mine to keep the batter light
- 1 ½ tsp baking powder – makes the bars fluffy but stable
- ½ tsp baking soda – gives a subtle lift
- ½ tsp ground cinnamon – adds warm depth without overwhelming
- ¼ tsp ground nutmeg – optional but brings a little warmth
- ¼ tsp salt – balances the sweetness
- ¾ cup unsalted butter, softened – room temp is key to mixing it in smoothly
- 1 cup granulated sugar – for that perfect sweetness
- 2 large eggs – helps with texture and richness
- 1 tsp vanilla extract – gives a mellow aroma
- ¾ cup buttermilk (or plain yogurt as a substitute) – keeps it moist and tender
For the Filling:
- 1 ½ cups fresh pineapple chunks (roughly diced) – canned works too, but fresh gives the best zing
- 2 tbsp brown sugar – enhances the caramelization
- 1 tsp lemon juice – adds a little brightness
- ½ tsp ground cinnamon – ties into the batter spices
For the Glaze:
- 1 cup powdered sugar – sifted for smoothness
- 2–3 tbsp pineapple juice (or milk/cream if juice isn’t available) – aim for drizzling consistency
- ½ tsp vanilla extract – smooths out the sweetness
- Optional: Pinch of salt – to balance out the sugar
Step-by-Step Instructions
Step 1: Preheat & Prep Pan
Start by heating your oven to 350°F (175°C). I always grease an 8×8 inch square baking pan with a little butter and then line it with parchment paper — makes cleanup a breeze and helps lift the bars out effortlessly. If you don’t have parchment, just make sure to give the pan a generous buttering and a light dusting of flour to prevent sticking.
Step 2: Mix Dry Ingredients
In a medium bowl, whisk together the flour, baking powder, baking soda, cinnamon, nutmeg, and salt. This step spreads the rising agents and spices evenly throughout the batter, so you get consistent flavor and texture in every bite. I like to take a little time here — it’s the base of your bars, and a good mix makes or breaks the final crumb.
Step 3: Mix Wet Ingredients
In a larger bowl, cream the softened butter and sugar until the mixture looks pale and fluffy — this usually takes about 3 to 4 minutes with a hand or stand mixer. Then beat in the eggs one at a time, followed by the vanilla extract. Once combined, alternate adding the dry mixture and the buttermilk, starting and ending with the dry. The batter should be smooth but don’t stress if it looks a bit thick — that’s what you want for a tender crumb.
Step 4: Combine
Gently fold everything together using a spatula just until the flour streaks disappear. Overmixing can toughen the bars, so take your time and stop as soon as it looks even. This step keeps the texture soft and melt-in-your-mouth perfect.
Step 5: Prepare Filling
In a small bowl, toss the pineapple chunks with brown sugar, lemon juice, and cinnamon. This draws out some of the pineapple’s natural juices and adds a caramelized kick once baked. I sometimes toss in a pinch of ground ginger for an extra zing, especially in cooler months.
Step 6: Layer & Swirl
Pour half of the batter into your prepared pan and spread evenly. Spoon half the pineapple mixture over it, then spread the remaining batter on top gently. Finally, dollop the rest of the pineapple and use a knife or skewer to swirl the pineapple through the batter. The swirling is my favorite part — it creates these gorgeous marbled pockets of fruit that look and taste stunning.
Step 7: Bake
Pop the pan into the oven and bake for about 40 to 45 minutes, or until the edges are golden and a toothpick inserted into the center comes out clean or with just a few moist crumbs. Since ovens vary, start checking around 38 minutes to avoid overbaking. The smell at this point is just irresistible — like a tropical vacation for your nose!
Step 8: Cool & Glaze
Allow the bars to cool in the pan for at least 15 minutes before transferring to a wire rack. When they’re lukewarm, whisk together your glaze ingredients. Drizzle it over the top in a thin stream — it adds just the right hint of sweetness and a pretty glossy finish. If the glaze seems too thick, loosen it with a splash more juice or milk; too runny? Just add a bit more powdered sugar.
Step 9: Slice & Serve
Use a sharp knife to slice into squares or rectangles. I find rinsing my knife under hot water between cuts keeps the edges nice and clean. These bars are divine served just as they are, or with a scoop of vanilla ice cream or dollop of whipped cream. My kids ask for seconds, and I’m right there with them every time.
What to Serve It With
For Breakfast: This pineapple dessert pairs beautifully with a strong cup of freshly brewed coffee or a lightly spiced chai latte. The subtle sweetness is a gentle wake-up call, and the tropical flavor makes breakfast feel like a mini vacation. A sprinkle of toasted coconut flakes on top brings out the island vibes perfectly.
For Brunch: Dress up your brunch table by serving these bars alongside fresh fruit salad and mimosas or a refreshing pineapple mojito mocktail. The bars add a lovely sweet contrast to savory quiches or frittatas, and their bright look just perks up any brunch spread.
As Dessert: When serving as a dessert, I like to add a scoop of vanilla bean ice cream or freshly whipped cream with a splash of rum. The warmth of the bars melts the ice cream slightly, creating a dreamy texture. A sprinkle of toasted macadamia nuts or a drizzle of caramel adds a gourmet finish.
For Cozy Snacks: When the afternoon slump hits, these bars are my go-to pick-me-up. They’re easy to eat one-handed while curled up with a good book or sharing around the coffee table. Pair them with a cup of hot tea—maybe with a hint of ginger or lemongrass—and you’re set for an instant mood boost.
This pineapple dessert has been a staple at our family gatherings, especially during warmer months when we want something fresh but comforting. It always sparks nostalgic conversations and around-the-kitchen laughs, which is exactly why I keep coming back to it.
Top Tips for Perfecting Your Caribbean Pineapple Dessert Bars
Choosing Pineapple: Fresh pineapple is my personal favorite because it adds that slight tartness and texture you just can’t beat. Make sure it’s ripe but still firm — too soft and it can make the batter watery. If you’re using canned, drain it well to avoid sogginess.
Mixing Advice: When you cream the butter and sugar, don’t rush it — this step incorporates air into your batter, making the bars lighter. Also, when combining wet and dry ingredients, a gentle fold is your friend to avoid a tough crumb.
Swirl Customization: Don’t be afraid to get creative with the swirling — use a skewer or the tip of a butter knife for pretty patterns. Try adding a handful of chopped toasted nuts or shredded coconut into the swirl for extra crunch and flavor variety.
Ingredient Swaps: I once swapped out the all-purpose flour for half whole wheat and half white flour — it made the bars a little heartier without compromising softness. Using Greek yogurt instead of buttermilk works well for a thicker, even tangier batter. For a dairy-free version, almond or oat milk with a teaspoon of vinegar gives a comparable tang.
Baking Tips: Oven temperatures vary, so always keep an eye from minute 38 onward. Placing the pan on the middle rack ensures even baking. If the edges brown too quickly, loosely tent with foil during the last 10 minutes.
Glaze Variations: If you want to switch things up, try a coconut cream glaze for a rich, tropical touch or a lime-infused glaze for that extra zesty punch. Adjust the consistency slowly—too thin, and it’ll run off your bars; too thick, and it won’t drizzle nicely.
I learned the hard way that rushing the cooling stage before glazing leads to the glaze melting and pooling unevenly — patience here really pays off. Also, definitely experiment with the swirl — sometimes random is perfect, but a little pattern makes it so much prettier.
Storing and Reheating Tips
Room Temperature: These bars keep well at room temp for up to 2 days when covered tightly with plastic wrap or stored in an airtight container. Just keep them away from heat or direct sunlight to maintain freshness.
Refrigerator Storage: You can refrigerate them for up to 5 days in a sealed container. The pineapple can make the bars a bit denser over time, so I usually warm a slice in the microwave for 20-30 seconds before eating to bring back that freshly-baked softness.
Freezer Instructions: These bars freeze beautifully for up to 3 months. Wrap individual slices tightly in plastic wrap, then place them in a freezer bag to prevent freezer burn. Thaw overnight in the fridge, and warm gently the next day for best results.
Glaze Timing Advice: If you plan to store the bars longer, I suggest glazing right before serving — it keeps the glaze fresh and shiny. For short-term storage, you can glaze before refrigerating but note the glaze might set firmer and crack after chilling.
Following these tips will keep your bars tasting like they just came from the oven, even days later — I’ve tested this trick during busy weeks, and it’s a lifesaver.
Frequently Asked Questions
Final Thoughts
If you’re craving a dessert that feels like a warm hug with a tropical twist, this Caribbean pineapple dessert bars recipe is an absolute winner. I’ve shared this with friends, family, and even my local book club, and every time the bars disappear fast — the smell alone tends to lure people in! What makes this recipe truly special is how approachable it is, yet the final product feels special enough to impress without a ton of fuss. It’s a snack, a breakfast treat, a brunch star, and a dessert all rolled into one easy bake. I’d encourage you to try it with fresh pineapple if you can, and don’t shy away from making it your own with glazes or add-ins. Drop a comment below if you give it a go — I love hearing how yours turns out or what little twists you add. Happy baking, and here’s to lots of joyful, pineapple-scented kitchens ahead!
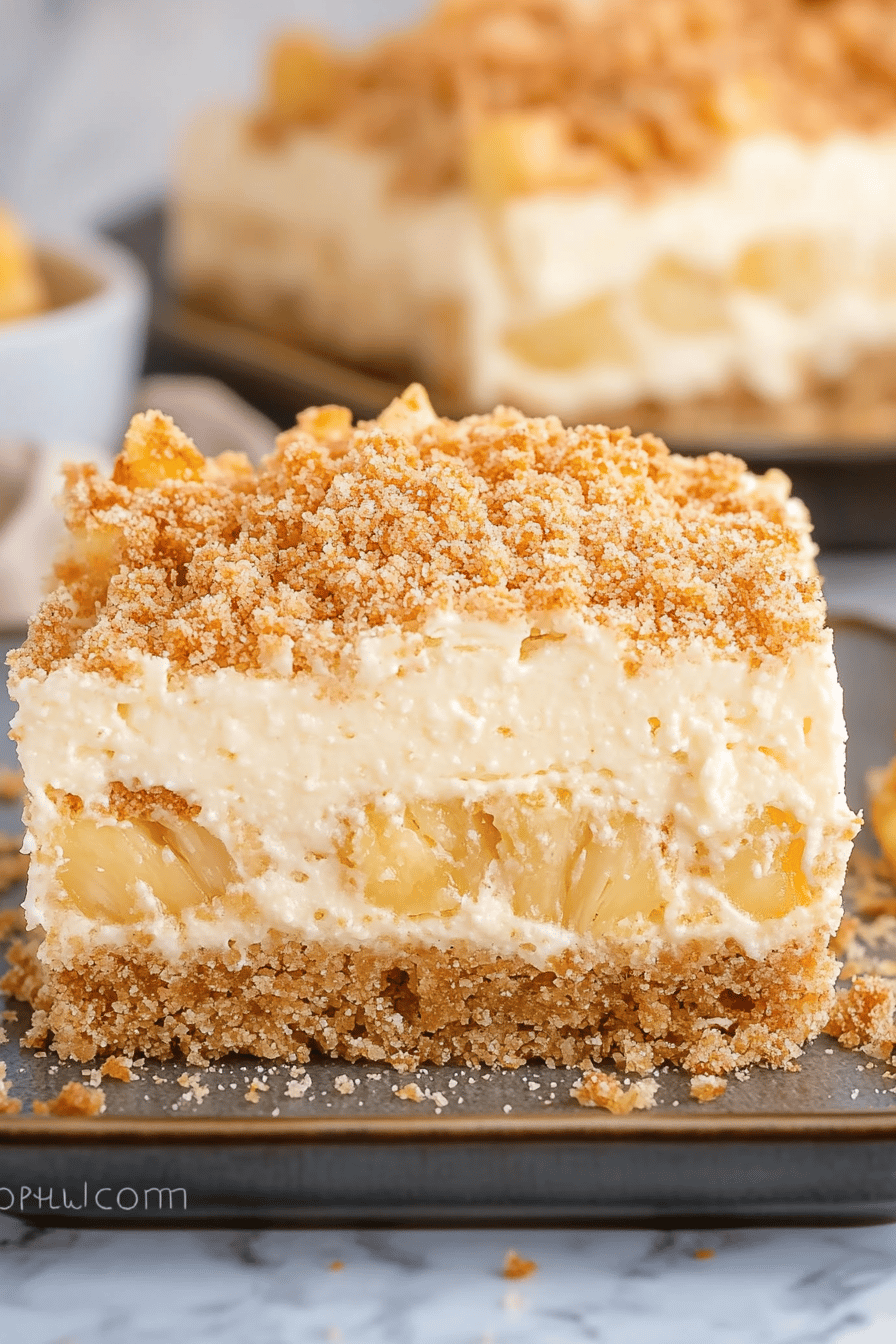
Tropical Treats How to Make Pineapple Dessert
Ingredients
Main Ingredients
- 4 cups graham cracker crumbs divided
- 0.75 cup butter melted
- 0.5 cup butter room temperature
- 8 oz cream cheese room temperature
- 2 cups confectioners' sugar
- 40 oz crushed pineapple drained
- 16 oz whipped topping homemade or store-bought
Instructions
Preparation Steps
- Spray a 10x15-inch baking dish with nonstick cooking spray.
- In a medium bowl, combine graham cracker crumbs with melted butter until all crumbs are coated. Set aside.
- Using a hand mixer, beat cream cheese and room temperature butter in a large bowl until creamy.
- Add confectioners' sugar and mix until fully combined.
- Gently fold in drained crushed pineapple and whipped topping until fully incorporated.
- Press 3 cups of the graham cracker crust mixture evenly into the prepared baking dish.
- Spread the pineapple filling evenly over the crust.
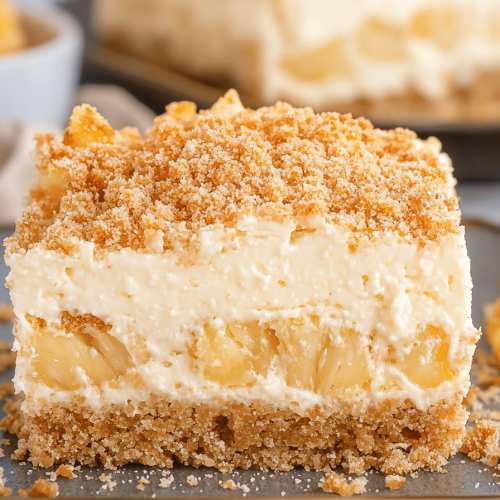
- Sprinkle the remaining graham cracker crumbs over the top.
- Refrigerate the dessert for at least 2 hours, preferably overnight.
- Serve chilled and enjoy your tropical treat!