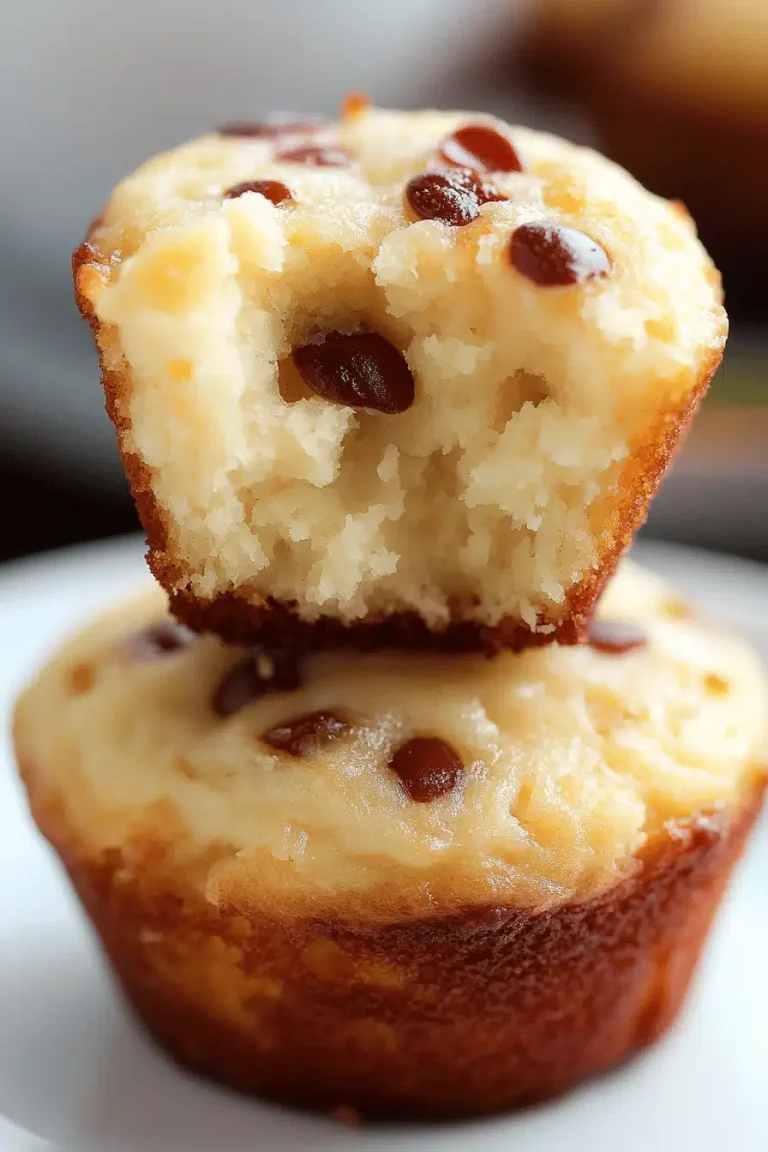
Ice Cream Cone Cupcakes
Transform your dessert game with these delightful Ice Cream Cone Cupcakes, a fun and whimsical treat that brings smiles to both kids and adults alike. Combining the joy of a cupcake with the playful presentation of an ice cream cone, this recipe is perfect for parties, gatherings, or simply to brighten up your day. Let’s dive into the sweet magic!

Growing up, my grandmother would always make traditional cupcakes for family gatherings. I remember the day I first introduced these Ice Cream Cone Cupcakes at a family barbecue; the kids were thrilled, and even the adults couldn’t resist their charm. It was a hit and instantly became a family favorite. Now, they are a staple in our family celebrations, and I’m excited to share this special recipe with you!
Why You’ll Love This Recipe
These Ice Cream Cone Cupcakes are not only a visual treat but also incredibly easy to make. The fun presentation makes them an excellent choice for birthday parties or summer events. Their portability means less mess than traditional cupcakes, and you don’t need plates or forks, making cleanup a breeze. Plus, the customization options with toppings and flavors ensure they can fit any occasion or preference.
Ingredients Notes
For the best results, use sturdy, flat-bottom sugar cones as they won’t tip over during baking. Substitute regular cupcake batter with gluten-free or whole wheat alternatives if needed. Feel free to experiment with the flavor of the cake mix—chocolate, vanilla, or even a funfetti mix can work wonders. To add a twist, mix in some mini chocolate chips or sprinkles into the batter!

Recipe Steps
Step 1
Preheat your oven to 350°F (175°C) and prepare a muffin tin by standing the cones upright in each muffin cup. This will help prevent any tipping over while baking.
Step 2
Prepare the cupcake batter as per instructions on the box or your homemade recipe. Gently fill each cone with batter, leaving some space at the top to allow the cupcakes to rise.
Step 3
Bake in the preheated oven for 20-25 minutes or until a toothpick inserted into the center comes out clean. Keep an eye on them to prevent over-baking.
Step 4
Allow the cupcakes to cool completely. This is crucial for maintaining their structure and making icing easier.
Step 5
Once cooled, top each cupcake with a scoop of frosting, using a melon baller or Ice Cream scoop for an authentic look. Decorate with sprinkles, chocolate chips, or any topping of your choice.
Storage Options
Store leftover cupcakes in an airtight container at room temperature for up to 2 days. If you need to store them longer, place them in the fridge for up to a week. To freeze, wrap each cooled and unfrosted cupcake individually in plastic wrap, then store in a freezer-safe bag. Thaw at room temperature before adding frosting and serving.
Variations & Substitutions
For gluten-free options, use a gluten-free cone and cake mix. You can also switch out the cake flavors by adding extracts like almond or lemon to match your theme. To accommodate dairy-free diets, use a dairy-free cake mix and substitute the frosting with a vegan option.
Serving Suggestions
Serve these Ice Cream Cone Cupcakes at birthday parties, picnics, or summer gatherings. They’re also perfect for school events, as they are both fun and easy to handle. Accompany these with a chilled glass of milk or your favorite fruit punch for a refreshing treat.
Frequently Asked Questions
How do I prevent the cones from burning in the oven? To prevent burning, ensure you do not overfill the cones with batter and avoid overbaking. Use a liner or a Sheet Pan to stabilize the cones, and place them in the middle rack of the oven.
Can I prepare these ahead of time? Absolutely! You can bake the cupcakes a day in advance. Ensure they’re cooled completely before storing in an airtight container. Frost them right before serving to maintain freshness and prevent the cone from becoming soggy.
What’s the best way to fill the cones? The easiest way to fill the cones is by using a piping bag or a cookie scoop to distribute the batter evenly. This also helps avoid overfilling and keeps the edges clean during baking.

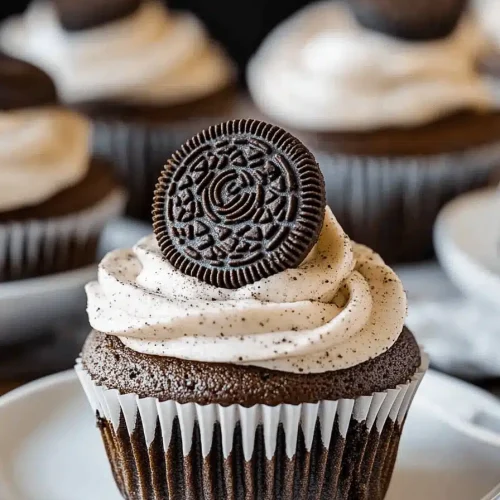
Ice Cream Cone Cupcakes
Ingredients
Main Ingredients
- 1.5 cup all-purpose flour
- 1 cup sugar
- 1 tsp baking powder
- 0.5 cup milk
- 12 ice cream cones with flat bottoms
Instructions
Preparation Steps
- Preheat the oven to 350°F (175°C) and set the cones upright in the cups of a muffin pan.
- In a bowl, mix flour, sugar, and baking powder together.
- Gradually add milk while stirring, until you have a smooth batter.
- Fill each cone with batter until it's 3/4 full.
- Bake for 20-25 minutes until a toothpick inserted comes out clean.

