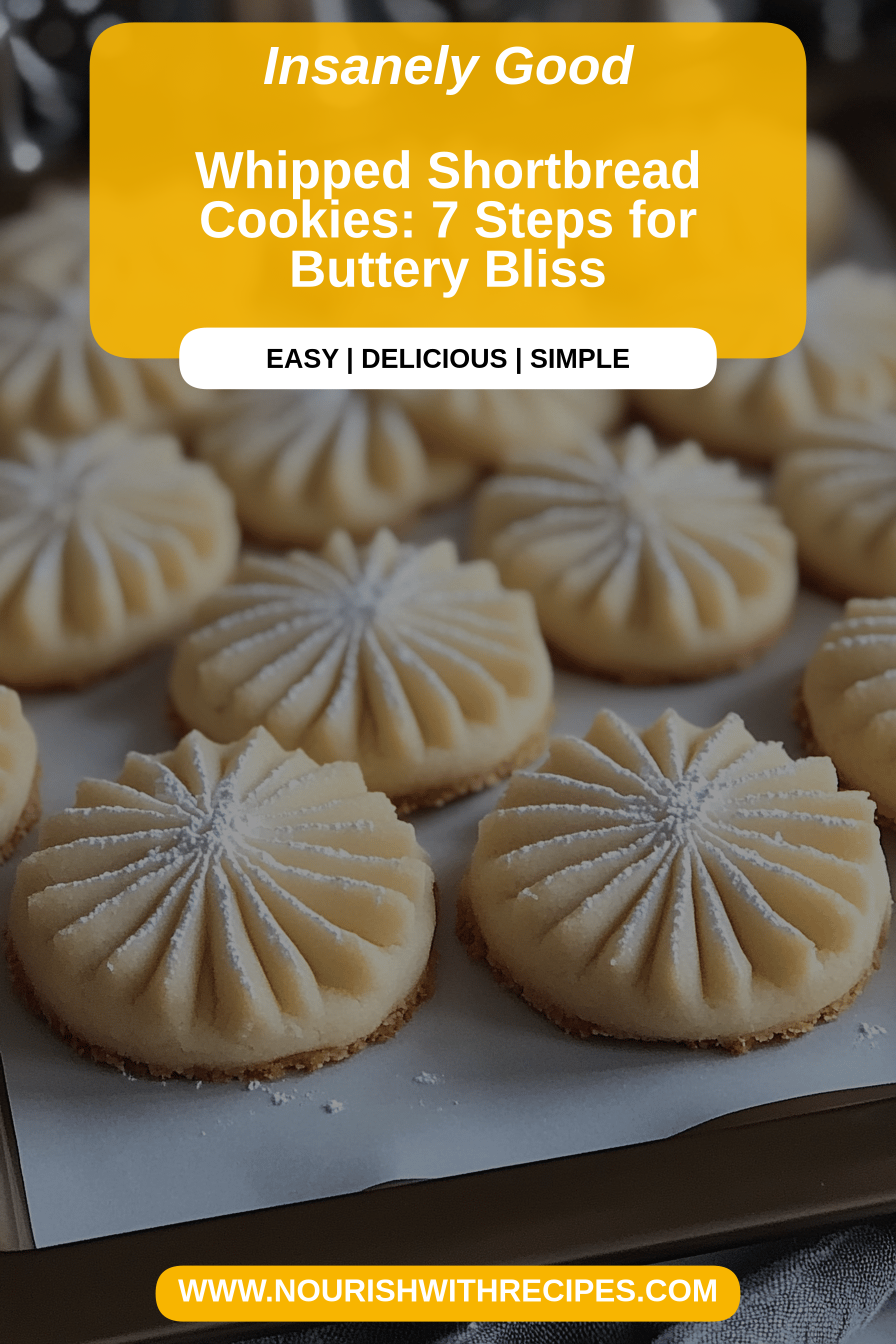
Whipped Shortbread Cookies
There are certain recipes that just feel like home, aren’t there? For me, it’s these Whipped Shortbread Cookies. I remember my Grandma Lena’s kitchen, always smelling faintly of vanilla and something sweet baking. She’d often make a batch of these, and the sheer melt-in-your-mouth texture was pure magic. It’s like a cloud transformed into a cookie! While a classic shortbread is wonderful, this whipped version takes things to a whole new level of tender, delicate goodness. It’s the kind of cookie that makes you pause, close your eyes, and just savor the moment. Honestly, if you’ve ever found traditional shortbread a bit too firm or crumbly, you are going to fall head over heels for this. It’s the ultimate treat for when you need a little bit of everyday luxury, without all the fuss. I always make a double batch around the holidays, but let’s be real, they’re too good to save just for special occasions.
What are whipped shortbread cookies?
So, what exactly makes these “whipped” Shortbread Cookies so special? Think of it as the airy, ethereal cousin to your classic, buttery shortbread. The “whipped” part comes from beating the butter and sugar together for a good amount of time until it’s incredibly light and fluffy, almost like a frosting. This process incorporates a lot of air, which is the secret to their incredibly tender and delicate texture. Instead of being dense and crumbly, they practically dissolve on your tongue! It’s essentially a very light, very buttery, melt-in-your-mouth cookie that’s surprisingly simple to achieve. We’re not talking about anything complicated here; it’s just a little extra love and air incorporated into the base. It’s the kind of cookie that makes people ask, “What did you *do* to these?” and you can just smile and say, “It’s my special whipped shortbread recipe!”
Why you’ll love this recipe?
What are some of the reasons why this recipe for Whipped Shortbread Cookies has earned a permanentflavor is divine. It’s a pure, buttery richness that isn’t overly sweet, with a hint of vanilla that just sings. The texture, oh my goodness, the texture! It’s impossibly delicate and tender. It’s like biting into a sweet, buttery cloud. And the simplicityI can whip these up on a weeknight when I have a craving and they never disappoint. They’re also surprisingly easy to makecost-efficient – no fancy ingredients needed here! This recipe is perfect for those moments when you want to bake something beautiful and delicious without breaking the bank. Beyond that, the versatility is a huge plus. While they’re incredible on their own, you can dip them in chocolate, drizzle them with icing, or even sandwich them with a dollop of jam. They’re the perfect canvas for your creativity! What I love most about this recipe, though, is the feeling it evokes. It’s that cozy, comforting, homemade goodness that just makes everyone happy. They’re a step up from your average cookie, but still so approachable. If you’re a fan of my classic sugar cookies, you’ll adore the added tenderness here, and for those who love a good biscotti but want something softer, this is your answer!
How to Make Whipped Shortbread Cookies
Quick Overview
Making these Whipped Shortbread Cookies is a delightful process that results in pure bliss. The key is creaming the butter and sugar until super fluffy, then gently incorporating the dry ingredients. We’ll form a soft dough, chill it slightly, and then bake them until they’re just golden. The resulting cookie is incredibly tender, buttery, and utterly addictive. It’s straightforward, requires minimal fuss, and the payoff is just immense. Trust me, the aroma that fills your kitchen while these bake is reason enough to make them!
Ingredients
For the Main Batter:
You’ll need good quality unsalted butter, softened but not melted. This is crucial for that perfect creamy texture. Make sure it’s at room temperature, otherwise, it won’t cream properly. Also, granulated sugar is your friend here; it helps with the structure and that slight crispness on the edges. And of course, pure vanilla extract – don’t skimp on this! It adds that warm, comforting flavor note that makes shortbread so beloved. For the flour, all-purpose is what I always use. It’s reliable and gives us that perfect tender crumb. A pinch of salt is essential to balance the sweetness and really make all those buttery flavors pop.
For the Filling:
This is where we get a little creative! Sometimes I like a simple creamy vanilla bean filling, which is just powdered sugar mixed with a touch of butter and milk or cream, plus vanilla bean paste for those lovely flecks. Other times, I’ll add a bit of lemon zest or even a touch of almond extract for a different flavor profile. You could also swirl in some raspberry jam or even a bit of melted chocolate!
For the Glaze:
A simple powdered sugar glaze is my go-to. It’s just powdered sugar with a splash of milk or water and a drop of vanilla. You want it thick enough to coat but not so thick that it’s unmanageable. You can also add a bit of lemon juice for a tart kick, or even some melted chocolate for a richer finish. The consistency is key – too thin and it runs off, too thick and it’s clunky. Aim for something you can drizzle or spread easily.
Step-by-Step Instructions
Step 1: Preheat & Prep Pan
First things first, let’s get our oven ready. Preheat it to 350°F (175°C). While that’s warming up, line a baking sheet with parchment paper. This is a lifesaver for easy cleanup and ensures your cookies don’t stick. I find parchment paper works better than greasing the pan for shortbread, as it gives a more even bake and prevents browning on the bottom.
Step 2: Mix Dry Ingredients
In a medium bowl, whisk together your all-purpose flour, powdered sugar (yes, powdered sugar in the dough!), and salt. Whisking them together ensures everything is evenly distributed, so you don’t get pockets of sugar or flour. This step is super simple but important for a uniform cookie texture.
Step 3: Mix Wet Ingredients
Now for the magic! In a large bowl, beat the softened butter with your electric mixer on medium-high speed. You want to beat it until it’s really pale and fluffy. This can take about 3-5 minutes. Don’t rush this step; the more air you incorporate here, the lighter your cookies will be. Gradually add the granulated sugar and continue beating for another 3-5 minutes until the mixture is light, fluffy, and almost like a whipped cream. Then, beat in the vanilla extract until just combined.
Step 4: Combine
Gradually add the dry ingredients to the wet ingredients, mixing on low speed until just combined. Be careful not to overmix at this stage. Overmixing develops the gluten in the flour, which can make your cookies tough. Stop mixing as soon as you no longer see streaks of flour. The dough will be soft and somewhat sticky.
Step 5: Prepare Filling
While the dough is chilling, let’s get the filling ready. In a small bowl, cream together softened butter, powdered sugar, and vanilla extract until smooth and creamy. You can add a tiny splash of milk or cream if it seems too stiff. For a flavored filling, stir in lemon zest, almond extract, or even a tablespoon of your favorite jam. You want it to be a consistency that’s easy to spread but won’t ooze out when baked.
Step 6: Layer & Swirl
Now, the fun part! Divide your Cookie Dough in half. On a lightly floured surface, gently roll out one half into a rectangle about 1/4 inch thick. Spread half of your prepared filling evenly over the dough, leaving a small border. Gently roll out the second half of the dough and place it on top of the filling. Lightly press down to seal. You can then gently score the top layer with a knife in a swirling pattern if you like, before cutting. Cut the layered dough into squares or rectangles. You can also use cookie cutters at this point, but be gentle.
Step 7: Bake
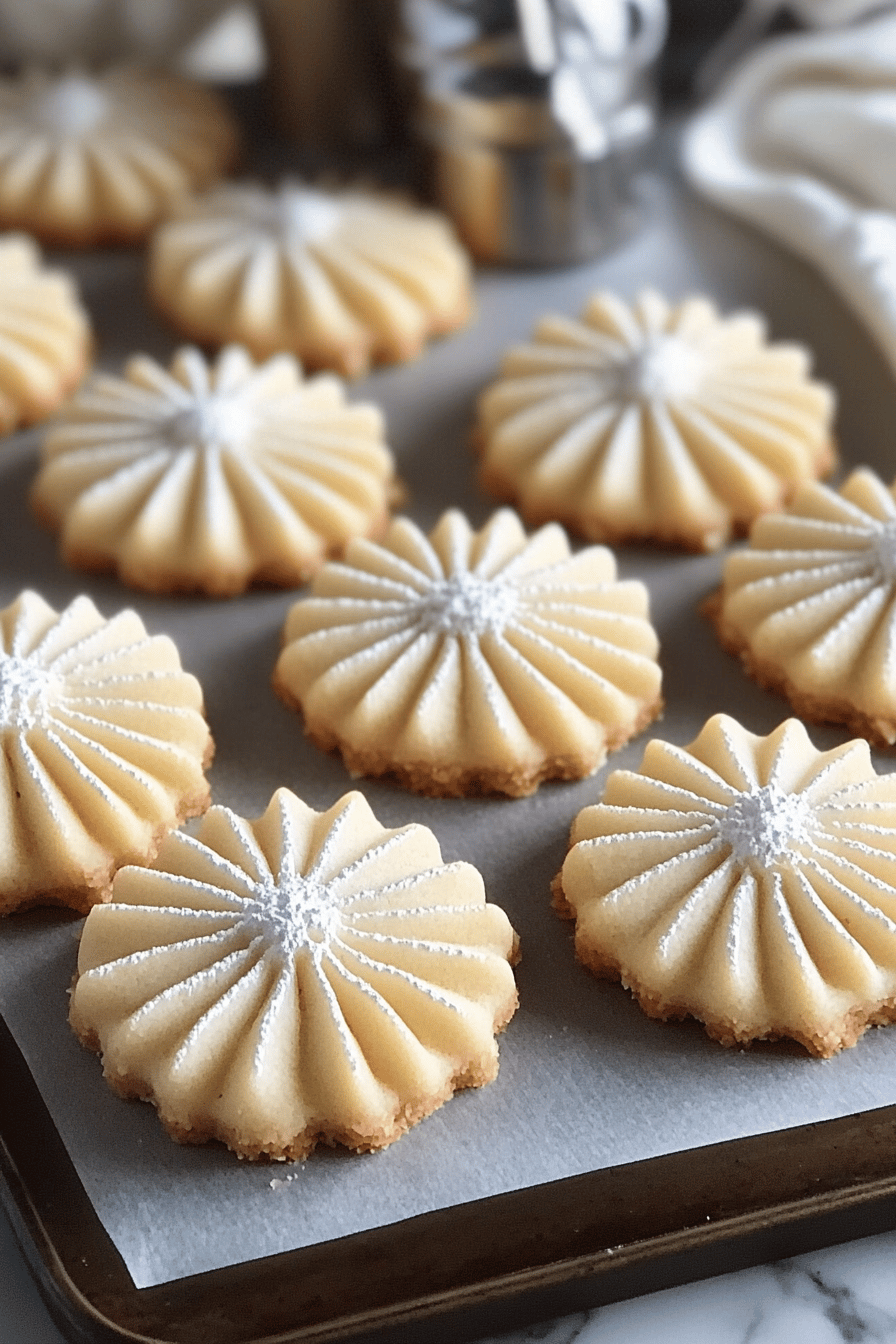
Carefully transfer your cut cookies to the prepared baking sheets, leaving about an inch between them. Bake for 12-15 minutes, or until the edges are lightly golden brown. The centers should still look pale and soft. They will firm up as they cool. Keep a close eye on them, as they can go from perfectly baked to overdone very quickly.
Step 8: Cool & Glaze
Let the cookies cool on the baking sheet for about 5 minutes before transferring them to a wire rack to cool completely. Once they’re completely cool, prepare your glaze. Whisk together powdered sugar, a splash of milk (or water), and vanilla extract until smooth and drizzly. Drizzle the glaze over the cooled cookies. Let the glaze set before serving or storing.
Step 9: Slice & Serve
Once the glaze is set, these beauties are ready to be enjoyed! Serve them with a cup of tea, coffee, or a cold glass of milk. They’re perfect for sharing with friends, family, or just treating yourself. The delicate texture and buttery flavor are truly irresistible.
What to Serve It With
These Whipped Shortbread Cookies are so wonderfully versatile, you can enjoy them in so many ways! For Breakfast, they’re an absolute treat alongside a strong cup of coffee or a creamy latte. Imagine dipping one of these tender cookies into your morning brew – pure bliss! They make a simple breakfast feel so much more special. For Brunch, they add an elegant touch to any spread. Arrange them on a pretty platter alongside fresh fruit, pastries, and perhaps some mimosas. Their delicate appearance and melt-in-your-mouth texture make them feel quite sophisticated. As Dessert, they shine! Serve them after dinner with a scoop of vanilla bean ice cream or a small bowl of fresh berries. The buttery richness is a perfect counterpoint to something slightly tart or creamy. For those quiet moments, for Cozy Snacks, they’re just perfect. Pair them with a cup of herbal tea on a chilly afternoon, or have one with a glass of milk while you’re curled up with a good book. My personal favorite way to serve them is simply on a small plate with a cup of Earl Grey tea while I catch up on emails – it feels like a little indulgence just for me. They’re also fantastic when sandwiched with a bit of homemade lemon curd or raspberry jam, turning them into a delightful little treat.
Top Tips for Perfecting Your Whipped Shortbread Cookies
Okay, so you want to make these absolutely perfect every time? I’ve learned a few things over the years, and I’m happy to share them! For the dough itself, Zucchini Prep isn’t really applicable here, as we’re not using zucchini, but the principle of understanding your ingredients is key. For Mixing Advice, the absolute golden rule is *do not overmix the dough* once the flour is added. Mix on low speed and only until the dry ingredients are just incorporated. If you overmix, you’ll end up with tough, chewy cookies instead of the melt-in-your-mouth texture we’re after. The dough might look a little shaggy, and that’s perfectly fine! For Swirl Customization, if you’re swirling fillings like jam or chocolate into the dough before cutting, be gentle. You don’t want to overwork the dough at that stage either. Keep your swirls artistic but not excessive. When it comes to Ingredient Swaps, I’ve tested this with salted butter, and you’ll just need to omit the added pinch of salt. I’ve also experimented with using half whole wheat flour, but it does change the texture slightly, making them a bit heartier. For Baking Tips, ovens can be fickle. If yours runs hot, you might want to reduce the temperature by 10-15 degrees. Always bake on the center rack for even heat distribution. The cookies should look pale with just a hint of golden brown around the edges when they’re done. Don’t be tempted to bake them until they’re golden brown all over – they’ll be too crispy. For Glaze Variations, if you want a thicker glaze, just add more powdered sugar, a tablespoon at a time, until you reach your desired consistency. If you want a thinner glaze for dipping, add a touch more liquid. I’ve even added a drop of food coloring for fun during holidays, or a pinch of cinnamon for a spiced shortbread. Remember to let the cookies cool *completely* before glazing, otherwise, the glaze will just melt off!
Storing and Reheating Tips
Keeping these delicate Whipped Shortbread Cookies perfect after baking is pretty straightforward. For Room Temperature storage, once they’re completely cooled and the glaze is set, store them in an airtight container. They’ll stay wonderfully fresh and tender for about 3-5 days. I usually place parchment paper between layers to prevent them from sticking together, especially if they’re glazed. If you live in a very humid climate, you might find they lose a bit of their crispness sooner, but they’ll still be delicious. For Refrigerator Storage, I generally don’t recommend refrigerating shortbread unless it has a very perishable filling. The cold can sometimes make them a bit harder and change their delicate texture. However, if you have a specific reason to refrigerate them, ensure they are in a truly airtight container and consume them within 5-7 days. They will likely soften considerably. When it comes to Freezer Instructions, these cookies freeze beautifully! You can freeze the baked and cooled cookies (without glaze, if possible, or with a very thin layer) for up to 2-3 months. Wrap them tightly in plastic wrap, then place them in a freezer-safe bag or airtight container. To thaw, simply remove them from the freezer and let them come to room temperature in their wrapping to prevent condensation. You might want to add a fresh drizzle of glaze after thawing if you froze them unglazed. For Glaze Timing Advice, it’s always best to glaze cookies just before serving or within a day or two of baking if they are to be stored at room temperature. If you plan to freeze them, I highly recommend glazing them *after* they have thawed. This keeps the glaze looking its best and prevents any sogginess.
Frequently Asked Questions
Final Thoughts
Honestly, if you’re looking for a cookie that’s a little bit special, incredibly easy, and guaranteed to impress, these Whipped Shortbread Cookies are it. They are the epitome of simple elegance, and that melt-in-your-mouth texture is just unbeatable. They’re perfect for sharing with friends, bringing to a potluck, or simply enjoying with your favorite beverage on a quiet afternoon. I truly believe everyone should have this recipe in their repertoire. If you love the tender, buttery goodness of these cookies, you might also want to explore my recipe for Almond Biscotti for a crispier cookie experience, or my Classic Butter Cookies for another delightful buttery bake. Give these Whipped Shortbread Cookies a try, and I’m so excited to hear what you think! Please leave a comment below with your thoughts, your rating, or any fun variations you come up with. Happy baking, and enjoy every single crumb!

Whipped Shortbread Cookies
Ingredients
Main Ingredients
- 1 cup unsalted butter softened
- 0.5 cup powdered sugar
- 2 cups all-purpose flour
- 0.25 teaspoon salt
- 1 teaspoon vanilla extract
Instructions
Preparation Steps
- In a large bowl, beat the softened butter with an electric mixer until light and fluffy.
- Gradually add the powdered sugar and beat until well combined and creamy.
- In a separate bowl, whisk together the flour and salt.
- Add the flour mixture to the butter mixture in three additions, alternating with the vanilla extract, mixing on low speed until just combined. Do not overmix.
- Cover the dough and chill in the refrigerator for at least 30 minutes.
- Preheat oven to 300°F (150°C). Line baking sheets with parchment paper.
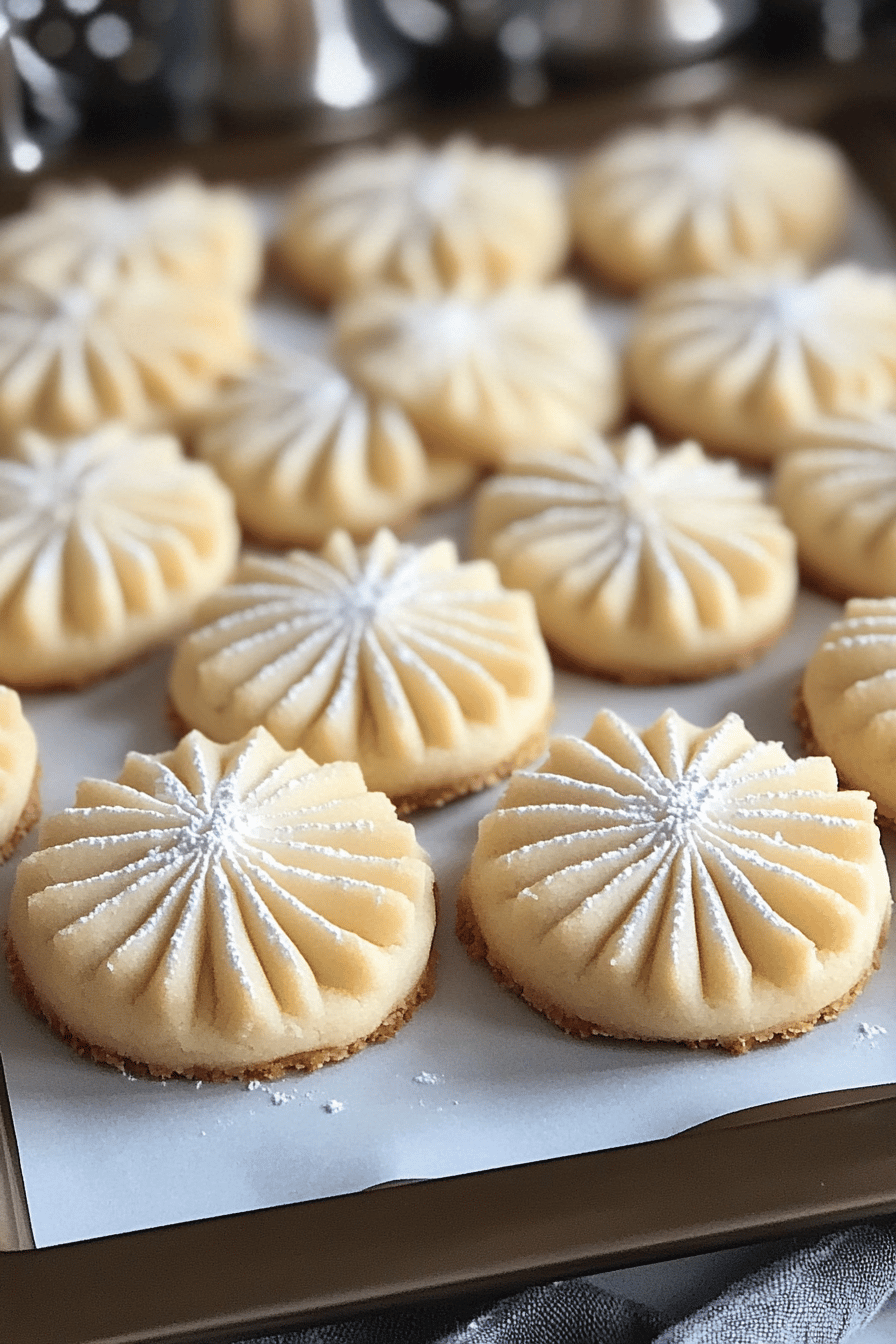
- Shape the dough into small balls (about 1 inch in diameter) and place them on the prepared baking sheets, about 2 inches apart.
- Gently flatten each ball with the tines of a fork or the bottom of a glass.
- Bake for 10-14 minutes, or until the edges are lightly golden. The cookies should still be pale.
- Let the cookies cool on the baking sheets for a few minutes before transferring them to a wire rack to cool completely.