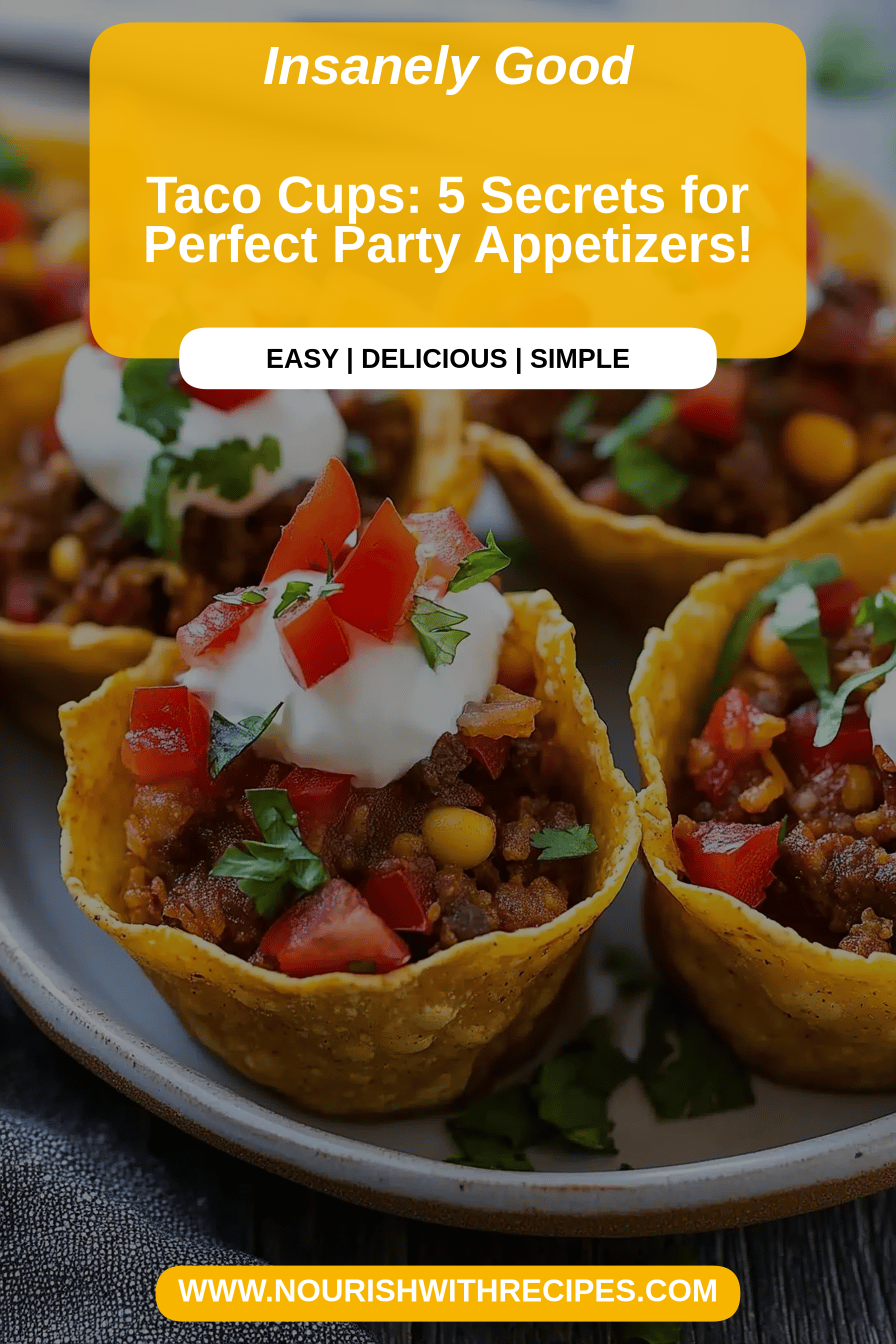
Taco Cups Recipe
Oh, you are going to LOVE this taco Cups Recipe. Seriously. It’s one of those magical dishes that hits all the right notes: incredibly delicious, surprisingly easy, and always a huge hit with everyone, from my pickiest eaters to my most discerning foodie friends. I remember the first time I made these, I was looking for something new to spice up our weeknight dinners, and I stumbled upon the idea of these little baked wonders. They reminded me a bit of those mini quiches, but with a whole lot more personality and a lot less fuss. My kitchen filled with the most amazing aroma, and by the time they came out of the oven, my whole family was practically gathered around, forks in hand, ready for a taste. This taco cups recipe has since become a staple, a go-to for busy evenings, casual get-togethers, and even when I’m just craving something comforting and flavorful without spending hours in the kitchen. If you’ve ever enjoyed a savory muffin or a breakfast pastry, get ready for an elevated version that’s bursting with zesty, comforting flavors. It’s truly a lifesaver, and I can’t wait for you to try it!
What is Taco Cups?
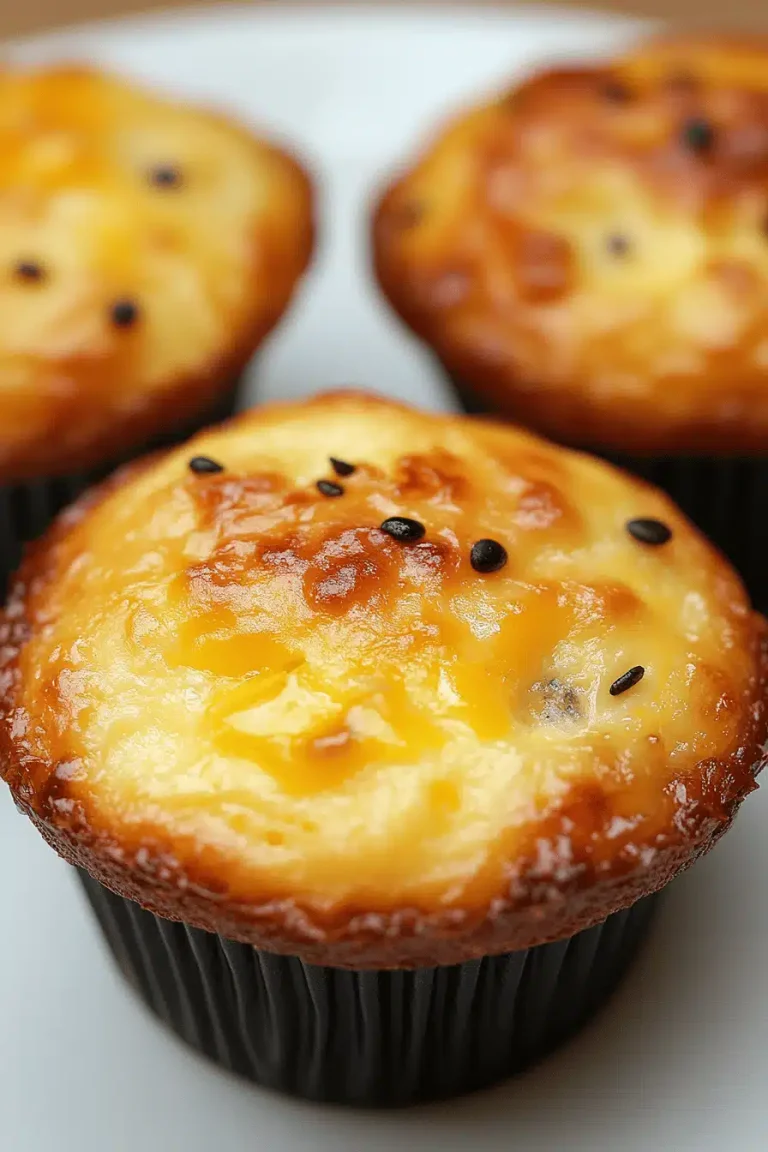
So, what exactly are these delightful little things? Think of the humble muffin tin, but instead of a sweet batter, we’re filling it with a savory, flavor-packed mixture that bakes up into individual, perfectly portioned cups. It’s essentially a crustless quiche or a mini savory cake, but with the vibrant, bold flavors you’d expect from your favorite tacos. The “cup” part comes from the way the ingredients are nestled together and baked, creating a lovely, cohesive bite. The name itself, “Taco Cups Recipe,” perfectly captures the essence – it’s all the deliciousness of tacos, but in a fun, portable, and incredibly satisfying cup form. It’s not complicated; it’s just a really smart and tasty way to enjoy those beloved taco flavors in a new, exciting format. It’s essentially a hug in a muffin tin!
Why you’ll love this recipe?
There are so many reasons why this taco cups recipe has earned a permanent spot in my recipe rotation, and I have a feeling it will in yours too. First off, the flavor is just out of this world. You get that savory, slightly spicy kick from the taco-seasoned filling, balanced beautifully by the tender, moist base. It’s like a fiesta in your mouth with every bite! And then there’s the sheer simplicity of it all. Honestly, I can whip this up on a Tuesday night with no problem, even when I’m exhausted after a long day. The ingredients are usually things I already have on hand, making it a budget-friendly win as well. What I love most about this taco cups recipe is its versatility. You can serve it for breakfast, brunch, lunch, or even a light dinner. It’s fantastic as is, but it also plays wonderfully with other dishes. My kids actually ask for these more than they ask for pizza sometimes, which is saying a lot! It’s a delightful departure from the usual, offering a familiar yet exciting flavor profile that just makes you happy. Trust me, the smell alone as these bake will have everyone flocking to the kitchen!
How do I make Taco Cups?
Quick Overview
Making these taco cups is wonderfully straightforward. We’re essentially creating a savory batter, folding in a flavorful taco-seasoned filling, and then baking them in a muffin tin until golden and puffed. It’s a simple layering and baking process that yields incredibly delicious results. The beauty is that it requires minimal effort for maximum payoff, making it perfect for those days when you want something truly special without the culinary marathon. You’ll be amazed at how quickly this comes together, from mixing bowl to oven!
Ingredients
For the Main Batter:
This is the base that holds everything together, giving you that tender, moist texture. I always opt for all-purpose flour for its reliable consistency, but feel free to experiment! Make sure your flour is fresh; it makes a difference.
- 2 cups all-purpose flour
- 1 tablespoon baking powder
- 1 teaspoon salt
- 1/2 teaspoon black pepper
- 1/2 cup unsalted butter, melted
- 2 large eggs
- 1 cup milk (whole milk makes it extra rich!)
For the Filling:
This is where all the taco magic happens! I love using a mix of ground meat for extra flavor, but you can absolutely use turkey or even skip the meat altogether for a vegetarian version. Make sure your seasonings are fresh for the best punch!
- 1 pound ground beef (or turkey, chicken, or vegetarian crumbles)
- 1 small onion, finely chopped
- 2 cloves garlic, minced
- 1 packet (about 1 oz) taco seasoning
- 1/2 cup salsa (your favorite kind!)
- 1/4 cup shredded cheddar cheese (or a Mexican blend)
- Optional: 1/4 cup corn kernels (fresh or frozen)
- Optional: 1/4 cup black beans, rinsed and drained
For the Glaze:
This is the final flourish that adds a beautiful sheen and a touch of extra flavor. It’s super simple but makes all the difference!
- 1/4 cup sour cream or plain Greek yogurt
- 1 tablespoon milk
- Pinch of chili powder (optional, for color and a hint of warmth)
Step-by-Step Instructions
Step 1: Preheat & Prep Pan
First things first, let’s get our oven ready. Preheat it to 375°F (190°C). While the oven is heating up, grab your muffin tin. I always, always grease mine really well with cooking spray or butter. You can even use a pastry brush to get into all the nooks and crannies. This is crucial for preventing sticking and ensuring your beautiful taco cups slide right out. If you’re feeling extra cautious, you can also line the cups with paper liners, but I find a well-greased tin is usually sufficient and gives you a slightly crispier edge.
Step 2: Mix Dry Ingredients
In a large mixing bowl, whisk together the all-purpose flour, baking powder, salt, and Black Pepper. Give it a good whisk until everything is evenly distributed. This step might seem simple, but it ensures that your leavening agents and seasonings are spread throughout the batter, giving you a consistent texture and flavor in every bite. You want it to look like a uniform sandy mixture.
Step 3: Mix Wet Ingredients
In a separate, medium-sized bowl, whisk together the melted butter and the two large eggs until they are well combined. Then, gradually pour in the milk while whisking continuously. You want a smooth, homogenous liquid mixture. Make sure the melted butter isn’t too hot when you add it to the eggs, or you might end up scrambling them! Let it cool slightly if needed.
Step 4: Combine
Now, pour the wet ingredients into the bowl with the dry ingredients. Stir gently with a spatula or wooden spoon until just combined. It’s really important not to overmix here! A few small lumps are perfectly fine. Overmixing can develop the gluten too much, leading to tougher taco cups. We’re going for a tender, slightly thick batter.
Step 5: Prepare Filling
While the batter is resting for a moment, let’s get the filling ready. In a skillet over medium heat, cook the GROUND BEEF (or your chosen protein) until it’s browned and crumbled. Drain off any excess grease. Add the chopped onion and cook until softened, about 3-5 minutes. Stir in the minced garlic and cook for another minute until fragrant. Now, stir in the taco seasoning and the salsa. Let it simmer for a couple of minutes, allowing the flavors to meld. Remove from heat and stir in the shredded cheese and any optional corn or beans. This filling should be moist but not watery.
Step 6: Layer & Swirl
This is where the fun happens! Spoon about 2 tablespoons of the batter into each muffin cup, filling them about halfway. Then, add about 1 to 1.5 tablespoons of the taco filling on top of the batter in each cup. Gently spoon another tablespoon or so of batter over the filling, covering it completely. You can use a toothpick or the tip of your spoon to swirl the filling into the batter a little bit, creating a beautiful marbled effect. Don’t over-swirl, just a little twist will do. This not only looks pretty but also helps distribute the flavor.
Step 7: Bake
Place the muffin tin in the preheated oven. Bake for 20-25 minutes, or until the taco cups are golden brown around the edges and a toothpick inserted into the center comes out clean. The exact baking time can vary depending on your oven, so keep an eye on them. They should be nicely puffed up and set.
Step 8: Cool & Glaze
Once they’re baked to perfection, carefully remove the muffin tin from the oven. Let the taco cups cool in the tin for about 5-10 minutes. This helps them firm up and makes them easier to remove. While they’re cooling, whisk together the Sour Cream (or Greek yogurt), milk, and the optional chili powder in a small bowl until smooth. This glaze should be pourable but not too thin. Once slightly cooled, gently run a knife around the edges of each cup to loosen them, then carefully lift them out onto a wire rack.
Step 9: Slice & Serve
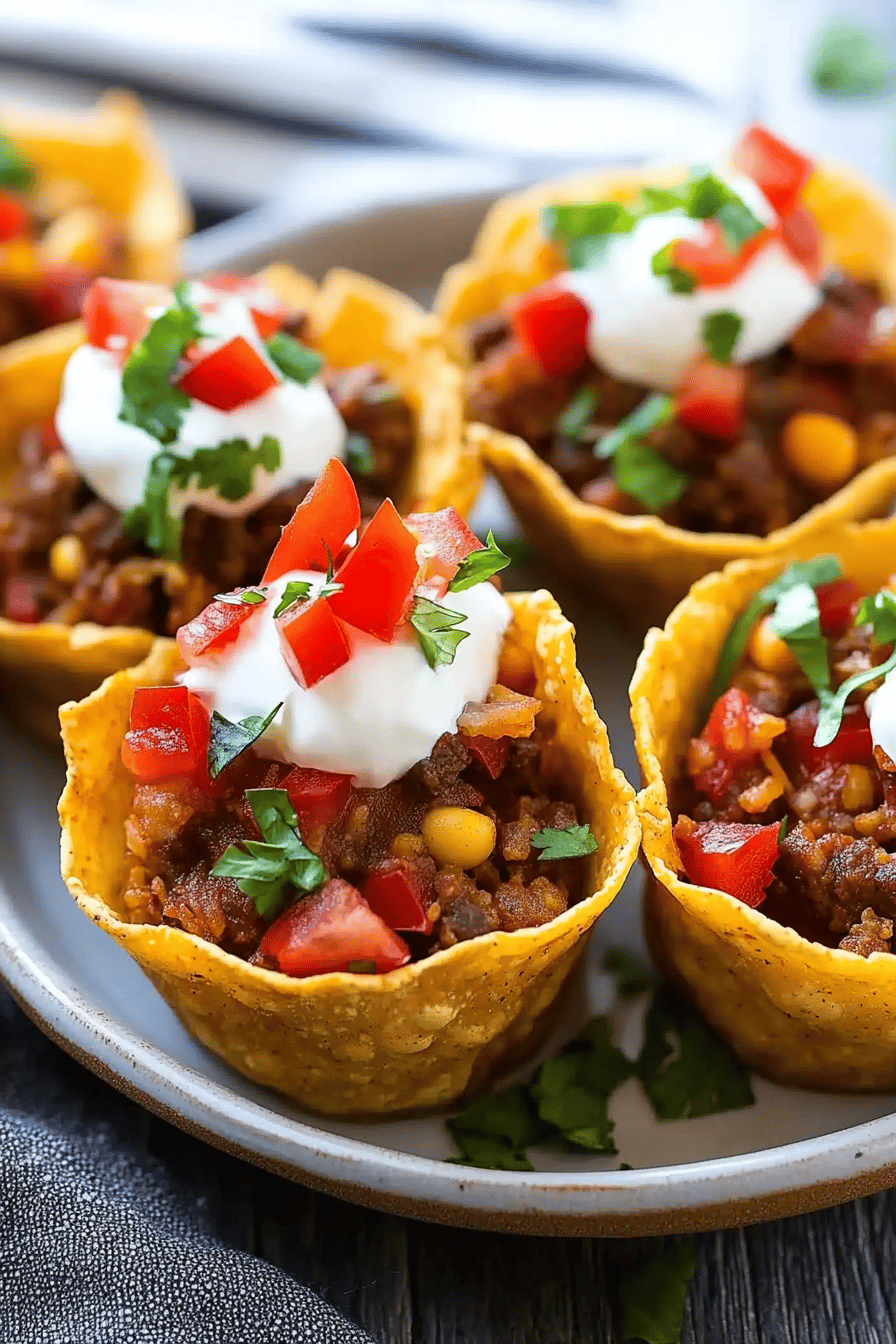
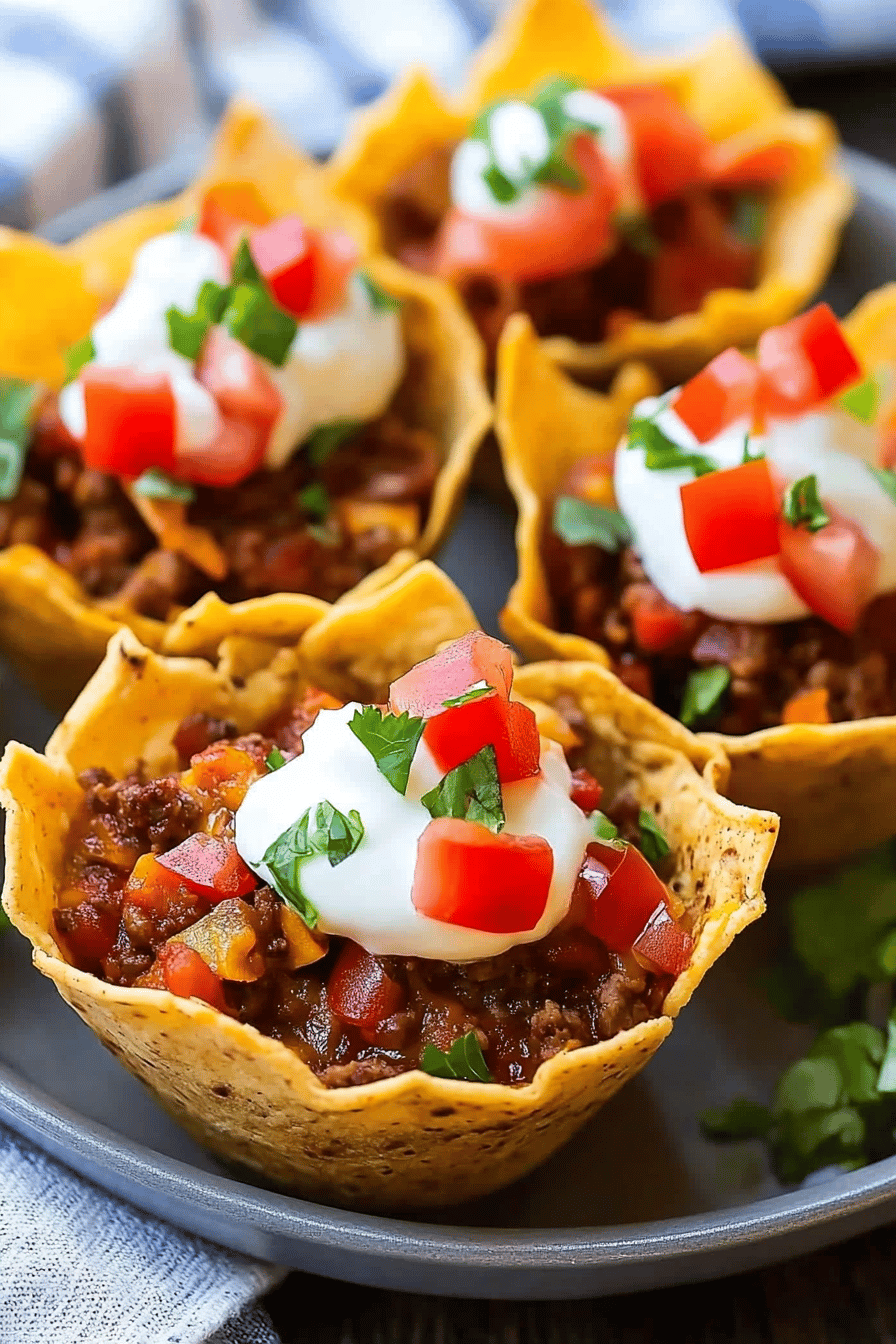
These are best served warm, so once they’ve cooled just enough to handle, give them a drizzle of the prepared glaze. You can serve them whole, or if you want to show off that beautiful swirl, you can carefully slice them in half. They look absolutely stunning on a plate, and the aroma is just divine. Enjoy them as they are, or with your favorite taco toppings like a dollop of guacamole or some fresh cilantro!
What to Serve It With
One of the best things about this taco cups recipe is how adaptable it is. It’s not just a one-trick pony! Here are some of my favorite ways to serve these little flavor bombs:
For Breakfast: These are an absolute game-changer for busy mornings. Serve them warm right out of the oven with a steaming mug of coffee. They’re filling enough to power you through the morning without feeling heavy. For a bit of extra flair, you can top them with a sprinkle of fresh chives or a small dollop of avocado crema.
For Brunch: Elevate your brunch spread by including these alongside some fruit salad and maybe some crispy bacon. They look so elegant in their individual cups. A mimosa or a bloody mary pairs perfectly with the savory flavors. I often make a double batch for weekend brunches because they disappear so fast!
As Dessert: Okay, hear me out! While they’re savory, the slight sweetness from the batter and the richness of the filling make them surprisingly satisfying after a meal, especially when paired with a light, crisp salad. It’s a more unusual but delightful way to end a meal, especially if you’re not in the mood for something super sweet.
For Cozy Snacks: These are perfect for a hearty afternoon snack or even a light dinner when you’re craving something comforting. Serve them with a side of tortilla chips and some extra salsa or guacamole. They’re so satisfying and hit that spot when you need a little pick-me-up. My family loves them as a quick and easy lunch option too!
Top Tips for Perfecting Your Taco Cups Recipe
I’ve made this taco cups recipe more times than I can count, and over the years, I’ve picked up a few tricks that I think make all the difference. Here are my top tips to help you achieve taco cup perfection:
Zucchini Prep: Okay, I know I didn’t put zucchini in the main recipe above, but some of my favorite variations *do* include it, especially for added moisture and nutrients! If you decide to add shredded zucchini (about 1 cup, squeezed dry), make sure you squeeze out as much moisture as possible. A cheesecloth or a clean kitchen towel works wonders. Otherwise, it can make your taco cups soggy. Just grate it, wrap it in the cloth, and give it a good twist.
Mixing Advice: Remember that “just combined” rule for the batter? It’s super important. Overmixing develops gluten, which makes baked goods tough. You want a tender, cake-like texture. So, mix until you no longer see dry flour, but don’t keep stirring until it’s perfectly smooth. A few little lumps are your friends here!
Swirl Customization: When you’re swirling the filling into the batter, don’t go overboard. A gentle swirl with a toothpick or the tip of a knife is all you need. Too much mixing will just blend the flavors together into one uniform taste rather than having distinct layers of batter and filling, which is part of the appeal. You can also experiment with different swirling patterns for visual interest!
Ingredient Swaps: Feel free to get creative with the filling! If you don’t have cheddar, Monterey Jack or a pepper jack would be fantastic. For a vegetarian version, crumbled firm tofu or a mix of sautéed mushrooms and black beans is delicious. You can also add a diced jalapeño to the filling for an extra kick. I once made these with leftover rotisserie chicken and they were divine!
baking tips: Ovens can be so finicky! If your oven tends to run hot, you might want to check your taco cups a few minutes earlier than the recipe states. Conversely, if your oven is a bit cooler, they might need a few extra minutes. The best test is the toothpick test – if it comes out clean, they’re done. Also, ensure your muffin tin is evenly heated; rotating it halfway through baking can help if you notice uneven browning.
Glaze Variations: The sour cream glaze is lovely, but if you’re dairy-free or want something different, a simple drizzle of olive oil with a pinch of chili flakes or a thin avocado crema works wonderfully. You can also thin down some guacamole with a little lime juice for a fresh, vibrant topping.
Storing and Reheating Tips
One of the best parts about this taco cups recipe is that they store and reheat beautifully, making them perfect for meal prep. Here’s how I usually handle leftovers:
Room Temperature: If you’re planning on serving them within a few hours, you can leave them on the counter. I usually keep them in the baking pan or a loosely covered container. They tend to hold up well for a few hours at room temperature, especially if the filling doesn’t have highly perishable ingredients.
Refrigerator Storage: For longer storage, I always pop them into an airtight container in the refrigerator. They’ll stay good for about 3 to 4 days. I find that they retain their moisture and texture really well when stored this way. Make sure they’ve cooled down completely before sealing the container to prevent condensation.
Freezer Instructions: Yes, you can freeze these! I like to freeze them either unfrosted or with the glaze on the side, so it stays fresh. Wrap each individual taco cup tightly in plastic wrap, then place them in a freezer-safe bag or container. They can stay frozen for up to 2-3 months. When you’re ready to eat them, the best way to thaw is in the refrigerator overnight.
Glaze Timing Advice: For optimal freshness and texture, I highly recommend applying the glaze just before serving, especially if you’ve refrigerated or frozen them. If you glaze them ahead of time and then store them, the glaze can sometimes become a bit watery or meld too much with the muffin base. So, my tip is to store the glaze separately in a small container in the fridge and drizzle it on fresh.
Frequently Asked Questions
Final Thoughts
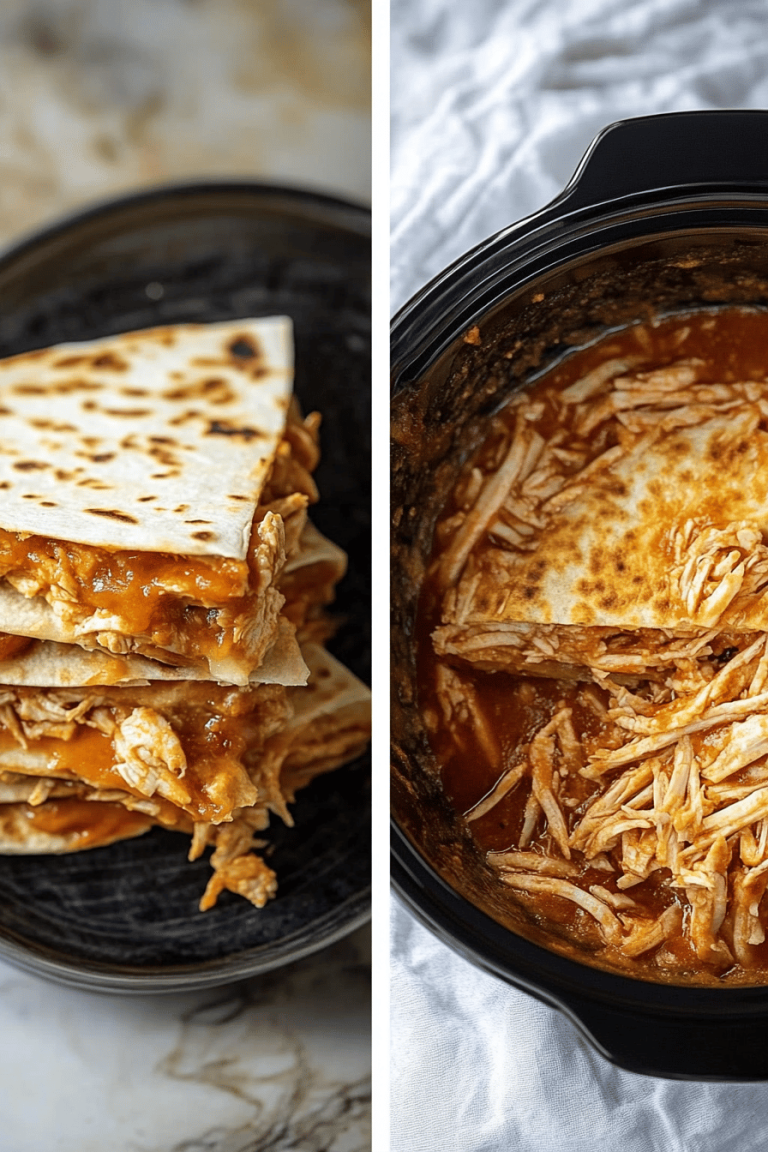
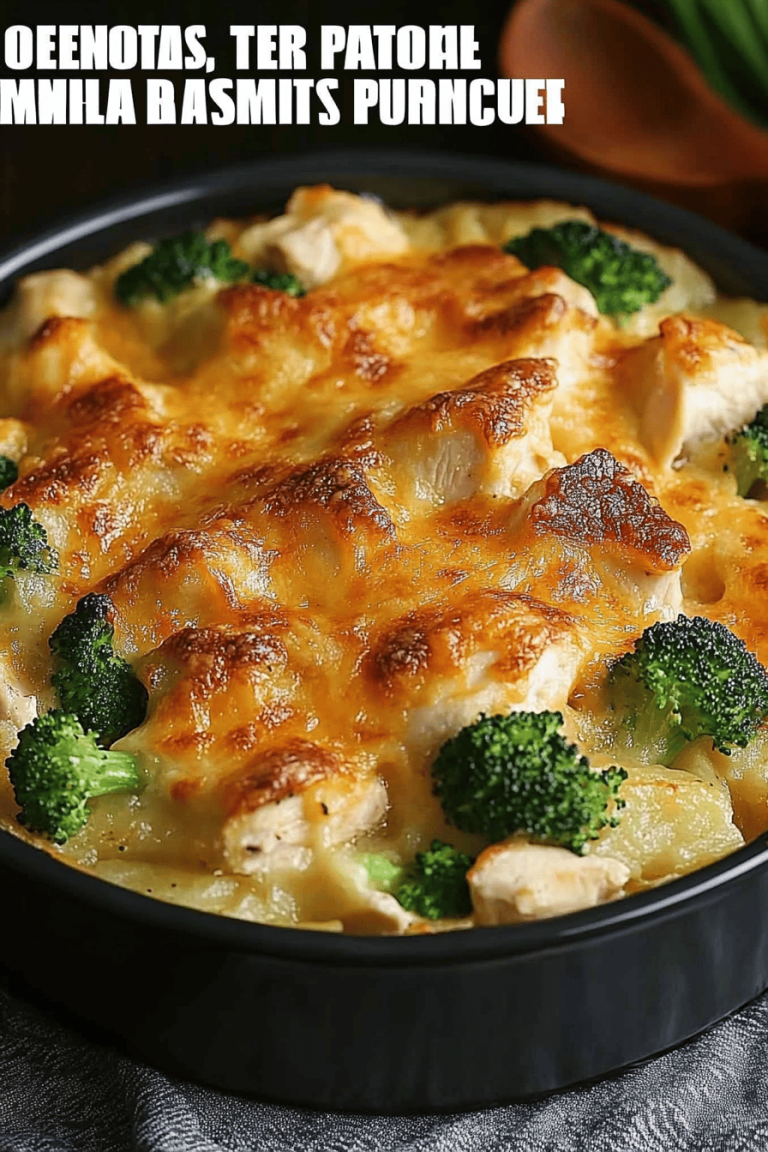
So there you have it – my absolute favorite taco cups recipe! I truly hope you give this a try. It’s one of those dishes that brings genuine joy to my table, and I can’t wait for it to do the same for yours. It’s proof that you don’t need complicated techniques or exotic ingredients to create something truly memorable and delicious. Whether you’re looking for a quick weeknight dinner solution, a crowd-pleasing brunch item, or just a comforting snack, these taco cups deliver every single time. They’re a testament to simple, wholesome ingredients coming together to create something spectacular. If you loved this taco cups recipe, I think you might also enjoy my Speedy Skillet Enchiladas or my Cheesy Chicken and Broccoli Bake – they’re also family favorites that make busy nights a breeze! I would absolutely love to hear how your taco cups turn out! Please leave a comment below with your thoughts, your variations, or any questions you might have. And if you share a photo on social media, be sure to tag me – I can’t wait to see your creations! Happy baking!
Taco Cups Recipe
Ingredients
Main Ingredients
- 1 pound ground beef
- 1 packet taco seasoning
- 0.5 cup water
- 1 can refrigerated crescent rolls regular or seamless
- 1 cup shredded cheddar cheese
- 0.5 cup salsa
- 0.5 cup sour cream
- 1 cup shredded lettuce
- 0.5 cup diced tomatoes
Instructions
Preparation Steps
- Preheat oven to 375 degrees F (190 degrees C). Grease a 6-cup muffin tin.
- In a skillet over medium-high heat, cook the ground beef until browned. Drain off any excess grease.
- Stir in the taco seasoning and water. Bring to a simmer and cook for 5 minutes, or until the sauce has thickened.
- Unroll the crescent roll dough and separate into 6 triangles. Press each triangle into a greased muffin cup, forming a "cup" shape.
- Spoon the taco meat mixture into each crescent roll cup.
- Top each cup with shredded cheddar cheese.
- Bake for 12-15 minutes, or until the crescent rolls are golden brown and the cheese is melted.
- Let the taco cups cool slightly in the muffin tin before carefully removing them. Serve with salsa, sour cream, shredded lettuce, and diced tomatoes.