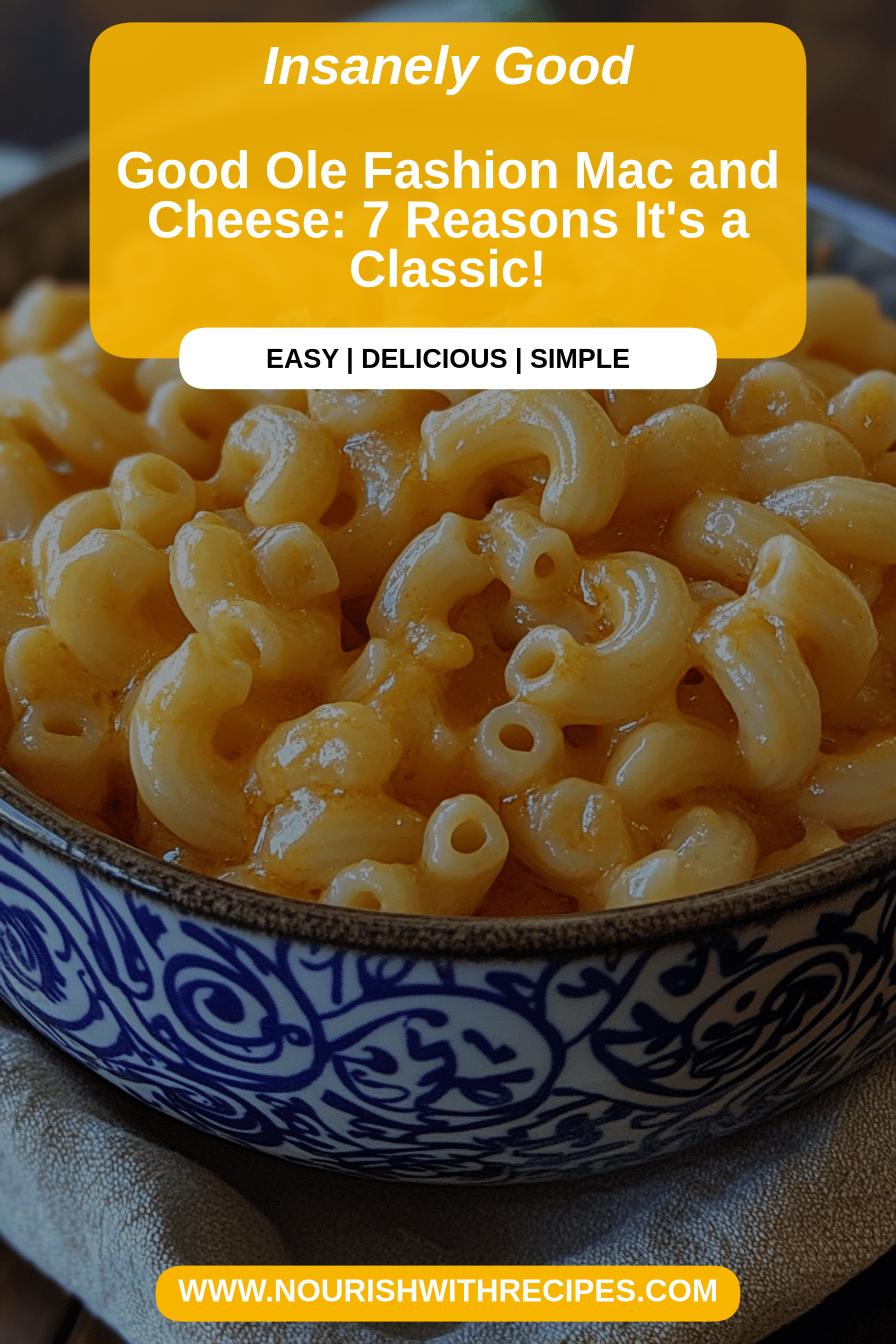
Mac and Cheese Recipe
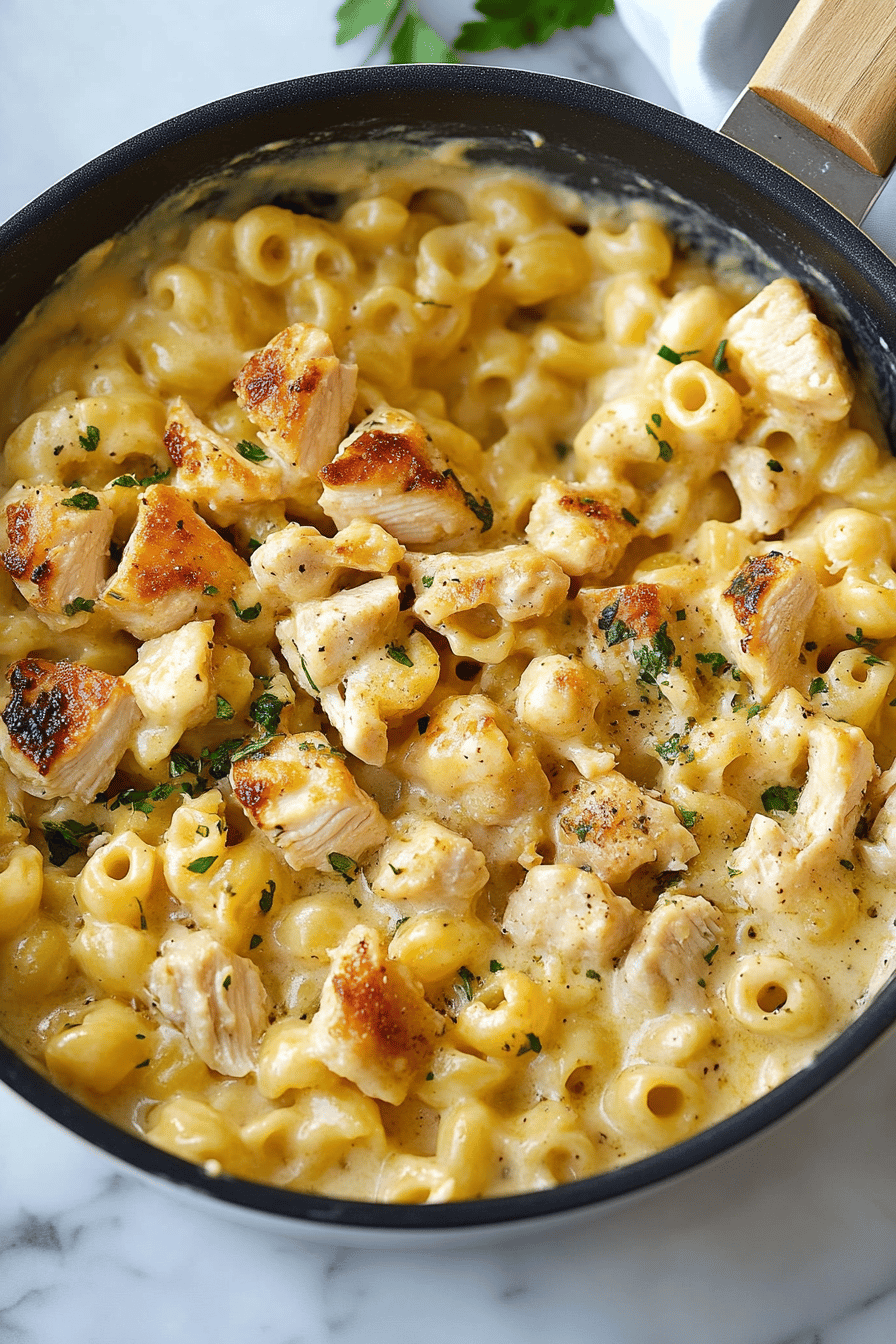
Oh, mac and cheese. Just the thought of it takes me right back to being a kid, sitting at my grandma’s sturdy oak table, the smell of melted cheese wafting through the air. It’s one of those dishes that just wraps you up like a warm hug, isn’t it? And for me, while the stovetop versions are great for a super quick fix, there’s something truly magical about a baked mac and cheese. It’s got that irresistible crispy top, the gooey, saucy interior, and that satisfying chew from the pasta. This isn’t just any mac and Cheese Recipe; this is the one I’ve tweaked and perfected over years, the one that gets rave reviews every single time, and honestly, it’s what I crave when I need a serious dose of comfort. Forget those boxed versions, because this homemade baked mac and cheese recipe is about to become your new best friend. It’s worlds away from those sugary, processed alternatives and honestly, it’s not as complicated as you might think!
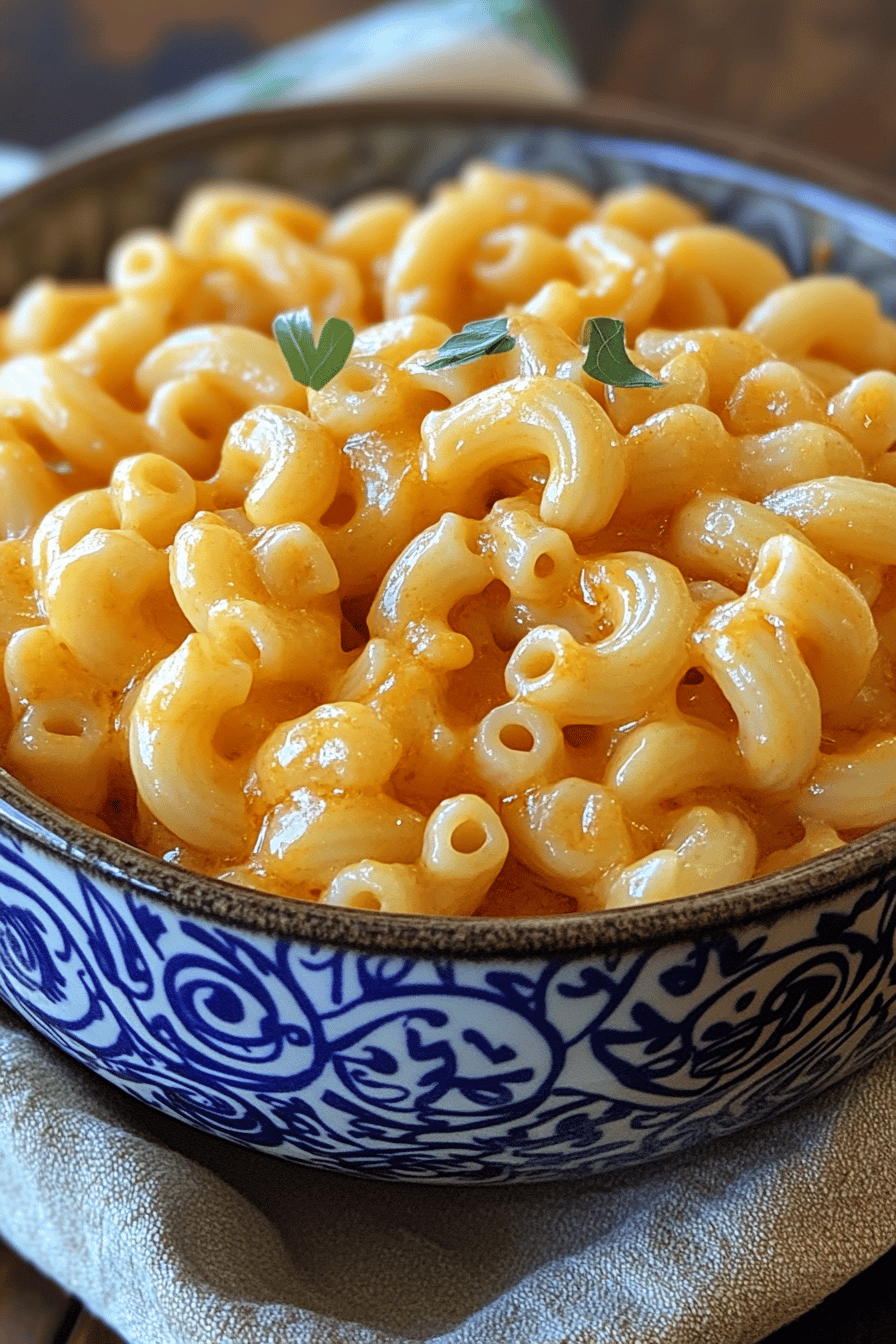
What is baked mac and cheese?
So, what exactly is this baked mac and cheese that I’m so gaga about? Think of it as the ultimate comfort food showdown. It’s essentially your classic macaroni and cheese, but with a little extra love and a trip to the oven. We’re talking perfectly cooked elbow macaroni, enveloped in a rich, creamy, cheesy sauce, all baked together until it’s bubbling and golden brown on top. The magic happens in the oven, where the edges get slightly crisp, the cheese on top forms that delightful crust, and the whole dish just melds into pure, unadulterated deliciousness. It’s more than just pasta and cheese; it’s a symphony of textures and flavors that just hits all the right notes. It’s the kind of dish that makes a dreary Tuesday feel like a Friday night, or a simple weeknight dinner feel like a special occasion.
Why you’ll love this recipe?
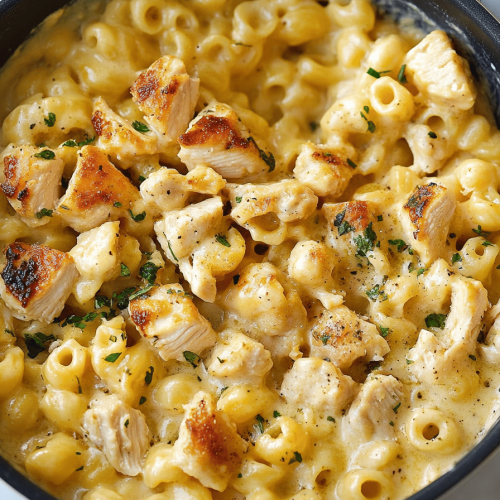
Honestly, there are so many reasons why this baked mac and cheese recipe has earned a permanent spot in my recipe binder, and why I’m so excited to share it with you. First off, the FLAVOR. Oh my goodness, the flavor! We’re using a blend of cheeses that create this incredibly deep, savory, and slightly sharp taste that you just don’t get with a single cheese. The sauce is velvety smooth, clings beautifully to every piece of pasta, and that baked crust on top? Pure heaven. Then there’s the SIMPLICITY. I know, baking sounds like it might be more work, but I promise, this comes together so easily. The steps are straightforward, and most of the time is hands-off oven time, which means you can actually relax for a bit. It’s also incredibly COST-EFFECTIVE. The ingredients are all pantry staples or easily found at your local grocery store, making it a fantastic meal option that won’t break the bank, even if you’re feeding a crowd. And the VERSATILITY! This mac and cheese is a blank canvas. You can easily add in some cooked bacon, some steamed broccoli, or even some shredded chicken to make it a full meal. What I love most about this recipe is that it’s incredibly forgiving. Even if you’re new to making cheese sauces, this one is pretty foolproof. It’s just a delightful combination that always hits the spot. If you’re looking for something that rivals my What is creamy chicken noodle soup?On a cold day, this is it!
How to Make Baked Mac and Cheese
Quick Overview
This baked mac and cheese recipe is all about building layers of flavor and texture. We start by making a luscious cheese sauce using a classic roux method, then toss it with perfectly cooked pasta. Everything gets layered into a baking dish and goes into a hot oven until bubbly and golden. It’s a straightforward process that yields an incredibly satisfying result. The key is using good quality cheese and not rushing the sauce-making part – that’s where all the creamy goodness comes from!
Ingredients
For the Main Dish:
1 pound elbow macaroni (or your favorite short pasta shape)
1/2 cup (1 stick) unsalted butter
1/2 cup all-purpose flour
4 cups whole milk, warmed (this makes a smoother sauce!)
1 teaspoon salt, plus more for pasta water
1/2 teaspoon Black Pepper
1/4 teaspoon paprika
1/4 teaspoon garlic powder
4 cups shredded cheese (a mix of sharp cheddar and Gruyere is my favorite for depth, but Monterey Jack or Colby work great too!)
1 cup panko breadcrumbs (optional, for extra crunch)
2 tablespoons melted butter (for breadcrumbs, if using)
For the Cheesy Topping (optional, but highly recommended):
1 cup shredded cheese (same blend as above)
Step-by-Step Instructions
Step 1: Preheat & Prep Pan
First things first, get that oven preheating to 375°F (190°C). While it’s warming up, grab a 9×13 inch baking dish. I like to give it a quick grease with a little butter or cooking spray, just to make sure nothing sticks. It’s a small step, but it saves you a headache later!
Step 2: Mix Dry Ingredients
In a large pot (the same one you’ll cook your pasta in!), melt the 1/2 cup of butter over medium heat. Once it’s melted and looks shimmery, whisk in the flour. You want to cook this flour and butter mixture, called a roux, for about 1-2 minutes. Keep whisking constantly. This cooks out that raw flour taste and creates a beautiful, thickened sauce base. It should smell slightly nutty. Don’t let it brown too much unless you’re going for a darker sauce, just a light golden color is perfect here.
Step 3: Mix Wet Ingredients
Gradually whisk in the warmed milk, a little at a time, making sure to incorporate it fully before adding more. Keep whisking until you have a smooth, lump-free mixture. Warm milk incorporates much more smoothly into the roux than cold milk, which is a little trick I learned that really makes a difference in achieving a silky sauce. Keep whisking over medium heat until the sauce thickens enough to coat the back of a spoon. This usually takes about 5-7 minutes. Don’t boil it vigorously, just a gentle simmer is perfect.
Step 4: Combine
Once your sauce has thickened, remove the pot from the heat. Stir in the salt, pepper, paprika, and garlic powder. Now, add in your shredded cheese, a handful at a time, stirring until each addition is melted before adding more. Keep stirring until all the cheese is beautifully melted and the sauce is incredibly smooth and glossy. Taste it! This is your chance to adjust seasonings if needed. Now, add your cooked macaroni right into this glorious cheese sauce and stir gently until every single noodle is coated. Seriously, resist the urge to overmix; we just want everything nicely combined.
Step 5: Prepare Filling
If you’re adding any extra mix-ins like cooked bacon or veggies, now’s the time to gently fold them into the mac and cheese mixture. This is also the point where you can decide if you want that extra cheesy topping. If you do, stir in that extra cup of shredded cheese into the pasta and sauce mixture now.
Step 6: Layer & Swirl
Pour the cheesy pasta mixture into your prepared baking dish and spread it out evenly. If you’re going for the optional crispy topping, mix the panko breadcrumbs with the 2 tablespoons of melted butter in a small bowl. Sprinkle this evenly over the top of the mac and cheese. If you aren’t using breadcrumbs, just sprinkle that extra cup of cheese evenly over the top now.
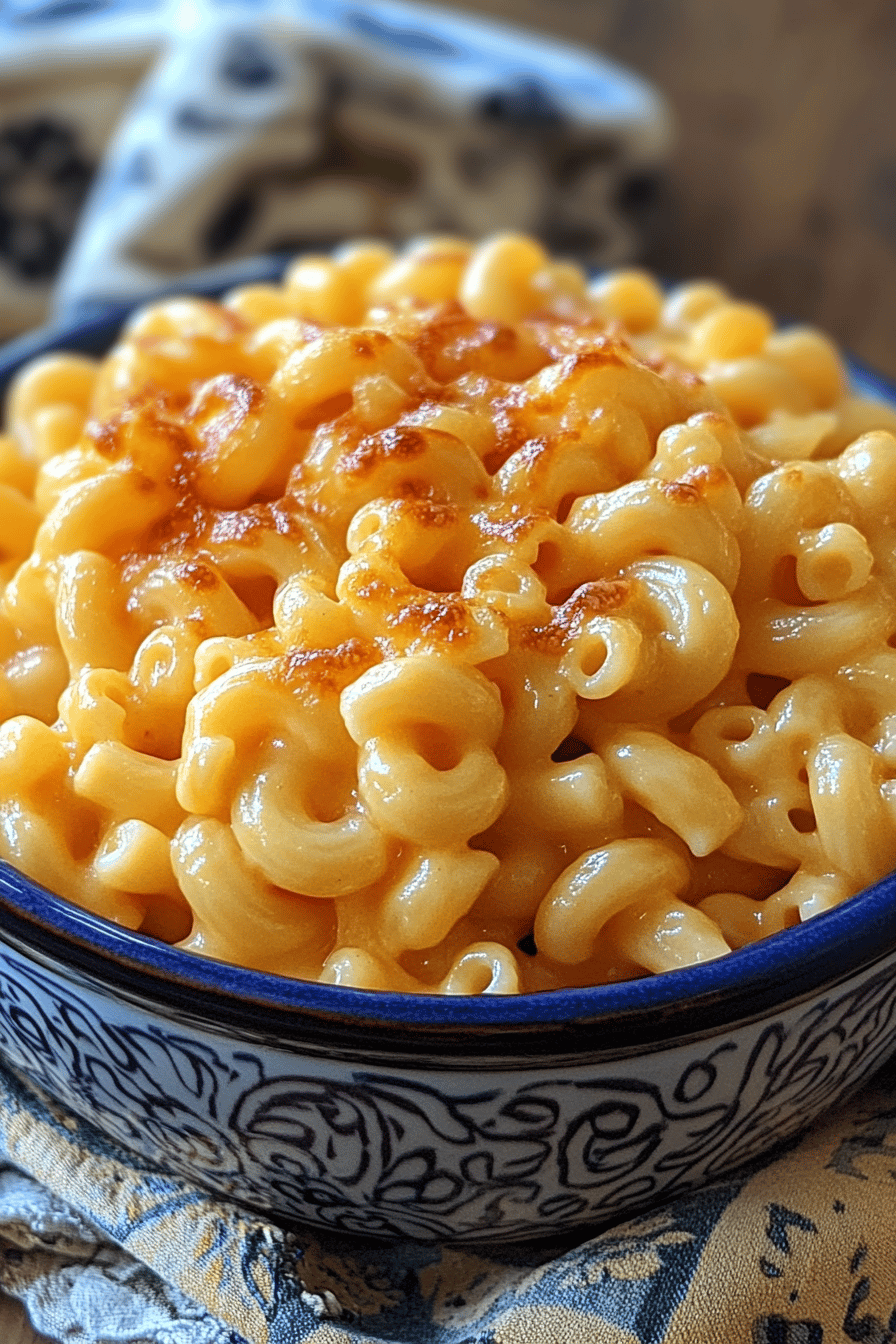
Step 7: Bake
Pop that dish into your preheated oven and bake for 20-25 minutes, or until the top is golden brown and the edges are bubbling merrily. You want to see that beautiful cheesy goodness oozing out. If your breadcrumbs start to brown too quickly, you can always loosely tent the dish with foil for the last few minutes.
Step 8: Cool & Glaze
This is arguably the hardest part: letting it rest! Once it’s out of the oven, let it sit for about 5-10 minutes before slicing. This allows the sauce to set up a bit, so you get those beautiful, clean slices instead of a molten cheese lava flow. If you’re adding a glaze, now would be the time, but honestly, this mac and cheese is so good on its own, it really doesn’t need anything extra.
Step 9: Slice & Serve
Using a sharp knife or a spatula, cut yourself a generous portion. Serve it hot and enjoy the ooey-gooey, cheesy perfection! It’s perfect as is, or with a simple side salad.
What to Serve It With
This baked mac and cheese is a star all on its own, but it also plays so nicely with other dishes, making it incredibly versatile. For a truly decadent BREAKFAST, I love serving a small portion alongside some crispy bacon and perfectly fried eggs. The richness of the mac and cheese cuts through the eggs and bacon beautifully. For a delightful BRUNCH spread, it’s fantastic as a savory side dish. I’ll often pair it with some fresh fruit salad and maybe some mini quiches for a spread that’s a little bit fancy but still super relaxed. If you’re having guests over and want something a bit more elegant, it can even work as a comforting DESSERT, especially if you’ve gone with a slightly sharper cheese blend. It’s unexpected but incredibly satisfying! And for those lazy weekend afternoons or busy weeknights when you just need something utterly comforting, it’s the ultimate COZY SNACK. I’ll often serve it with just some raw veggies like carrot sticks or cucumber slices to add a little crunch and freshness. Honestly, my family asks for this all the time, and it’s become our go-to for potlucks and family gatherings because it’s always a crowd-pleaser, no matter the occasion.
Top Tips for Perfecting Your Baked Mac and Cheese
I’ve made this baked mac and cheese recipe more times than I can count, and over the years, I’ve picked up a few tricks that I think really elevate it from good to absolutely phenomenal. Here are my top tips:
Cheese Prep: Always, always, always shred your own cheese! Pre-shredded cheese has anti-caking agents that can make your sauce grainy. Take a few extra minutes to grate it yourself; it makes a world of difference in the smoothness of your sauce. For this recipe, I adore a blend of sharp cheddar for that classic tang and Gruyere for its nutty, slightly sweet flavor and incredible meltability. But feel free to experiment – Monterey Jack, Colby, fontina, even a touch of smoked gouda can add amazing complexity.
Mixing Advice: When you’re making the roux, whisk it constantly to avoid lumps. And when you’re adding the milk, do it gradually, whisking until smooth after each addition. This prevents clumps from forming. Don’t be tempted to rush the thickening of the sauce; let it simmer gently until it coats the back of a spoon. Overmixing the pasta into the sauce isn’t a huge disaster, but a gentle fold is usually best to keep the pasta from breaking up too much.
baking tips: Make sure your oven is properly preheated. This helps everything cook evenly. I usually place my baking dish in the center of the oven. If you’re using the breadcrumb topping, keep an eye on it during the last 10 minutes of baking. If it’s browning too quickly, you can loosely cover the dish with foil to prevent it from burning while the inside finishes cooking. And please, please, let it rest for a few minutes after it comes out of the oven. It really helps the sauce set up and makes for much cleaner, more appealing slices.
Ingredient Swaps: Whole milk is definitely my preference for the creamiest sauce, but you can get away with 2% if you must. Just know it might be slightly less rich. For the pasta, while elbow macaroni is classic, shells, rotini, or even penne work wonderfully as they hold the sauce well. I’ve even tested this with almond milk and it actually made it even creamier and richer, which was a surprise!
Glaze Variations: While I usually skip a formal glaze for this recipe because the cheese topping is so good, if you’re feeling adventurous, a drizzle of truffle oil after baking can be heavenly. Or, a sprinkle of fresh chives or parsley adds a lovely pop of color and freshness. Some people like a light dusting of smoked paprika on top before baking for a hint of smoky flavor.
Storing and Reheating Tips
Okay, so if by some miracle there are leftovers of this glorious baked mac and cheese (which rarely happens in my house!), here’s how I like to store and reheat it to keep it tasting as delicious as possible.
Refrigerator Storage: Once the mac and cheese has cooled to room temperature, I’ll cover the baking dish tightly with plastic wrap or aluminum foil, or transfer it into an airtight container. It should stay good in the refrigerator for about 3-4 days. The cheese sauce might thicken up quite a bit as it cools, which is totally normal!
Reheating Tips: My favorite way to reheat is in the oven. I’ll transfer a portion into an oven-safe dish, add a splash of milk or a small pat of butter on top (this helps bring back some moisture and creaminess), cover it with foil, and reheat at around 300°F (150°C) until heated through, usually about 15-20 minutes. You can also reheat smaller portions in the microwave, but again, adding a tiny splash of milk or water can help revive the creaminess. Be careful not to overcook it in the microwave, or it can get a bit rubbery.
Freezer Instructions: If you need to store it for longer, you can freeze portions. Let the baked mac and cheese cool completely, then portion it into freezer-safe containers or wrap individual servings tightly in plastic wrap and then aluminum foil. It should last in the freezer for up to 2-3 months. Thaw it overnight in the refrigerator before reheating using the oven method described above.
Frequently Asked Questions
Final Thoughts
So there you have it, my absolute favorite baked mac and cheese recipe! It’s the kind of dish that brings people together, sparks joy, and just makes everything feel a little bit better. The combination of creamy, cheesy sauce, perfectly cooked pasta, and that irresistible baked topping is truly something special. I’ve shared this recipe with so many friends and family members, and it always gets requests for more. It’s just one of those recipes that you can count on, whether you’re hosting a dinner party or just need a comforting meal for yourself. If you love this recipe, you might also want to check out my recipe for creamy tomato soup – they are a match made in heaven! I truly hope you give this baked mac and cheese a try. I can’t wait to hear how it turns out for you and what delicious variations you come up with! Don’t forget to leave a comment below and let me know your thoughts, or share a picture of your masterpiece on social media! Happy baking!
Classic Mac and Cheese
Ingredients
Macaroni and Cheese Sauce
- 0.5 cup unsalted butter
- 0.5 cup all-purpose flour
- 4 cups milk whole milk recommended
- 0.5 teaspoon salt
- 0.25 teaspoon black pepper
- 4 cups shredded cheddar cheese
- 1 cup shredded Gruyere cheese
Pasta
- 1 pound elbow macaroni
Instructions
Making the Mac and Cheese
- Preheat your oven to 375°F (190°C). Cook the elbow macaroni according to package directions until al dente. Drain well and set aside.
- In a large saucepan or Dutch oven, melt the butter over medium heat. Whisk in the flour and cook for 1-2 minutes until lightly golden, forming a roux.
- Gradually whisk in the milk, ensuring no lumps form. Bring to a simmer, stirring constantly, until the sauce thickens.
- Remove from heat. Stir in the salt and black pepper. Gradually add the shredded cheddar and Gruyere cheeses, stirring until completely melted and smooth.
- Add the drained macaroni to the cheese sauce and stir to combine, ensuring all the pasta is coated.
- Pour the mac and cheese mixture into a greased 9x13 inch baking dish.
- Bake for 20-25 minutes, or until bubbly and golden brown on top.
- Let stand for a few minutes before serving.