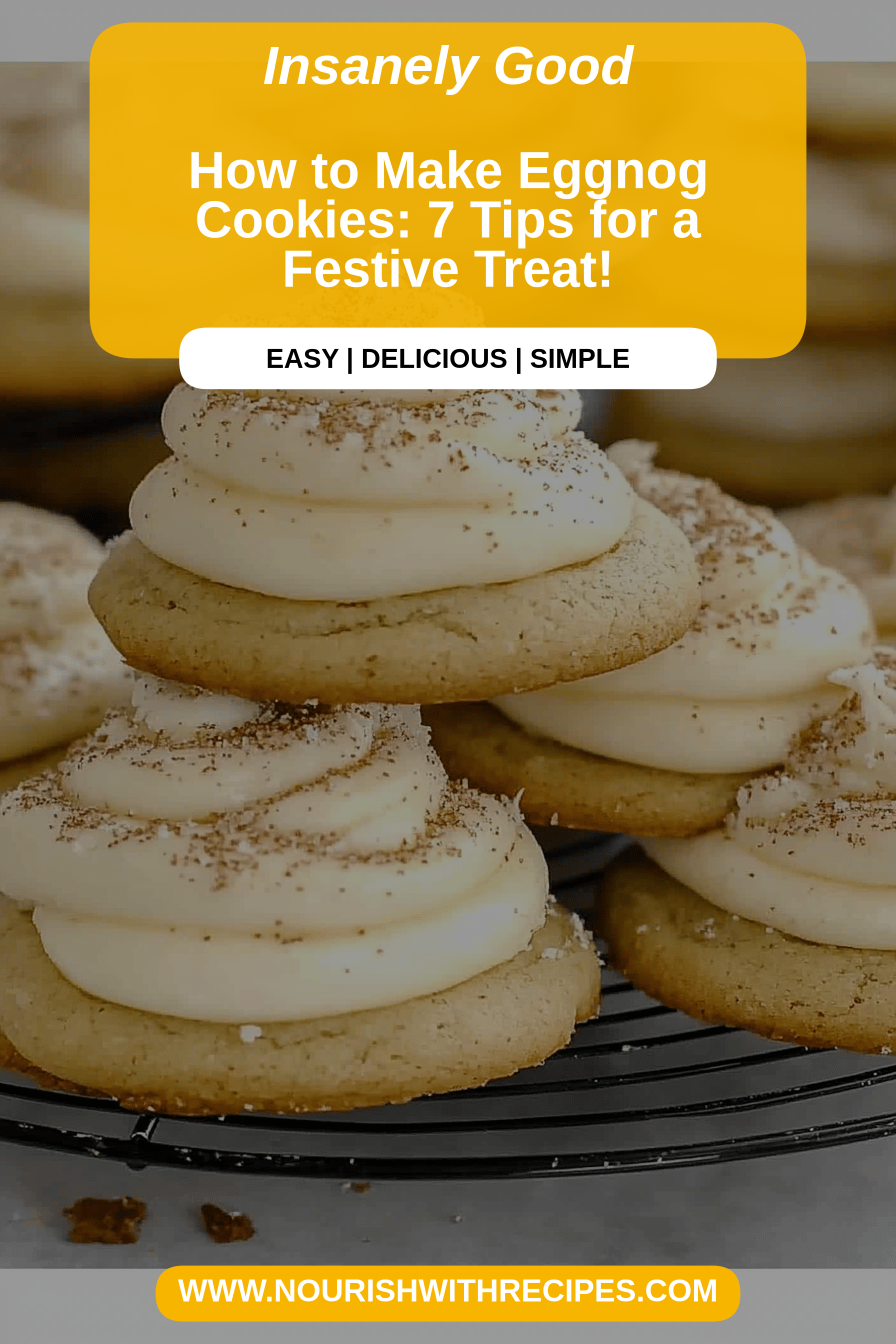
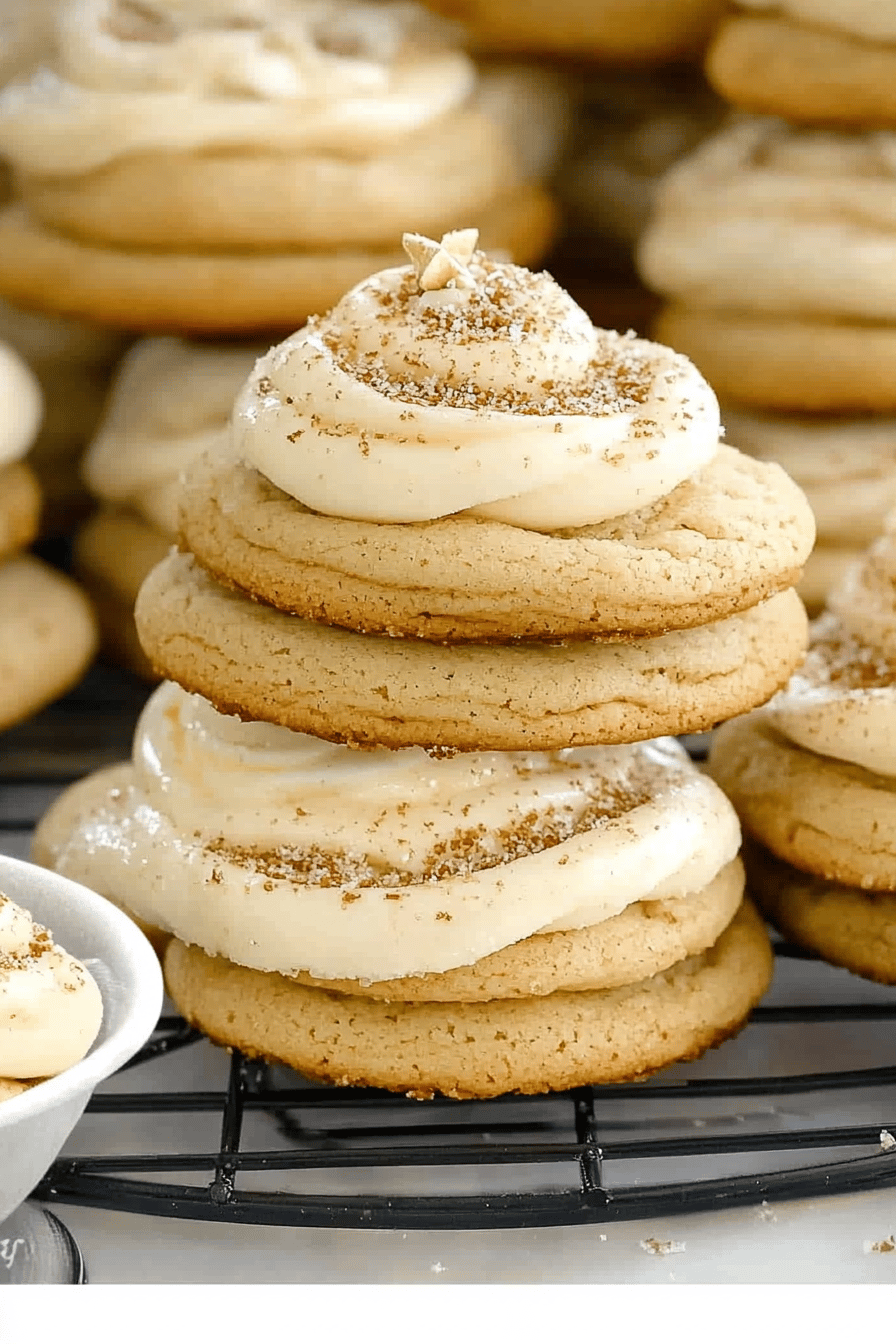
Eggnog Cookies
You know that feeling when the first hint of cinnamon and nutmeg fills the air, and your heart just does a little happy dance? For me, that feeling is inextricably linked to my mom’s kitchen, specifically during the holidays. And while there are so many delicious treats that come out of that magical space, there’s one that always, *always* steals the show: Eggnog Cookies. These aren’t just any cookies; they’re like a cozy sweater for your taste buds, infused with all the warm, creamy goodness of your favorite holiday drink, but in a perfectly portable, melt-in-your-mouth form. I’ve tried so many variations over the years, but this one? This one’s the Absolute Best. It’s rich, it’s subtly spiced, and that little hint of rum extract is pure genius. If you’re a fan of actual eggnog, prepare to fall head over heels. They’re surprisingly simple too, which is always a win in my book, especially when the holiday season gets a little hectic.
What is Eggnog Cookies?
So, what exactly are Eggnog Cookies? Think of them as the cookie version of that beloved, creamy holiday beverage we all know and love. They’re designed to capture that distinctive flavor profile – a comforting blend of sweet cream, warm spices like nutmeg and cinnamon, and often, a subtle hint of rum or brandy. The magic really comes from incorporating actual eggnog (or its flavor essence) directly into the cookie dough, which gives them a unique richness and a wonderfully tender crumb. Unlike a basic Sugar Cookie, these have a deeper, more complex flavor that’s both familiar and excitingly new. They’re essentially little bites of holiday cheer, perfect for those moments when you’re craving that festive spirit but don’t want to commit to a whole pitcher of the drink itself. It’s like bottling up all the cozy feelings of Christmas and turning them into something you can nibble on!
Why you’ll love this recipe?
Honestly, there are so many reasons why this Eggnog Cookies Recipe has become a staple in my kitchen, and I just know you’re going to adore it too. First off, the FLAVOR is out of this world. It’s that perfect balance of sweet and spice, with the rich creaminess of eggnog really shining through. It’s not overwhelmingly sweet, which I appreciate, and the nutmeg and cinnamon just sing. And let’s talk SIMPLICITY. I know holiday baking can sometimes feel daunting, but these cookies are genuinely easy to whip up. You don’t need any fancy equipment or complicated techniques, and the dough comes together like a dream. Plus, they’re incredibly COST-EFFECTIVE! Most of the ingredients are pantry staples, and the star of the show, the eggnog, is readily available and affordable during the holiday season. What I love most, though, is their VERSATILITY. They’re fantastic on their own, but they also hold up beautifully to a simple glaze or a dusting of powdered sugar. You can even add a splash of rum extract to really amp up that classic eggnog vibe. Compared to other holiday cookies I make, these just hit different. They’re comforting, nostalgic, and always a huge hit with everyone from my kids to my in-laws. They’re also surprisingly resilient – if I need a last-minute treat for a cookie exchange or a potluck, these are my go-to. They just *work*, and they always bring smiles!
How do you make Eggnog cookies?
Quick Overview
Making these delightful Eggnog Cookies is a straightforward process that involves mixing your dry and wet ingredients separately, gently combining them, and then baking them until they’re perfectly golden. The key to their signature flavor and texture lies in using good quality eggnog and not overmixing the dough. Once baked, a simple glaze or dusting of powdered sugar takes them to the next level. It’s a wonderfully forgiving recipe, perfect for bakers of all levels, and the aroma that fills your kitchen while they’re baking is just pure holiday magic.
Ingredients
For the Main Batter:
You’ll need 1 cup (2 sticks) of unsalted butter, softened. Make sure it’s truly softened, not melted, for the best cookie texture. Then, we’ll use 1 ½ cups of granulated sugar for sweetness, which also helps with that lovely crisp edge. Next, 2 large eggs, at room temperature – this helps them emulsify better with the butter and sugar. For that authentic flavor, grab 1/2 cup of your favorite eggnog. Full-fat is always best here for richness! If you can find it, a good quality, spiced eggnog will give you an even deeper flavor. A teaspoon of vanilla extract is a must for rounding out all those flavors. And then, the star spices: 1 teaspoon of ground nutmeg and 1/2 teaspoon of ground cinnamon. A pinch of salt to balance the sweetness. For structure, 2 ½ cups of all-purpose flour, and crucially, 1 teaspoon of baking powder to give them a nice lift and tender crumb. And if you’re feeling extra festive, 1/2 teaspoon of rum extract adds that perfect, classic eggnog kick – but it’s optional!
For the Glaze:
This is super simple and really elevates the cookies. You’ll need 1 cup of powdered sugar (also called confectioners’ sugar). Then, about 2 to 3 tablespoons of eggnog, or milk if you’re out of eggnog, to get the right consistency. You can also add a tiny splash of rum extract here too, if you like!
Step-by-Step Instructions
Step 1: Preheat & Prep Pan
First things first, let’s get our oven prepped. Preheat it to 375 degrees Fahrenheit (190 degrees Celsius). While the oven is warming up, grab your baking sheets and line them with parchment paper or silicone baking mats. This is a lifesaver for easy cleanup and ensures your cookies won’t stick, giving you perfectly shaped treats every time. I always do this even if I have non-stick pans, just to be safe!
Step 2: Mix Dry Ingredients
In a medium-sized bowl, whisk together your 2 ½ cups of all-purpose flour, 1 teaspoon of baking powder, 1 teaspoon of ground nutmeg, ½ teaspoon of ground cinnamon, and that crucial pinch of salt. Whisking them all together ensures that the leavening agents and spices are evenly distributed throughout the flour, so you don’t end up with pockets of baking powder or clumps of nutmeg in your cookies. You want a uniform blend!
Step 3: Mix Wet Ingredients
In a large bowl, cream together 1 cup (2 sticks) of softened unsalted butter and 1 ½ cups of granulated sugar. Beat them with an electric mixer on medium speed until light and fluffy – this usually takes about 3-4 minutes. This creaming process is super important; it incorporates air into the dough, which contributes to the cookies’ texture. Next, add in your 2 large room-temperature eggs, one at a time, beating well after each addition. Then, stir in your ½ cup of eggnog, 1 teaspoon of vanilla extract, and if you’re using it, the ½ teaspoon of rum extract. Mix until everything is just combined.
Step 4: Combine
Now, it’s time to bring it all together! Gradually add the dry ingredients to the wet ingredients, mixing on low speed until *just* combined. You don’t want to overmix here; overmixing can develop the gluten in the flour, leading to tough cookies. Stop mixing as soon as you no longer see streaks of flour. The dough will be thick and wonderfully fragrant.
Step 5: Prepare Filling
(Note: This recipe doesn’t have a separate filling in the traditional sense, but we’ll adapt the dough to be slightly richer and more spreadable for that classic cookie shape.) The dough itself is the “filling” of flavor! Once the dough is ready, you’ll want to chill it slightly if it feels too soft to handle. About 15-20 minutes in the fridge is usually enough to firm it up.
Step 6: Shape & Bake
Using a cookie scoop (about 1.5 tablespoons works perfectly), drop rounded balls of dough onto your prepared baking sheets, leaving about 2 inches between each cookie. These cookies spread a little, so give them space! Gently flatten each cookie ball slightly with the palm of your hand or the bottom of a glass. This helps them bake more evenly and gives them that classic cookie look.
Step 7: Bake
Bake for 10-12 minutes, or until the edges are lightly golden brown and the centers look set but still slightly soft. Keep an eye on them, as oven temperatures can vary. They’ll continue to cook slightly on the baking sheet after you remove them from the oven, so it’s better to underbake them slightly than overbake.
Step 8: Cool & Glaze
Let the cookies cool on the baking sheets for about 5 minutes before carefully transferring them to a wire rack to cool completely. This is important for them to firm up properly. Once they’re completely cool, you can make the glaze. In a small bowl, whisk together 1 cup of powdered sugar with 2-3 tablespoons of eggnog (or milk) and the optional rum extract until smooth and pourable. You want a consistency that’s thick enough to coat the cookie but thin enough to drizzle. Drizzle or spread the glaze over the cooled cookies.
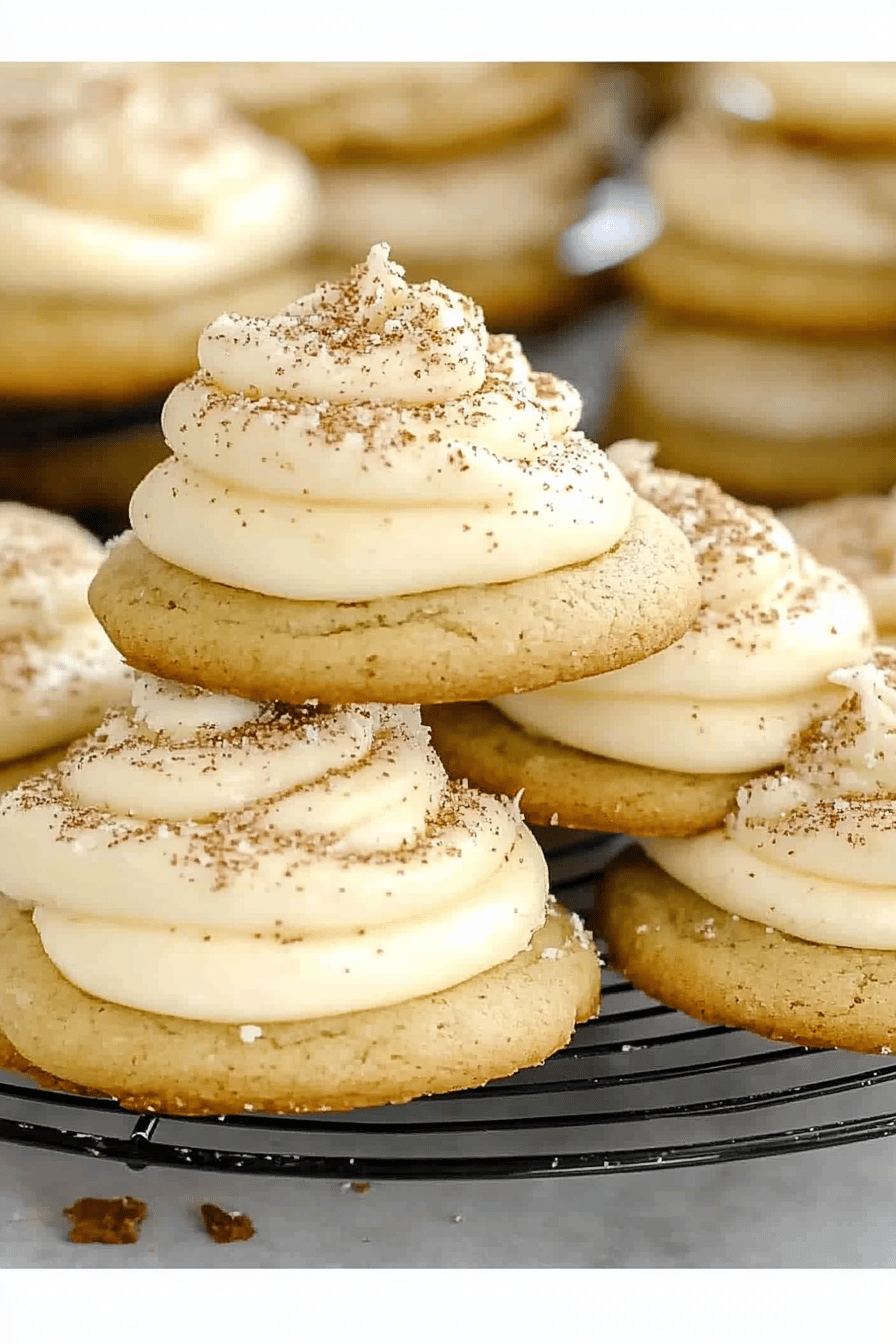
Step 9: Slice & Serve
Once the glaze has set (this usually takes about 15-20 minutes), your Eggnog Cookies are ready to be enjoyed! They are absolutely divine served with a warm mug of coffee, tea, or, of course, a little extra eggnog. The texture is tender and slightly chewy in the center with a delicate crispness around the edges, and the glaze adds a touch of sweetness and elegance.
What to Serve It With
These Eggnog Cookies are pretty fantastic all on their own, but I love pairing them with a few things to make them even more special, depending on the occasion. For a simple MORNING treat with my coffee, I’ll often just grab a cookie or two straight from the jar. The warm spices and creamy notes are the perfect wake-up call, far better than any alarm clock! For a weekend BRUNCH spread, I like to arrange them on a nice platter alongside some fresh fruit, perhaps some yogurt parfaits, and a glass of sparkling cider or a mimosa. They add a festive touch without being too heavy. As a simple DESSERT after dinner, I might warm them up *very* slightly in the microwave for about 5-10 seconds – just enough to make them gooey and amazing – and serve them with a scoop of vanilla bean Ice Cream. Pure bliss! And for those COZY SNACKS when I’m curled up with a book or watching a movie, they’re perfect with a hot chocolate or just a glass of milk. My family also has a tradition of making a big batch and setting them out for Santa on Christmas Eve – they always disappear first!
Top Tips for Perfecting Your Eggnog Cookies
Over the years, I’ve learned a few tricks that really make these Eggnog Cookies shine. First, about the EGGNOG: Use the best quality, full-fat eggnog you can find. It really makes a difference in the richness and flavor. If you can’t find it, or if it’s not the season, you can substitute with milk and add a little extra butter (maybe an extra tablespoon) and a touch more spice, but it won’t be quite the same. For the MELTING/SOFTENING of butter, make sure it’s truly softened to room temperature, not melted. If it’s melted, your cookies will spread too much and become greasy. Creaming the butter and sugar properly is KEY; beat them until they’re light and fluffy, which incorporates air and gives the cookies their tender texture. Don’t rush this step! When you’re COMBINING the wet and dry ingredients, stop mixing the moment you don’t see any dry flour streaks. Overmixing develops gluten, which makes cookies tough and less tender. It’s better to have a few tiny specks of flour left than to overmix. For the SPICES, fresh nutmeg makes a huge difference – grating it yourself smells amazing and tastes so much better than pre-ground. The RUM EXTRACT is optional but highly recommended; it adds that authentic eggnog depth. If you don’t have it, a tiny splash of actual rum or brandy works too, but be careful with the amount! For BAKING, keep an eye on your oven. Every oven is different, and these cookies can go from perfectly baked to overdone quickly. The edges should be lightly golden, and the centers should look set but still a bit soft. They will firm up as they cool. If your cookies are spreading too much, try chilling the dough for an extra 15-20 minutes before baking; this helps solidify the fat. For the GLAZE, the consistency is everything. Start with less liquid and add more gradually until it’s a drizzle-able, but not watery, consistency. Too thin and it runs off; too thick and it’s hard to spread. You can also add a touch of lemon zest to the glaze for a little zing if you like a contrast!
Storing and Reheating Tips
These Eggnog Cookies are delicious, but knowing how to store them properly will ensure they stay that way for as long as possible. At ROOM TEMPERATURE, they’ll stay fresh in an airtight container for about 3-4 days. Make sure they’re completely cool before sealing them up, otherwise, they can steam and get soggy. I usually keep a batch on the counter in a pretty cookie jar, and they rarely last more than two days! If you need them to last a bit longer, REFRIGERATOR STORAGE is a good option. Pop them into an airtight container with a piece of wax paper between layers to prevent sticking. They should stay fresh in the fridge for up to a week. Just be aware that refrigeration can sometimes slightly alter the texture, making them a bit firmer. For FREEZER INSTRUCTIONS, these cookies freeze beautifully, either unfrosted or frosted. Wrap them tightly in plastic wrap, then place them in a freezer-safe bag or container. They can be stored in the freezer for up to 2-3 months. To thaw, transfer them to the refrigerator overnight, then let them come to room temperature before serving. If you’ve frosted them, make sure the glaze is completely set before freezing. For reheating, if you want that just-baked warmth, you can gently warm them in a low oven (around 250°F or 120°C) for about 5-7 minutes, or microwave them for just a few seconds (5-10 seconds) until slightly warm. Be very careful not to overdo the reheating, especially if they have glaze!
Frequently Asked Questions
Final Thoughts
I truly hope you give these Eggnog Cookies a try. They’re more than just a recipe to me; they’re a little slice of holiday joy, a warm hug in cookie form that brings back so many cherished memories. The way the spices mingle with the creamy eggnog flavor, the tender texture, and that hint of rum… it’s just pure magic. They’re simple enough for a weeknight bake but special enough to be the star of any holiday gathering. If you love the comforting flavors of eggnog, you are going to be absolutely obsessed with these. They really are a crowd-pleaser, and I promise they’ll disappear in a flash! If you’re looking for other festive treats, you might also enjoy my Spiced Cranberry Orange Scones or my Gingerbread Blondies. Both are perfect for the holiday season! I can’t wait to hear how your Eggnog Cookies turn out. Please leave a comment below and let me know your thoughts, or share your own favorite tips and variations! Happy baking, everyone!

Eggnog Cookies
Ingredients
Main Ingredients
- 0.5 cup unsalted butter softened
- 1 cup granulated sugar
- 1 large egg
- 0.5 teaspoon vanilla extract
- 1 teaspoon rum extract optional, for extra eggnog flavor
- 2.5 cups all-purpose flour
- 1 teaspoon baking powder
- 0.5 teaspoon salt
- 0.25 cup milk
- 0.25 teaspoon ground nutmeg
For the Glaze
- 1 cup powdered sugar
- 1 tablespoon milk
- 0.25 teaspoon rum extract optional
Instructions
Preparation Steps
- Preheat oven to 375°F (190°C). Line baking sheets with parchment paper.
- In a large bowl, cream together the softened butter and granulated sugar until light and fluffy.
- Beat in the egg, vanilla extract, and rum extract (if using).
- In a separate bowl, whisk together the flour, baking powder, salt, and nutmeg.
- Gradually add the dry ingredients to the wet ingredients, alternating with the milk, beginning and ending with the dry ingredients. Mix until just combined.
- Drop rounded tablespoons of dough onto the prepared baking sheets, about 2 inches apart.
- Bake for 10-12 minutes, or until the edges are lightly golden brown.
- Let the cookies cool on the baking sheets for a few minutes before transferring them to a wire rack to cool completely.
- While the cookies are cooling, prepare the glaze. In a small bowl, whisk together the powdered sugar, milk, and rum extract (if using) until smooth.
- Once the cookies are completely cool, drizzle or spread the glaze over the tops.
- Allow the glaze to set before serving.