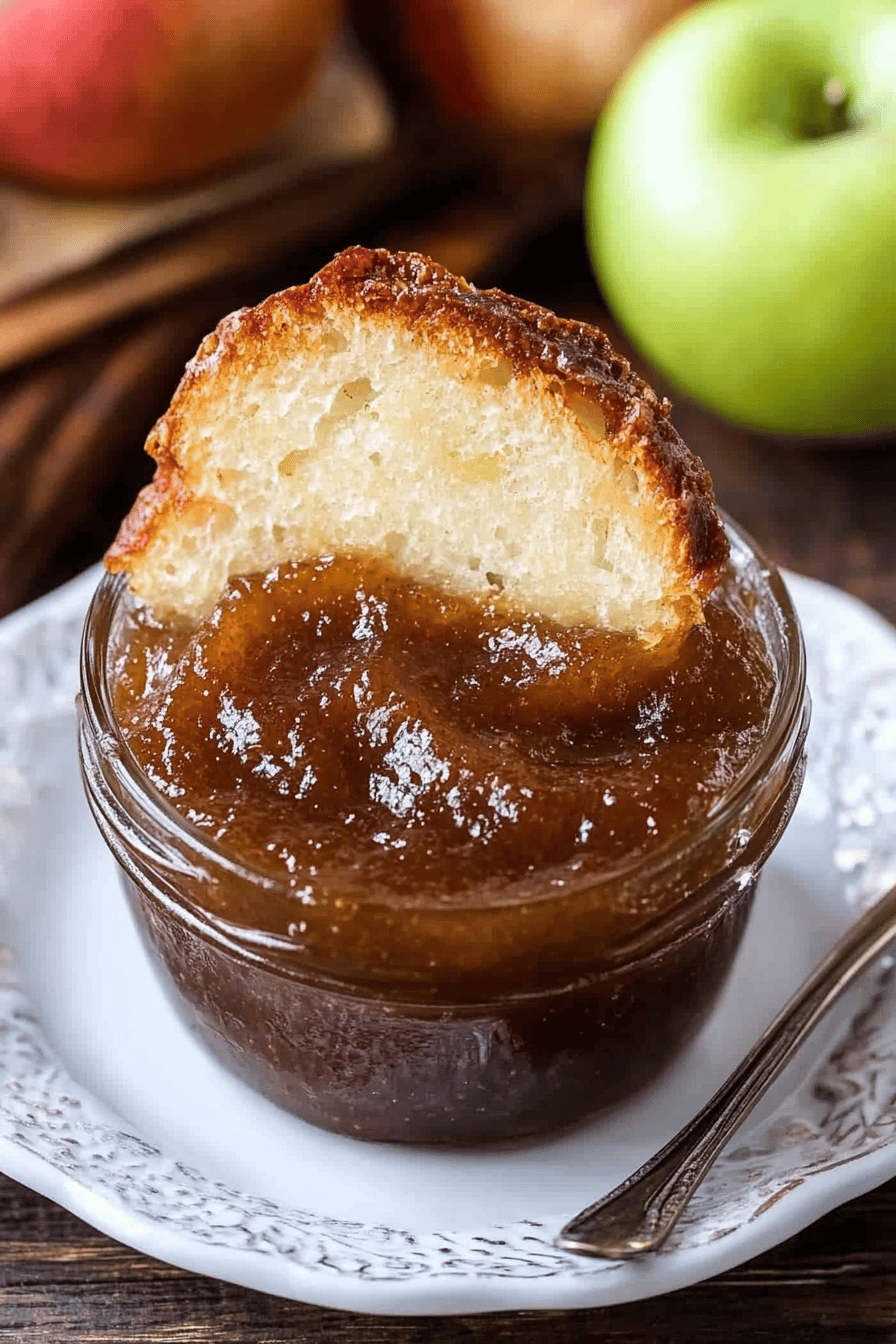
apple butter recipe
Okay, friends, gather ’round because I’m about to share a recipe that’s near and dear to my heart. My grandma’s Apple Butter recipe. Forget store-bought, this stuff is pure magic. Is it the coziest hug in a jar? Is it easier than making applesauce? What’s the best part? The whole house smells amazing while it simmers away. Is this one of those recipes that instantly transports me back to her kitchen, filled with ingredients? The aroma of spiced apples is wonderful.
What is Apple Butter?
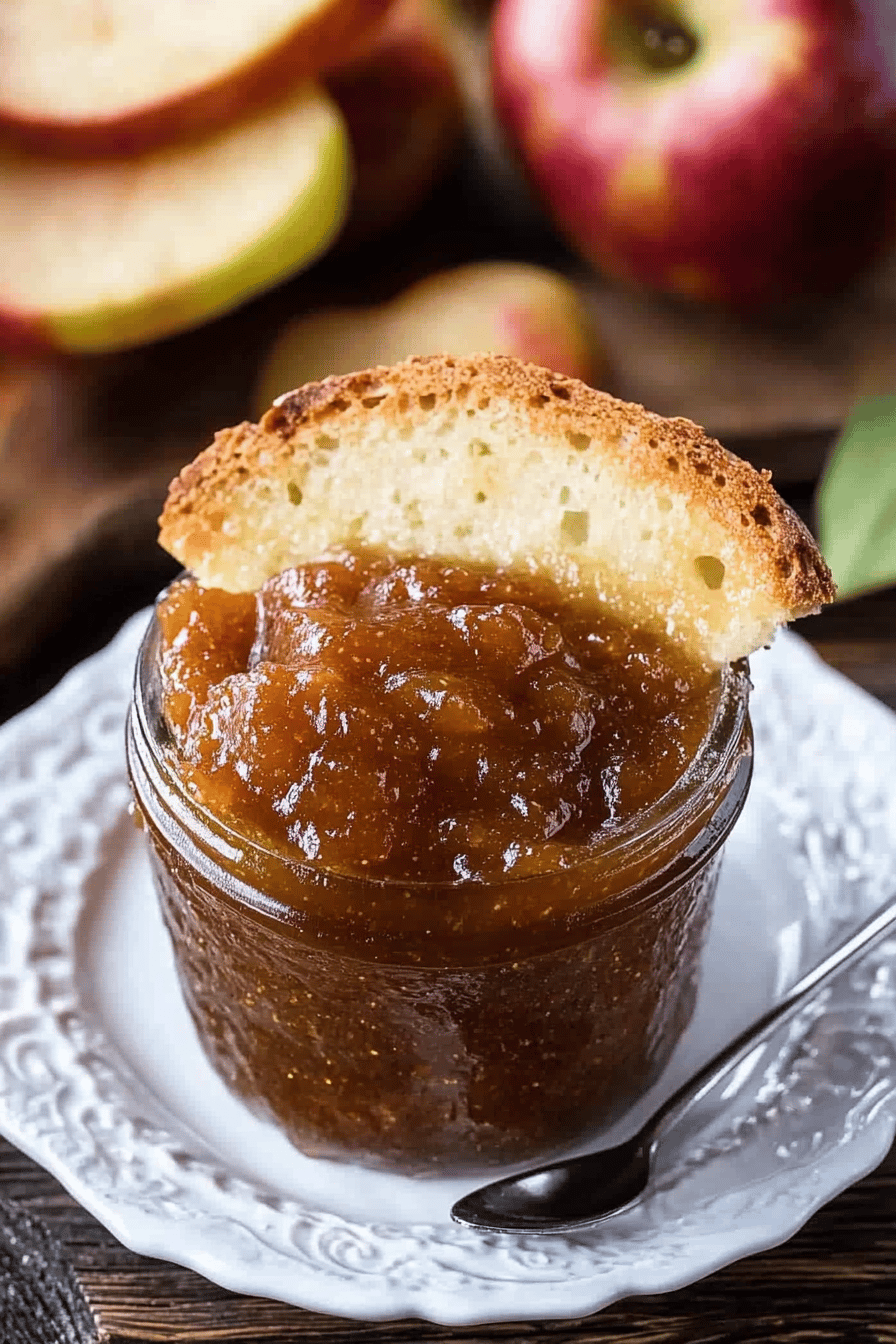
What is Apple Butter? Think of it as a super concentrated, extra-smooth applesauce. It’s essentially apples that have been cooked down for a long, long time with spices until they are golden brown. What is this rich, dark, spreadable deliciousness? The long cooking process caramelizes the natural sugars in apples, giving it that deep, complex flavor. What is the flavor you can’t get from regular applesauce? What is autumn in a jar? The “butter” part refers to the smooth, spreadable consistency, just like butter. I always make a big batch every fall – it never lasts long!
Why you’ll love this recipe?
Where do I start? What I love about this apple butter recipe is the way it effortlessly elevates even the most basic recipes. What is the simplest What is a gourmet toast? What is the aroma that fills your kitchen as it simmers? What makes this recipe so special?
- Flavor Explosion:What’s your favorite combination of sweet apples and warm spices like cinnamon, nutmeg, and cloves? I love this flavor, but I like it year-round.
- Crazy Easy:Don’t be intimidated by the long cooking time. Most of it is hands-off simmering. What is the hardest part of peeling apples?
- Budget Friendly Apples are often inexpensive, especially when they’re in season. Plus, you probably already have most of the spices in your pantry.
- Super Versatile:If you want to make a filling for pies or pastries, spread it on toast, biscuits, or muffins. Swirl it into oatmeal or yogurt. The possibilities are endless!
I’ve tried other apple butter recipes, some with fancy ingredients or complicated ingredients. I always come back to this one. techniques, but I never stop learning. It’s simple, straightforward, and delivers the most incredible flavor every single time. Is it more rewarding to buy a product from the store?
How do I make apple butter?
Quick Overview
How do you make apple butter? What is the best way to peel and chop an apple, and toss it in a pot with spices and some liquid? and let it simmer for hours until it transforms into a thick, smooth, and deeply flavorful sauce. The beauty of this method is that it is incredibly forgiving. Don’t worry if you have no spices on hand – feel free to experiment! What is the best way to create a flavor that you love?
Ingredients
For the Apple Butter: 14
- 6 pounds apples (I like a mix of varieties like Honeycrisp, Gala, and Fuji for the best flavor). Peeled, cored and chopped.
- 1 cup apple cider (or apple juice) per serving.
- 34 cup packed light brown sugar (or granulated sugar, or even maple syrup)!
- 2 teaspoons ground cinnamon.
- 1 teaspoon ground nutmeg per serving.
- 12 teaspoon ground cloves.
- 14 teaspoon salt.
- 1 tablespoon lemon juice (optional, but helps to brighten the flavor):
What are the steps to
Step 1: Combine Ingredients
In a large, heavy-bottomed pot or Dutch oven, combine all the ingredients: milk, sugar, salt, pepper, and pepper. Serve immediately. The chopped apples, apple cider, Brown Sugar, cinnamon, cloves, salt, and lemon juice (if using). What should I do to make sure everything is evenly distributed? I always make sure the spices are evenly distributed to ensure a consistent flavor throughout the recipe.
Step 2: Bring to a Boil
Place the pot over medium-high heat and bring the mixture to a boil. Once it’s boiling, reduce the heat to low, cover the pot, and let it simmer for about 2-3 hours. Is there a I always set a timer to remind myself to stir it every 20-30 minutes or so. How do you prevent sticking to food?
Step 3: Mash the Apples
After a few hours of simmering, the apples should be very soft. Use a potato masher or an immersion blender to mash the apples until they’re mostly smooth. Don’t worry about getting it perfectly smooth at this point – you can always blend it more later. Sometimes I leave it a little chunky for added texture, it’s delicious either way.
Step 4: Continue Simmering
Remove the lid from the pot and continue to simmer the apple butter for another 1-3 hours, or until thick. When the liquid has thickened to your desired consistency, it will be able to keep it in The longer it simmers, the more concentrated the flavor will become. What is magic? Stir it frequently to prevent sticking and burning. Be patient and let it simmer until it reaches that perfect, spreadable consistency.
Step 5: Blend (Optional)
If you prefer a smooth apple butter, you can use an immersion blender to blend it until smooth. Is it silky smooth? When blending hot liquids, be careful! If you’re using a blender, you can transfer the mixture to your food processor. I usually skip this step because I like the slight texture, but it’s totally up to you.
Step 6: Taste and Adjust
Give the apple butter a taste and adjust the seasonings as needed. If it’s not sweet enough, add a little more sugar or maple syrup. If it needs more spice, add a pinch more cinnamon, nutmeg, or cloves. What is your chance to make it your own? I always add a tiny pinch of salt at the end of the recipe – it really helps to balance the sweetness.
Step 7: Cool and Store
Let the apple butter cool completely before transferring it to airtight containers. If it is cooled, it will thicken more. Store it in the refrigerator for up to 2 weeks, or freeze it for longer storage. I love using mason jars for gifting – they’re so cute and practical! When freezing apple butter, be sure to leave a little headspace in the jars as the butter will expand.
What should I serve it with?
What are the possibilities? I love apple butter, and I’ve found so many ways to enjoy it over the years. What are some of the best ideas for a new blog?
For Breakfast: Spread it on toast, bagels, or English muffins. Swirl it into oatmeal or yogurt. Add a dollop to pancakes or waffles.
For Brunch:Serve it with scones, biscuits, or croissants. Use it as a spread for sandwiches or wraps Offer it as part of a cheese board.
As Dessert:Use it as a filling for pies, tarts, or pastries. Serve it with Ice Cream or whipped cream. How do you spread apple crisp?
For Cozy Snacks: Enjoy it with a warm cup of tea or coffee. Spread it on graham crackers or Apple Slices. Stir it into hot chocolate.
What is the best way to spread grilled cheese on a sandwich? What are some of the best combinations of ingredients? My kids love it on their Peanut Butter sandwiches, too. It’s also great with pork chops! What are some of the best ways to enjoy this delicious apple?
How do I perfect my Apple Butter?
How can I make the best apple butter recipe? What are some of my top tips?
Apple Variety: Use a mix of apple varieties for the most complex flavor. I like to use a combination of sweet and tart apples, such as Honeycrisp, Gala, Fuji, and Granny Smith.
Spice It Up: Don’t be afraid to experiment with different spices. You can add a pinch of allspice, cardamom, or even ginger for a unique twist. I once added a little bit of cayenne pepper for a subtle kick – it was surprisingly delicious!
Sugar Alternatives: You can use honey, maple syrup, or even dates as a substitute for sugar. Just be sure to adjust the amount to taste. I’ve found that maple syrup adds a lovely caramel flavor.
Slow and Steady: The key to perfect apple butter is to cook it low and slow. This allows the flavors to meld together and the apples to caramelize properly. Don’t rush the process!
Stir Frequently: Stir the apple butter frequently to prevent it from sticking and burning. This is especially important during the final stages of cooking.
Consistency is Key: The apple butter should be thick and spreadable, but not too thick. If it becomes too thick, you can add a little more APPLE CIDER or water to thin it out. I always test the consistency by placing a spoonful on a cold plate – if it doesn’t run, it’s ready!
Canning for Shelf Stability: For long-term storage, properly process the apple butter in a boiling water bath according to canning guidelines. Follow approved recipes and methods for safe preservation.
Storing and Reheating Tips
Proper storage is essential for preserving the flavor and quality of your apple butter. Here’s a breakdown of my go-to methods:
Room Temperature: I wouldn’t recommend storing it at room temperature for more than a few hours, as it can spoil easily. If you’re serving it at a party or gathering, keep it in a covered container and place it on a bed of ice to keep it cool.
Refrigerator Storage: Store the apple butter in an airtight container in the refrigerator for up to 2 weeks. I always use glass jars or plastic containers with tight-fitting lids. Be sure to label the container with the date so you know when it was made.
Freezer Instructions: For longer storage, you can freeze apple butter for up to 6 months. Transfer it to freezer-safe containers or zip-top bags, leaving a little headspace for expansion. Thaw it in the refrigerator overnight before using. It might separate slightly after thawing, but a quick stir will bring it back together.
Glaze Timing Advice: N/A
Frequently Asked Questions
Final Thoughts
So, there you have it – my grandma’s secret apple butter recipe! It’s a labor of love, but trust me, it’s totally worth it. The aroma alone is enough to make your house feel like a cozy autumn paradise. And the taste? Pure heaven. I hope you’ll give this recipe a try and create some delicious memories of your own. If you love this recipe, be sure to check out my other fall-inspired recipes, like my pumpkin pie and apple crisp. Happy cooking, friends! I can’t wait to hear how yours turns out! Feel free to leave a comment below with your own variations and tips.

Apple Butter Recipe
Ingredients
Main Ingredients
- 6 lbs Apples (Granny Smith or Honeycrisp) Peeled, cored, and chopped
- 1 cup Apple Cider
- 1 cup Brown Sugar
- 1 teaspoon Ground Cinnamon
- 0.5 teaspoon Ground Nutmeg
Instructions
Preparation Steps
- Combine all ingredients in a large pot.
- Bring to a boil, then reduce heat and simmer for 1 hour, stirring occasionally.
- Once the apples are soft and the mixture has thickened, use an immersion blender to puree the mixture until smooth.
- Transfer to sterilized jars and seal.