Cosmic Brownie Cookies
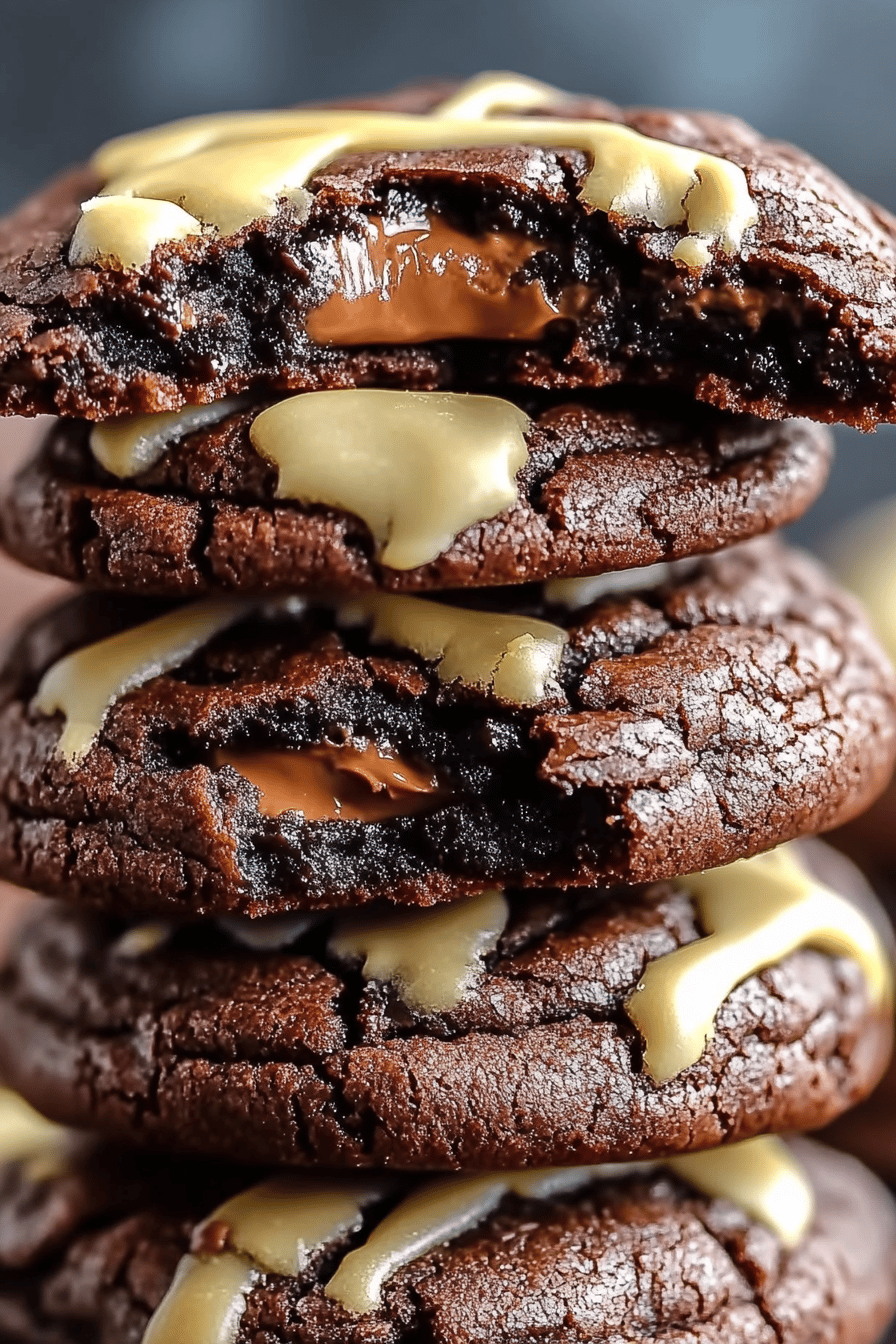
Okay, friends, let’s talk about these Cosmic Brownie Cookies. Honestly, if you’re anything like me, you have a soft spot for those chewy, fudgy Cosmic Brownies from childhood. I wanted to capture that nostalgic flavor but in a cookie form. And, trust me, these deliver! Think of it as the love child of a classic chocolate cookie and a decadent brownie, all topped with those iconic rainbow sprinkles. Dare I say, they might even be better than the original!

What are Cosmic Brownie Cookies?
So, what exactly *are* Cosmic Brownie Cookies? Well, it’s essentially a super fudgy, intensely chocolatey cookie that’s designed to taste like a cosmic brownie. It’s not just a chocolate cookie; it’s got a deep, rich flavor and that signature chewy texture. The name, of course, comes from the rainbow sprinkles on top, reminiscent of the store-bought treat. I think of it as a grown-up version of a childhood favorite – still fun, still delicious, but with a slightly more sophisticated edge. Think of it as a chocolate cookie that went to finishing school… and then decided to throw a party with rainbow sprinkles.
Why you will love this recipe?
There are so many reasons to fall in love with these Cosmic Brownie Cookies, but let me narrow it down to my top few. First and foremost: the flavor! They are intensely chocolatey, bordering on sinful. I use a combination of cocoa powder and melted chocolate to really deepen the flavor, so every bite is a chocolate lover’s dream. What I love most about this recipe is how surprisingly easy it is to make. Seriously, don’t let the decadent appearance fool you – this is a simple drop Cookie Recipe that anyone can master. No fancy equipment needed, just a bowl, a spoon, and a baking sheet! Plus, the ingredients are pretty budget-friendly, especially if you already have baking staples like flour, sugar, and cocoa in your pantry. And let’s not forget the versatility! These are amazing on their own, but they are also fantastic served with a scoop of vanilla ice cream, crumbled over a milkshake, or even used as the base for an ice cream sandwich. They are also great when craving those Little Debbie Brownies we all know and love. Honestly, they’re just perfect anytime you need a serious chocolate fix.
How do I make Cosmic Brownie Cookies?
Quick Overview
Making these Cosmic Brownie Cookies is easier than you think! Basically, you’re mixing up a super-rich chocolate Cookie Dough, swirling in a fudgy chocolate filling, and then baking until perfectly chewy. The whole process is pretty straightforward, and the best part is that the wow factor is way bigger than the effort involved. Trust me, even beginner bakers can nail this one!
Ingredients
For the Main Batter: How can I make
* 1 cup (2 sticks) unsalted butter, softened – Make sure it’s *actually* softened, not melted! It should be soft enough to easily press a finger into, but not greasy.
* 1 cup granulated sugar – Adds sweetness and helps with the cookie’s spread.
* 1 cup packed light Brown Sugar – For that extra chewy texture and molasses-y flavor.
* 2 large eggs – Binds everything together. Use room-temperature eggs for best results.
* 1 teaspoon vanilla extract – A must for enhancing all the other flavors. Don’t skimp!
* 2 cups all-purpose flour – Spoon and level for accurate measuring.
* ¾ cup unsweetened cocoa powder – Dutch-processed cocoa powder will give you a darker, richer flavor.
* 1 teaspoon baking soda – Helps the cookies rise and gives them a soft texture.
* ½ teaspoon salt – Balances the sweetness and enhances the chocolate flavor.
For the Filling:
* ½ cup (1 stick) unsalted butter – Again, softened!
* 4 ounces semi-sweet chocolate, melted – Use good quality chocolate for the best flavor.
* 2 cups powdered sugar – For a smooth, creamy filling.
* ¼ cup milk – Add more or less to reach desired consistency.
* 1 teaspoon vanilla extract – You know the drill!
For the Glaze:
* 1 cup powdered sugar * 2-3 tablespoons milk * Rainbow sprinkles – The more the merrier!

How do I follow step
Step 1: Preheat & Prep Pan
Preheat your oven to 350°F (175°C). Line a baking sheet with parchment paper. This prevents sticking and makes cleanup easy. I’ve tried silicone baking mats, but parchment paper gives the best results for these cookies.
Step 2: Mix Dry Ingredients
In a medium bowl, whisk together the flour, cocoa powder, baking soda, and salt. Set aside. Whisking ensures that everything is evenly distributed, which is crucial for the cookies to rise. Don’t skip this step!
Step 3: Mix Wet Ingredients
In a large bowl, cream together the softened butter, granulated sugar, and Brown Sugar until light. Set aside. This usually takes about 3-5 minutes with an electric mixer. Then, beat in the eggs one at a time, followed by the vanilla extract. Make sure to scrape down the sides of the bowl to ensure everything is evenly incorporated.
Step 4: Combine
Gradually add the dry ingredients to the wet ingredients, mixing on low speed until just combined. Do not overmix cookies, as this can lead to tough cookies. A few streaks of flour are okay at this point. I always stop mixing when I still see a tiny bit of flour and then finish it off by hand.
Step 5: Prepare Filling
In a medium bowl, beat together the butter and chocolate until smooth. Set aside. Gradually add the powdered sugar, beating until combined. Then, add the milk and vanilla extract, and beat until smooth and creamy. If the filling is too thick, add a little more milk, one teaspoon at .50, until you reach the desired consistency. What is the desired consistency I always do this when it’s colder in my kitchen because the chocolate tends to solidify quickly.
Step 6: Layer & Swirl
Do not overdo the Cookie Dough. Place a baking sheet on the prepared baking sheets, leaving about 2 inches between each. What is the difference between a cookie Use your finger or spoon to make a slight indentation in the center of each cookie. Do not overdo the chocolate filling. Spoon a small amount into the indentation. Use a toothpick or skewer to gently swirl the filling into the cookie dough. Don’t over-swirl, or you’ll lose the distinct layers.
Step 7: Bake
Bake for 10-12 minutes, or until the edges are set and the centers are still slightly soft. Cookies will continue to set as they cool. Keep a close eye on them, as baking times can vary depending on your oven. I find that 11 minutes is usually perfect in my oven.
Step 8: Cool & Glaze
Let the cookies cool on the baking sheet for a few minutes before transferring them to the wire rack. To cool completely. While cookies are cooling, prepare the glaze by whisking together the powdered sugar and milk. If the glaze is too thick, add a little more milk, one teaspoon at .50. Add more sugar if desired. What is desired consistency? Once the cookies are completely cool, drizzle them with the glaze and immediately sprinkle with salt and pepper. Rainbow sprinkles.
Step 9: Slice & Serve
What are the best ways to serve these once the glaze has set? I like to have mine with a glass of milk or Ice Cream on the side.
What should I serve it with?
What are some of the best Cosmic Brownie Cookies? How can I take my business to the next level? What are some good ideas?
For Breakfast:What’s a good way to start the day off on the right note? I often bring these to brunch gatherings with friends.
For Brunch:Serve them on a pretty platter alongside other brunch favorites like fruit salad, mini quiches, and more. These are always a hit!
As Dessert:Serve warm with whipped cream or vanilla Ice Cream. A drizzle of chocolate sauce never hurts either!
For Cozy Snacks:What’s better than a cup of hot chocolate and cookies on the couch? What is the best way to unwind on a chilly evening? We get cozy and watch movies.
My family loves these in a cookies and cream milkshake! Is it safe to throw a few bananas into Ice Cream and you won’t regret it?
How do I make Cosmic Brownie Cookies?
How do you make Cosmic Brownie Cookies? What are some of the best tips and tricks I have learned over the years?
What is the best butter softeningIf butter is too cold, it won’t cream properly with the sugar. Make sure your butter has been softened. If it’s melted, your cookies will spread too thin. I always take my butter out of the fridge before baking.
Mixing Advice:Be careful not to overmix the dough. Overmixing the flour can lead to hard cookies. Mix until just combined, and then finish it off by hand.
What is SwirlDon’t be afraid to get creative with swirls! Use a toothpick to create different patterns and designs. Can you use different colors of food coloring to tint the filling for a festive look? I always do this during the holidays to give them a special touch!
Ingredient Swaps:For a richer, more intense chocolate flavor, try using Dutch-processed cocoa powder. Can you substitute almond flour for all-purpose flour? Is there a better chew texture When I’m running low on flour, I sometimes substitute some quick oats and it works perfectly!
baking tips:Keep a close eye on the cookies while they’re baking, as baking times can vary depending on your oven. When the edges are set and the centers are still slightly soft, the cookies are done. As they cool, they will continue to set. I’ve burned a few batches by not paying close enough attention.
Glaze Variations: For a thinner glaze, add a little more milk. For a thicker glaze, add a little more powdered sugar. You can also add a drop or two of food coloring to tint the glaze. I sometimes add a little vanilla extract to the glaze for extra flavor.
Storing and Reheating Tips
Want to keep your Cosmic Brownie Cookies fresh and delicious for as long as possible? Here’s what I recommend:
Room Temperature: Store the cookies in an airtight container at room temperature for up to 3 days. They are best consumed within the first day or two, as they tend to dry out slightly after that. Make sure the glaze is completely set before storing to prevent sticking.
Refrigerator Storage: For longer storage, you can refrigerate the cookies in an airtight container for up to a week. However, keep in mind that the cookies may become slightly harder in the fridge. I only do this when I’ve made a huge batch and want to keep them for longer.
Freezer Instructions: To freeze the cookies, wrap them individually in plastic wrap and then place them in a freezer-safe bag or container. They can be frozen for up to 2 months. Thaw them at room temperature before serving. Don’t glaze them until after they have thawed.
Glaze Timing Advice: If you plan to freeze the cookies, it’s best to wait to glaze them until after they have thawed. This will prevent the glaze from cracking or becoming sticky in the freezer.
Frequently Asked Questions
Final Thoughts

So there you have it: my take on the beloved Cosmic Brownie, transformed into an irresistible cookie! I truly believe these are worth trying because they offer that perfect balance of fudgy, chewy, and chocolatey goodness, all topped off with a sprinkle of fun. If you’re a fan of chocolate cookies and brownies, you’re going to absolutely adore these. Plus, they’re so easy to make, even a novice baker can whip them up in no time. If you enjoyed this recipe, be sure to check out my other cookie recipes! I can’t wait to hear how yours turn out – be sure to leave a comment below and let me know what you think! Happy baking!
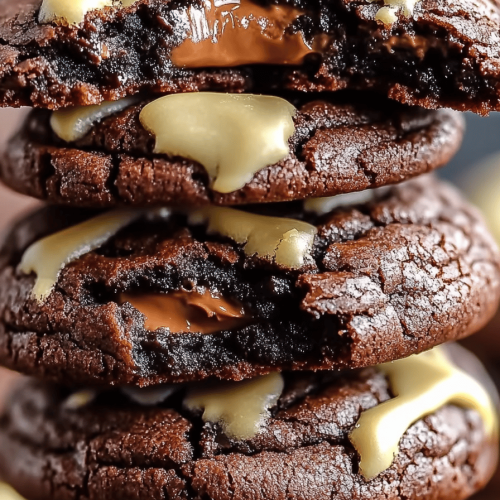
Cosmic Brownie Cookies
Ingredients
Main Ingredients
- 1 cup unsalted butter softened
- 1.5 cups granulated sugar
- 2 large eggs
- 1 teaspoon vanilla extract
- 1 cup all-purpose flour
- 0.5 cup unsweetened cocoa powder
- 0.5 teaspoon baking powder
- 0.5 teaspoon salt
- 2 cups chocolate chips
- 0.5 cup sprinkles
Instructions
Preparation Steps
- Preheat oven to 375°F (190°C). Line baking sheets with parchment paper.
- In a large bowl, cream together the butter and sugar until light and fluffy. Beat in eggs one at a time, then stir in the vanilla.
- In a separate bowl, whisk together the flour, cocoa powder, baking powder, and salt. Gradually add to the wet ingredients, mixing until just combined.
- Stir in the chocolate chips and sprinkles.
- Drop by rounded tablespoons onto the prepared baking sheets. Bake for 10-12 minutes, or until edges are set and the centers are still slightly soft.
- Let cool on baking sheets for a few minutes before transferring to a wire rack to cool completely.

