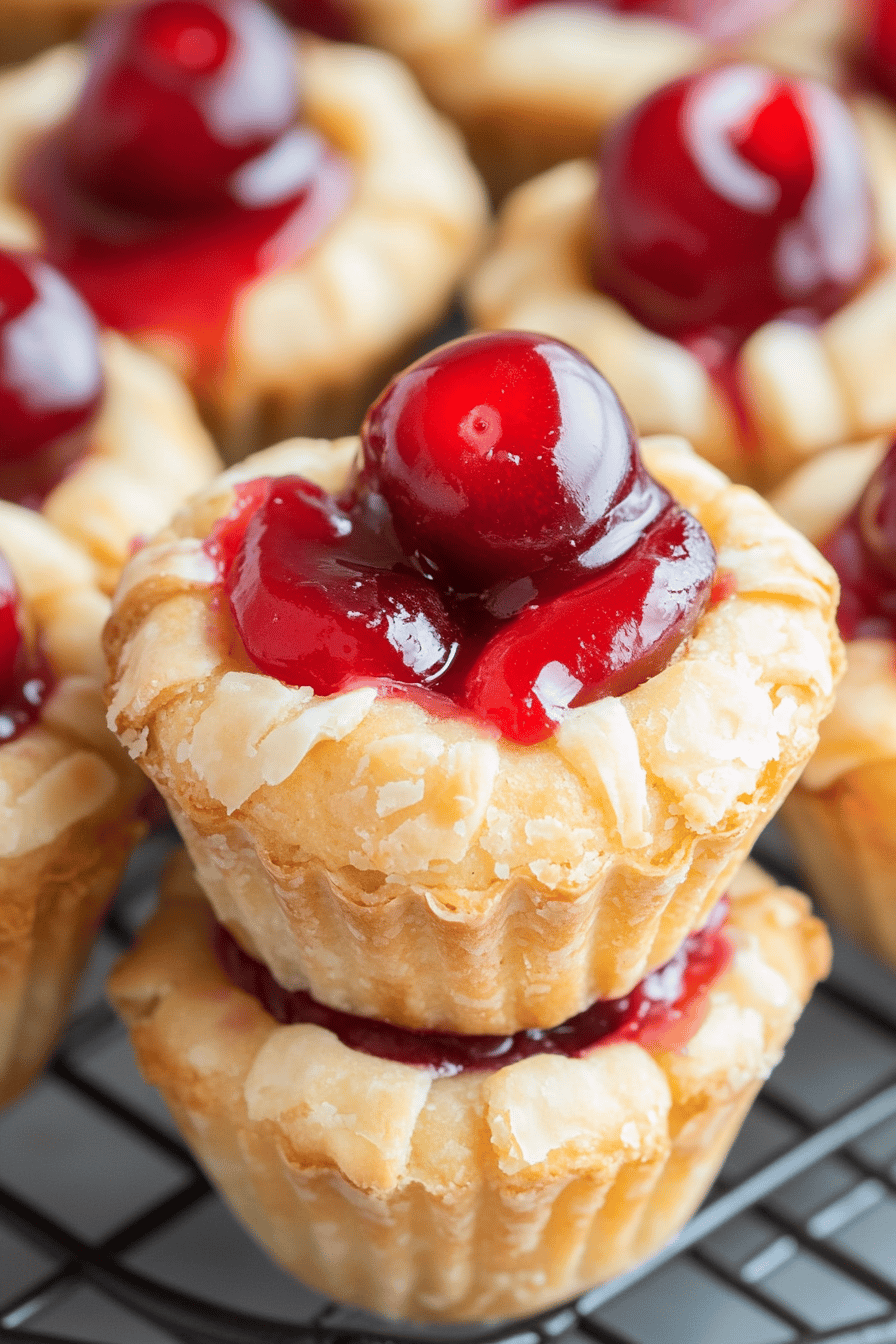
Cherry Pie Bites
Okay, friends, let me tell you about these Cherry Pie Bites. They’re like tiny little explosions of summer happiness, seriously. Remember those individual fruit pies you’d get from the bakery growing up? Imagine that, but even better because, well, they’re miniature and perfectly portioned. They’re also way easier to make than a full-sized pie – trust me on that one! If you’re a fan of the classic cherry pie but intimidated by the crust situation, or simply want a quicker fix, then these delicious cherry pie bites are about to become your new best friend. These little guys pack all the deliciousness of a homemade cherry pie, but in a fraction of the time and with minimal effort. Perfect for a party, a picnic, or just a sweet treat after dinner, they’re always a hit.
What is a cherry pie bite?
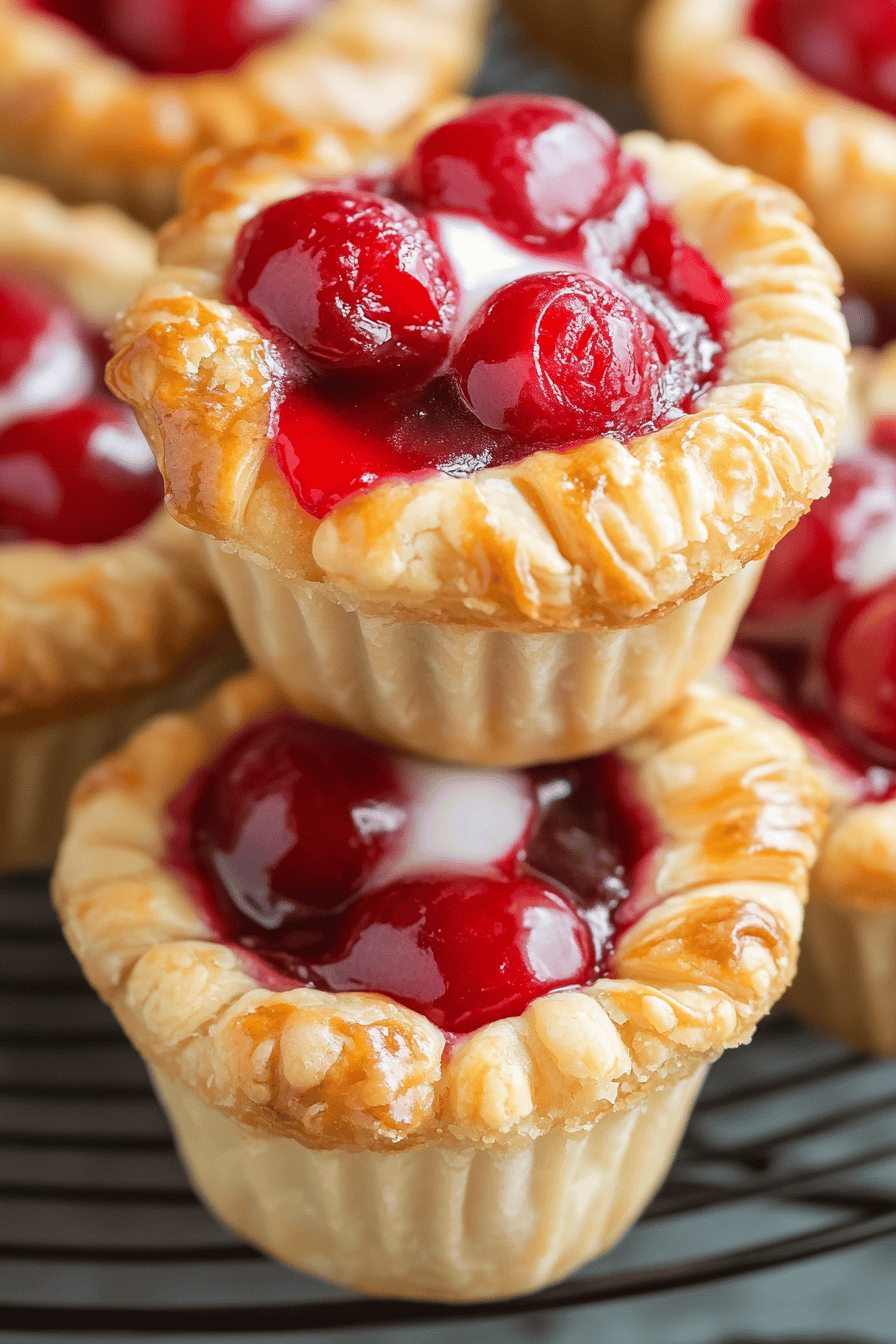
Alright, so what *are* Cherry Pie Bites, exactly? Think of them as mini, hand-held versions of your favorite cherry pie. It’s essentially a buttery, flaky crust filled with a sweet and slightly tart cherry filling. But instead of a whole pie, you get these adorable, bite-sized pastries that are just perfect for popping in your mouth. The magic lies in the ratio: enough cherry filling to satisfy your craving, balanced perfectly with that golden, crispy crust. They’re the ultimate grab-and-go dessert, and honestly, they’re just plain fun to eat!
Why you’ll love this recipe?
Let me count the ways you’ll fall head-over-heels for these Cherry Pie Bites. First and foremost, the flavor is out of this world! You get that classic cherry pie taste with a hint of almond (if you choose to add it), all wrapped up in a buttery, flaky crust that practically melts in your mouth. What I love most about this is how incredibly easy they are to make. No complicated pie crust rolling or crimping involved! You can totally use store-bought pie crust to save time, making this a fantastic recipe for busy weeknights or last-minute gatherings. Plus, the ingredients are pretty basic and budget-friendly. You probably already have most of them in your pantry! And the versatility? Oh, the possibilities! You can serve these as a quick breakfast treat, a delightful brunch addition, a satisfying dessert, or even just a cozy snack on a chilly evening. Honestly, they’re fantastic any time of day. They’re similar to those mini apple pies you see sometimes, but something about the cherry just makes them extra special. Plus, they are always a crowd pleaser!
How do I make Cherry Pie Bites?
Quick Overview
How do I make a Cherry Pie Bites? How do I make a filling for my pie? What are the ingredients to thicken it and amp up the flavor. How do you make a pie crust? ), cut out circles, and fill each one with a spoonful of that delicious cherry mixture. Top with another circle of crust, crimp the edges, and bake until golden brown. What’s the best part? Is it so easy to bake a cake?
Ingredients
For the Filling:
* 2 (14.5 ounce) cans cherry Pie Filling: I usually go for the kind without too much sugar, but use your favorite!
* 1 tablespoon cornstarch: This helps thicken the filling so it’s not too runny.
* 1/2 teaspoon almond extract (optional): I always add this – it really complements the cherry flavor! If you are not a fan, feel free to skip it.
* 1 tablespoon lemon juice: Adds a little zing and balances the sweetness.
For the Crust:
* 2 refrigerated pie crusts: Store-bought is perfectly fine! Just make sure they’re thawed before you start.
* 1 egg, beaten: This gives the crust a beautiful golden color.
For the Glaze:
* 1 cup powdered sugar: Sift it for a smoother glaze.
* 2-3 tablespoons milk: Start with 2 and add more until you reach your desired consistency.
* 1/4 teaspoon vanilla extract: For a little extra flavor kick.
What are the step-
Step 1: Preheat & Prep Pan
Preheat your oven to 375°F (190°C). While the oven is heating up, lightly grease a baking sheet or line it with parchment paper. How do I clean my bites? Why don’t you skip this step?
Step 2: Prepare Filling
In a medium saucepan, combine the cherry pie filling, cornstarch, almond extract (if using), and salt. Stir to combine. Stir well to combine. Place the saucepan over medium heat and bring the mixture to a simmer, stirring constantly. Cook for 2-3 minutes, or until the filling has thickened slightly. Remove from heat and let it cool slightly while you prepare the crust.
Step 3: Roll Out Pie Crusts
On a lightly floured surface, unroll one of the pie crusts. Use a 3-inch round cookie cutter to cut out as many circles as possible. Repeat with the second pie crust.
Step 4: Assemble the Bites
Place half of the pie crust circles onto the prepared baking sheet. Spoon about 1-2 tablespoons of the cherry filling onto the center of each circle. Don’t overfill them, or the filling will ooze out during baking. Place the remaining pie crust circles on top of the filling. Gently press the edges of the top and bottom crusts together to seal. You can use a fork to crimp the edges for a decorative touch and to ensure a good seal.
Step 5: Egg Wash and Bake
In a small bowl, beat the egg with a tablespoon of water to make an egg wash. Brush the top of each pie bite with the egg wash. This will give them a beautiful golden color and a slight sheen. Cut a small slit in the top of each pie bite to allow steam to escape during baking. Bake for 15-20 minutes, or until the crust is golden brown.
Step 6: Cool and Glaze
Remove the Cherry Pie Bites from the oven and let them cool on the baking sheet for a few minutes before transferring them to a wire rack to cool completely. While the bites are cooling, prepare the glaze. In a small bowl, whisk together the powdered sugar, milk, and vanilla extract until smooth. Add more milk, one teaspoon at a time, until you reach your desired consistency. Once the bites are completely cool, drizzle them with the glaze. Let the glaze set for a few minutes before serving.
Step 7: Serve and Enjoy
Serve the Cherry Pie Bites warm or at room temperature. They’re delicious on their own, or you can serve them with a scoop of vanilla Ice Cream. What is whipped cream for?
What should I serve it with?
What are some of the best cherry pie bites? What are some serving suggestions?For Breakfast:What is the best way to start your day with a cup of coffee or latte?For Brunch:Arrange them on a platter with fresh berries for an elegant brunch spread.As Dessert:Serve warm with vanilla Ice Cream or whipped cream. What are some good ideas for a chocolate sauce?For Cozy Snacks:Enjoy them with a warm cup of tea or hot chocolate on an chilly evening. What are some of the best comfort foods? I remember my grandma brought a batch of these to our family camping trip, and everyone was so excited. What a warm night it was.
How do you make a perfect cherry pie bite?
How do you make a delicious Cherry Pie Bites? Perfect every single time.Don’t overfillIs it tempting to pack as much filling as possible into each bite? Overfilling will cause the filling to ooze out during baking, making a mess and potentially causing food to be contaminated. The crust to burn.Seal the Edges Well: What are some of theMake sure to press the edges of the top and bottom crusts together firmly to seal. This will prevent the filling from leaking out and ensure that the bites hold their shape during insertion.Egg Wash is the key to a healthy life. Don’t skip the egg wash! It’s what gives the crust that beautiful golden color and a slight sheen. Plus, it adds a subtle richness to the flavor.
How do I cool completely before glazing? If you glaze the bites while they’re still warm, the glaze will melt and run off. Let them cool completely before drizzling with glaze for the best results.
Get Creative with the Filling: Feel free to experiment with different flavors and add-ins to the cherry filling. A pinch of cinnamon, a dash of nutmeg, or a tablespoon of bourbon would all be delicious additions. You can also add chopped nuts, such as pecans or walnuts, for extra texture and flavor. I once used a bit of amaretto instead of almond extract and it was heavenly!
Storing and Reheating Tips
Here’s how to keep these delicious Cherry Pie Bites fresh and tasty:
Room Temperature: You can store them at room temperature in an airtight container for up to 2 days.
Refrigerator Storage: For longer storage, keep them in the refrigerator in an airtight container for up to 5 days.
Freezer Instructions: To freeze, wrap each bite individually in plastic wrap and then place them in a freezer-safe bag or container. They can be frozen for up to 2 months.
Glaze Timing Advice: If you plan to freeze the bites, it’s best to wait to glaze them until after they’ve been thawed. Otherwise, the glaze may become soggy or cracked during freezing.
To reheat, simply pop them in the oven at 350°F (175°C) for a few minutes, or until they’re warmed through. You can also microwave them for a few seconds, but be careful not to overheat them, or the crust will become soggy.
Frequently Asked Questions
Final Thoughts
These Cherry Pie Bites are more than just a recipe – they’re a little slice of happiness, a taste of summer, and a reminder that even the simplest things can be incredibly delicious. They’re easy to make, fun to eat, and always a crowd-pleaser. Seriously, what’s not to love? And if you’re looking for something similar, you should totally check out my blueberry Crumble Recipe, it uses a lot of the same ingredients but has a completely different vibe! So go ahead, give them a try, and get ready to fall in love with these adorable, bite-sized treats. Happy baking! I can’t wait to see how yours turn out! Don’t forget to leave a comment and let me know if you made any fun variations.

Cherry Pie Bites
Ingredients
Main Ingredients
- 1.5 cups fresh cherries, pitted Use your favorite variety of cherry
- 1 cup granulated sugar
- 2 tablespoons all-purpose flour
- 1 teaspoon ground cinnamon
- 1 package refrigerated pie crusts
Instructions
Preparation Steps
- Preheat oven to 375°F (190°C).
- In a medium bowl, combine cherries, sugar, flour, and cinnamon.
- Unroll pie crusts and cut into 12 equal squares.
- Place a spoonful of cherry filling in the center of each square.
- Fold the corners of each square to the center, pinching to seal.
- Place on a baking sheet and bake for 20-25 minutes, or until golden brown.