white chocolate cake
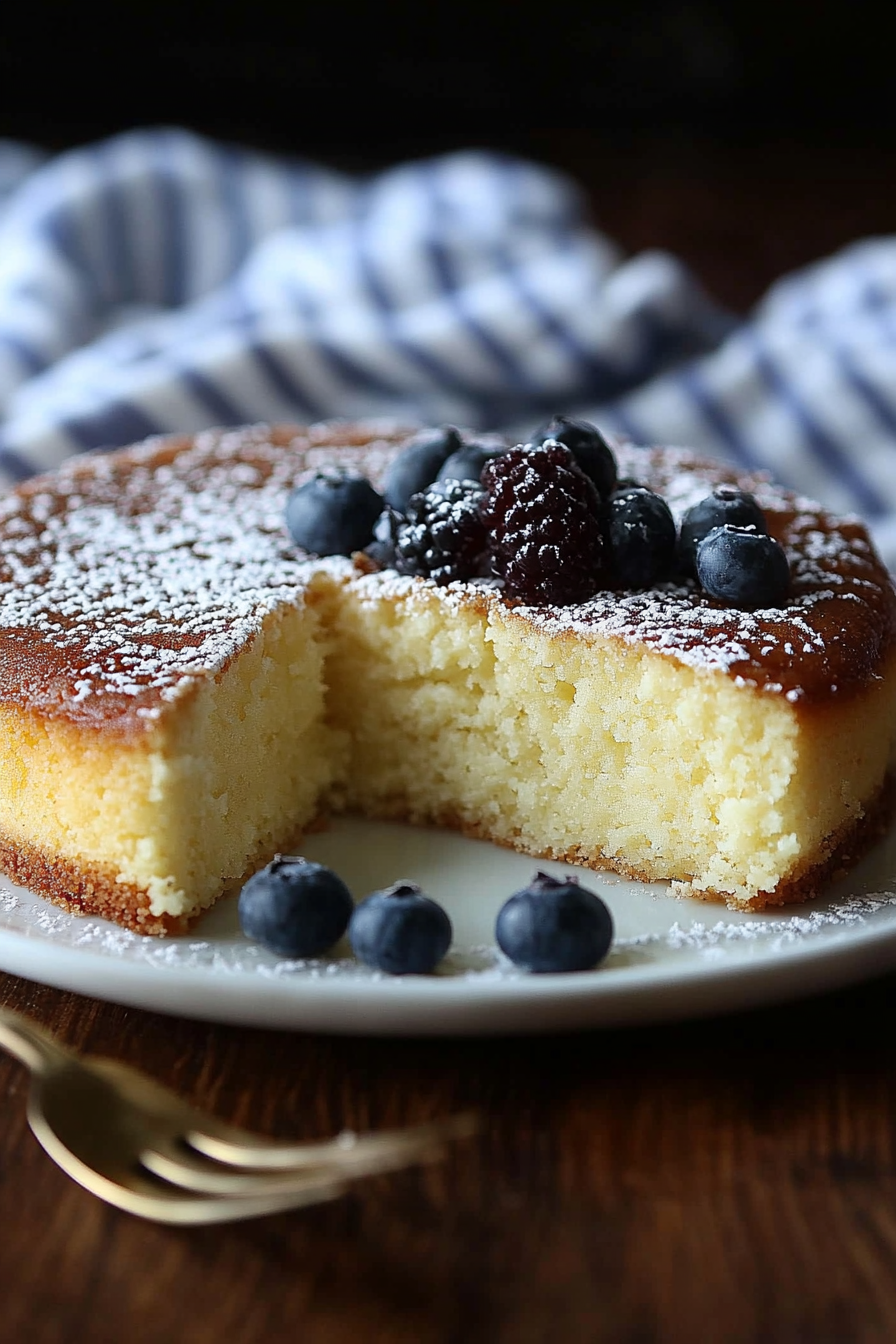
I’ll never forget the first time I baked this white chocolate cake — it filled my kitchen with that luscious, cozy aroma that instantly transports you to happy memories. It’s like a softer cousin to the classic chocolate cake, but with this delicately sweet, buttery vibe that just melts in your mouth. Whenever I make this, my kids crowd around before it’s even fully cooled, begging for a slice. It’s truly one of those recipes that feels fancy enough for celebrations, yet simple enough to whip up on a random Sunday afternoon when you suddenly get a craving for something utterly sweet but not over-the-top chocolatey. If you’re as hooked on white chocolate as I am, this cake might just become your new go-to—and trust me, I’ve tested plenty!
What is white chocolate cake?
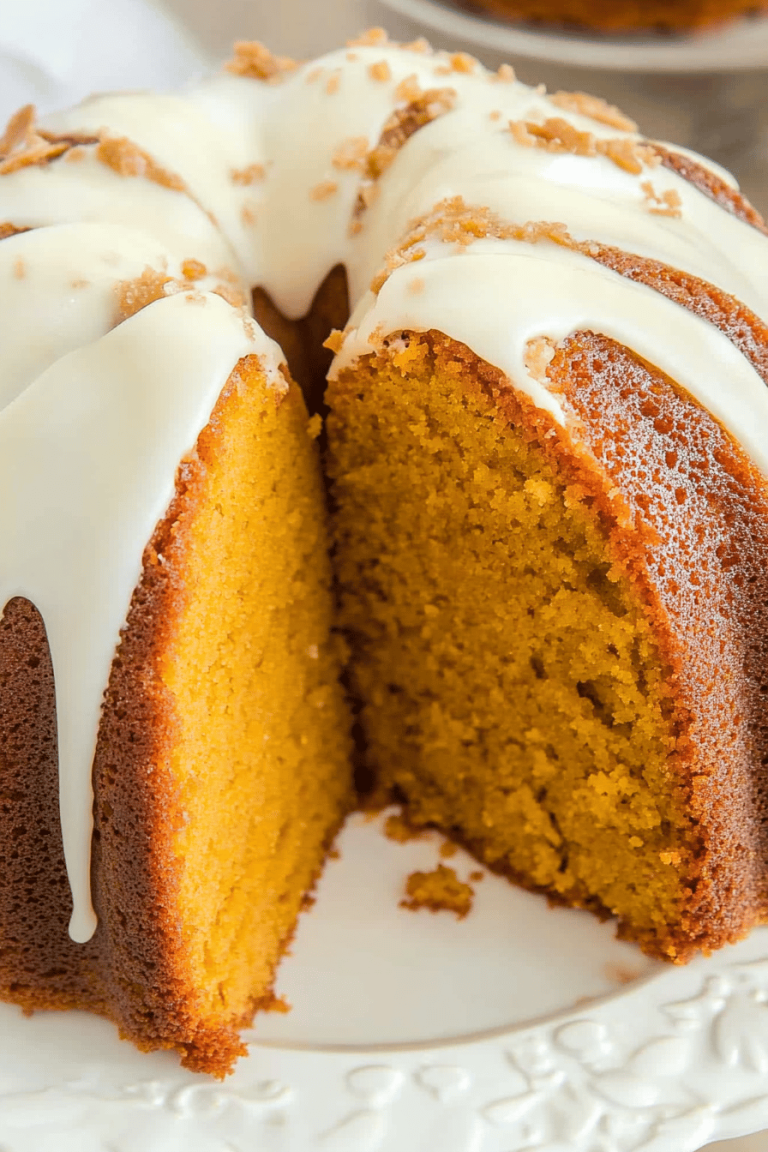
Think of white chocolate cake as the elegant, creamy sibling in the chocolate dessert family. It’s essentially a moist, tender cake built around the unique, smooth flavors of white chocolate instead of the classic cocoa. Unlike typical cakes slathered with rich cocoa or dark chocolate, this cake lets the subtle sweetness and velvety texture of white chocolate shine front and center. The name is straightforward—the star ingredient is melted white chocolate that’s gently folded into the batter, infusing every bite with its buttery flavor. It’s a little less intense than your everyday chocolate cake, which makes it feel like a soft hug in dessert form. This cake strikes a beautiful balance: indulgent, but not overwhelming, making it approachable for anyone craving something both nostalgic and special.
Why you’ll love this recipe?
What I love most about this white chocolate cake is how it manages to be both indulgent and surprisingly simple. The flavor is this dreamy loop of creamy sweetness with a touch of vanilla that makes every bite linger. It’s like a dessert that whispers, “Relax, this is your little moment.” The ingredients are all everyday staples but when they come together, it’s pure magic. This recipe doesn’t demand fancy techniques or weird tools — even if you’re not *super* confident in the kitchen, you’ll nail it. That’s the beauty here: it’s a cake you can trust to come out perfect whether you’re making it for a casual family dinner or a friend’s birthday.*
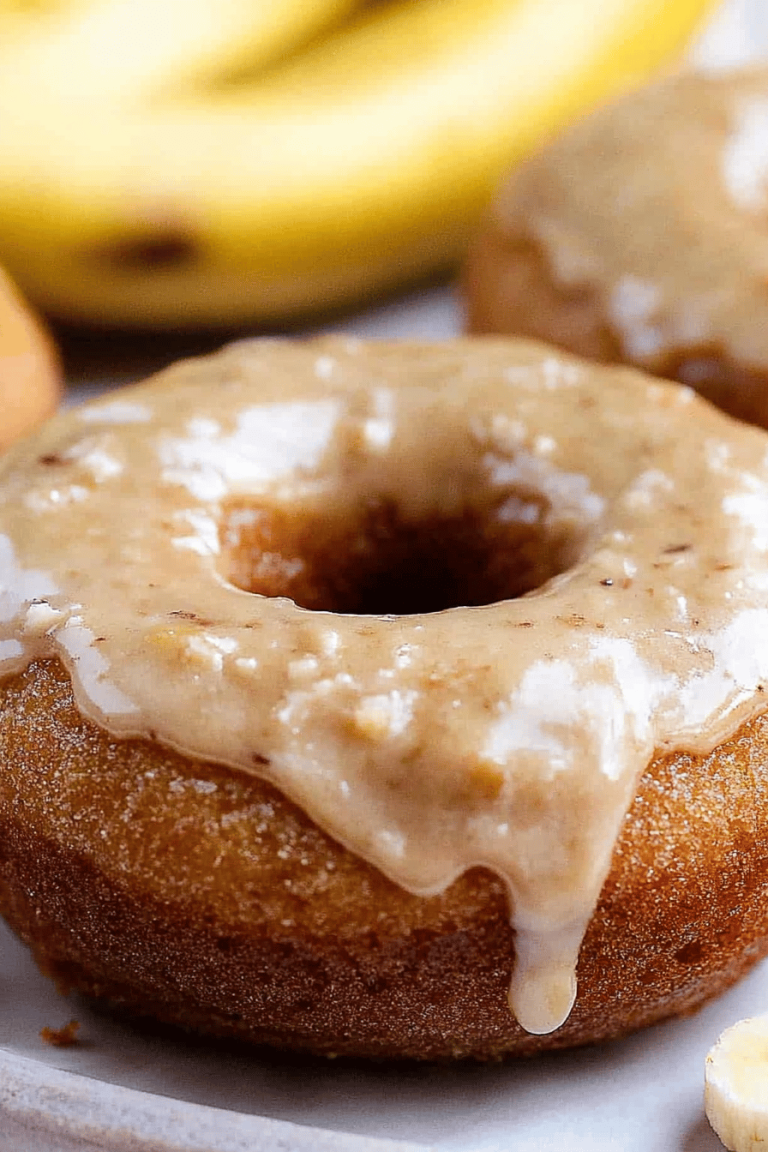
Plus, it’s pretty budget-friendly. White chocolate can sometimes feel like a luxury item, but a little goes a long way in this recipe. And you can switch up the glaze or filling to keep it fresh — I’ve tried cream cheese frosting, berry jams, even toasted coconut toppings. It’s downright versatile. One batch feeds a crowd or lasts a few days if you’re sneaking slices here and there (which is totally allowed). If you’re a fan of my rich chocolate bundt cake or the ever-popular vanilla pound cake, you’ll find this a delightful alternative with that extra creamy twist. Honestly, it’s become a favorite at get-togethers because it’s cozy and feels like a hug on a plate.
How do I make white chocolate cake?
Quick Overview
Making this white chocolate cake is a bit like gently coaxing together cozy ingredients that turn into something far greater than the sum of their parts. The process is straightforward: melt the white chocolate and fold it into a simple batter, then bake until golden and fluffy. The best part? The cake already feels special thanks to the white chocolate, so you don’t have to fuss over fancy decorations (though a drizzle of glaze is a lovely bonus). It’s a perfect blend of ease and elegance that you’ll keep coming back to, especially when life’s been busy but you still want to surprise your family with something sweet they’ll adore.
Ingredients
For the Main Batter:
- 1 cup white chocolate chips or chopped white chocolate (go for quality — it really impacts flavor)
- 1/2 cup unsalted butter, softened (clincher for that rich texture)
- 1 cup granulated sugar
- 3 large eggs, at room temperature
- 1 cup all-purpose flour (freshly sifted works best to keep the crumb light)
- 1 1/2 tsp baking powder
- 1/4 tsp salt
- 1/2 cup whole milk (I sometimes swap for almond milk, which makes it dreamy and a tad silkier)
- 1 tsp pure vanilla extract
For the Filling (Optional):
- 1/2 cup cream cheese, softened (for that tangy contrast)
- 1/4 cup powdered sugar
- 1 tsp vanilla extract
- Fresh raspberries or strawberries (adds freshness and bursts of juicy flavor)
For the Glaze:
- 1/2 cup white chocolate chips
- 2 tbsp heavy cream or milk
- A pinch of sea salt (optional, but it lifts the flavor)
Step-by-Step Instructions
Step 1: Preheat & Prep Pan
Preheat your oven to 350°F (175°C). I always line my 9-inch round cake pan with parchment paper and grease the sides with butter—this cake is tender, and you want it to come out cleanly! If you’re feeling fancy, dust a little flour after greasing to give it that perfect non-stick layer. It’s a small step, but it makes cutting and serving way easier.
Step 2: Mix Dry Ingredients
Whisk together the flour, baking powder, and salt in a medium bowl. This is a good time to sift if you want a finer texture, but whisking well usually does the trick. Getting this mix even means your cake will rise beautifully and have a light crumb rather than feeling dense or uneven.
Step 3: Mix Wet Ingredients
In a heatproof bowl, gently melt the white chocolate with butter over a double boiler or microwave in short bursts, stirring often. You want it glossy and smooth, not browned or overheated. Let it cool slightly so it doesn’t cook the eggs when you add them next.
In a separate bowl, beat the sugar and eggs until pale and fluffy (this usually takes about 3-4 minutes with a mixer on medium speed). Then slowly add the melted chocolate mixture and beat until combined and silky. Stir in the vanilla, then alternate adding the dry mix and milk in two or three batches — starting and ending with the dry ingredients.
Step 4: Combine
Gently fold everything together with a spatula, making sure there are no dry spots but being careful not to overmix. A dense batter makes a tough cake, so stop as soon as it looks evenly combined. The batter should be smooth and a bit thick.
Step 5: Prepare Filling
For a little surprise inside, beat the cream cheese with powdered sugar and vanilla until smooth. Use fresh berries for a pop of color and flavor. This optional step adds a luscious layer that cuts the richness without stealing the show.
Step 6: Layer & Swirl
Pour half the batter into the pan, then gently dollop the cream cheese filling over it (if using), spreading slightly but not mixing it into the edges. Pour the remaining batter on top. For a pretty marbled effect, take a skewer or knife and swirl lightly. It’s a little trick I learned that makes it look bakery-level fancy without the effort.
Step 7: Bake
Bake for about 35–40 minutes, but start checking around 30 minutes with a toothpick inserted in the center. It’s ready when it comes out with just a few crumbs clinging. Ovens vary, so keep an eye—it’ll smell incredible when it’s close!
Step 8: Cool & Glaze
Allow the cake to cool in the pan for 15 minutes before moving it to a wire rack. Once it’s completely cool, melt your glaze ingredients together. Drizzle over the top for a shiny, delicate finish. I usually tip the cake side to side to get nice even coverage. The glaze thickens as it cools, creating that irresistible sweet shell.
Step 9: Slice & Serve
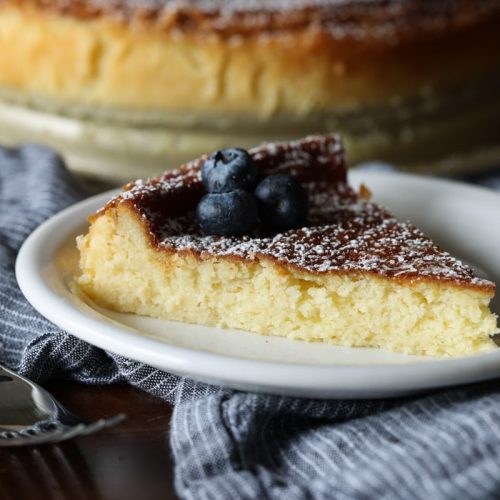
Use a sharp knife warm under hot water and wiped dry to slice cleanly. The cake is best served at room temperature so the flavors and texture really sing. It pairs beautifully with a cup of tea or afternoon coffee. I love adding a few fresh berries or a dollop of whipped cream when serving guests—the extra touch always earns compliments!
What to Serve It With
For Breakfast: A cozy white chocolate cake goes hand-in-hand with a rich latte or freshly brewed black coffee. It’s like a little morning celebration without needing a fancy brunch spread. Slice a thin piece and enjoy alongside fresh fruit for a balanced start.
For Brunch: Plate the cake on a pretty cake stand with fresh berries and a sprinkle of powdered sugar. A light sparkling wine or a fruity mimosa brings some bubbly cheer to your table and works well with the sweet creaminess.
As Dessert: My absolute favorite way is with a scoop of vanilla bean ice cream and a drizzle of homemade raspberry coulis. The contrast of warm cake and cold ice cream is simply divine. A glass of late harvest Riesling can also amp up the elegance if you’re feeling fancy.
For Cozy Snacks: This cake makes the perfect afternoon pick-me-up. I like to serve it with herbal tea or a big mug of hot cocoa on chilly days—the creamy sweetness of white chocolate is a total comfort food mood lifter. On weekends, this is our go-to for casual snacks while everyone’s lounging in slippers.
This cake often appears at my family’s holiday table or during those treasured weekend tea times. It’s one of those recipes that brings a little joy no matter the occasion, which is exactly why I love baking it again and again.
Top Tips for Perfecting Your White Chocolate Cake
White Chocolate Prep: Never rush melting your white chocolate. I learned the hard way that overheating turns it grainy and dullens flavor. Low heat and patience win every time. Also, breaking it into small pieces before melting helps it melt evenly.
Mixing Advice: When folding your wet and dry ingredients, stop as soon as you see no dry flour patches. Overmixing toughens the crumb, and this cake should feel like a soft, light cloud. If your batter looks a little lumpy, that’s okay — ensuring no flour pockets is key, not perfect smoothness.
Swirl Customization: For a stunning visual, don’t swirl too much — just a few gentle circles with a thin skewer create a marbled effect without blending all layers together. More swirls can flatten the filling or muddy the layers.
Ingredient Swaps: I’ve swapped whole milk for unsweetened almond or oat milk and it somehow gets creamier (who knew?). Coconut oil instead of butter works in a pinch but changes the flavor slightly. If you’re using baking powder that’s past its prime, your cake will rise unevenly, so fresh is best.
Baking Tips: Place your cake pan on the middle rack for even heat. If your oven runs hot, tent the cake with foil around 30 minutes to prevent the top from browning too quickly. Doneness is best tested by a toothpick — any gooey batter and it needs more time.
Glaze Variations: The simple white chocolate glaze is my favorite, but mixing in a tablespoon of cream cheese or a splash of orange liquor can add a fun twist. If the glaze is too thick to drizzle, add a teeny bit more cream, but be careful — too thin and it won’t set properly.
One lesson I learned? Always let the cake cool fully before glazing, or else the glaze just slides off, which is no fun when you’re serving hungry guests! Experiment a little and you’ll find your favorite combos, but this base recipe is reliably beautiful every time.
Storing and Reheating Tips
Room Temperature: Store your white chocolate cake loosely covered with foil or a cake dome for up to 2 days. Leaving it uncovered causes it to dry out or form a crust, so airtight is key for softness without refrigeration.
Refrigerator Storage: If you plan to keep it longer, refrigerate the cake in an airtight container or wrap well with plastic wrap to prevent it from absorbing fridge odors. It stays fresh about 4–5 days this way, though I recommend leaving it at room temp for 20 minutes before serving to lose any chill that dulls flavors.
Freezer Instructions: This cake freezes well—in fact, it’s a lifesaver to bake in batches. Wrap the cooled cake tightly in plastic wrap and then in foil or a freezer bag, and it’ll last up to 3 months. Thaw overnight in the fridge, then bring to room temperature before serving.
Glaze Timing Advice: If freezing, I usually glaze the cake after thawing to keep it looking fresh and glossy. For short-term storage, glaze it within an hour of cooling for the best finish. Too early and the glaze might slide off if the cake is still warm.
Frequently Asked Questions
Final Thoughts
This white chocolate cake holds a special place in my heart—it’s that dessert that’s supremely comforting, effortlessly elegant, and genuinely easy to make, which sadly isn’t always the case with cakes that smell and taste this fancy. Whether it’s a last-minute dessert for guests or an indulgent treat after a busy day, it never disappoints. If you love how this turns out, do poke around my site for other favorites like the luscious triple chocolate bundt or my grandmother’s lemon drizzle cake — they’re all made with the same love and care that you’ll taste in every bite here.
So grab your whisk, warm up your oven, and give this one a shot. I can’t wait to hear how your kitchen smells and how your family gobbles it up! Don’t forget to drop me a comment or share your tweaks — it’s always the best part of baking. Happy baking!
Easy White Chocolate Cake Without Flour
Ingredients
Main Ingredients
- 8 ounces cream cheese room temperature
- 0.5 cup butter at room temperature
- 0.5 cup granulated sugar
- 0.25 teaspoon kosher salt
- 2 teaspoons vanilla extract
- 4 large eggs at room temperature, lightly whisked
- 8 ounces white chocolate chopped
- Optional garnish whipped cream/berries
Instructions
Preparation Steps
- Preheat the oven to 325°F. Coat a 9-inch springform pan with nonstick spray. Wrap aluminum foil tightly around the bottom of the pan to prevent water leakage during the water bath baking.
- In a stand mixer fitted with the whisk attachment, beat together cream cheese, butter, sugar, salt, and vanilla extract on medium-high speed for 2 minutes. Add eggs and mix for another 2 minutes. Set aside.
- Place white chocolate in a heat-safe bowl. Set the bowl over a saucepan of simmering water (double boiler). Stir frequently until melted and smooth. Remove from heat.
- With the mixer on low, slowly drizzle melted white chocolate into the batter. Increase mixer speed to high and mix for 5 minutes until fluffy.
- Pour batter into prepared pan. Place the springform pan inside a large roasting pan. Add hot water to roasting pan about 1 inch deep. Bake for 45-50 minutes until top is golden and center mostly set with slight jiggle. Turn off oven and prop door open; leave cake inside for 1 hour.
- Remove cake from water bath and foil. Let cool to room temperature, then cover and refrigerate at least 3 hours or overnight until fully chilled.
- Before serving, run a butter knife around pan edges to loosen cake.
- Garnish with whipped cream and/or berries if desired.