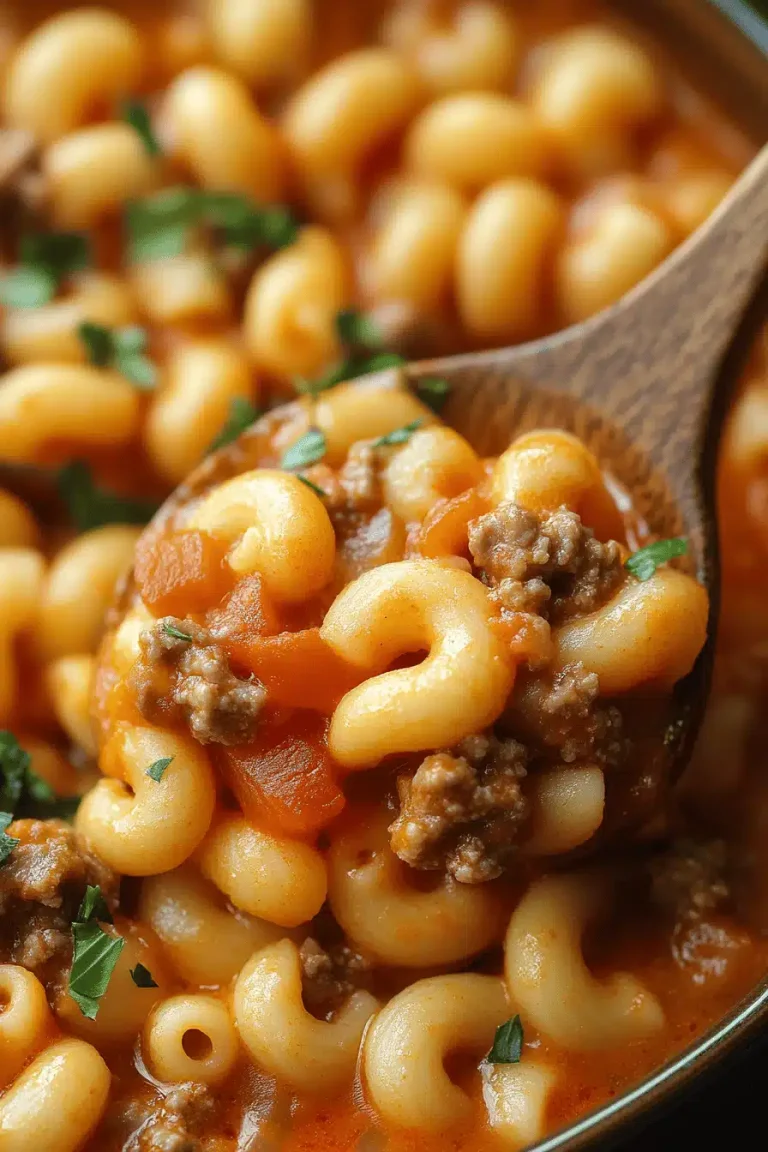
sweet sour chicken
Oh, you guys, I am SO excited to share this recipe with you today. Seriously, if there’s one dish that’s a permanent fixture on our family’s rotation, it’s this sweet sour chicken. It’s the kind of meal that just screams comfort, and it’s ridiculously good. You know those nights when you’re craving something with that perfect balance of tangy and sweet, maybe a little bit of savory goodness, but you *really* don’t want to pick up the phone for takeout? This is your answer. It tastes so much like the real deal you’d get from your favorite Chinese restaurant, but honestly, it’s even better because you know exactly what’s in it. Plus, the aroma that fills your kitchen while it’s cooking? Pure magic. My kids actually ask for this specific sweet sour Chicken Recipe at least once a week, and my husband practically inhales it. It’s that good.
What is sweet sour chicken?
So, what exactly *is* sweet Sour Chicken? At its heart, it’s a classic Cantonese-American dish where pieces of tender chicken are coated in a vibrant, glossy sauce that hits all the right notes: sweet, tangy, and a little savory. Think of it as the ultimate flavor explosion. The chicken is usually fried until crispy (though we’ll get to some tips on making it lighter if you prefer!) and then tossed in a sauce that’s a beautiful symphony of ingredients like vinegar, sugar, ketchup, and soy sauce, often with pineapple chunks or bell peppers adding pops of color and texture. It’s essentially a hug in a bowl, a globally loved dish that’s become a staple for good reason. It’s approachable, incredibly satisfying, and always a crowd-pleaser. My version aims to capture that beloved takeout flavor profile while being totally doable in a home kitchen, without any weird additives.
Why you’ll love this recipe?
There are so many reasons why this sweet sour Chicken Recipe has earned a permanent spot in my recipe binder, and I just know you’re going to feel the same way. First off, the FLAVOR. Oh my goodness, the flavor! It’s this incredible dance between tangy vinegar, sweet sugar, and savory soy sauce, all coming together in a sticky, glossy glaze that clings perfectly to every piece of chicken. It’s not just sweet; it’s got that zing that makes you want another bite immediately. Then there’s the SIMPLICITY. I know, I know, sometimes homemade versions of takeout favorites can feel intimidating, but this one? It’s surprisingly straightforward. You can have dinner on the table in under an hour, which is a lifesaver on those crazy weeknights when you’re juggling a million things. And let’s talk COST-EFFICIENCY. Using everyday pantry staples, you can create a meal that feels restaurant-worthy without the hefty price tag. It’s far more budget-friendly than ordering in. Plus, the VERSATILITY! While the classic pineapple and bell pepper combo is divine, you can totally switch things up. Add in some snap peas for crunch, or even swap the chicken for shrimp or tofu for a different take. It’s a dish that’s great served over fluffy white rice, but honestly, I’ve even caught myself eating the leftovers straight from the container. What I love most about this recipe, though, is the feeling it gives me. It’s the joy of recreating a beloved flavor at home, knowing I’m serving my family something delicious and made with love. It’s a taste of nostalgia and pure comfort.
How do I make sweet sour chicken?
Quick Overview
This sweet sour Chicken Recipe is all about building layers of flavor and texture. We’ll start by preparing the chicken, then whip up a bright, balanced sauce, and finally bring it all together in a glorious, glossy finish. The key is to have everything prepped and ready before you start cooking, because things move pretty quickly once the heat is on. Don’t worry, it’s way less complicated than it sounds, and the payoff is absolutely worth it. You’ll be amazed at how easily you can replicate that restaurant-quality sweet sour chicken right in your own kitchen!
Ingredients
For the Chicken:
1.5 lbs boneless, skinless chicken thighs or breasts, cut into bite-sized pieces (Thighs are my go-to for their tenderness and flavor, but breasts work too if you’re careful not to overcook them!)
1/4 cup cornstarch (This is crucial for getting that lovely crisp coating!)
1/2 teaspoon salt
1/4 teaspoon Black Pepper
2 tablespoons vegetable oil, plus more for frying
For the Sauce:
1/2 cup pineapple juice (from canned pineapple chunks is perfect!)
1/3 cup rice vinegar (Don’t skip this! It’s the magic ingredient for that tang)
1/4 cup ketchup
1/4 cup granulated sugar (Adjust to your sweetness preference)
2 tablespoons soy sauce (use tamari for gluten-free)
1 tablespoon cornstarch (to thicken everything up beautifully)
For the Stir-Fry:
1 tablespoon vegetable oil
1 small onion, cut into chunks
1 red bell pepper, cut into chunks
1 green bell pepper, cut into chunks
1 cup pineapple chunks (fresh or canned, drained)
Step-by-Step Instructions
Step 1: Preheat & Prep Pan
First things first, let’s get everything ready. Grab a large skillet or wok and place it over medium-high heat. If you’re pan-frying your chicken (which I often do for ease), add about 2 tablespoons of vegetable oil to the skillet and let it heat up. You want it hot but not smoking. If you’re deep-frying, you’ll want more oil in a separate pot.
Step 2: Mix Dry Ingredients
While your oil heats, take your chicken pieces and place them in a medium bowl. Sprinkle the 1/4 cup cornstarch, salt, and pepper over the chicken. Toss everything together really well, making sure each piece is evenly coated. This is what will give you that irresistible crispy exterior!
Step 3: Mix Wet Ingredients
In a separate small bowl or a liquid measuring cup, whisk together all the sauce ingredients: the pineapple juice, rice vinegar, ketchup, sugar, soy sauce, and the 1 tablespoon of cornstarch. Give it a really good stir to make sure the cornstarch is completely dissolved and there are no lumps. Set this aside for now.
Step 4: Combine
Now, carefully add the coated chicken pieces to the hot skillet in a single layer. You might need to do this in batches so you don’t overcrowd the pan, which can steam the chicken instead of crisping it. Cook for about 3-4 minutes per side, until golden brown and cooked through. Once done, remove the chicken from the skillet and set it aside on a plate lined with paper towels to drain any excess oil. If you deep-fried, do the same.
Step 5: Prepare Filling
In the same skillet (or a clean one if you used a lot of oil), add the remaining 1 tablespoon of vegetable oil. Add the chopped onion and bell peppers. Stir-fry for about 3-4 minutes until they are tender-crisp – you want them to still have a little bite! Then, toss in the pineapple chunks and stir for another minute.
Step 6: Layer & Swirl
Now for the magic! Give your sauce mixture a quick re-whisk (since the cornstarch can settle). Pour the sauce into the skillet with the vegetables and pineapple. Bring it to a simmer, stirring constantly. The sauce will start to thicken up beautifully within a minute or two. Once it’s thick and glossy, add the cooked chicken back into the skillet. Toss everything gently to coat the chicken and vegetables evenly in the glorious sweet sour sauce. Make sure every piece is glistening!
Step 7: Bake
Actually, this recipe is typically finished on the stovetop! So, skip the baking part for this particular dish. We’re going straight to serving!
Step 8: Cool & Glaze
No cooling needed before serving this dish! The “glaze” is our delicious sweet sour sauce that we’ve just tossed everything in. The key is to serve it immediately while the chicken is still a bit crispy and the sauce is hot and luscious.
Step 9: Slice & Serve
Serve your amazing sweet sour chicken immediately over a bed of fluffy steamed white rice. Garnish with some chopped green onions or sesame seeds if you’re feeling fancy. The contrast between the tender chicken, the crisp-tender veggies, and the perfectly coated sauce is just divine. Dig in and enjoy!
What to Serve It With
This sweet sour chicken is so versatile, it’s not just for dinner! For a hearty BREAKFAST, I sometimes make a smaller batch and serve it with scrambled eggs – sounds odd, but the flavors are surprisingly complementary. It’s a fun twist! For BRUNCH, imagine a beautifully plated dish with a side of steamed bok choy and a sprinkle of toasted sesame seeds; it feels elegant enough for guests. And AS DESSERT? Well, not really a dessert, but it’s so satisfying it feels like a treat! It’s perfect for those moments when you want something sweet and savory. For COZY SNACKS, leftovers are truly a dream. Just reheat gently and enjoy. My family loves it with plain steamed rice, of course, but it’s also fantastic with fried rice or even noodles. Sometimes, I’ll serve it with a side of simple steamed broccoli or asparagus to add a fresh, green element. One of my favorite traditions is making a big batch for movie nights; it’s way more fun and satisfying than popcorn!
Top Tips for Perfecting Your Sweet Sour Chicken
I’ve made this sweet sour chicken countless times, and over the years, I’ve picked up a few tricks that I think really elevate it. First, for the chicken prep: make sure you pat your chicken pieces *really* dry before coating them in cornstarch. Moisture is the enemy of crispiness! I learned that the hard way after a batch that was a little… soft. Also, don’t be shy with that cornstarch coating; it’s the key to getting that lovely, slightly chewy, slightly crisp texture that’s so characteristic. When it comes to mixing the sauce, always give it a good whisk right before adding it to the pan. That cornstarch can settle, and you want a smooth, even thickening. If your sauce isn’t thickening enough, just let it simmer a little longer, stirring gently. For the stir-fry part, don’t overcook your veggies! You want them to still have a nice crunch – that contrast with the tender chicken and the sticky sauce is essential. If you’re using canned pineapple, try to use the juice from the can in your sauce; it adds an extra layer of authentic flavor. My kids always go crazy for that hint of pineapple. Now, for ingredient swaps, if you don’t have rice vinegar, apple cider vinegar can work in a pinch, though the flavor profile will be slightly different. And for a touch of heat, a pinch of red pepper flakes in the sauce or a dash of sriracha is always a welcome addition in our house. Remember, the goal is deliciousness, so don’t be afraid to play around a bit!
Storing and Reheating Tips
The best part about this sweet sour chicken is that it holds up incredibly well, even as leftovers. For storing at room temperature, honestly, it’s best to serve it immediately. But if you have some very quickly, say within an hour or two, it’s usually fine. For refrigerator storage, let the chicken cool down completely before transferring it to an airtight container. It’ll stay delicious for about 3-4 days. I always find that the flavors actually meld and get even better the next day! When it comes to reheating, my preferred method is on the stovetop in a skillet over medium-low heat. You can add a tiny splash of water or chicken broth if it seems a bit dry, and stir gently until it’s warmed through. This helps maintain some of that original texture. Microwaving works too, but it can sometimes make the chicken a little softer. If you’re freezing this sweet sour chicken, wrap individual portions tightly in plastic wrap, then in foil, and store them in a freezer-safe bag for up to 2 months. Thaw overnight in the refrigerator before reheating on the stovetop. For the glaze timing advice, it’s best to have the sauce already coating the chicken when you store it, whether in the fridge or freezer, rather than trying to add it later.
Frequently Asked Questions
Final Thoughts
So there you have it, my friends! My absolute favorite way to make sweet sour chicken at home. It’s a recipe that brings so much joy to our table, and I truly hope it does the same for yours. It’s proof that you don’t need to spend a fortune or wait for a special occasion to enjoy incredibly delicious, restaurant-quality food. The balance of sweet, sour, and savory is just spot-on, and the texture of that crispy chicken tossed in the glossy sauce is pure bliss. If you love this recipe, you might also enjoy my recipe for Orange Chicken or my Honey Garlic Shrimp – they hit a similar flavor profile and are just as easy to make! I can’t wait to hear how yours turns out, so please, please leave a comment below and tell me all about it. Did your family love it? Did you add any special twists? I’d also love to see your photos if you share them on social media and tag me! Happy cooking, and enjoy every single bite!

Easy Sweet Sour Chicken in Minutes
Ingredients
Main Ingredients
- 1.25 pounds Boneless skinless chicken breasts, cut into 1-inch pieces
- 3 tablespoons Cornstarch
- 0.75 cup Granulated sugar
- 0.5 cup Apple cider vinegar
- 0.25 cup Ketchup
- 2 tablespoons Low-sodium soy sauce
- 1 tablespoon Sesame oil
- 1 tablespoon Light brown sugar, packed
- 3 cloves Garlic, pressed or finely minced
- 2 tablespoons Cold water
- 1 tablespoon Cornstarch
- 3 to 4 tablespoons Olive oil (plus more if necessary)
- Salt and pepper (to taste)
- 2 Green onions, sliced into thin rounds (optional) for garnishing
- 1 tablespoon Sesame seeds (optional) for garnishing
Instructions
Make the Sauce
- To a medium saucepan, add all ingredients except water and cornstarch, whisk to combine, and bring to a boil over medium-high heat.
- To a small bowl, add the water, cornstarch, and stir to combine.
- Add the water and cornstarch mixture to saucepan, reduce heat to low, and allow sauce to simmer for about 5 minutes while you make the chicken; whisk intermittently.
Make the Chicken
- To a large ziptop bag, add the chicken, cornstarch, salt and pepper to taste, seal, and shake to coat chicken evenly.
- To a large skillet, add 3 to 4 tablespoons olive oil, chicken, and cook over medium-high heat for about 5 to 7 minutes, or until chicken has cooked through. Stir and flip intermittently to ensure even cooking. If skillet seems dry while cooking, add an additional tablespoon or two of oil as necessary.
- After chicken has cooked though, reduce heat to low, add the sauce, stir to coat evenly, and allow it to simmer for a minute or two.
- Optionally garnish with green onions, sesame seeds, and serve immediately.