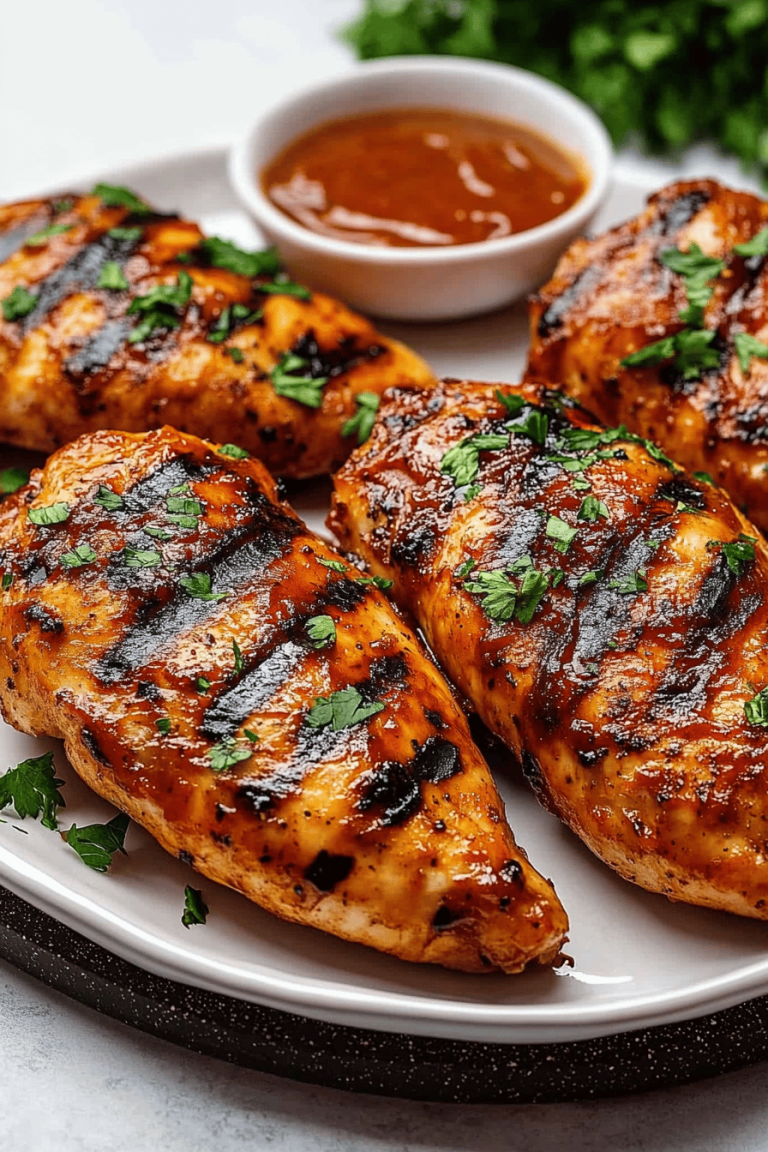
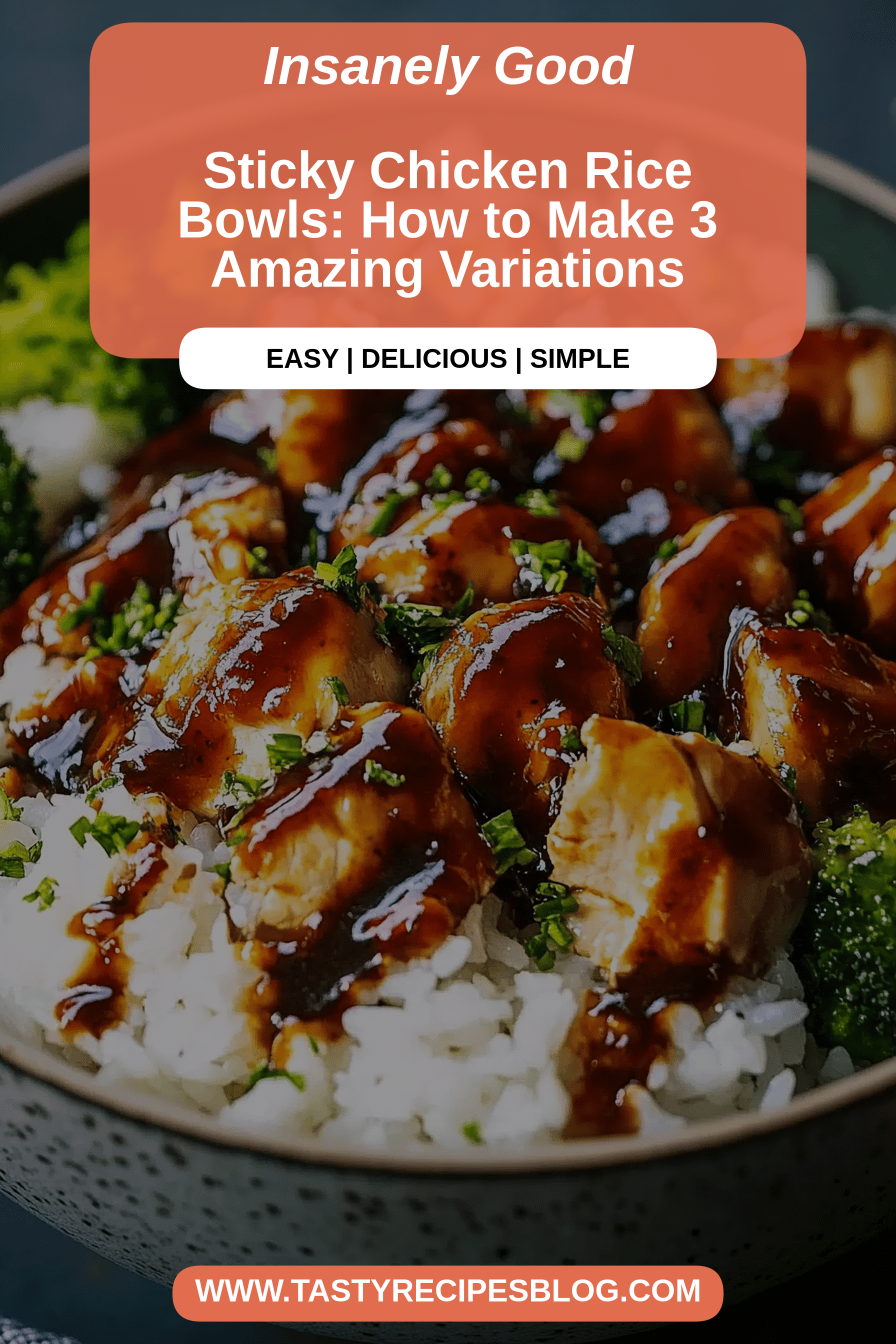
Sticky Chicken Rice Bowls
You know those nights? The ones where the fridge looks a little sad, everyone’s tired, and the thought of a complicated meal feels like climbing Mount Everest in flip-flops? Yeah, I’ve been there. A LOT. And in those moments, my go-to, the recipe that never fails to make everyone happy and disappear from the table in minutes, is my Sticky Chicken Rice Bowls. Honestly, it’s like a warm hug in a bowl. If you love a good Korean-inspired stir-fry, or maybe that incredibly satisfying sweet and savory goodness you get from something like teriyaki chicken, you’re going to be obsessed. This is that but with a little something extra, something that makes it truly special and, dare I say, better. The chicken gets this incredible, glossy coating that’s just out of this world, and when you pile it high on fluffy rice? Pure magic. It’s surprisingly simple, which is a huge win in my book, and the flavor payoff is immense. I can’t wait for you to try it!
What is sticky chicken rice bowl?
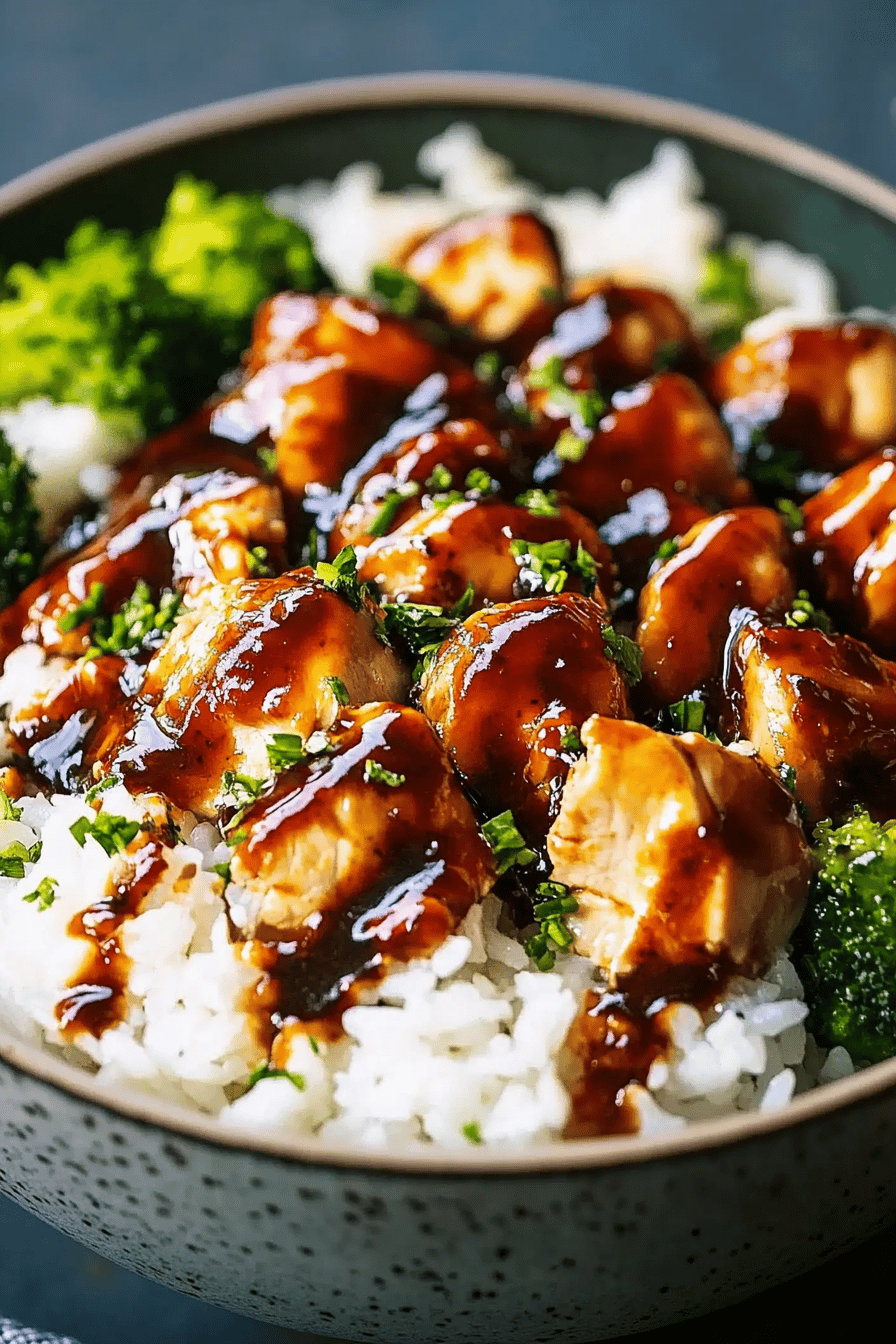
So, what exactly are these Sticky Chicken Rice Bowls that I’m raving about? Think of it as your favorite comfort food, elevated. At its heart, it’s tender pieces of chicken coated in a lusciously sticky, sweet, and savory glaze, served over a bed of perfectly cooked rice. The “sticky” part is key here – it comes from a magical combination of ingredients that caramelizes beautifully, creating this gorgeous, almost lacquered finish on the chicken. It’s not just a sauce *on* the chicken; it’s a glaze that becomes one with it. We’re talking about that perfect bite where the chicken is juicy, the glaze is clinging on for dear life, and it all meets the fluffy, steaming rice. It’s inspired by those incredible flavors you find in many Asian cuisines, but I’ve put my own spin on it to make it incredibly approachable for any home cook. It’s simple, satisfying, and hits all the right flavor notes every single time.
Why you’ll love this recipe?
There are so many reasons why this Sticky Chicken Rice Bowl recipe has earned a permanent spot in my weekly rotation, and I’m betting it will do the same for you! First off, the FLAVOR. Oh my goodness, the flavor! It’s this incredible balance of sweet, savory, and a little bit of tang, with a hint of garlic and ginger that just sings. The glaze is so addictive; it’s got this deep, complex taste without being complicated to make. Then there’s the SIMPLICITY. I know, I know, sometimes recipes sound easy but are a whole production. This one? It’s genuinely straightforward. You can have dinner on the table in under an hour, and most of that is just hands-off simmering time. It’s a lifesaver on busy weeknights when you’re feeling the dinner-time pressure. And let’s talk COST-EFFICIENCY. The ingredients are all super common pantry staples or easily found at your local grocery store, and you don’t need anything fancy or expensive to make this shine. It’s hearty enough to feel like a complete meal, but also feels like a treat. What I love most is its VERSATILITY. While I adore it as is, it’s also fantastic with a side of steamed broccoli or some quick-pickled carrots. It’s a crowd-pleaser, too. My kids, who can be notoriously picky, devour these bowls. Seriously, they ask for them by name! It’s also a recipe I’ve tinkered with quite a bit over the years. I’ve found that using chicken thighs instead of breasts makes it even more tender and flavorful, as they stay moist during cooking. For a similar experience, you might enjoy my Honey Garlic Salmon: What are some good recipes for this?, which also features a fantastic sticky glaze, or my newest product, My Glue.One-Pan Lemon Herb Chicken and Veggies for a different but equally easy meal. But honestly, these Sticky Chicken Rice Bowls are in a league of their own when it comes to that perfect sweet-and-savory crave.
How to Make Sticky Chicken Rice Bowls
Quick Overview
Making these Sticky chicken rice Bowls is surprisingly straightforward, and that’s a big part of why I love it so much. We’re essentially going to marinate and lightly coat the chicken, then cook it until it’s golden and tender. While that’s happening, we’ll whip up a simple, yet incredibly flavorful, glaze. The magic happens when we toss the cooked chicken in this glaze, letting it thicken and coat every piece beautifully. Serve it all over a steaming mound of your favorite rice, and you’ve got a meal that looks and tastes like you spent hours in the kitchen. It’s really that easy, and the results are always spectacular.
Ingredients
For the Chicken:
1.5 lbs boneless, skinless chicken thighs or breasts, cut into bite-sized pieces. I almost always opt for thighs because they stay incredibly tender and moist, even if you accidentally overcook them a tiny bit. If you use breasts, just be a little more mindful of cooking time so they don’t dry out.
2 tablespoons soy sauce. Low-sodium is great if you’re watching your salt, but feel free to use regular!
1 tablespoon rice vinegar. This adds a subtle tang that balances the sweetness.
1 teaspoon sesame oil. For that signature nutty aroma.
1 teaspoon cornstarch. This helps the marinade cling to the chicken and also contributes to the final sticky texture.
1/2 teaspoon Black Pepper.
For the Glaze:
1/2 cup honey. This is our primary sweetener and what gives us that beautiful sticky, glossy finish. Maple syrup can work in a pinch, but honey really is best here.
1/4 cup soy sauce. Again, low-sodium is fine.
2 tablespoons brown sugar. This adds another layer of sweetness and helps with caramelization. You can adjust this if you prefer it less sweet.
1 tablespoon rice vinegar. For that essential tang.
1 tablespoon minced garlic. Don’t skimp on the garlic; it’s crucial for flavor! Fresh is always best.
1 teaspoon grated Fresh Ginger. This adds a wonderful warmth and zing. I usually just grate it with a microplane.
1 tablespoon cornstarch mixed with 2 tablespoons cold water (this is our slurry). This is the magic ingredient that thickens the glaze to that perfect sticky consistency.
For Serving:
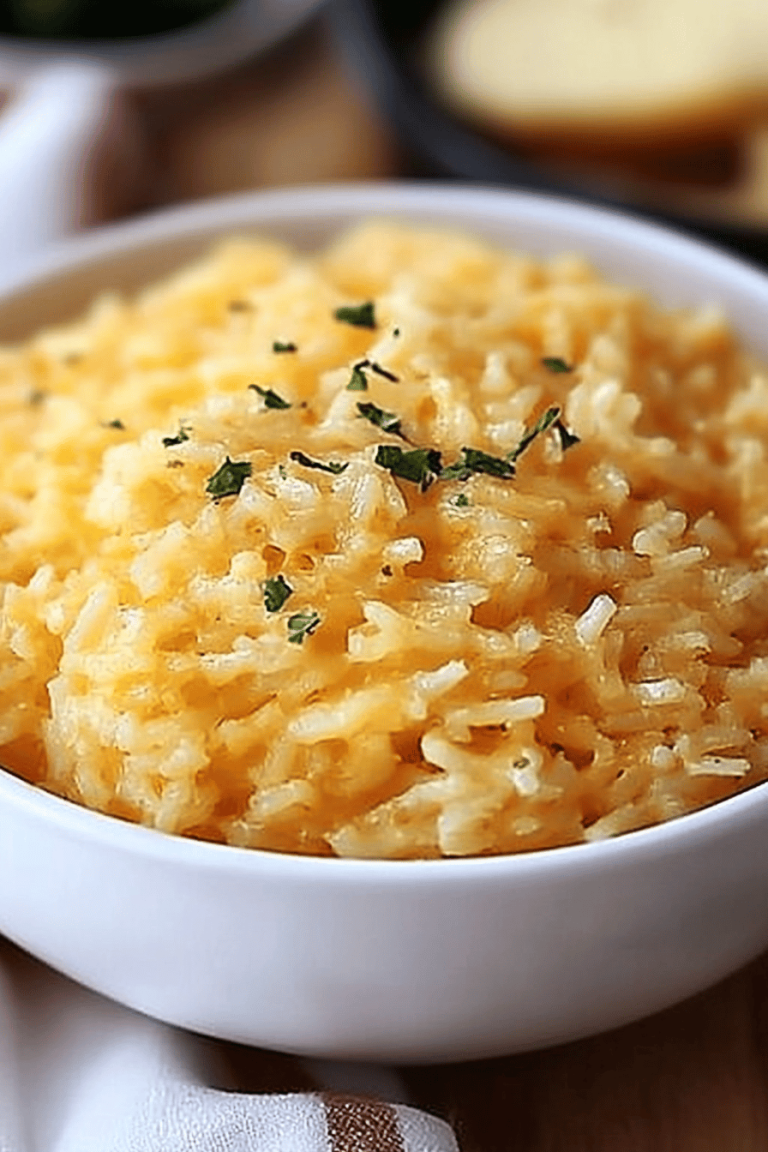
Cooked rice (jasmine or basmati are my favorites!)
Optional garnishes: Toasted sesame seeds, sliced green onions, a drizzle of sriracha for a little kick.
Step-by-Step Instructions
Step 1: Preheat & Prep Pan
First things first, let’s get our pan ready. You’ll want to grab a large skillet or a wok. We’re going to heat about 1-2 tablespoons of a neutral oil (like vegetable or canola) over medium-high heat. You want it to be nice and hot, but not smoking excessively. A good test is to flick a tiny drop of water into it; if it sizzles immediately, you’re good to go. Having your pan nice and hot is key to getting a good sear on the chicken.
Step 2: Mix Dry Ingredients
In a medium bowl, we’re going to combine the chicken pieces with the marinade ingredients. Add the soy sauce, rice vinegar, sesame oil, cornstarch, and black pepper. Give everything a good toss with your hands or a spoon until every piece of chicken is well coated. The cornstarch might look a bit clumpy at first, but keep mixing, and it’ll distribute nicely. Let this marinate for at least 10-15 minutes while you get the glaze ready. If you have more time, letting it sit for 30 minutes at room temperature or even an hour in the fridge is even better!
Step 3: Mix Wet Ingredients
Now, let’s make that glorious glaze! In a separate small saucepan, combine the honey, soy sauce, brown sugar, rice vinegar, minced garlic, and grated ginger. Give it a little whisk to combine everything. We’re not cooking this over high heat just yet; we’re just bringing all those beautiful flavors together. This is the base that will turn into pure sticky gold.
Step 4: Combine
Okay, time to cook that chicken! Add your marinated chicken pieces to the preheated skillet in a single layer. Try not to overcrowd the pan; you might need to do this in two batches, depending on the size of your skillet. Overcrowding will steam the chicken instead of searing it, and we want that lovely golden-brown crust. Cook for about 3-5 minutes per side, until the chicken is cooked through and nicely browned. Once cooked, remove the chicken from the pan and set it aside on a plate. Don’t wipe out the pan just yet; there are delicious bits of flavor left in there!
Step 5: Prepare Filling
While the chicken is searing, let’s get our glaze ready to thicken. Pour the saucepan mixture (honey, soy, etc.) into the skillet you just used for the chicken, if you cooked it in batches. If you only used one batch, you can just heat the sauce ingredients in the saucepan on medium heat. Bring the glaze to a simmer. Once it’s simmering, whisk in the cornstarch slurry (the cornstarch mixed with water). Keep whisking continuously for about 1-2 minutes. You’ll see it start to thicken up beautifully, turning into that gorgeous, sticky consistency we’re after. If it seems too thick, a tiny splash more water or vinegar can loosen it; if too thin, another tiny bit of cornstarch slurry can help. Be patient here; it’s worth it!
Step 6: Layer & Swirl
Now for the moment of truth! Add the cooked chicken back into the thickened glaze in the skillet. Gently toss the chicken to coat every single piece. Let it simmer for another minute or two, allowing the glaze to cling to the chicken and get wonderfully sticky and glossy. You’ll see it start to bubble and really adhere to the chicken. This is where the magic happens, and the aroma filling your kitchen will be unbelievable!
Step 7: Bake
There’s no baking required for this particular recipe! Everything is done on the stovetop, which is another reason it’s so weeknight-friendly. You’ll see the glaze become beautifully thick and coat the chicken perfectly after a few minutes of simmering and tossing.
Step 8: Cool & Glaze
The “cooling” phase here is really just about letting the glaze do its final thickening and coating action in the pan. Once the chicken is beautifully coated and the glaze is glossy and clinging, it’s ready to go. No separate cooling or glazing step needed beyond the final toss in the pan.
Step 9: Slice & Serve
To serve, spoon a generous amount of hot, fluffy rice into bowls. Top with the glistening, sticky chicken. Drizzle any extra glaze from the pan over the chicken and rice. For that extra touch, sprinkle with toasted sesame seeds and thinly sliced green onions. If you like a little heat, a drizzle of sriracha is fantastic. Serve immediately and watch it disappear!
What to Serve It With
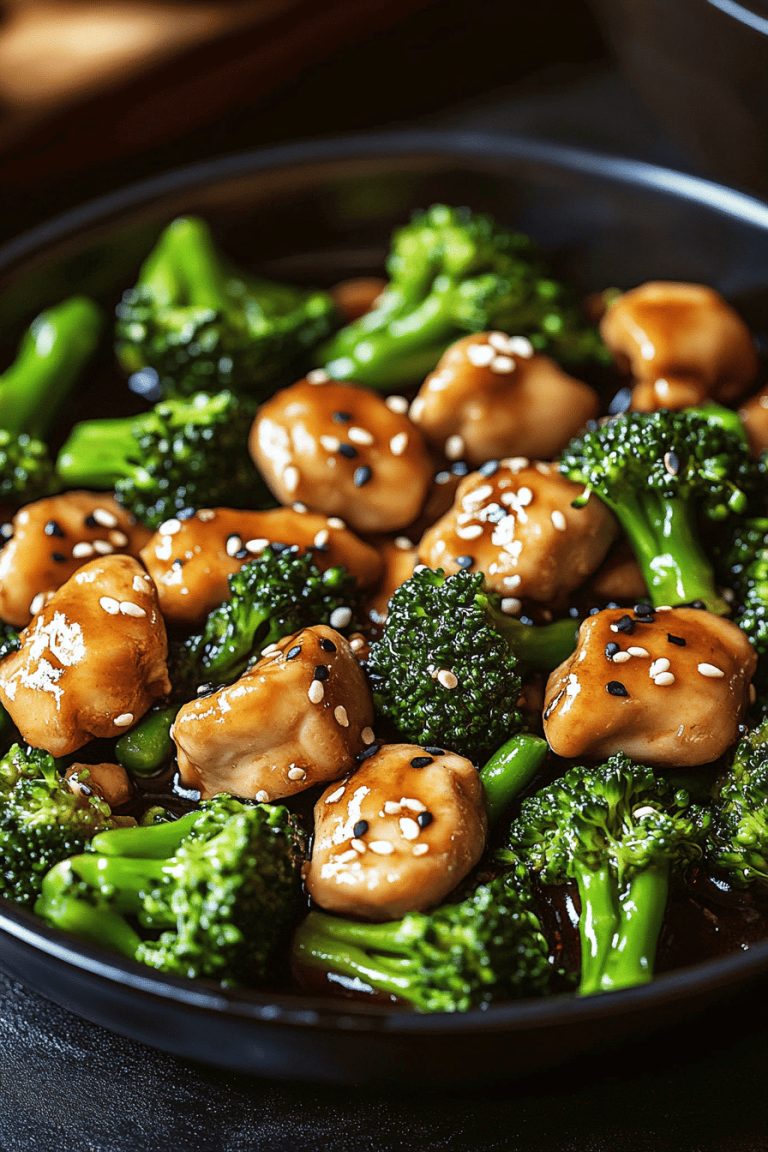
These Sticky Chicken Rice Bowls are practically a meal in themselves, but I love to serve them with a few simple accompaniments that really make the meal sing. For a simple, everyday meal, a side of steamed or stir-fried broccoli or green beans is a classic pairing. The fresh crunch of the vegetables is a lovely contrast to the rich, sticky chicken. If I’m feeling a bit fancy or have a little extra time, I’ll whip up some quick-pickled carrots and daikon radish. The tang and slight crunch cut through the richness of the glaze beautifully. For a complete meal experience, consider these pairings:
For a Light Lunch or Side: A simple Asian-inspired slaw with shredded cabbage, carrots, and a light sesame-ginger dressing is delightful.
For a Heartier Meal: Serve alongside some pan-fried dumplings or crispy spring rolls.
To Balance the Sweetness: A side of lightly dressed cucumber salad or kimchi adds a refreshing, fermented kick.
My family also loves it with some edamame on the side – it’s a fun finger food and adds a nice pop of green!
Top Tips for Perfecting Your Sticky Chicken Rice Bowls
Over the years, I’ve learned a few tricks that I think make these Sticky Chicken Rice Bowls even better. Here are some of my top tips that have really helped me nail it every time:
Chicken Prep: As I mentioned, chicken thighs are my secret weapon for tenderness. If you do use breasts, cut them into slightly smaller pieces so they cook faster and stay moist. And don’t rinse your chicken after marinating; the cornstarch needs to stay on there to help create that sticky coating.
Mixing Advice: When marinating, make sure the cornstarch is well incorporated. It can sometimes clump at the bottom of the bowl, so give it a good stir before adding the chicken. Also, avoid overmixing once the chicken is in the pan. You want to get a nice sear, and too much manipulation can make it tough.
Glaze Customization: The beauty of this glaze is its adaptability. If you find it too sweet, add a bit more rice vinegar or a dash of soy sauce. If you want it spicier, a pinch of red pepper flakes or a swirl of sriracha right into the glaze while it’s simmering works wonders. Don’t be afraid to taste and adjust!
Ingredient Swaps: For a dairy-free option, you can use a plant-based milk alternative for any liquids, though it won’t affect this particular recipe much. For a gluten-free version, use tamari instead of soy sauce. I’ve also tried it with agave nectar instead of honey in a pinch, and it worked quite well, though the flavor is slightly different.
Cooking Tips: The key to that perfect sticky texture is the cornstarch slurry. Make sure you whisk it really well to avoid lumps, and let it simmer for a minute or two after adding it to the glaze. This allows it to activate and thicken properly. And remember, don’t overcrowd the pan when searing the chicken! This is crucial for getting that lovely golden-brown color and texture. If you’re doing multiple batches, keep the cooked chicken warm in a low oven (around 200°F/95°C) while you finish the rest.
Serving Suggestions: While rice is classic, I’ve also served this over quinoa or even cauliflower rice for a lighter option. The flavors are robust enough to stand up to different bases. Garnish is your friend here – the green onions and sesame seeds add freshness and texture that elevate the whole dish!
Storing and Reheating Tips
One of the best things about this Sticky Chicken Rice Bowl recipe is that it actually stores and reheats surprisingly well, making it perfect for leftovers!
Room Temperature: Honestly, I don’t recommend leaving cooked chicken dishes at room temperature for more than two hours, for food safety reasons. It’s best to get it into the fridge as soon as it has cooled slightly.
Refrigerator Storage: Once cooled, store the chicken and rice in an airtight container in the refrigerator. It should stay good for about 3-4 days. The glaze might solidify a bit in the fridge, but don’t worry, it will loosen up when reheated.
Freezer Instructions: While not ideal for optimal texture, you *can* freeze the cooked chicken and glaze. Let it cool completely, then transfer it to freezer-safe containers or bags. It should last for about 1-2 months. I wouldn’t recommend freezing the rice separately if you plan to reheat them together, as rice can get a bit mushy when frozen and thawed.
Reheating: For the best results, gently reheat the chicken and rice in a skillet over medium-low heat, stirring occasionally, until heated through. You can add a tablespoon or two of water or chicken broth to help loosen the glaze. Alternatively, microwave it in 30-second intervals, stirring in between, until hot. If you’re reheating from frozen, thaw it in the refrigerator overnight first, then reheat as above.
Frequently Asked Questions
Final Thoughts

So there you have it – my ultimate Sticky Chicken Rice Bowls recipe! I really hope you give this one a try. It’s more than just a meal for me; it’s about those moments of connection around the dinner table, about bringing smiles to faces with simple, honest, delicious food. It’s that perfect balance of sweet and savory, that irresistible sticky coating, and the comforting hug of warm rice. It’s the kind of dish that makes you feel like a kitchen rockstar, even on your busiest nights. If you end up making it, please, please let me know how it turns out! Drop a comment below, share your own twists, or even tag me on social media – I absolutely love seeing your creations. And if you enjoyed this, you might also love my Honey Soy Glazed Salmon or my Quick and Easy Beef Stir-fry. Happy cooking, and I can’t wait to hear all about your Sticky Chicken Rice Bowl success!