Spinach Balls Recipe
Oh, where do I even begin with these Spinach Balls? They’re more than just a recipe to me; they’re pure comfort, a little bite of happiness that always manages to brighten my day. I remember the first time I made them, it was a chaotic Saturday afternoon, the kind where the laundry pile is threatening to take over and the kids are buzzing with an energy only a sugar rush can provide. I needed something that felt a bit special but wouldn’t tie me to the kitchen for hours. My mom had scribbled down this recipe for “Spinach Balls” years ago, and I’d tucked it away, half-forgetting about it. Digging it out felt like finding a hidden treasure. The aroma that filled my kitchen as they baked… it was something else. Warm, slightly sweet, with that subtle earthiness from the spinach. My youngest, who usually turns his nose up at anything remotely green, took one bite and his eyes widened. “Mom, these are amazing!” he declared. That, my friends, is the highest praise in my household. These aren’t your average, ho-hum appetizer; they’re moist, incredibly flavorful, and surprisingly satisfying. Think of them as a delightful little cakey surprise that just happens to have spinach in it, making them a win-win for everyone.
What is the recipe for Spinach Balls?
So, what exactly are these magical little spheres of joy? At its heart, this spinach Balls Recipe is a wonderfully moist, slightly sweet baked treat. The name might make you think of savory appetizers, and while they certainly work as one, these are truly in their own league when it comes to a delightful snack or even a light dessert. They’re essentially like a very tender, lightly spiced muffin or a mini cake, baked in a way that makes them incredibly easy to handle and devour. The “spinach” part comes from a finely grated zucchini, which might sound a little unusual, but trust me, it’s the secret weapon! It adds incredible moisture and a subtle health boost without any overpowering vegetable flavor. The “balls” aspect is just a fun way to describe their shape and how you might pop them into your mouth, one after another. It’s a simple concept, really, but the execution is where the magic happens, resulting in these perfectly tender, flavorful bites that are just begging to be enjoyed.
Why you’ll love this recipe?
Honestly, there are so many reasons why this spinach balls recipe has become a staple in my kitchen, and I just know you’re going to fall in love with it too! First off, the **flavor** is just out of this world. It’s this perfect balance of subtle sweetness from the sugar and a hint of warm spice from cinnamon and nutmeg. The zucchini, as I mentioned, contributes this amazing moistness that you just don’t get in most baked goods. It’s not overtly “spinachy” at all; it just makes them incredibly tender. Then there’s the **simplicity**. This recipe is a lifesaver on busy weeknights or when unexpected guests pop over. You probably have most of the ingredients in your pantry right now. The steps are straightforward, and you don’t need any fancy equipment. What I also love is how **cost-effective** it is. Zucchini is usually pretty affordable, and the other ingredients are common pantry staples. It’s a way to make something that feels decadent without breaking the bank. And talk about **versatility**! These are fantastic straight out of the oven, but they’re also brilliant for breakfast on the go, as a mid-afternoon pick-me-up with a cup of tea, or even as a light dessert. They remind me a little of my grandmother’s zucchini bread, but in a more portable, fun format. If you’re also a fan of my classic Chocolate Chip Muffins: What are some of the best chocolate chip muffins?What are some of the best comfort food recipes?
How to Make This Spinach Balls Recipe
Quick Overview
This spinach balls recipe is all about simple steps that yield maximum flavor and moisture. You’ll whisk together your dry ingredients, then your wet ingredients, combine them gently, and fold in the grated zucchini. That’s pretty much it for the batter! While the batter rests for a few minutes, you’ll whip up a quick, luscious glaze. Then, it’s just a matter of spooning the batter into muffin tins (or a prepared loaf pan if you prefer!) and baking until golden. The whole process from start to finish takes less than an hour, and the result is a batch of warm, comforting spinach balls that will disappear in minutes. It’s the kind of recipe that makes your kitchen smell amazing and your family incredibly happy.
Ingredients
For the Main Batter:
2 cups all-purpose flour: I always use unbleached flour for the best texture.
1 ½ teaspoons baking soda: Make sure it’s fresh! Old baking soda is the culprit behind flat baked goods.
½ teaspoon salt: Just a little to balance the sweetness.
1 teaspoon ground cinnamon: This brings such a warm, cozy flavor.
¼ teaspoon ground nutmeg: My secret ingredient; it really elevates the cinnamon.
2 cups granulated sugar: You can try reducing this slightly, but it helps with the tender texture.
2 large eggs: At room temperature if you can; it helps them incorporate better.
1 cup vegetable oil: Or any neutral-flavored oil like canola or grapeseed. This is key for moisture!
¼ cup milk: Whole milk or even buttermilk works beautifully here. I’ve even tested this with almond milk and it actually made it even creamier!
1 teaspoon vanilla extract: Good quality vanilla makes a difference.
For the Filling:
2 cups finely grated zucchini: About 2 medium zucchini. Squeeze out as much excess moisture as you can! This is super important.
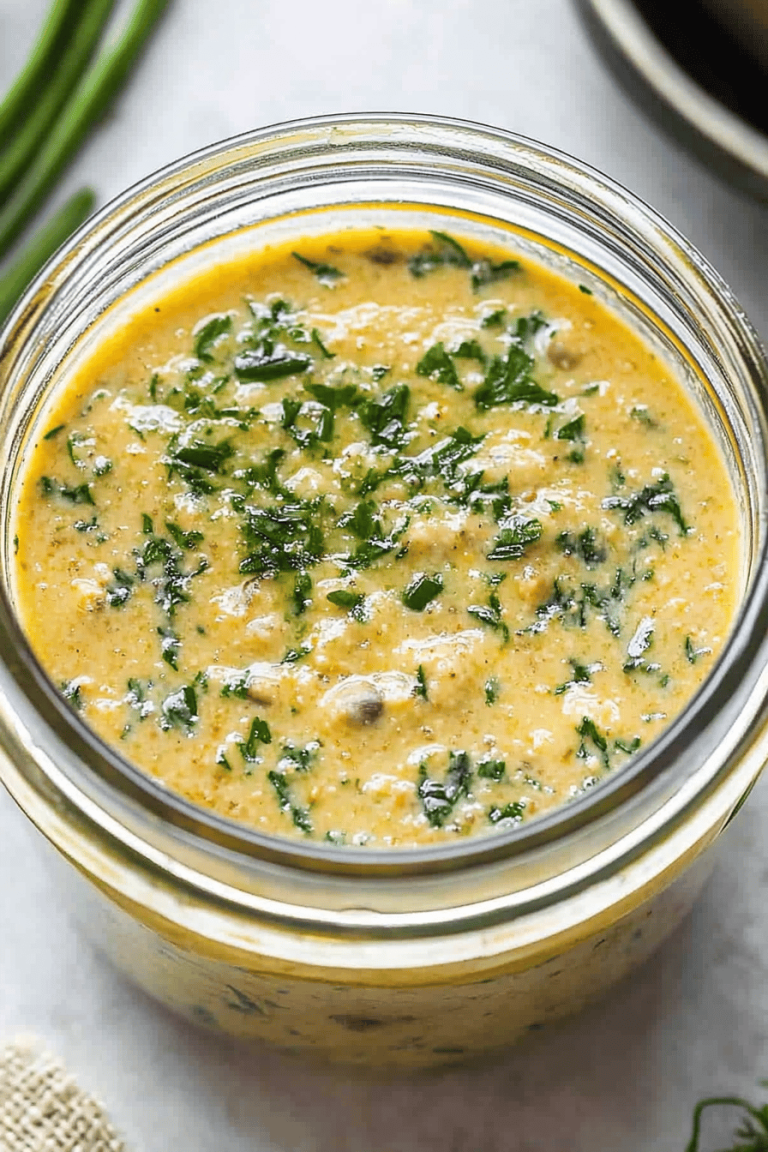
For the Glaze:
1 cup powdered sugar: Sifted for a smooth glaze.
2-3 tablespoons milk: Add just enough to reach your desired drizzling consistency.
½ teaspoon vanilla extract: For extra flavor.
Step-by-Step Instructions
Step 1: Preheat & Prep Pan
Start by preheating your oven to 350°F (175°C). I like to prepare my muffin tins by either greasing them really well with butter or non-stick spray, or better yet, lining them with paper liners. This ensures your beautiful spinach balls don’t stick. If you’re making a loaf, grease and flour a 9×5 inch loaf pan.
Step 2: Mix Dry Ingredients
In a large bowl, whisk together the flour, baking soda, salt, cinnamon, and nutmeg. Give it a good whisk to make sure everything is evenly distributed. You want those spices to be in every bite, not clumped up in one corner!
Step 3: Mix Wet Ingredients
In a separate medium bowl, whisk together the granulated sugar, eggs, vegetable oil, milk, and vanilla extract until well combined and smooth. This mixture will look a little glossy.
Step 4: Combine
Pour the wet ingredients into the bowl with the dry ingredients. Now, this is important: mix just until combined. A few little streaks of flour are okay! Overmixing develops the gluten too much and can make your spinach balls tough. We want them tender and delicate, remember?
Step 5: Prepare Filling
Grate your zucchini using a box grater or a food processor. Once grated, place it in a clean kitchen towel or cheesecloth and squeeze out as much liquid as possible. This is a crucial step! Excess moisture can make your baked goods soggy. Once squeezed, gently fold the grated zucchini into the batter. Don’t overmix; just get it distributed.
Step 6: Layer & Swirl
Spoon the batter evenly into your prepared muffin cups, filling each about two-thirds full. If you’re making a loaf, pour the batter into the prepared loaf pan and smooth the top.
Step 7: Bake
Bake for 20-25 minutes for muffins, or 50-60 minutes for a loaf. You’ll know they’re done when a wooden skewer or toothpick inserted into the center comes out clean, and the tops are golden brown and slightly springy to the touch. Keep an eye on them, as oven temperatures can vary!
Step 8: Cool & Glaze
Let the spinach balls cool in the muffin tin for about 10 minutes before transferring them to a wire rack to cool completely. While they’re cooling, whisk together the powdered sugar, 2 tablespoons of milk, and vanilla extract in a small bowl. Add more milk, a teaspoon at a time, until you reach a nice drizzling consistency. Drizzle the glaze over the cooled spinach balls.
Step 9: Slice & Serve
Once the glaze has set slightly, your delicious spinach balls are ready to be enjoyed! If you made a loaf, let it cool completely before slicing. These are best served at room temperature, but a slight warmth is lovely too. Enjoy the pure goodness!
What to Serve It With
These delightful spinach balls are so versatile, you can really enjoy them in so many ways! For a lovely **breakfast**, I love having them alongside a hot cup of coffee. They’re so much more satisfying than a plain muffin, and they pair beautifully with the rich coffee flavor. For **brunch**, they really shine. I’ll often arrange them on a beautiful platter with some Fresh Berries and a dollop of whipped cream. They add a touch of elegance to any brunch spread, and people are always surprised and delighted by them. They can even stand in as a light **dessert**! Imagine serving them warm with a scoop of vanilla bean ice cream or a drizzle of caramel sauce. It’s a comforting and not-too-heavy way to end a meal. And for those moments when you just need a **cozy snack**, these are perfection. Grab one (or two!) with a glass of milk or a cup of herbal tea while you curl up with a good book. My family also loves them as a “take-along” treat for picnics or road trips. They’re just the perfect handheld delight, always bringing smiles wherever they go.
Top Tips for Perfecting Your Spinach Balls Recipe
Over the years, I’ve learned a few tricks that make these spinach balls absolutely spectacular every single time. First, **zucchini prep** is crucial. Make sure you’re grating it finely and squeezing out as much moisture as humanly possible. Seriously, I wrap it in a clean kitchen towel and give it a good wring. This step prevents a soggy outcome and ensures a perfectly tender crumb. When it comes to **mixing advice**, remember my mantra: do NOT overmix the batter once you combine the wet and dry ingredients. A few streaks of flour are a good thing! Overmixing develops the gluten, leading to tough, dense spinach balls. Gently folding the zucchini in is also key – you want to incorporate it without aggressively stirring.
For **swirl customization**, while this recipe doesn’t have a traditional swirl like a Cinnamon Roll, the zucchini itself creates beautiful little pockets of moisture and texture. If you’re feeling adventurous, you could try folding in a few chocolate chips or a tablespoon of finely chopped nuts into the batter just before adding the zucchini for extra texture and flavor bursts. Regarding **ingredient swaps**, I’ve found that using whole wheat pastry flour can work if you want to lighten things up a bit, but you might need a touch more liquid. For the oil, melted butter is a decadent alternative, though it can make them slightly less moist. When it comes to **baking tips**, always trust the toothpick test, but also get to know your oven. If your oven runs hot, you might need to reduce the temperature slightly or shorten the baking time. Positioning the muffin tin in the center of the oven helps ensure even baking. And for **glaze variations**, don’t feel tied to the vanilla glaze. A simple lemon glaze made with lemon juice instead of milk adds a lovely bright contrast, or you could even try a maple glaze for a different kind of sweetness. Experiment and have fun with it!
Storing and Reheating Tips
One of the best things about these spinach balls is how well they store, making them perfect for meal prep or enjoying leftovers. For **room temperature storage**, I usually keep them in an airtight container for up to two days. They stay surprisingly moist and delicious! If you plan on keeping them longer, definitely move them to the **refrigerator**. Stored in an airtight container in the fridge, they’ll stay fresh and tasty for about 4-5 days. I often find myself reaching for one in the afternoon, and they’re still just as good as when they were freshly baked. For longer storage, **freezer instructions** are your best friend. Wrap individual spinach balls tightly in plastic wrap, then place them in a freezer-safe bag or container. They can be frozen for up to 2-3 months. To thaw, simply remove them from the freezer and let them come to room temperature, or gently reheat them. For **glaze timing advice**, I always recommend glazing them *after* they have cooled completely and *before* you store them, especially if you’re eating them within a day or two. If you are freezing them, it’s often best to freeze them plain and then glaze them once they’ve thawed and are ready to be eaten. This prevents the glaze from becoming sticky or weird in the freezer.
Frequently Asked Questions
Final Thoughts
I truly hope you give this spinach balls recipe a try! It’s one of those recipes that has earned a permanent spot in my recipe box, and I know it will become a favorite in your home too. It’s just so reliably delicious, incredibly moist, and surprisingly easy to make. Whether you’re looking for a new breakfast treat, a crowd-pleasing snack, or something a little bit special to enjoy with your afternoon tea, these spinach balls are the answer. They have a way of making any day feel a bit brighter. If you enjoy this recipe, you might also love my Moist Banana Bread – it shares that same commitment to incredible texture and comforting flavors. I can’t wait to hear what you think! Please leave a comment below with your thoughts, ratings, or any delicious variations you discover. Happy baking!
Spinach Balls Recipe
Ingredients
Main Ingredients
- 0.45 kilograms frozen spinach thawed and squeezed dry
- 0.25 cup onion finely chopped
- 0.5 cup Parmesan cheese grated
- 1 cup bread crumbs plain
- 2 large eggs
- 0.5 teaspoon garlic powder
- 0.25 teaspoon black pepper
Instructions
Preparation Steps
- Preheat oven to 190 degrees C (375 degrees F).
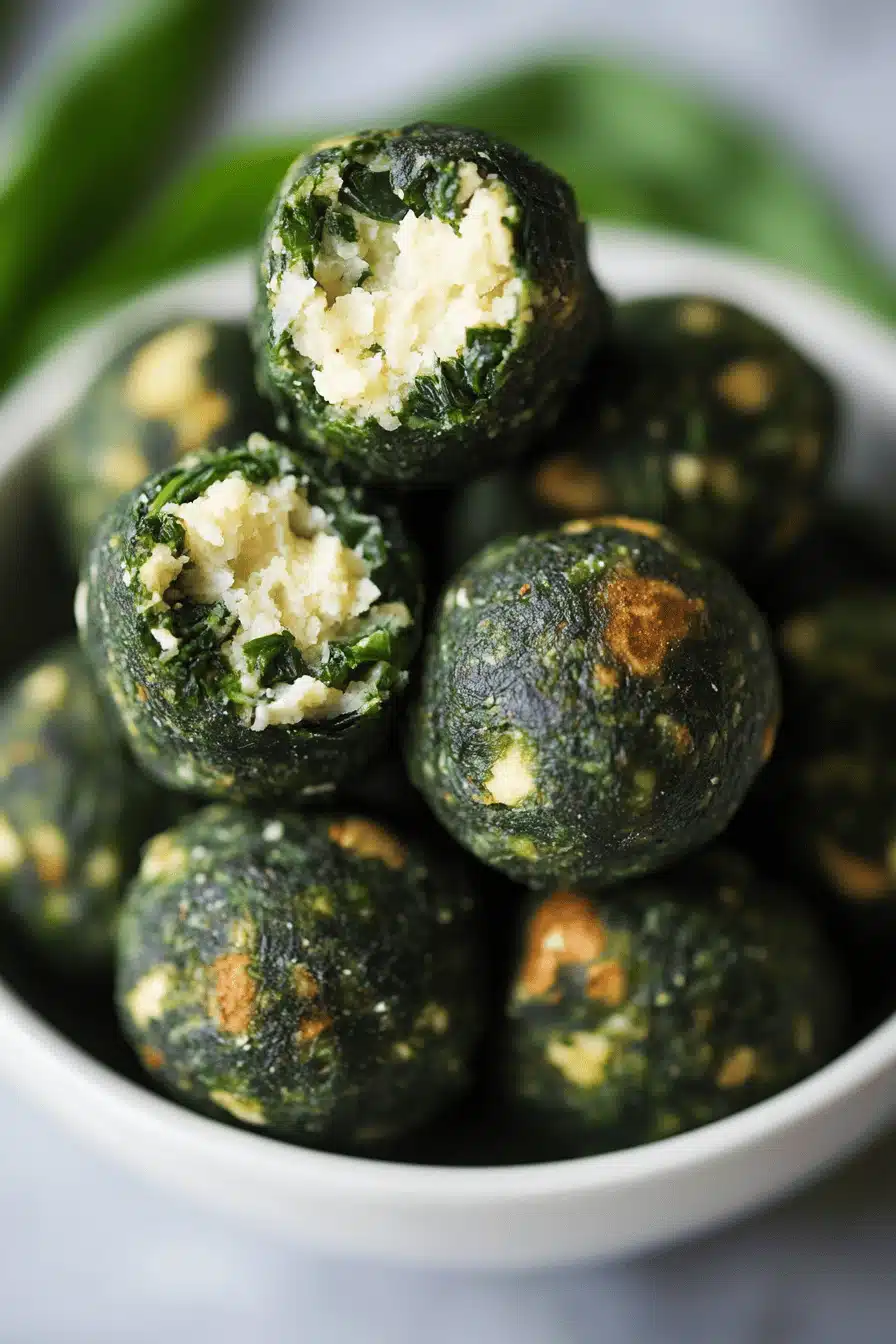
- In a large bowl, combine the thawed and squeezed spinach, chopped onion, grated Parmesan cheese, bread crumbs, eggs, garlic powder, and black pepper.
- Mix all ingredients thoroughly until well combined.
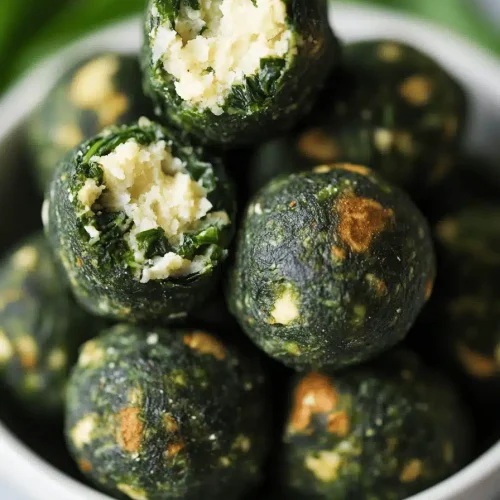
- Roll the mixture into small balls, about 1-inch in diameter.
- Place the spinach balls on an ungreased baking sheet.
- Bake for 20-25 minutes, or until golden brown and firm.
- Serve warm.