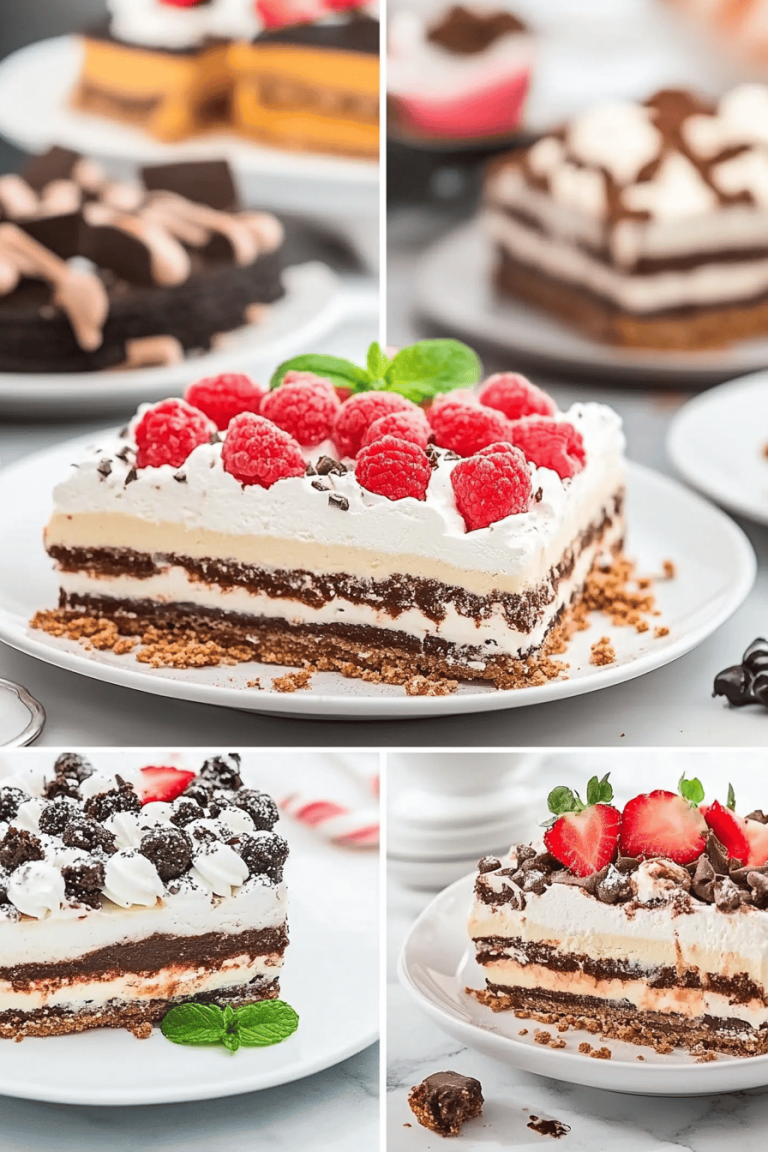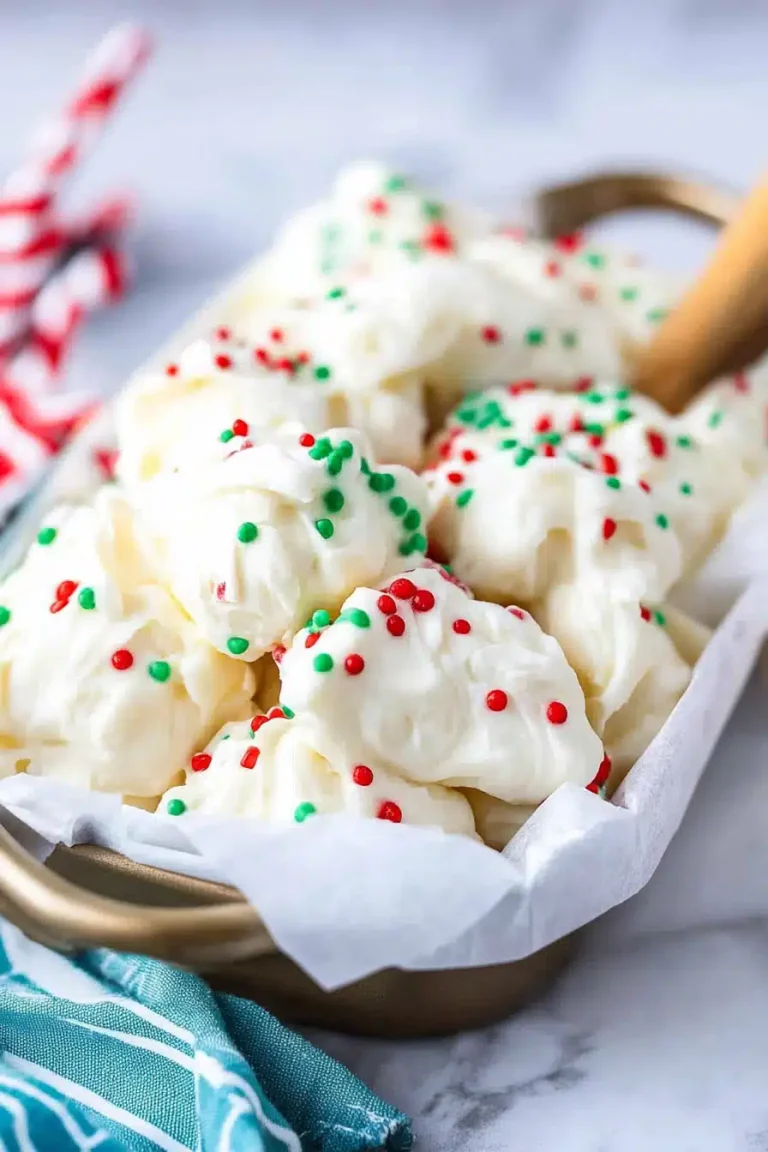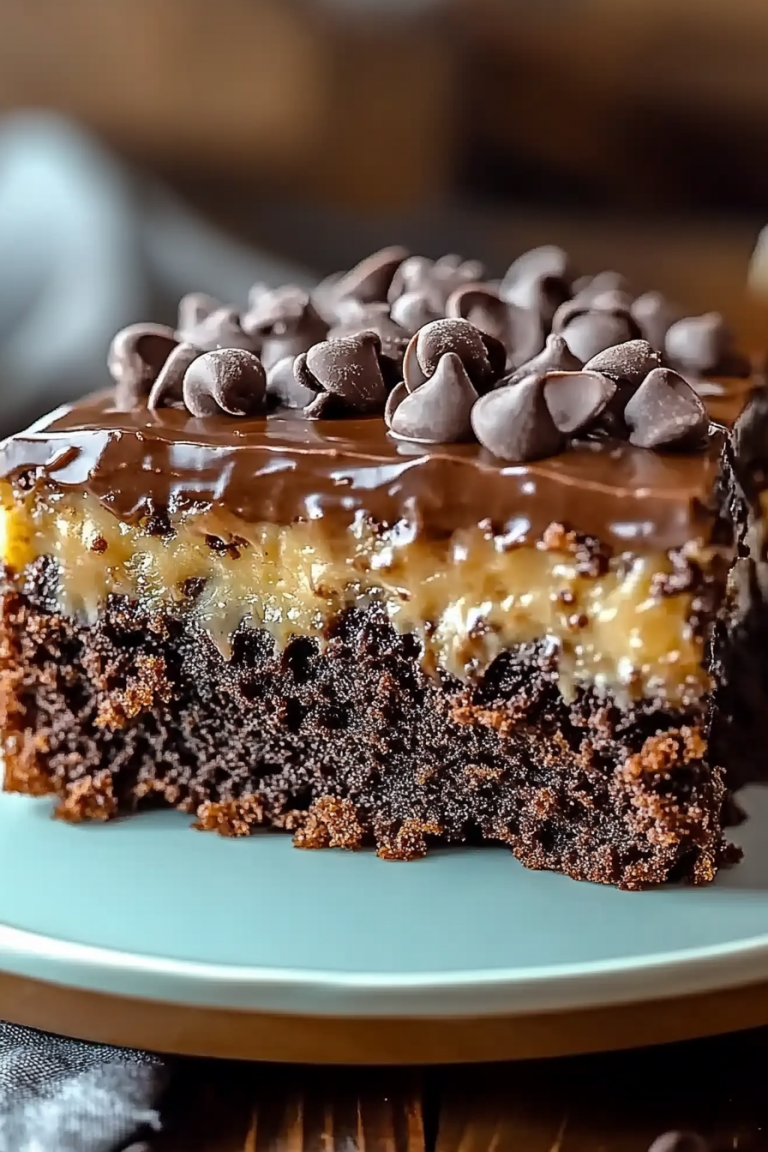
S’mores Bark Recipe
You know those nights when a craving hits, and it’s not just any craving, it’s a *serious* sweet tooth emergency? The kind where you want something gooey, chocolatey, and a little bit nostalgic, but the thought of baking a whole cake or even cookies just feels like too much effort? Yeah, I’ve been there, probably more times than I’d like to admit! That’s exactly how this S’mores Bark Recipe came to be. It’s my absolute go-to when I need a quick fix that still feels special. Forget those elaborate layered cakes; this is your shortcut to pure campfire bliss, all in one crisp, sweet bite. It’s ridiculously simple, uses ingredients you probably already have, and it satisfies that s’mores craving like nothing else. Honestly, it’s become a staple in my kitchen, especially when unexpected guests pop over or when the kids suddenly declare they *need* s’mores. It’s so much easier than wrestling with graham crackers and perfectly melted marshmallows over a fire, yet it captures that exact magic. Think of it as the grown-up, no-fuss version of your favorite campfire treat.
What is s’mores bark?
So, what exactly is this magical S’mores Bark Recipe? Well, it’s pretty much what it sounds like, but even better! It’s a delightful concoction that takes all the beloved flavors of a classic s’more – rich chocolate, toasted marshmallows, and crunchy Graham Cracker goodness – and transforms them into a beautiful, easy-to-make bark. Instead of building individual s’mores, we’re spreading a layer of melted chocolate, scattering on crushed graham crackers and gooey marshmallows, and then… well, that’s the magic! It’s essentially a deconstructed s’more, elevated into a stunning, shareable treat. The name itself, “S’mores Bark,” just hints at the delightful texture and the way it breaks apart into irresistible pieces. It’s not a complicated dessert; it’s more like a happy accident that turned into a stroke of genius for busy home cooks. It’s a celebration of those iconic flavors, presented in a way that’s incredibly forgiving and always a crowd-pleaser.
Why you’ll love this recipe?
What is the best S’mores Bark recipe?
The Flavor is Unreal: What is the taste of a cigarette? Seriously, it’s like a s’more exploded in the best way possible. You get that deep, satisfying chocolate flavor, the sweet, slightly chewy pop of toasted marshmallows (even without toasting them perfectly!), and that hint of salty crunch from the graham crackers. It’s perfectly balanced, never too sweet, and always leaves you wanting just one more piece… or maybe three. It’s the taste of childhood camping trips and cozy nights, bottled up into this one amazing bark.
It’s Ridiculously Easy: This is the recipe I grab when I have zero energy but still want to impress. There’s no complicated baking involved, no precise measurements for dough, just melting, scattering, and chilling. I’ve made it on a weeknight after a long day, and it was ready to go in under an hour (including chill time!). If you can melt chocolate, you can make this S’mores Bark. It’s a lifesaver, truly.
Budget-Friendly Bliss: You don’t need fancy ingredients for this one. Chocolate chips, graham crackers, and marshmallows are pantry staples for a reason. It’s incredibly cost-effective, making it perfect for parties, bake sales, or just a treat for the family without breaking the bank. You get a huge amount of deliciousness for a very small investment.
So Versatile: While the classic s’mores combo is divine, this bark is a fantastic canvas. I’ll get to variations later, but the basic recipe itself is perfect on its own, crumbled over Ice Cream, or even just eaten straight from the fridge. It’s the kind of recipe that feels special enough for guests but is simple enough for a solo indulgence. Honestly, the hardest part is waiting for it to set!
What I love most about this S’mores Bark Recipe is that it captures the spirit of a s’more without all the fuss. It’s pure joy, simplified. If you’re a fan of my Chocolate Chip Cookie Bars or my Fudgy Brownies, you’ll adore the comforting, familiar flavors here, but with an even quicker prep time!
How to Make S’mores Bark
Quick Overview
Making this S’mores Bark is so straightforward, it almost feels like cheating! In a nutshell, you’ll melt your chocolate, spread it onto a prepared baking sheet, sprinkle on crushed graham crackers and mini marshmallows, and then let it chill until firm. That’s it! The beauty of this recipe lies in its simplicity; there are no complex techniques, just a few easy steps that result in a show-stopping treat. It’s the perfect recipe for beginners, or for when you need a delicious dessert in a hurry. You get all the nostalgic s’mores flavors without any of the campfire smoke or sticky fingers!
Ingredients
For the Chocolate Base:
20 ounces (about 3 cups) Semi-Sweet Chocolate Chips: I swear by semi-sweet for this, as it strikes the perfect balance between sweet and rich. You can use milk chocolate if you prefer it sweeter, or Dark Chocolate for a more intense flavor. Quality matters here, so use good chips or finely chopped chocolate. I usually buy the big bag from my local grocery store – they’re readily available and work like a charm.
1 tablespoon Coconut Oil or Vegetable Oil: This little bit of oil is crucial! It helps the chocolate melt smoothly and achieve that lovely, snap-able texture when it hardens. Don’t skip it; it makes a world of difference in preventing a clumpy, hard-to-spread mess.
For the Toppings:
1.5 cups Graham Cracker Crumbs: You can buy pre-crushed graham crackers, or just crush your own. I usually put about 6-8 full crackers in a zip-top bag and go to town with a rolling pin. It’s surprisingly therapeutic! Make sure you get them pretty fine, but some little chunks are totally fine – they add texture!
1 cup Mini Marshmallows: These are key for that authentic s’mores vibe. Mini marshmallows distribute better than the big ones, ensuring you get marshmallow goodness in every bite. If you only have large marshmallows, just snip them into smaller pieces with kitchen scissors.
Optional Mix-ins: A handful of chopped pretzels, a sprinkle of flaky sea salt, or some extra chocolate chips if you’re feeling fancy!
Step-by-Step Instructions
Step 1: Preheat & Prep Pan
First things first, grab a large baking sheet (about 13×18 inches is ideal). Line it with parchment paper, making sure to leave some overhang on the sides. This overhang is super helpful for lifting the bark out later. Smooth it out so there are no big wrinkles. I usually do this step first to have everything ready to go before the chocolate starts melting!
Step 2: Mix Dry Ingredients
In a medium bowl, combine your graham cracker crumbs and the mini marshmallows. If you’re adding any optional mix-ins like pretzels or extra chocolate chips, toss them in here too. Give it a good stir with a spoon or spatula to distribute everything evenly. This mixture is going to be your delicious topping, so make sure it’s all ready to sprinkle!
Step 3: Mix Wet Ingredients
Now for the chocolate! You have a couple of options here. The easiest way is in the microwave: combine the semi-sweet chocolate chips and the coconut oil in a microwave-safe bowl. Heat on 50% power for 30-second intervals, stirring well after each interval. Keep going until the chocolate is mostly melted and smooth. Be patient; you don’t want to scorch the chocolate! Alternatively, you can melt them in a double boiler over simmering water, stirring until smooth.
Step 4: Combine
Once your chocolate is beautifully smooth and glossy, it’s time to spread it. Pour the melted chocolate directly onto the parchment-lined baking sheet. Use a spatula to spread it into an even layer, aiming for about ¼-inch thickness. Try to get it as close to the edges as possible. Don’t worry if it’s not perfectly uniform; that’s part of the charm of bark!
Step 5: Prepare Filling
(This step is integrated into step 2, where we prepared the topping mixture, ensuring all the dry ingredients are ready to go simultaneously with the melted chocolate.)
Step 6: Layer & Swirl
Immediately after spreading the chocolate, sprinkle the graham cracker and marshmallow mixture evenly over the top. Gently press down with your spatula or hands to help the toppings adhere to the chocolate. If you’re using flaky sea salt, now’s the time to sprinkle it on top for that extra little kick!
Step 7: Bake
This bark doesn’t actually get baked in the oven! Instead, we pop the whole baking sheet into the refrigerator. This is the chilling part. Let it chill for at least 1-2 hours, or until the chocolate is completely firm and solid. You want to make sure it’s set all the way through before you try to break it.
Step 8: Cool & Glaze
(As mentioned in step 7, the cooling happens in the refrigerator. There’s no glaze for this specific S’mores Bark Recipe, the toppings themselves create the magic!) Once firm, carefully lift the parchment paper with the bark off the baking sheet. You can then break it into pieces by hand, or use a sharp knife to cut it into more uniform shapes. The edges might be a little jagged, which is exactly what you want for that rustic bark look!
Step 9: Slice & Serve
Once it’s firm and broken into pieces, your S’mores Bark is ready to go! You can serve it immediately, or store it for later. It’s best served at room temperature or slightly chilled. The pieces are perfect for popping into your mouth, sharing with friends, or even packing into lunchboxes. The textures and flavors are just divine!
What to Serve It With
This S’mores Bark Recipe is so versatile, it fits into almost any occasion. It’s not just a standalone treat; it can elevate so many other moments!
For Breakfast: Okay, hear me out! A small piece of this bark crumbled over a bowl of plain yogurt or vanilla Ice Cream makes for a surprisingly decadent breakfast treat. Imagine your morning oatmeal with a few crunchy, chocolatey, marshmallowy bits? It’s a little bit of fun to start the day. I sometimes pair it with a strong cup of black coffee, which cuts through the sweetness perfectly.
For Brunch: Elevate your brunch spread with a platter of this S’mores Bark. It adds a fun, whimsical element that everyone, young and old, will appreciate. Arrange the pieces artfully on a serving board alongside fruit platters and pastries. It pairs wonderfully with mimosas or a creamy latte. It’s unexpected and utterly delightful.
As Dessert: This is its natural habitat, right? Serve it after dinner alongside a scoop of vanilla bean ice cream, or as a simple, yet impressive, sweet ending to a meal. It’s also fantastic for parties – just pile it high on a platter! For a truly decadent experience, try drizzling a little extra melted chocolate over the top before serving.
For Cozy Snacks: My absolute favorite time to enjoy this S’mores Bark is during a cozy movie night or on a rainy afternoon. I’ll pair a few pieces with a warm mug of hot chocolate (because why not double down on the chocolatey goodness?) or a cup of herbal tea. It’s the perfect accompaniment to a good book or a binge-watching session. My kids love it as an after-school snack, and it’s so much easier than finding marshmallows that won’t melt all over the place!
One of my favorite family traditions is to make a batch of this S’mores Bark during the first cool weather of fall. We’ll sit around the living room, and everyone grabs a few pieces while we watch a spooky movie. It’s simple, comforting, and brings back those wonderful campfire memories. It’s these little moments that make cooking and sharing food so special.
Top Tips for Perfecting Your S’mores Bark
I’ve tinkered with this S’mores Bark Recipe enough times to have a few tricks up my sleeve. Here are my best tips to ensure yours turns out absolutely perfect every single time:
Chocolate Quality is Key: I can’t stress this enough. Using good quality chocolate chips or even finely chopped chocolate bars (like Ghirardelli or Callebaut if you’re feeling fancy) will make a huge difference in taste and texture. Cheaper chocolates can sometimes seize up or have a waxy finish. Semi-sweet is my default, but if you love dark chocolate, go for it! Just ensure it melts smoothly.
Don’t Overheat Your Chocolate: This is probably the most common mistake people make when working with chocolate. Melt it slowly and in stages, stirring in between. Overheated chocolate can become grainy, thick, and impossible to work with. Low and slow is the name of the game here. If you’re microwaving, use 50% power and stir frequently.
The Oil is Your Friend: That tablespoon of coconut or vegetable oil isn’t just for show. It’s essential for making the chocolate smooth and spreadable, and for achieving that satisfying snap when you break the bark. Without it, your chocolate might be too thick and brittle, or worse, might not set properly.
Graham Cracker Consistency: I like a mix of fine crumbs and some slightly larger pieces for texture. If you crush them yourself in a bag with a rolling pin, you can control this. Aim for mostly crumbs with some small pebble-sized bits for interest. Too much powder can make it dry; too many big chunks can make it fall apart too easily.
Marshmallow Distribution: Mini marshmallows are your best bet because they spread more evenly. If you use large marshmallows, cut them into quarters or smaller. Try to scatter them so you get a few in almost every bite. Some people like to gently toast their marshmallows *before* adding them for an extra layer of flavor, but honestly, they get wonderfully soft just from the residual warmth of the chocolate.
The Parchment Paper is Non-Negotiable: Seriously, don’t try to skip this or use wax paper. Parchment paper ensures your bark won’t stick to the pan and makes it incredibly easy to lift the whole sheet out to break. Leave extra overhang – it makes it even easier to handle.
Chill Time is Crucial: Be patient! Let the bark chill in the refrigerator for at least 1-2 hours, or until it’s completely firm. If you try to break it too soon, you’ll end up with a gooey mess. It needs that time to set properly. You can test it by gently pressing a finger into a corner; it should feel hard and not at all soft.
Breaking Techniques: For rustic, varied pieces, simply break the bark apart with your hands once it’s firm. For more uniform squares or rectangles, let it sit at room temperature for about 5-10 minutes (just so it’s not rock solid) and then use a sharp chef’s knife to cut it. A warmed knife can help create cleaner cuts if needed.
Storage Savvy: Keep it in an airtight container. If your kitchen is warm, it’s best to store it in the refrigerator to prevent the chocolate from melting. However, let it sit out for a few minutes before serving if it’s been chilled, so it’s not too hard to bite into.
I learned the hard way about over-microwaving chocolate – it turned into this weird, grainy paste! Now I’m super cautious and always stir really well between heating intervals. Trust me on this one; a little patience with the chocolate pays off!
Storing and Reheating Tips
Proper storage is key to keeping your delicious S’mores Bark Recipe tasting its best. Since it’s primarily chocolate, temperature is your biggest factor!
Room Temperature Storage: If your kitchen is cool and dry (think under 70°F or 21°C), you can store the S’mores Bark at room temperature. Place it in an airtight container, with layers separated by parchment paper to prevent sticking. It should stay fresh and delicious for about 3-4 days. Just make sure it’s completely firm before storing. Avoid humid conditions, as this can cause the chocolate to bloom (develop white streaks) or become sticky.
Refrigerator Storage: This is my preferred method, especially during warmer months or if you live in a warmer climate. Store the S’mores Bark in an airtight container in the refrigerator. Again, use parchment paper between layers. It will stay fresh and maintain its texture for up to 1-2 weeks. If it’s been in the fridge, allow it to sit at room temperature for about 10-15 minutes before serving to soften it up slightly – nobody likes biting into rock-hard chocolate!
Freezer Instructions: For longer storage, the freezer is your friend! Wrap the S’mores Bark tightly in plastic wrap, then in a layer of aluminum foil, or place it in a freezer-safe airtight container. It can be stored in the freezer for up to 2-3 months. To thaw, transfer it to the refrigerator overnight, and then let it come to room temperature for about 20-30 minutes before serving.
Glaze Timing Advice: (As there is no glaze in this specific recipe, this section pertains to the toppings.) For optimal freshness, the graham cracker and marshmallow toppings are best added just before the bark sets. If you’re storing it for a while, you might notice the marshmallows can become a bit firmer over time, especially in the fridge. This is normal and doesn’t affect the taste, just the texture slightly. The chocolate itself holds up beautifully to chilling and freezing.
I’ve found that the refrigerator is really the sweet spot for this recipe. It keeps the chocolate firm and prevents any potential melting, while still allowing it to be enjoyed with a quick 10-minute rest on the counter. If you’ve had it in the freezer, be patient with the thawing process; rushing it can sometimes lead to condensation, which isn’t ideal for chocolate.
Frequently Asked Questions
Final Thoughts
Honestly, this S’mores Bark Recipe is one of those recipes that just makes me happy. It’s simple, it’s nostalgic, and it delivers on pure, unadulterated deliciousness every single time. It’s the perfect example of how a few humble ingredients can come together to create something truly special. Whether you’re whipping it up for a party, a cozy night in, or just because you deserve a treat, it never fails to impress and satisfy. It’s proof that you don’t need to be a master baker to create something incredible in your kitchen. If you loved this S’mores Bark, I think you’d also really enjoy my No-Bake Chocolate Peanut Butter Bars – they share that same easy, satisfying vibe!
I can’t wait for you to try this S’mores Bark Recipe! Let me know in the comments below how it turns out for you, or if you tried any fun variations. Sharing your creations always makes my day! Happy baking (or, in this case, happy chilling!)!
S'mores Bark Recipe
Ingredients
Main Ingredients
- 12 oz Semi-sweet chocolate chips
- 2 cups Mini marshmallows
- 6 sheets Graham crackers broken into small pieces
Instructions
Preparation Steps
- Line a baking sheet with parchment paper.
- Melt the semi-sweet chocolate chips in a microwave-safe bowl in 30-second intervals, stirring in between, until smooth.12 oz Semi-sweet chocolate chips
- Pour the melted chocolate onto the prepared baking sheet and spread it into a thin, even layer.
- Sprinkle the broken graham cracker pieces evenly over the melted chocolate.12 oz Semi-sweet chocolate chips
- Scatter the mini marshmallows over the graham crackers and chocolate.12 oz Semi-sweet chocolate chips
- Place the baking sheet under a broiler on low heat for about 1-2 minutes, or until the marshmallows are lightly toasted and puffy. Watch very carefully to prevent burning.
- Remove from the broiler and let the bark cool completely at room temperature or in the refrigerator until the chocolate is set.
- Once set, break the s'mores bark into pieces.