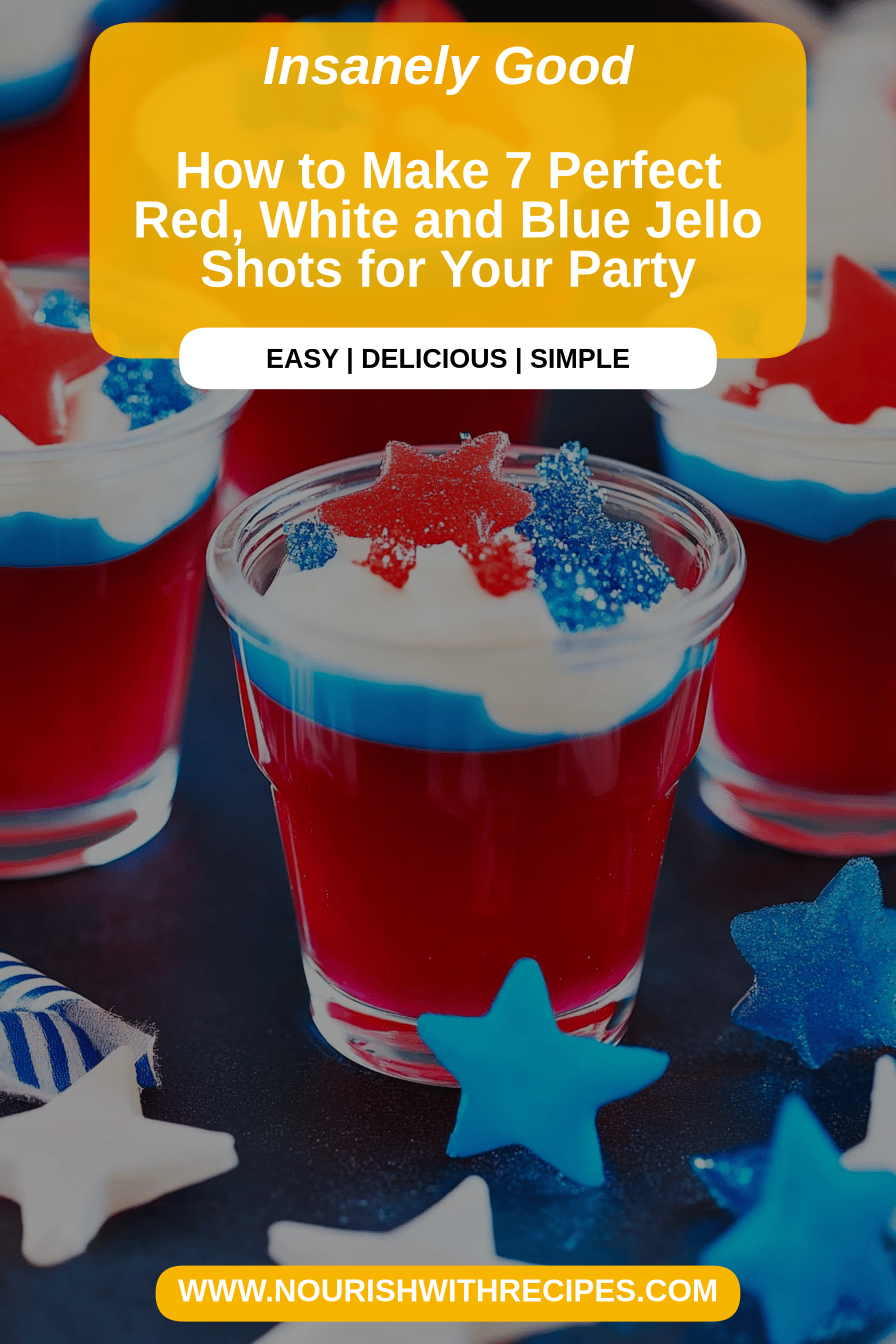
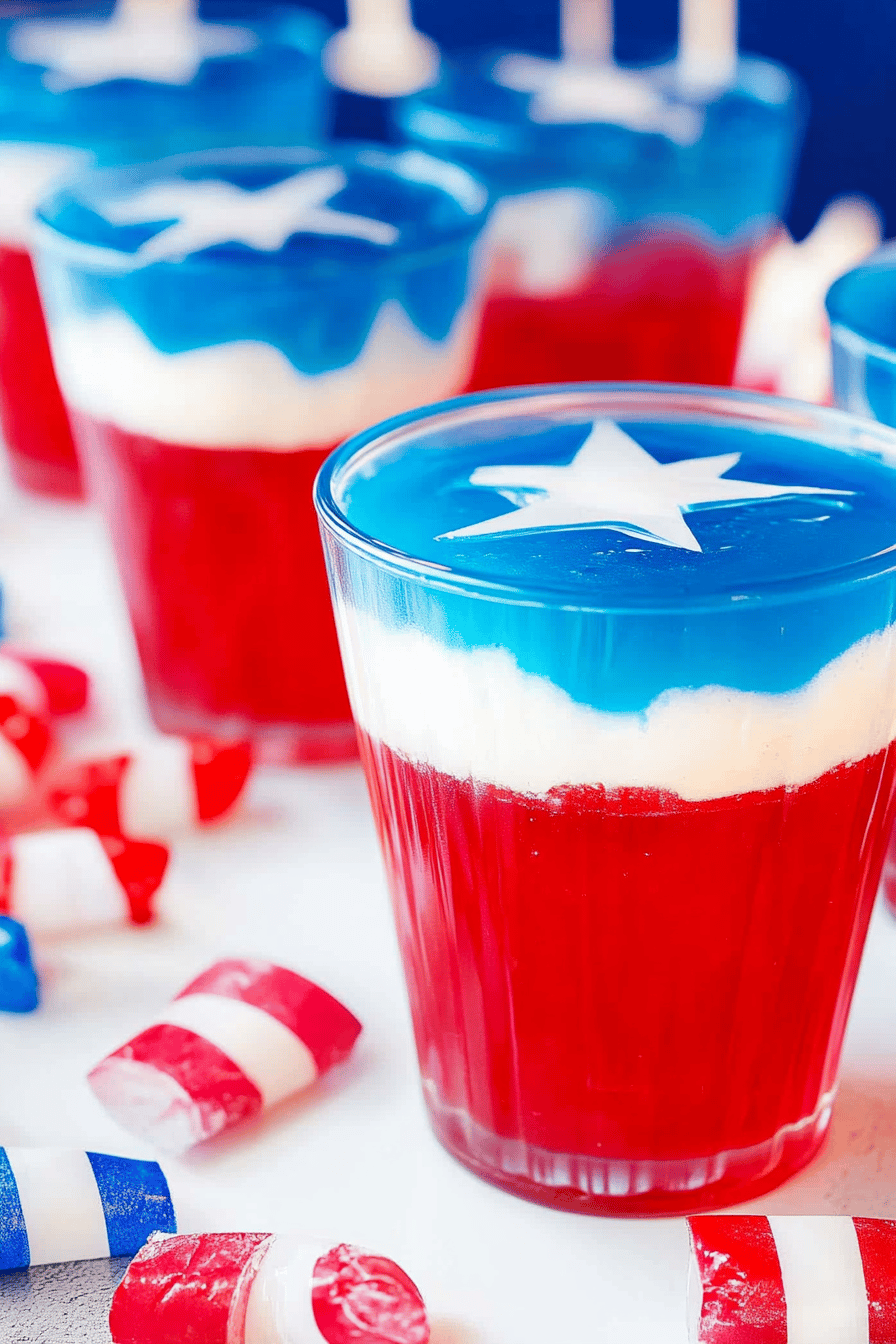
red white blue jello shots
Oh, this recipe! It’s one of those things that just screams ‘fun’ to me. Every time I make these red white blue jello shots, it takes me right back to summer barbecues and Fourth of July parties when I was a kid. You know, the kind where the grown-ups had their own special treats? Well, this is definitely one of those! It’s so incredibly simple, but the visual pop is just fantastic. Honestly, it rivals even my famous layered brownies for sheer visual impact, but these are ready in a fraction of the time. If you’re looking for a way to add a burst of festive color and a delightful burst of flavor to any gathering, you’ve stumbled upon the perfect spot.
What are red white blue jello shots?
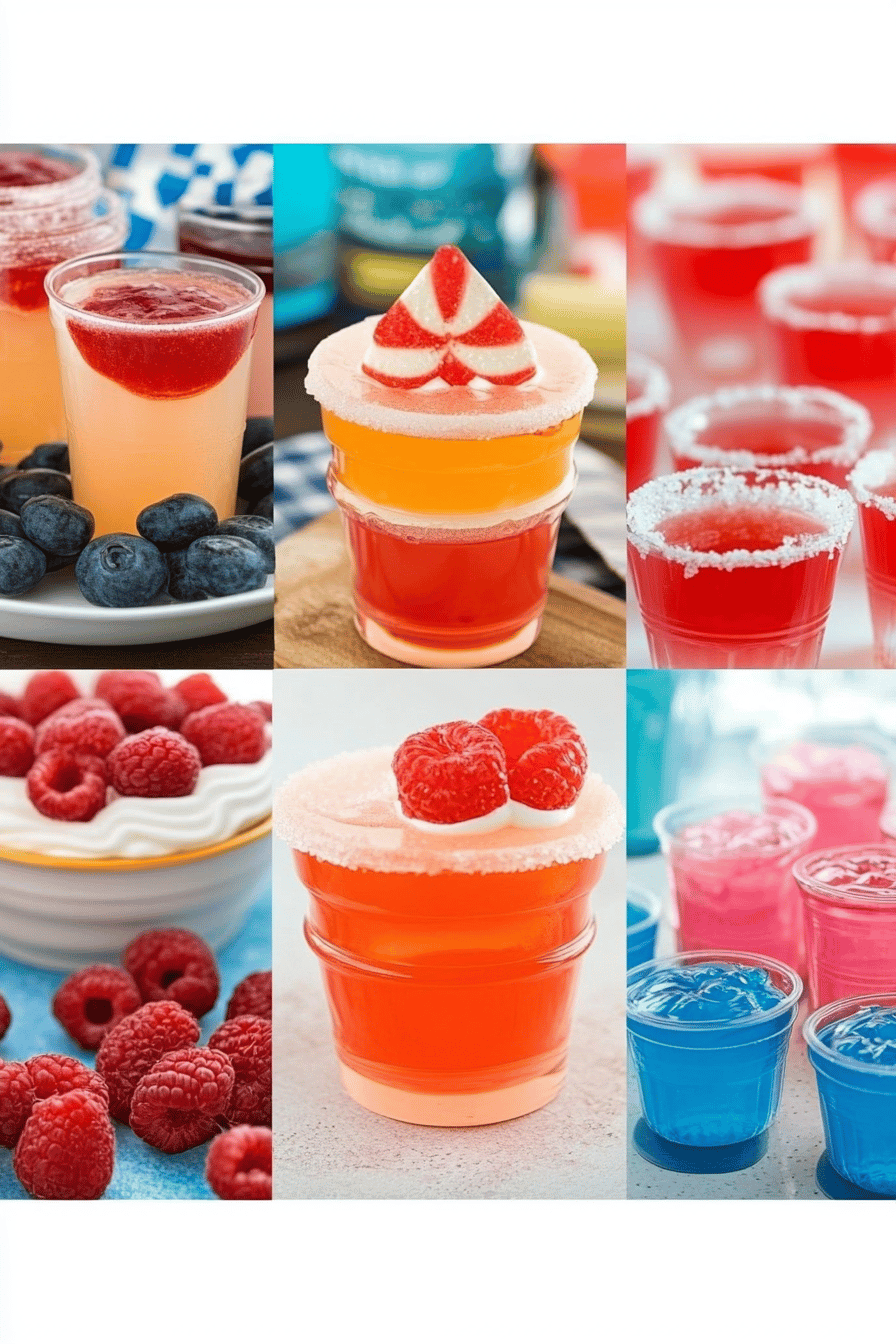
So, what exactly are red white blue jello shots? Think of them as your favorite childhood jello dessert, but with a grown-up twist and a patriotic theme! They’re essentially layers of different colored and flavored jello, suspended in a small, individual serving. The ‘red,’ ‘white,’ and ‘blue’ refers to the vibrant colors that come from using specific flavors of jello – usually cherry or strawberry for red, a creamy white like piña colada or vanilla, and blueberry or grape for blue. We then layer these in a way that creates a beautiful, swirled or striped effect. It’s not complicated at all; it’s more about playful presentation and, of course, that jiggly, delightful texture that we all love. It’s a simple concept executed in a way that’s visually striking and incredibly enjoyable.
Why you’ll love this recipe?
What are the reasons why this recipe has become a staple at my gatherings?flavor! It’s a delightful mix of sweet, fruity notes that just sing together. The tartness of the red, the creamy sweetness of the white, and the fruity depth of the blue all come together in a way that’s surprisingly complex for something so easy. Then there’s the simplicity. I’m talking about minimal effort for maximum impact. You don’t need any fancy equipment or culinary degrees for this one. It’s genuinely achievable for anyone, even if you’re new to making treats like this. And let’s not forget about Cost-efficiency: What is the best way to measure cost-efficiency?. Jello is incredibly budget-friendly, making these shots perfect for when you’re entertaining a crowd without breaking the bank. What I love most about these red white blue jello shots, though, is their sheer versatility. They are absolutely perfect for Fourth of July, Memorial Day, a summer birthday, or even just a fun weekend treat when you want to bring a smile to people’s faces. They’re much easier and quicker to whip up than, say, my mini cheesecakes, and they have that instant party vibe. Plus, they can be made ahead, which is a lifesaver on busy days!
How to Make Red White Blue Jello Shots
Quick Overview
Making these festive red white blue jello shots is a straightforward layering process. You’ll essentially prepare each color of jello separately, allowing it to partially set between layers. This might sound like it takes forever, but the beauty is that each layer only needs a short chill time. It’s the perfect recipe to tackle while you’re doing other things around the house, and before you know it, you’ll have a dazzling dessert ready to impress. The key is patience between the layers, but trust me, the result is totally worth it.
Ingredients
For the Main Jello Layers:
This is where the color and main flavor come in! I usually go with:
- 3 boxes (3 oz each) Cherry Jello (for red)
- 3 boxes (3 oz each) Raspberry or Strawberry Jello (for a slightly different red, or use one of each!)
- 3 boxes (3 oz each) Piña Colada or Vanilla Jello (for white – Piña Colada gives a lovely tropical hint!)
- 3 boxes (3 oz each) Berry Blue Jello (for blue)
- 1 box (3 oz) Grape Jello (for a deeper blue, or mix with Berry Blue)
- 12 cups Boiling Water, divided (4 cups per color group)
- 6 cups Cold Water, divided (2 cups per color group)
For the Optional Creamy Layer (Instead of a plain white jello):
If you want that extra creamy, dreamy white layer, this is my secret weapon!
- 1 cup Hot Water
- 1 cup Sweetened Condensed Milk
- 1 package (0.25 oz) Unflavored Gelatin
- 1/4 cup Cold Water
For Serving:
You’ll need something to hold these little gems!
- 1 (9×13 inch) Baking Dish (or individual small cups/shot glasses)

Step-by-Step Instructions
Step 1: Prepare Your Dish/Molds
Start by lightly greasing your 9×13 inch baking dish with a neutral oil or cooking spray. If you’re using individual cups, make sure they’re clean and dry. This step is crucial to ensure your jello pops out cleanly if you plan to cut it into squares. If you’re using shot glasses or plastic cups, you can skip the greasing for a cleaner look.
Step 2: Make the First Color Layer (Red)
In a heatproof bowl, dissolve one box of red jello (cherry or strawberry) in 1 1/3 cups of boiling water. Stir for about 2 minutes until completely dissolved. Stir in 2/3 cup of cold water. Pour about half of this mixture into your prepared baking dish (or about 1/3 of your shots/cups). Place the dish in the refrigerator and chill for about 30-45 minutes, or until it’s just starting to set – you want it thick but not firm enough to support the next layer without merging. It should be sticky to the touch but not liquid.
Step 3: Make the White Layer (Plain or Creamy Option)
While the red layer is chilling, prepare your white layer. For a simple white layer: dissolve one box of piña colada or vanilla jello in 1 1/3 cups boiling water, stir until dissolved, then stir in 2/3 cup cold water. If you’re going for the creamy option: In a small bowl, sprinkle the unflavored gelatin over 1/4 cup cold water and let it bloom for 5 minutes. Then, stir in 1 cup hot water until fully dissolved. Whisk in the Sweetened Condensed Milk until smooth. Let this mixture cool slightly. Once your red layer is set enough, carefully pour about half of the prepared white jello mixture over it. Chill again for 30-45 minutes.
Step 4: Make the Blue Layer
Now, let’s get our blue ready! Dissolve one box of berry blue jello (or a mix of berry blue and grape) in 1 1/3 cups boiling water. Stir until fully dissolved, then stir in 2/3 cup cold water. Once the white layer is set, carefully pour about half of the blue jello mixture over it. Chill for another 30-45 minutes until it’s beginning to set.
Step 5: Add Remaining Layers
Repeat the process with the remaining red, white, and blue jello mixtures. Pour the rest of the red jello over the set blue layer. Chill. Then, pour the remaining white jello over the red. Chill. Finally, pour the remaining blue jello over the white. This layering is what gives us those distinct bands of color. Remember, always wait until the previous layer is just starting to set before adding the next to avoid them bleeding too much.
Step 6: Chill to Fully Set
Once all your layers are in, it’s time for the final chill. Cover the dish (or cups) loosely with plastic wrap and refrigerate for at least 4-6 hours, or preferably overnight, until the jello is completely firm.
Step 7: Slice and Serve (or Serve in Cups)
If you used a baking dish, carefully run a knife around the edges to loosen. Invert the jello onto a cutting board and slice into desired squares or shapes. If you used individual cups, you can serve them as is! For a fun touch, you can garnish with a tiny dollop of whipped cream or a small berry.
Step 8: Enjoy the Festivities!
These red white blue jello shots are best served chilled. They’re perfect for any party, picnic, or gathering where you want a pop of color and a burst of fun!
What to Serve It With
These red white blue jello shots are really a star on their own, but they also pair wonderfully with other festive treats, especially during holidays or celebrations. For a backyard barbecue or a summer picnic, I love to have these alongside classic grilled items like burgers, hot dogs, and corn on the cob. They’re a refreshing contrast to the savory flavors. If I’m setting up a brunch spread, especially for a holiday like the Fourth of July, I’ll often place them near fruit platters or alongside my mini quiches and blueberry muffins. The bright colors just add so much to the table! As a dessert, they’re fantastic after a lighter meal, perhaps after a grilled chicken salad or a pasta dish. And for cozy gatherings, they’re perfect as a fun, sweet bite when you’re just relaxing. My family always asks for these when we have movie nights, and they disappear in minutes alongside popcorn and maybe some Chocolate Chip Cookies. The beauty of these jello shots is that they’re celebratory enough for any occasion, yet simple enough for an impromptu sweet treat.
Top Tips for Perfecting Your Red White Blue Jello Shots
Okay, so I’ve made these red white blue jello shots more times than I can count, and over the years, I’ve picked up a few tricks that really make them shine. First, for the Jello Prep: always use boiling water to dissolve the jello completely. If you don’t get all the granules dissolved, you’ll end up with gritty jello, and nobody wants that! Stir for a good two minutes minimum. Then, when you add the cold water, make sure it’s *cold* – this helps the jello start to set faster and sets up the right texture. For the Mixing Advice, the key is patience. You don’t want to rush adding layers. If a layer isn’t set enough, the colors will run together, and you won’t get those clean stripes or swirls. I always test by gently touching the surface – it should be slightly tacky but hold its shape. If you’re going for that swirled look instead of distinct layers, you can gently swirl a toothpick or skewer through the unset layers, but don’t overdo it, or it will just become muddy. For Ingredient Swaps, feel free to experiment! I’ve used different brands of jello, and they all work. The key is the water-to-jello ratio. If you’re using different flavors, just make sure they complement each other. Some people love adding a bit of alcohol to their jello shots (like vodka or rum), and if you do, I usually replace some of the cold water with the alcohol. Just a note: alcohol slows down the setting process, so you might need a little extra chilling time. For baking tips (well, chilling tips in this case!), make sure your refrigerator is at the right temperature. If it’s too warm, your jello will take forever to set, or worse, might not set properly. And if you’re using individual cups, ensure they are stable on the fridge shelf so they don’t spill. Lastly, Glaze Variations aren’t really applicable here, but if you wanted to dress them up, a tiny bit of whipped cream or a sprinkle of edible glitter right before serving can be fun!
Storing and Reheating Tips
These red white blue jello shots are best made the day before your event, and they store beautifully. For Room Temperature storage, I wouldn’t leave them out for more than an hour or two, especially if it’s warm out, as they can start to melt. They’re really meant to be kept chilled. For Refrigerator Storage, this is where they shine! Keep them covered loosely with plastic wrap in the 9×13 dish or in their individual cups. They’ll stay perfectly jiggly and delicious for about 3 to 5 days. The colors tend to remain vibrant for that whole period. I’ve found that putting them in an airtight container works too, but sometimes the condensation can make the surface a little wetter. For Freezer Instructions, I generally don’t recommend freezing jello. The texture can get a bit watery and icy once thawed, which isn’t ideal. They really are best enjoyed fresh from the fridge. The Glaze Timing Advice doesn’t really apply here since there’s no glaze, but if you were to add a topping like whipped cream, it’s always best to do that right before serving so it stays fresh and doesn’t melt into the jello.
Frequently Asked Questions
Final Thoughts
So there you have it – the easiest, most festive red white blue jello shots that are practically guaranteed to be a hit at any party! I really hope you give these a try. They’re more than just a dessert; they’re a little bit of pure, unadulterated fun in every jiggly bite. They’re proof that you don’t need to be a gourmet chef to create something spectacular that people will rave about. If you love these, you might also enjoy my layered pudding desserts or my no-bake Cheesecake Bars – they’re in a similar vein of crowd-pleasing ease! I can’t wait to hear how yours turn out, so please leave a comment below and let me know your experience, or if you have any fun variations you tried. Happy creating!
Red White and Blue Jello Shots
Ingredients
Red Layer
- 0.5 package strawberry jello
- 1 cup boiling water
- 1 cup cold vodka
White Layer
- 0.5 package lime jello
- 0.5 cup boiling water
- 0.5 cup cold vodka
- 0.5 cup sweetened condensed milk
Blue Layer
- 0.5 package berry blue jello
- 1 cup boiling water
- 1 cup cold vodka
Instructions
Preparation Steps
- For the red layer: In a bowl, combine strawberry jello mix and boiling water. Stir until the jello is completely dissolved. Stir in the cold vodka.
- Pour the red jello mixture into paper or plastic shot cups, filling them about one-third full. Place the cups on a tray and refrigerate for at least 30-60 minutes, or until the jello is partially set (firm to the touch but not completely solid).
- For the white layer: In a separate bowl, combine lime jello mix and 0.5 cup boiling water. Stir until dissolved. Stir in the cold vodka and sweetened condensed milk.
- Once the red layer is partially set, carefully pour the white jello mixture over the red layer, filling the cups to about two-thirds full. Refrigerate again for another 30-60 minutes until partially set.
- For the blue layer: In a third bowl, combine berry blue jello mix and boiling water. Stir until dissolved. Stir in the cold vodka.
- Carefully pour the blue jello mixture over the white layer, filling the cups to the top. Refrigerate for at least 2-3 hours, or until completely firm.
- Before serving, you can optionally add a dollop of whipped cream or a sprinkle of edible glitter to represent the stars and stripes.