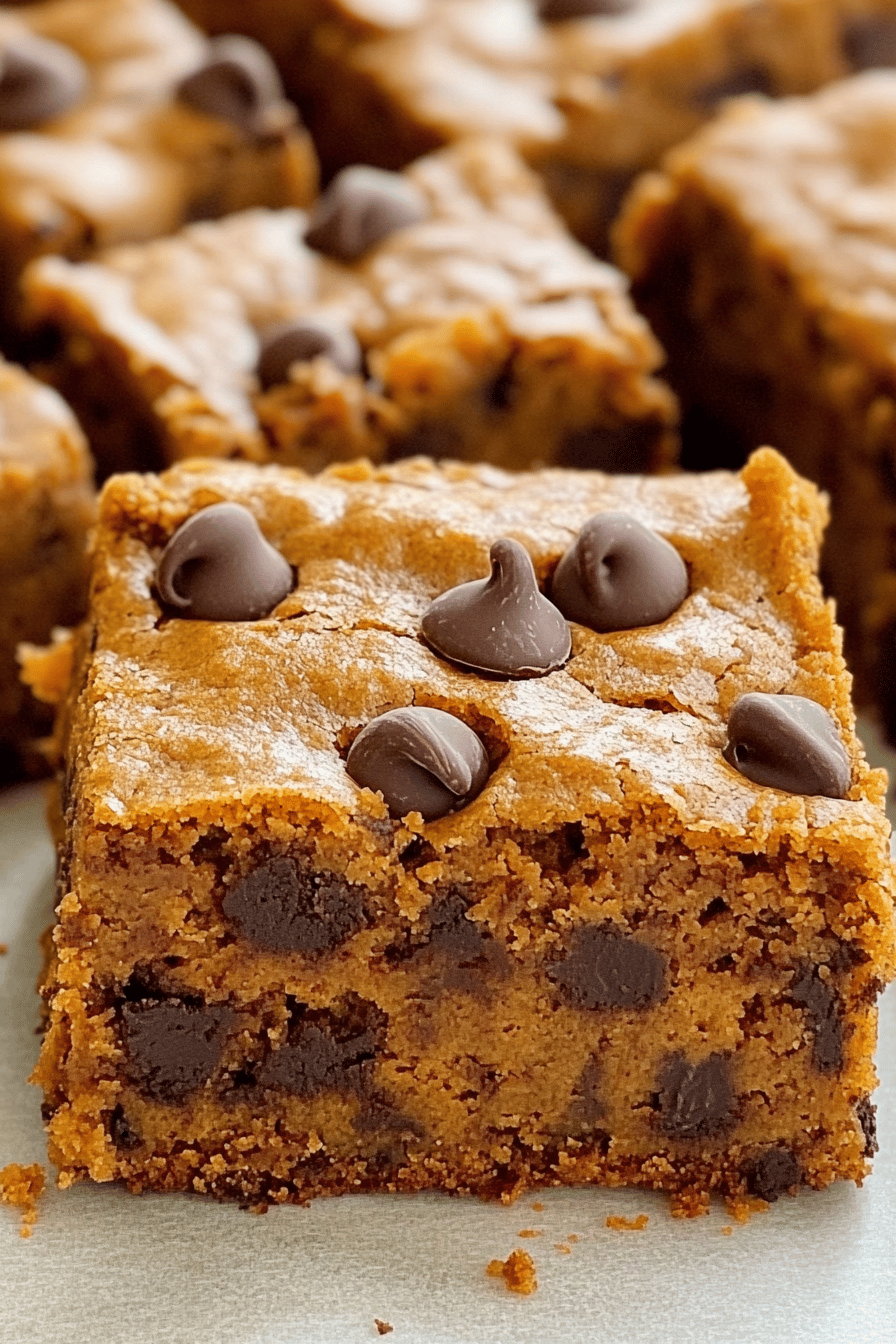
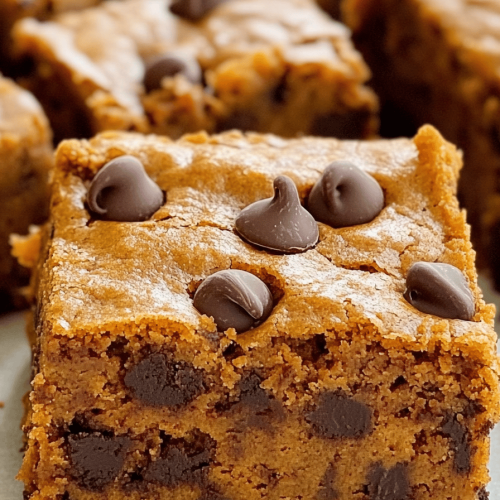
Pumpkin Chocolate Chip Muffins
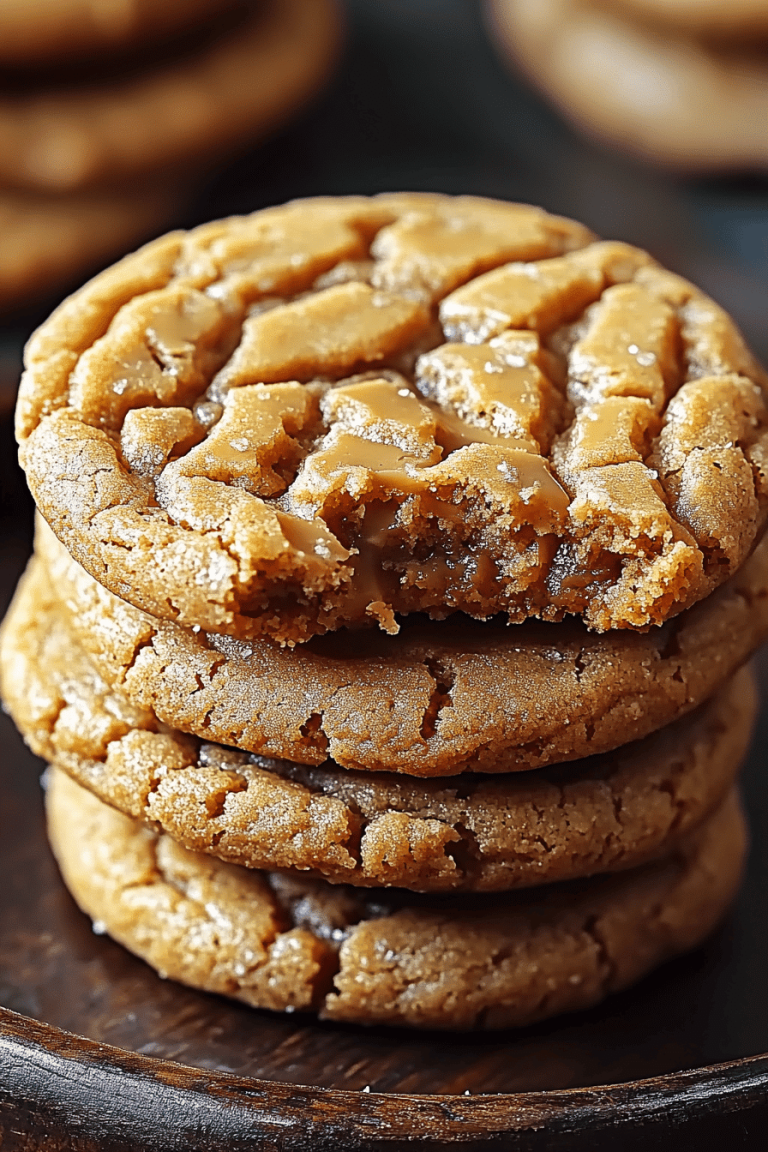
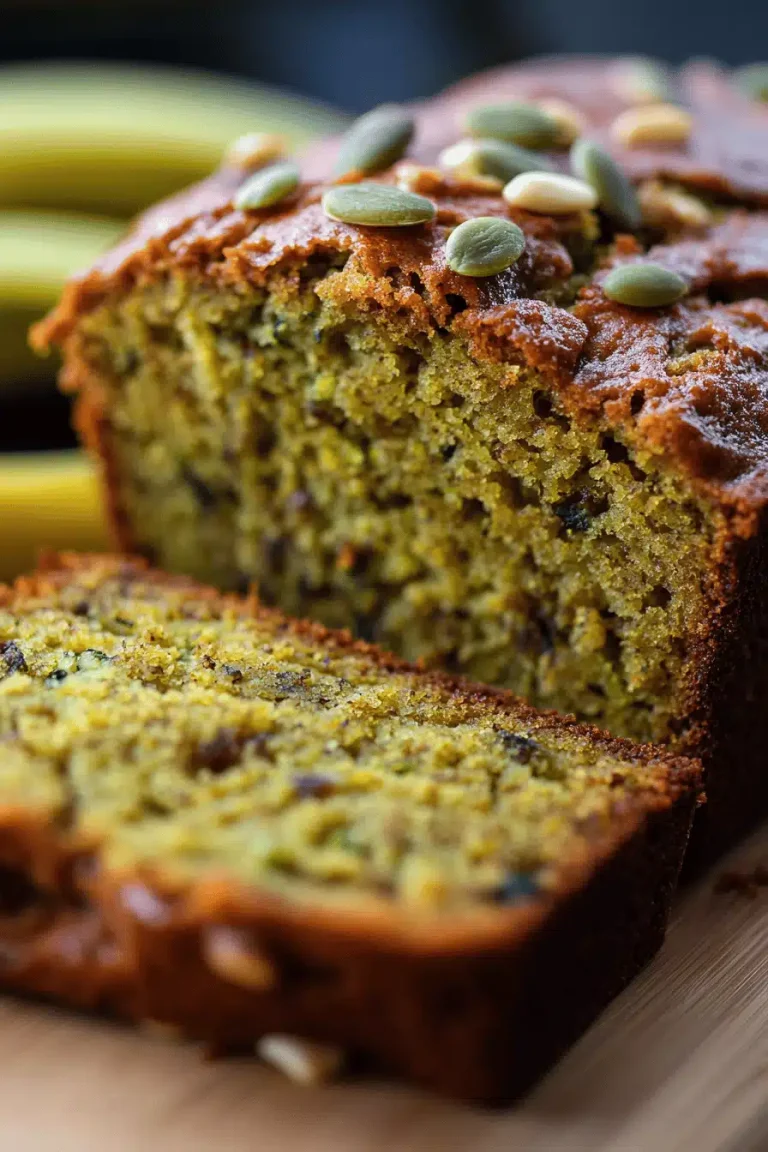
There are some recipes that just feel like a warm hug, aren’t there? For me, that’s absolutely these pumpkin chocolate chip muffins. It’s that time of year again when the leaves start to turn, there’s a crispness in the air, and all I want to do is bake. And when that craving hits, nothing quite hits the spot like a perfectly moist, spiced pumpkin muffin studded with melty chocolate chips. I swear, the aroma alone is enough to make my whole house feel cozy. My family asks for these pumpkin chocolate chip muffins constantly, especially once September rolls around, and honestly, I’m always happy to oblige. They’re the ultimate comfort food, a little slice of autumn joy that you can whip up in under an hour. If you’ve ever loved a good banana bread or a classic Chocolate Chip Cookie, I promise you’re going to adore these.
What is Pumpkin Chocolate Chip Muffins?
So, what exactly are pumpkin Chocolate Chip Muffins? Think of them as the superstar of fall baking. They’re basically tender, moist muffins infused with the warm spices of pumpkin pie (think cinnamon, nutmeg, ginger, and cloves) and generously flecked with delicious chocolate chips that get all gooey when baked. It’s like a hug in muffin form, but with the added bonus of those irresistible chocolate pockets. They’re less fussy than a full cake but give you all the comforting flavors of a seasonal treat. The pumpkin not only adds that beautiful autumnal color and a subtle earthy sweetness, but it also works its magic to keep the muffins incredibly moist. And those chocolate chips? They’re non-negotiable for me; they provide that perfect contrast of sweet, slightly bitter chocolate against the warm spices. They’re essentially the perfect vehicle for all those wonderful fall flavors we crave.
Why you’ll love this recipe?
Honestly, there are so many reasons why this Pumpkin Chocolate Chip muffin recipe has become a staple in my kitchen, and I just know you’re going to feel the same way. First off, the FLAVOR is just out of this world. The combination of pumpkin, warm spices, and rich chocolate is pure bliss. Every bite is a perfect balance of sweet, spiced, and comforting. It’s not too sweet, which I really appreciate, letting the pumpkin and spices shine through. Then there’s the SIMPLICITY. I’m all about recipes that deliver big on taste without demanding hours in the kitchen, and this one is a lifesaver on busy afternoons or for a spontaneous weekend treat. You can have these mixed up and in the oven in about 15 minutes. The ingredients are generally budget-friendly too, mostly pantry staples with a can of pumpkin puree. You probably have most of them right now! And the VERSATILITY is fantastic. These are brilliant for breakfast on the go, a delightful addition to a brunch spread, or a perfect, satisfying dessert when you’re craving something sweet but don’t want to bake a whole cake. They’re also fantastic to bring to bake sales or potlucks because they’re always a crowd-pleaser. What I love most about this recipe, though, is how forgiving it is. Even if you’re new to baking, you’re going to get fantastic results. It’s just so satisfying to pull a tray of these gorgeous muffins out of the oven. They really are a step above your average muffin, offering a depth of flavor that makes them feel truly special, yet they’re still approachable for any home baker.
How do I make pumpkin chocolate chip muffins?
Quick Overview
Making these pumpkin Chocolate Chip muffins is surprisingly straightforward. You’ll basically whisk together your dry ingredients, then whisk your wet ingredients separately, combine them just enough to mix, fold in those glorious chocolate chips, and then bake them until they’re perfectly puffed and golden. The whole process from start to finish, including baking, can easily be done in under an hour, making them ideal for a quick treat any day of the week. It’s all about gentle mixing to ensure a tender crumb and those beautiful domes on top.
Ingredients
For the Main Batter:
2 cups all-purpose flour: I always use a good quality all-purpose flour. If you want to experiment, I’ve found that using about a quarter of it as whole wheat flour can add a nice nutty depth, but start with just all-purpose if you’re unsure.
1 teaspoon baking soda: This is what gives our muffins their lift! Make sure it’s fresh; an expired baking soda is a common culprit for flat muffins.
1/2 teaspoon baking powder: Works with the baking soda for an extra boost of fluffiness.
1 teaspoon ground cinnamon: The star of our fall spice blend.
1/2 teaspoon ground nutmeg: Adds that warm, slightly sweet, earthy note.
1/4 teaspoon ground ginger: For a gentle zing that complements the other spices.
1/8 teaspoon ground cloves (optional, but highly recommended!): Just a pinch goes a long way to add that authentic pumpkin pie flavor.
1/2 teaspoon salt: Balances out the sweetness and enhances all the other flavors.
1 cup granulated sugar: For sweetness and tenderness. You can reduce this slightly if you prefer, but remember it affects the texture too.
1/2 cup packed light Brown Sugar: Adds moisture and a lovely caramel note.
2 large eggs: At room temperature, they incorporate better into the batter.
1 cup pumpkin puree (NOT pumpkin pie filling): This is crucial! Make sure it’s plain pumpkin puree. The filling has added sugar and spices that will throw off your recipe. I usually buy the 15oz can and have a little left over for other things.
1/2 cup vegetable oil (or other neutral oil like canola or melted coconut oil): This is what keeps our muffins wonderfully moist. I’ve even tried it with melted unsalted butter and it was delicious, just a bit less moist over time.
1/4 cup milk (any kind will work, even non-dairy like almond or oat milk): Adds a bit more moisture and helps create a tender crumb. I’ve tested this with almond milk and it actually made it even creamier!
1 teaspoon vanilla extract: Because vanilla makes everything better.
For the Chocolate Chips:
1 cup semi-sweet chocolate chips (or milk chocolate, or dark chocolate chips): Use your favorite! I love semi-sweet for a good balance, but mini chocolate chips also work beautifully and distribute more evenly.
For the Optional Glaze (if you’re feeling fancy!):
1 cup powdered sugar: Sifted for the smoothest glaze.
2-3 tablespoons milk or heavy cream: Start with 2 and add more, a teaspoon at a time, until you reach your desired drizzling consistency.
1/2 teaspoon vanilla extract (optional): For a little extra flavor in the glaze.
Step-by-Step Instructions
Step 1: Preheat & Prep Pan
First things first, preheat your oven to 375°F (190°C). I always do this as soon as I decide to bake. Then, get your muffin tin ready. Line 12 muffin cups with paper liners, or if you don’t have liners, generously grease and flour each cup. This step is important to ensure your beautiful muffins don’t stick. I usually put the liners in while the oven heats up.
Step 2: Mix Dry Ingredients
In a large bowl, whisk together the all-purpose flour, baking soda, baking powder, cinnamon, nutmeg, ginger, cloves (if using), and salt. Whisking thoroughly at this stage helps distribute the leavening agents and spices evenly throughout the batter, which is key for consistent rise and flavor in every muffin. You want to make sure there are no pockets of baking soda or spices. I usually give it a good few whisks, about 30 seconds.
Step 3: Mix Wet Ingredients
In a separate medium bowl, whisk together the granulated sugar, brown sugar, eggs, pumpkin puree, vegetable oil, milk, and vanilla extract until well combined. Make sure the pumpkin puree is smooth. If it has any lumps, give it a good whisk until it’s creamy. The mixture should look smooth and uniform. I like to use a fork for this part to really break up any small bits of pumpkin.
Step 4: Combine
Now, pour the wet ingredients into the bowl with the dry ingredients. Using a rubber spatula or a wooden spoon, gently fold everything together until *just* combined. It’s really important not to overmix here! A few streaks of flour remaining are perfectly okay. Overmixing develops the gluten in the flour too much, which can lead to tough, dense muffins instead of light and fluffy ones. I always stop as soon as I can’t see huge dry patches.
Step 5: Prepare Filling
This step is actually for the chocolate chips! Gently fold in the chocolate chips into the batter. Again, be careful not to overmix. You just want them distributed throughout the batter. Some people like to reserve a few chocolate chips to sprinkle on top before baking for an extra pretty finish. I often do this!
Step 6: Layer & Swirl
Divide the batter evenly among the prepared muffin cups, filling each about two-thirds to three-quarters full. If you reserved some chocolate chips, press a few into the top of each muffin. This gives that lovely bakery look.
Step 7: Bake
Bake for 18-22 minutes, or until a wooden skewer or toothpick inserted into the center of a muffin comes out clean or with a few moist crumbs attached (but no wet batter). Ovens can vary, so start checking around the 18-minute mark. If they’re browning too quickly on top, you can loosely tent the muffin tin with foil for the remaining baking time.
Step 8: Cool & Glaze
Once baked, let the muffins cool in the muffin tin for about 5-10 minutes. This allows them to firm up a bit before you move them. Then, carefully transfer the muffins to a wire rack to cool completely. If you’re adding the glaze, whisk together the powdered sugar, 2 tablespoons of milk (or cream), and vanilla extract in a small bowl. Add more milk, a teaspoon at a time, until you reach a drizzly consistency. Drizzle the glaze over the cooled muffins. Make sure they’re completely cool, otherwise, the glaze will just melt off!
Step 9: Slice & Serve
Once the glaze is set (or if you skipped the glaze), these pumpkin chocolate chip muffins are ready to enjoy! They are absolutely divine served warm, but they’re also delicious at room temperature. I usually just grab one straight from the rack, but they look extra special on a nice plate with a cup of coffee or tea.
What to Serve It With
These pumpkin chocolate chip muffins are so versatile, they fit into almost any occasion! For a casual FOR BREAKFAST, they’re a dream with a steaming mug of coffee or a glass of cold milk. I often just grab one on my way out the door during the week. For a more elegant BRUNCH spread, I love arranging them on a tiered stand surrounded by fresh fruit and maybe some yogurt. They pair beautifully with a mimosa or a festive pumpkin spice latte. As a simple DESSERT, they’re fantastic on their own, or perhaps with a small scoop of vanilla bean ice cream for a really decadent treat. A dusting of powdered sugar can also elevate them for after-dinner enjoyment. And for COZY SNACKS, there’s nothing better than curling up on the couch with a good book and one of these warm muffins, maybe with a dollop of whipped cream or a smear of cream cheese. My kids also love them with a glass of warm apple cider. Honestly, the combinations are endless and all delightful.
Top Tips for Perfecting Your Pumpkin Chocolate Chip Muffins
I’ve made these pumpkin chocolate chip muffins more times than I can count, and over the years, I’ve picked up a few tricks that I think really make a difference. Here are my top tips for ensuring your muffins turn out absolutely perfect every single time:
Zucchini Prep: Wait, I meant Pumpkin Prep! Make sure you’re using pure pumpkin puree, not pumpkin pie filling. This is super important because the filling has added sugar and spices that will make your muffins too sweet and alter the flavor profile. The puree itself should be thick; if you happen to buy one that seems a bit watery, you can always strain it through a fine-mesh sieve lined with cheesecloth for a few minutes to remove excess moisture. This ensures your muffins aren’t too dense or gummy.
Mixing Advice: This is probably the most critical tip for tender muffins: do NOT overmix the batter. Once you combine the wet and dry ingredients, mix only until the flour streaks *just* disappear. A few little lumps are fine; they’ll bake out. Overmixing develops the gluten too much, which results in tough, rubbery muffins. I always use a spatula and fold gently, stopping as soon as everything is *almost* combined. Remember, you’re not making a cake batter; you want it to remain a bit lumpy!
Swirl Customization: While this recipe is for straightforward chocolate chip muffins, if you ever felt adventurous and wanted to add a swirl of something, like a cinnamon-sugar mixture or even some cream cheese filling, make sure you swirl *gently*. Don’t overmix when you add your additions. For these muffins, the chocolate chips are the star, so just folding them in evenly is key. Using mini chocolate chips can help distribute them more widely in each bite!
Ingredient Swaps: I’ve experimented quite a bit! For the oil, any neutral oil works wonderfully. Coconut oil adds a subtle flavor, and melted butter gives a slightly richer taste. For the milk, I’ve successfully used almond milk, oat milk, and even a splash of heavy cream for extra richness – the texture is surprisingly forgiving. If you’re watching sugar, you can reduce the granulated sugar by about a quarter cup, but it will affect the sweetness and tenderness slightly. For the flour, I’ve tried a gluten-free blend that worked reasonably well, though the texture was a bit different; I’ll cover that more in the FAQ.
Baking Tips: Ovens can be so quirky! I always recommend using an oven thermometer to ensure your oven is actually at 375°F (190°C). If your muffins tend to brown too quickly on top before the inside is cooked, you can loosely tent the muffin tin with aluminum foil for the last 5-8 minutes of baking. To test for doneness, a toothpick inserted into the center should come out with moist crumbs, not wet batter. Don’t be afraid to bake them until they’re just done; slightly overbaked can lead to dry muffins.
Glaze Variations: If you want a thinner glaze for more of a delicate drizzle, just add a tiny bit more milk. For a thicker, more frosting-like glaze, use less milk or add a bit more powdered sugar. You can also add a pinch of pumpkin pie spice to the glaze for an extra punch of fall flavor, or even a bit of orange zest for a bright citrus note. If you don’t have milk or cream, a bit of water works in a pinch, though the flavor is best with dairy.
Storing and Reheating Tips
These pumpkin chocolate chip muffins are wonderfully forgiving when it comes to storage, which is another reason I love them so much. Here’s how to keep them tasting as fresh as possible:
Room Temperature: Once completely cooled (and if you’ve added glaze, ensure it’s set), store the muffins in an airtight container at room temperature for up to 2-3 days. If you live in a very warm or humid climate, you might want to pop them in the fridge after day 2, as they can sometimes get a little sticky in the heat. I usually just put them in a large zip-top bag with the air squeezed out.
Refrigerator Storage: For longer storage, up to a week, place them in an airtight container or a heavy-duty zip-top bag and keep them in the refrigerator. They’ll still be quite moist, but the texture can change slightly. They are delicious straight from the fridge, or you can gently reheat them.
Freezer Instructions: These muffins freeze beautifully! Once completely cooled, wrap individual muffins tightly in plastic wrap, then place them in a freezer-safe bag or container. They’ll keep well in the freezer for up to 3 months. To thaw, simply unwrap them and let them come to room temperature on a wire rack, or gently warm them in the oven or microwave.
Glaze Timing Advice: If you’re planning to freeze your muffins, I highly recommend glazing them *after* they’ve been thawed. Glaze applied before freezing can sometimes become sticky or slightly discolored. If you’re just storing them at room temperature or in the fridge for a day or two, you can glaze them right away once they’re cool.
Frequently Asked Questions
Final Thoughts
So there you have it – my absolute favorite pumpkin chocolate chip muffins! I really hope you give this recipe a try. It’s one that brings so much joy to my kitchen, and I truly believe it will do the same for yours. There’s something so comforting and nostalgic about these muffins, and the fact that they’re so easy to make makes them a winner every time. They’re perfect for those crisp autumn mornings, a delightful afternoon pick-me-up, or even a simple dessert. If you love this recipe, you might also enjoy my spiced apple muffins or my classic blueberry crumble bars. They share that same homey, comforting vibe. I can’t wait to hear how yours turn out! Please leave a comment below and let me know what you think, or share any fun variations you come up with. Happy baking!
Pumpkin Chocolate Chip Muffins
Ingredients
Dry Ingredients
- 2.5 cups all-purpose flour
- 1.5 teaspoons baking soda
- 1 teaspoons cinnamon
- 0.5 teaspoons nutmeg
- 0.25 teaspoons ground cloves
- 0.5 teaspoons salt
Wet Ingredients
- 1.5 cups granulated sugar
- 2 large eggs
- 1 cup pumpkin puree (not pie filling)
- 0.5 cup vegetable oil
- 0.25 cup milk
Add-ins
- 1 cup chocolate chips (milk or semi-sweet)
Instructions
Preparation Steps
- Preheat oven to 375°F (190°C). Line a 12-cup muffin tin with paper liners or grease it well.
- In a large bowl, whisk together the flour, baking soda, cinnamon, nutmeg, cloves, and salt. Set aside.
- In a separate large bowl, beat together the sugar and eggs until well combined. Stir in the pumpkin puree and vegetable oil until smooth. Then, stir in the milk.
- Gradually add the dry ingredients to the wet ingredients, mixing until just combined. Do not overmix.
- Gently fold in the chocolate chips.
- Divide the batter evenly among the prepared muffin cups, filling each about two-thirds full.
- Bake for 18-22 minutes, or until a toothpick inserted into the center of a muffin comes out clean.
- Let the muffins cool in the tin for a few minutes before transferring them to a wire rack to cool completely.