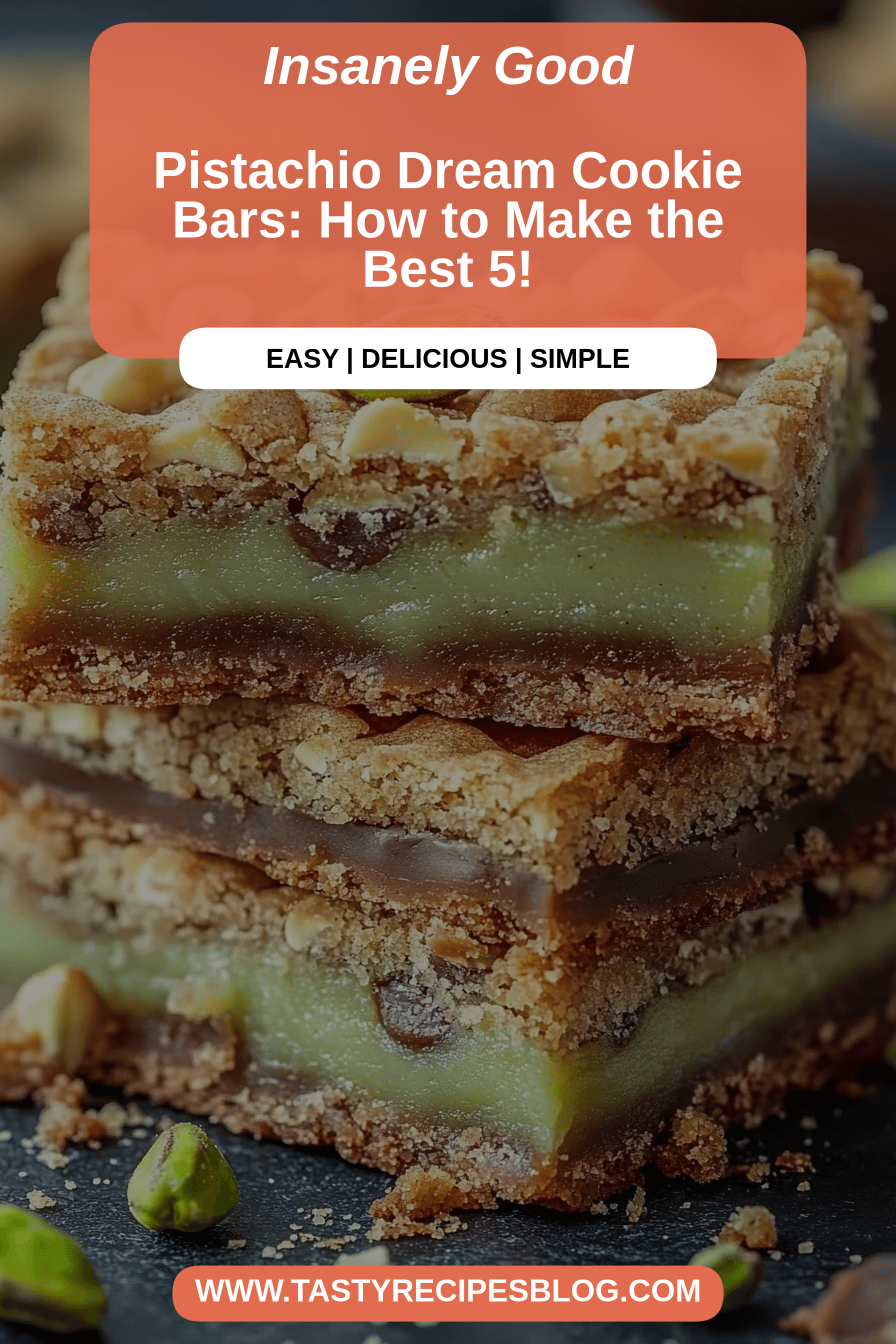
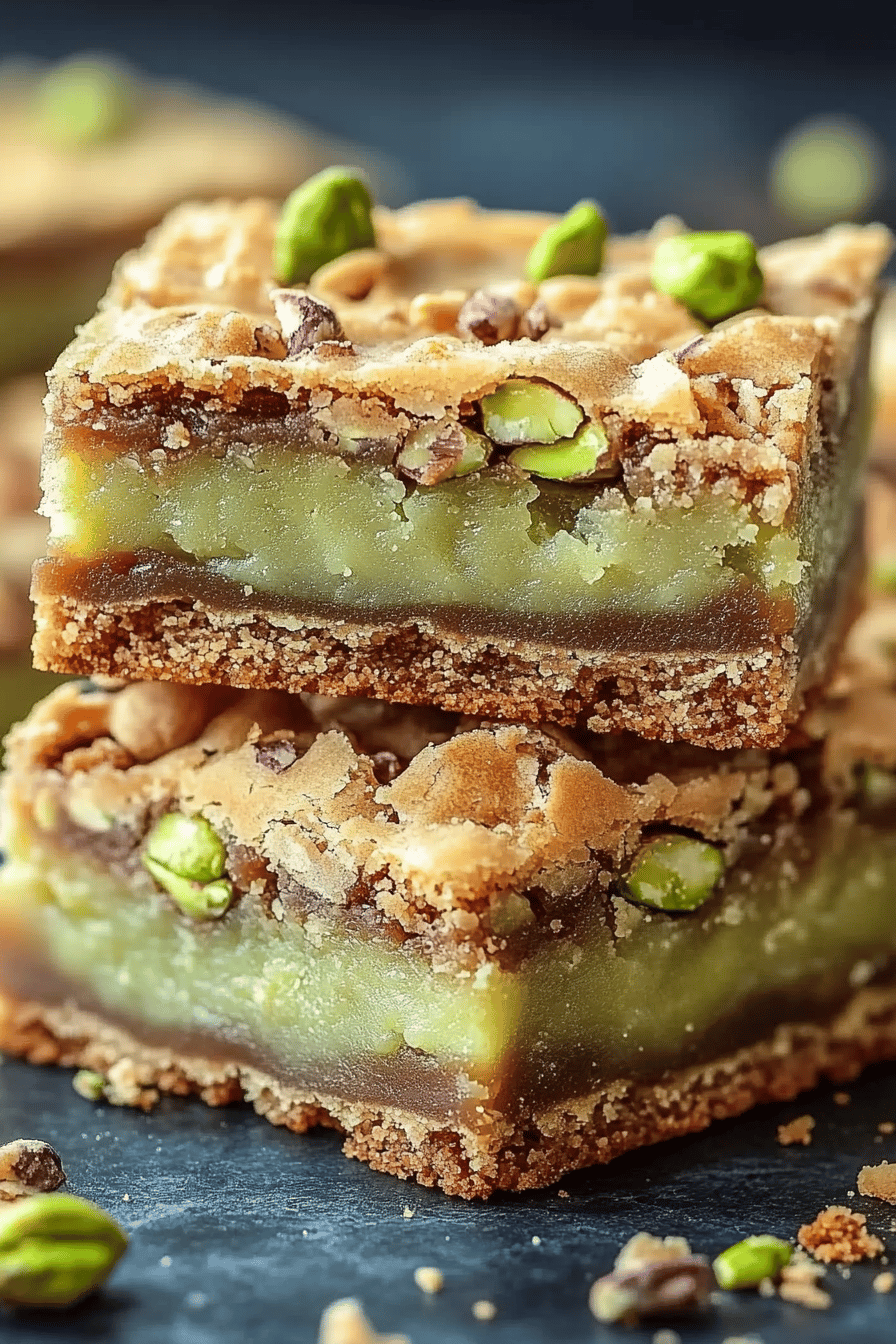
Pistachio cookie bars
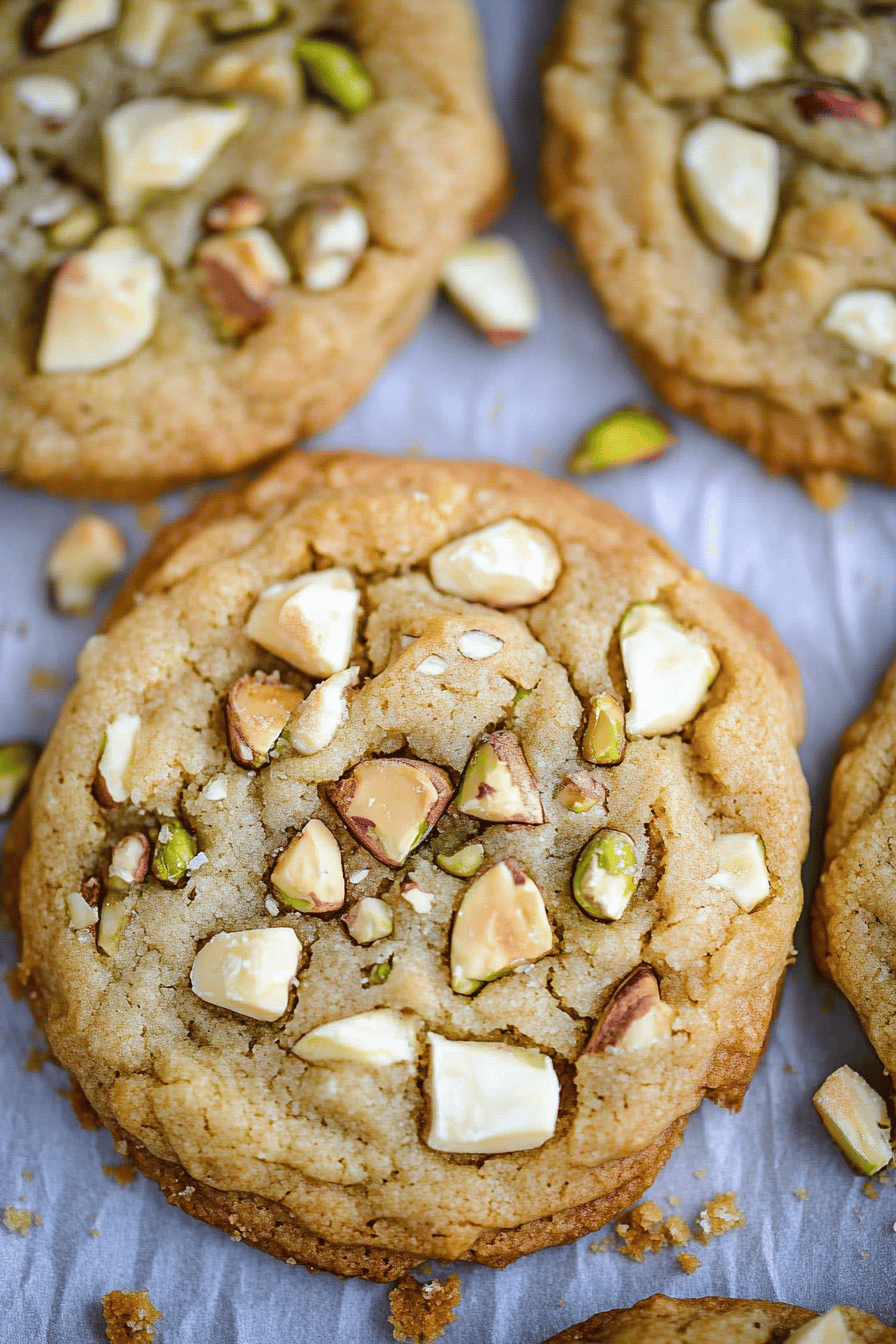
There are some recipes that just feel like home, aren’t there? This one, my pistachio Cookie Bars, is absolutely one of them for me. It’s the kind of treat that instantly transports me back to my grandmother’s kitchen, the air thick with the sweet, nutty aroma of something wonderful baking. My kids, bless their hearts, have declared them “the bestest ever,” which, coming from them, is high praise indeed! They’re not as fussy as traditional cookies, and honestly, they’re more forgiving, which is a lifesaver on those chaotic weeknights when you just need a little something sweet to make everything feel okay. Think of them as a delightful hybrid between a chewy cookie and a decadent brownie, but with that gorgeous, vibrant green nut at the center of it all. If you’ve ever loved a classic shortbread or a really good blondie, you’re going to fall head over heels for these pistachio cookie bars.
What is the recipe for pistachio cookie bars?
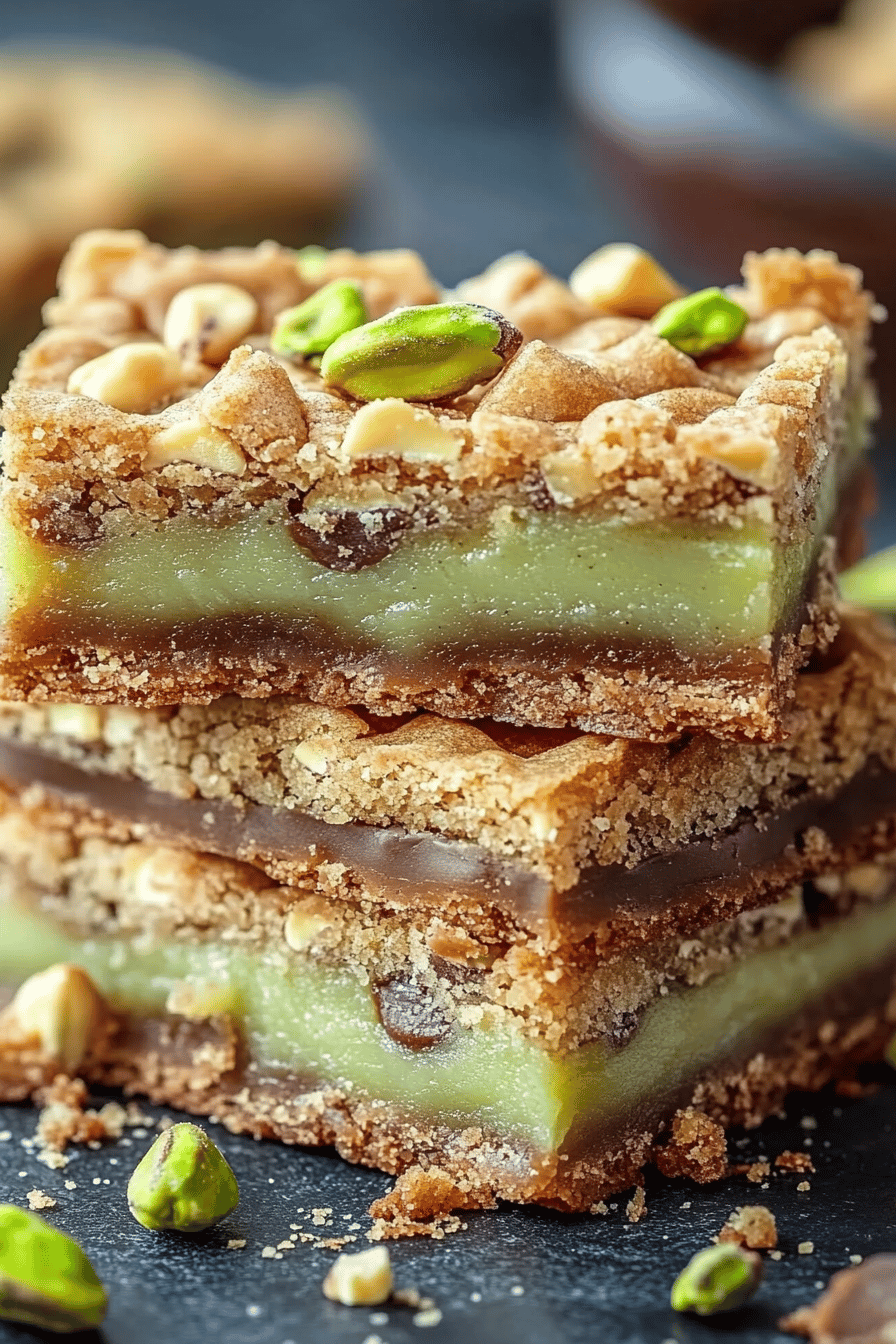
So, what exactly are these pistachio Cookie Bars? Imagine a wonderfully soft, chewy, buttery base that’s got just the right amount of sweetness. Then, we generously swirl in a rich, almost creamy pistachio filling that makes every bite absolutely divine. And to top it all off, a simple, sweet glaze that just ties everything together. It’s essentially a no-fuss way to enjoy all the incredible flavors of a classic pistachio cookie, but baked into easy-to-cut bars. I like to call them my “happy bars” because they genuinely make me happy every single time I make them, and the look on people’s faces when they first try them? Priceless. They’re not overly complicated, which is key for me, but they pack a serious flavor punch. It’s the perfect balance of textures and tastes – a little bit chewy, a little bit tender, and bursting with that unmistakable pistachio goodness.
Why you’ll love this recipe?
Honestly, where do I even begin with why I adore these pistachio Cookie Bars? First and foremost, the flavor. Oh, the flavor! That slightly earthy, undeniably delicious taste of pistachios is just so comforting and sophisticated all at once. It’s not an overpowering nut flavor, but it’s distinct and wonderfully satisfying. And then there’s the texture – it’s that perfect chewy-but-tender bite that you dream about in a baked good. It’s not cakey, it’s not dry, it’s just… right. What I love most about these bars, though, is their sheer simplicity. You don’t need any fancy equipment, and the steps are straightforward enough that even a beginner baker can achieve incredible results. My kids actually help me make these now, which is a testament to how easy they are! They’re also surprisingly budget-friendly, especially when pistachios are on sale. I often find myself reaching for the same pantry staples that I use for other baking projects. And the versatility! You can enjoy these for breakfast (don’t judge, they have nuts!), a midday pick-me-up, or a delightful dessert. They’re a fantastic alternative to a birthday cake when you want something a bit more casual but still special. They really stand out from other bar recipes because they’re just so unique and delightful.
How do I make pistachio cookie bars?
Quick Overview
This recipe is designed for maximum flavor with minimum fuss. We’ll start by creaming butter and sugar to get that perfect base texture, then gently incorporate the dry ingredients. The magic happens when we create a simple, luscious pistachio filling and swirl it into the Cookie Dough before baking to golden perfection. A quick, sweet glaze adds the final flourish. It’s a straightforward process that yields incredibly delicious results, perfect for any occasion or just because!
Ingredients
For the Main Batter:
2 cups (4 sticks or 454g) unsalted butter, softened: Make sure it’s truly softened, not melted. This is crucial for that perfect texture. I always leave mine on the counter for at least an hour before I start.
1 ½ cups (300g) granulated sugar: For sweetness and that classic cookie texture.
1 cup (200g) packed light Brown Sugar: Adds moisture and a lovely caramel undertone.
2 large eggs: Room temperature is best, they incorporate more easily.
2 teaspoons pure vanilla extract: Don’t skimp on good vanilla; it makes a difference!
4 cups (500g) all-purpose flour: Spooned and leveled. Too much flour makes them dry, too little makes them spread too much.
1 teaspoon baking soda: For a little lift.
½ teaspoon salt: Balances the sweetness.
1 cup (120g) finely chopped shelled pistachios (unsalted): This is where the magic happens! Make sure they’re finely chopped so they distribute well. You can buy them already shelled, which saves a step. Some of the chopped nuts will go into the batter, and some into the filling.
For the Filling:
½ cup (1 stick or 113g) unsalted butter, softened: Just like the batter, softened butter is key here.
½ cup (100g) packed light brown sugar: For that lovely caramel note in the filling.
1 teaspoon pure vanilla extract: Enhances the pistachio flavor.
½ cup (60g) finely chopped shelled pistachios (unsalted): You can add a touch more if you really love them!
¼ cup (30g) all-purpose flour: To help thicken the filling slightly.
1-2 tablespoons milk (dairy or non-dairy): Just enough to get a smooth, swirlable consistency. I’ve tested this with almond milk and it actually made it even creamier!
For the Glaze:
1 ½ cups (180g) powdered sugar: Sifted to avoid lumps.
2-3 tablespoons milk (dairy or non-dairy): Start with 2, add more if needed for desired consistency.
½ teaspoon pure vanilla extract: Or a tiny splash of almond extract if you’re feeling bold!
Optional: A few whole or roughly chopped pistachios for garnish.
Step-by-Step Instructions
Step 1: Preheat & Prep Pan
First things first, get your oven preheated to 350°F (175°C). It’s so important to let your oven come all the way up to temperature before you put anything in it. Grab a 9×13 inch baking pan. I always like to line mine with parchment paper, leaving a little overhang on the sides. This makes lifting the bars out so much easier later on, and cleanup is a breeze! Just press the parchment into the pan, making sure it covers the bottom and sides. You can lightly grease the pan first if you want the parchment to stick better, but usually, it stays put.
Step 2: Mix Dry Ingredients
In a medium bowl, whisk together the 4 cups of all-purpose flour, 1 teaspoon of baking soda, and ½ teaspoon of salt. Give it a good whisk to make sure everything is evenly distributed. This is a quick step, but it ensures that your leavening and salt are spread throughout the flour, preventing any weird pockets of flavor or uneven baking. I usually do this while my butter and sugars are creaming in the next step.
Step 3: Mix Wet Ingredients
In a large bowl, using an electric mixer (stand mixer with paddle attachment or a hand mixer), cream together the 2 cups of softened unsalted butter, 1 ½ cups granulated sugar, and 1 cup packed light brown sugar. Beat on medium-high speed for about 3-5 minutes, until it’s light, fluffy, and pale yellow. This process, called creaming, incorporates air into the batter, which is what gives your bars that tender, chewy texture. Scrape down the sides of the bowl as needed. Then, add the 2 large eggs, one at a time, beating well after each addition. Finally, stir in the 2 teaspoons of vanilla extract.
Step 4: Combine
Now, gradually add the dry ingredients (from Step 2) to the wet ingredients (from Step 3) on low speed. Mix just until combined. Be careful not to overmix! Overmixing can develop the gluten in the flour too much, leading to tough bars. You want to see just a few streaks of flour remaining. Then, gently fold in 1 cup of the finely chopped pistachios. Again, mix until just incorporated. The dough will be thick and wonderfully fragrant.
Step 5: Prepare Filling
In a separate medium bowl, beat together the ½ cup softened butter, ½ cup packed light brown sugar, and 1 teaspoon vanilla extract until smooth and creamy. Stir in ¼ cup of all-purpose flour until just combined. Then, add ½ cup of finely chopped pistachios. Add 1-2 tablespoons of milk, starting with one, and mix until you have a smooth, thick, but spreadable consistency. You’re looking for something that’s not too runny but not too stiff – it should be easy to swirl. If it’s too thick, add another tablespoon of milk.
Step 6: Layer & Swirl
Take about two-thirds of your cookie dough and press it evenly into the bottom of your prepared baking pan. It doesn’t have to be perfect, just get it spread out. Then, dollop spoonfuls of the pistachio filling over the top of the dough. Now, take the remaining one-third of the cookie dough and drop small pieces of it over the filling. This is the fun part! Grab a knife or a skewer and gently swirl the filling and the remaining cookie dough together. Don’t overdo it; you want to see distinct swirls of both, not just one big muddy mixture. This is what makes them look so pretty and gives you pockets of intense pistachio flavor.
Step 7: Bake
Pop the pan into your preheated oven. Bake for 30-40 minutes, or until the edges are golden brown and the center is set. A toothpick inserted into the center should come out with moist crumbs attached, not wet batter. Keep an eye on them towards the end of baking, as oven temperatures can vary. If the top starts browning too quickly, you can always loosely tent it with foil. The aroma that fills your kitchen during this stage is just heavenly!
Step 8: Cool & Glaze
This is arguably the hardest part: letting them cool! Once they’re out of the oven, let them cool in the pan on a wire rack for at least 30 minutes. This is essential for them to set properly. While they’re cooling, whisk together the 1 ½ cups powdered sugar, 2 tablespoons milk, and ½ teaspoon vanilla extract in a small bowl until smooth. Add more milk, a teaspoon at a time, if needed, until you reach a drizzly consistency. Once the bars have cooled slightly (but are still a little warm), drizzle the glaze evenly over the top. If you like, sprinkle with a few extra chopped pistachios for garnish. Let the glaze set before cutting.
Step 9: Slice & Serve
Once the glaze has set, use the parchment paper overhang to lift the entire slab out of the pan onto a cutting board. Use a sharp knife to cut them into bars. I usually cut mine into 16 or 24 bars, depending on how big I want them. They’re delicious served at room temperature, but honestly, a slightly warm bar with that gooey glaze is pure bliss. Enjoy!
What to Serve It With
These pistachio cookie bars are so versatile, they fit into almost any meal or occasion! For breakfast, they’re fantastic with a strong cup of coffee or a creamy latte. I sometimes cut them into smaller, bite-sized pieces and serve them alongside scrambled eggs and fruit for a special weekend brunch. The sweetness is just enough to feel like a treat, but balanced by the nuts and butter to feel substantial. For a more elegant brunch spread, I’ll arrange them on a pretty platter with some fresh berries and maybe a dollop of whipped cream. As a dessert, they’re a winner after dinner, especially when served slightly warm. They pair wonderfully with a scoop of vanilla bean ice cream or a light raspberry coulis to cut through the richness. And for those cozy snack moments? These are perfect with a glass of milk or a mug of hot chocolate on a chilly evening. My family loves them with a simple glass of cold milk after school, and they disappear in minutes!
Top Tips for Perfecting Your Pistachio Cookie Bars
After making these pistachio cookie bars more times than I can count, I’ve picked up a few tricks that I think really make a difference. First, regarding the pistachios: I always buy unsalted, shelled pistachios. It’s just easier, and you can control the saltiness yourself. For the batter and filling, make sure your butter is truly softened, not melted. I learned this the hard way early on – melted butter leads to greasy, spread-out bars, and nobody wants that! When you’re mixing the dry and wet ingredients for the batter, resist the urge to overmix. Just mix until you don’t see dry flour anymore. A few streaks are fine! Overmixing develops the gluten and can make your bars tough. For the swirl, don’t go crazy trying to make it perfect. Gentle swirls are best; you want to see distinct ribbons of filling and dough, not a uniform color. It’s more about the flavor pockets than intricate patterns. If your filling seems too stiff to swirl, adding that extra tablespoon of milk (or even a touch more) is key. It should be thick but spreadable. For baking, I always start checking mine around the 30-minute mark. Ovens are quirky, and yours might bake faster or slower. You’re looking for that beautiful golden brown on the edges and a set center. A toothpick test is your best friend here. For the glaze, it’s all about consistency. If it’s too thick, it’ll be hard to drizzle; if it’s too thin, it’ll just run off. Start with 2 tablespoons of milk and add more as needed. And a little tip for storage: if you plan to keep them for more than a day or two, I sometimes hold off on glazing the whole batch. I’ll glaze what I’m going to eat in the first couple of days, and then glaze the rest just before serving or storing them longer. This keeps the glaze from getting too soft or sticky.
Storing and Reheating Tips
Proper storage is key to keeping these pistachio cookie bars tasting fresh and delicious. At room temperature, they’ll stay wonderfully fresh for about 3-4 days, provided they’re stored in an airtight container. I usually just leave them in the pan, covered tightly with plastic wrap, if I’m going to eat them within a day or two. If you’ve glazed them, make sure the glaze is completely set before covering. For refrigerator storage, they’ll last even longer, up to a week. Just place them in an airtight container, perhaps with parchment paper between layers to prevent sticking. They can sometimes become a bit firmer when chilled, so if you prefer them softer, let them come to room temperature for about 15-20 minutes before serving. If you’re lucky enough to have any leftovers that you want to keep for a special occasion (or just because!), they freeze beautifully. Wrap them very tightly, first in plastic wrap and then in a layer of aluminum foil, or place them in a freezer-safe container. They can be stored in the freezer for up to 2-3 months. To thaw, simply bring them to room temperature overnight. If they were glazed before freezing, the glaze might soften a bit upon thawing. If you freeze unglazed bars, you can add a fresh glaze just before serving them.
Frequently Asked Questions
Final Thoughts
I really hope you give these pistachio cookie bars a try. They’re more than just a recipe to me; they’re a little piece of comfort and joy that I love sharing. The combination of the buttery, chewy base and the rich, nutty filling is just pure bliss, and the slight crunch from the pistachios is so satisfying. They’re perfect for bake sales, potlucks, or just because you deserve a treat! If you love this recipe, you might also want to check out my chewy chocolate chip cookies or my easy lemon blueberry muffins for more simple, delicious baking inspiration. I can’t wait to hear what you think when you make them! Please leave a comment below and let me know how yours turned out, or if you have any fun variations. Happy baking, and enjoy every single bite!