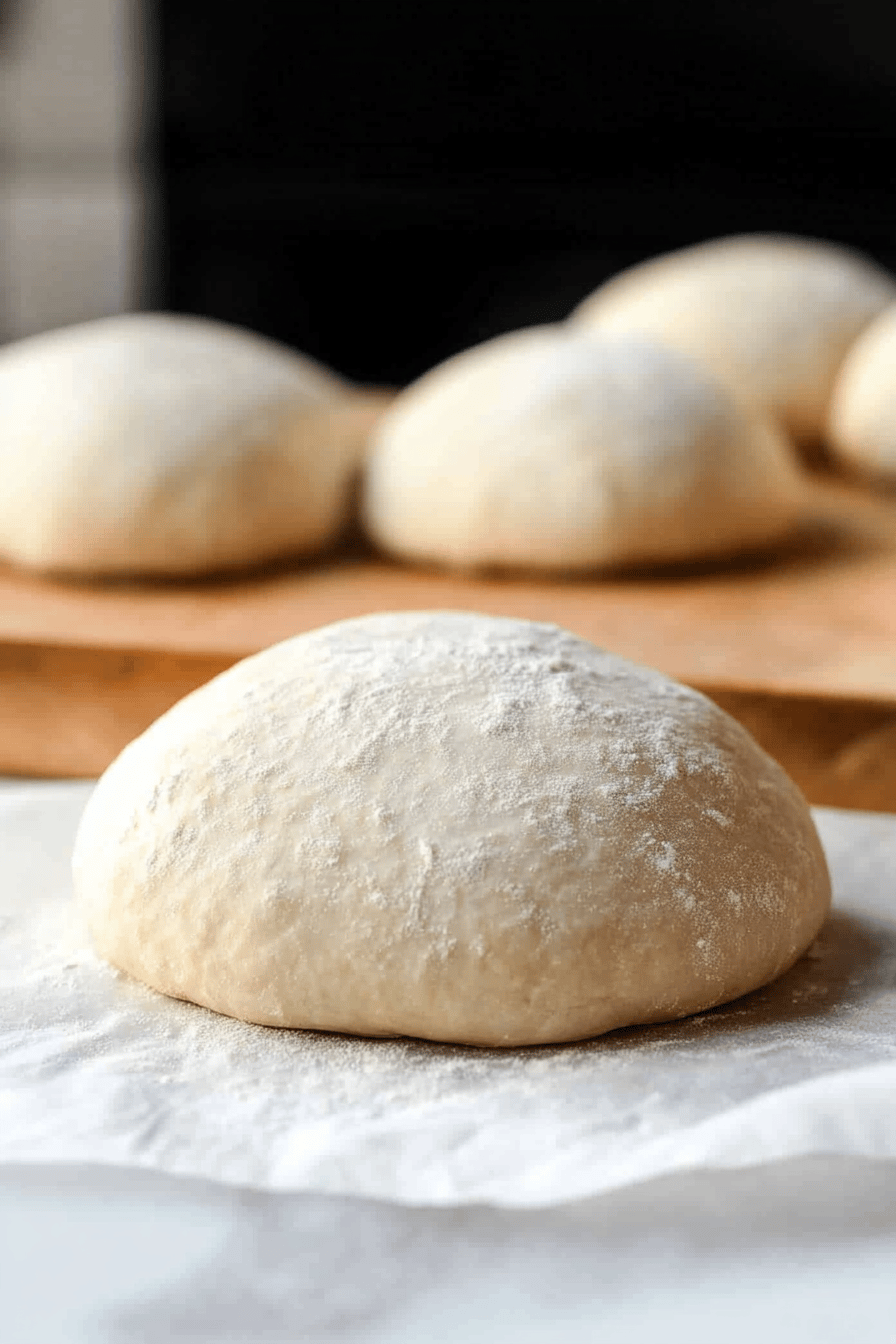
perfect pizza dough
Oh, pizza night! It’s more than just a meal in my house; it’s a ritual. The sound of the oven preheating, the anticipation, and that incredible aroma that fills every corner of the kitchen – it’s pure magic. For years, I dabbled with store-bought dough, thinking it was the easy way out, but let me tell you, nothing, and I mean NOTHING, compares to the feeling of pulling a homemade pizza from the oven, knowing you created that perfect pizza dough from scratch. It’s this recipe, the one I’m about to share with you, that changed everything. It’s the foundation of countless happy memories, the secret weapon for surprise guests, and the ultimate crowd-pleaser. If you’ve ever felt intimidated by making pizza dough, think of this as your gentle nudge, your friendly guide to achieving pizza perfection right in your own kitchen. This perfect pizza dough is wonderfully forgiving and yields results that will have everyone asking for your secret.

What is perfect pizza dough?
So, what exactly makes this pizza dough “perfect”? It’s not some fancy, complicated concoction. Think of it as your go-to, reliable foundation for any pizza you can dream up. It’s essentially a simple blend of flour, yeast, water, a touch of sugar, salt, and a whisper of Olive Oil. The magic happens in the way these humble ingredients come together. It’s the kind of dough that’s delightfully elastic, easy to work with (even for beginners!), and bakes up with that ideal balance of chewy interior and slightly crispy exterior. It’s not too dense, not too airy, just… right. The name “perfect pizza dough” isn’t just for show; it’s a promise that with a little bit of patience and love, you’ll achieve that fantastic, homemade pizza experience every single time. It’s the kind of dough that holds up beautifully to all your favorite toppings, from a classic Margherita to something wild and experimental.
Why you’ll love this recipe?
There are so many reasons why this perfect pizza Dough Recipe has earned a permanent spot in my recipe binder, and I’m absolutely buzzing to share them with you! First off, let’s talk about flavor and texture. When this dough bakes, it develops this incredible, subtle yeasty aroma and a taste that’s just subtly sweet and wonderfully savory. The texture? Oh, it’s divine. It’s got that delightful chewiness that makes you want to tear off another piece, but it also gets wonderfully crisp on the bottom, especially when baked on a hot stone or steel. It’s the perfect canvas for whatever your pizza heart desires. Then there’s the simplicity. Honestly, I was convinced making pizza dough from scratch was an advanced culinary skill, but this recipe is so straightforward. Even on a busy weeknight, if I have an hour, I can whip this up and have a phenomenal pizza ready to go. It’s a lifesaver when unexpected guests drop by or when the kids suddenly declare they NEED pizza. And let’s not forget about the cost-effectiveness. Flour, yeast, water – these are pantry staples! Making your own dough is significantly cheaper than buying pre-made, and the quality you get is miles beyond anything store-bought. It’s also incredibly versatile. I use this same base dough for everything from thin-crust Roman-style pizzas to thicker, focaccia-like crusts. It’s truly adaptable. What I love most about this is the sheer satisfaction. There’s something deeply rewarding about creating something so delicious from such basic ingredients. It feels like a true accomplishment, and the smiles it brings to my family’s faces are the best reward.
How do I make pizza dough?
Quick Overview
Making this perfect pizza dough is a journey of simple transformations. You’ll start by activating your yeast, then combining it with flour and other dry ingredients, followed by a gentle mix with Olive Oil and water. After a brief rest and a bit of kneading to develop that beautiful gluten structure, it’s time for it to rise into a fluffy cloud. Once it’s doubled in size, you’ll gently shape it and it’s ready for your favorite toppings and a hot bake. The beauty lies in its simplicity and the minimal hands-on time required. It’s a process that practically guides you, and the end result is always so rewarding.
Ingredients
For the Main Dough:
1 ½ cups warm water (about 105-115°F) – Lukewarm is key here, not too hot or it’ll kill the yeast, and not too cold or it won’t activate properly. I usually test it with my wrist like I’m bathing a baby!
2 ¼ teaspoons active dry yeast – This is the magic packet that makes everything rise!
1 teaspoon granulated sugar – Just a little something to feed the yeast and get it going.
4 cups all-purpose flour, plus more for dusting – I find all-purpose flour gives the best balance, but bread flour works wonders for an extra chewy crust.
1 ½ teaspoons fine sea salt – Essential for flavor; don’t skip this!
2 tablespoons extra virgin Olive Oil, plus more for greasing – A good quality olive oil adds a lovely subtle flavor and helps with texture.
Step-by-Step Instructions
Step 1: Preheat & Prep Pan
While not for the dough itself, this is a crucial step for the final bake. If you’re using a pizza stone or steel, place it in your oven on the middle or lower rack and preheat your oven to its highest setting, usually 475-500°F (245-260°C), for at least 30 minutes. This super hot surface is key for a crispy crust! If you don’t have a stone or steel, you can use a heavy-duty baking sheet, which also benefits from preheating.
Step 2: Mix Dry Ingredients
In a large mixing bowl, whisk together the 4 cups of all-purpose flour and the 1 ½ teaspoons of fine sea salt. Make sure the salt is evenly distributed throughout the flour. This simple step ensures every bite of your pizza crust has the perfect salty flavor.
Step 3: Mix Wet Ingredients
In a separate medium bowl or a large measuring cup, combine the 1 ½ cups of warm water with the 1 teaspoon of granulated sugar. Sprinkle the 2 ¼ teaspoons of active dry yeast over the top. Let it sit for about 5-10 minutes. You’ll know the yeast is alive and well when it becomes foamy and bubbly. If it doesn’t foam, your yeast might be old or the water was too hot/cold, and you’ll need to start again with fresh yeast and properly tempered water.
Step 4: Combine
Pour the activated yeast mixture into the bowl with the dry ingredients. Add the 2 tablespoons of extra virgin olive oil. Using a wooden spoon or a sturdy spatula, mix everything until a shaggy dough forms. It will look a bit messy at this stage, and that’s perfectly okay! Turn the dough out onto a lightly floured surface. Knead the dough for about 8-10 minutes. You’re looking for a smooth, elastic ball. It should be slightly tacky but not stick excessively to your hands. If it’s too sticky, add a little more flour, a tablespoon at a time. If it feels too dry, add a tiny bit of water. The kneading develops the gluten, which gives pizza dough its structure and chew.
Step 5: Prepare Filling
While your dough is rising, this is the perfect time to prep your toppings. Chop your veggies, grate your cheese, slice your meats, and have everything ready to go. This way, once the dough is ready, you can assemble your pizza quickly without any fuss.
Step 6: Layer & Swirl
Once your dough has risen and you’re ready to assemble, gently punch it down. You can divide it into two equal portions for two medium pizzas or use the whole ball for one large pizza. On a lightly floured surface or parchment paper, gently stretch or roll the dough to your desired thickness and shape. I prefer to gently press it out with my fingertips, working from the center outwards, to keep some of the air bubbles intact. Don’t overwork it! Then, add your sauce, cheese, and toppings. For a truly stunning pizza, you can even swirl some pesto or a balsamic glaze into the cheese for an extra layer of flavor and visual appeal!
Step 7: Bake
Carefully transfer your assembled pizza to the preheated pizza stone, steel, or baking sheet. Bake for 10-15 minutes, or until the crust is golden brown and the cheese is bubbly and slightly browned in spots. Keep an eye on it, as oven temperatures can vary! The best way to tell if it’s done is to lift an edge with a spatula – it should be nicely browned underneath.
Step 8: Cool & Glaze
Once baked to perfection, carefully remove the pizza from the oven. Let it rest on a cutting board for a minute or two before slicing. This allows the cheese to set slightly and prevents everything from sliding off. If you’re adding any fresh herbs or a final drizzle of olive oil, now’s the time!
Step 9: Slice & Serve
Use a sharp pizza cutter or a knife to slice your masterpiece. Serve immediately and enjoy the fruits of your labor! The aroma alone will have everyone gathering around.
What to Serve It With
This perfect pizza dough is so versatile, it truly shines with almost anything you can dream up! For a delightful breakfast pizza, I love topping it with a scattering of fresh spinach, crumbled feta, and a perfectly fried egg right in the center once it’s out of the oven. A drizzle of hot honey is also phenomenal. For a more elegant brunch affair, imagine this dough topped with thinly sliced prosciutto, dollops of ricotta, fresh figs, and a balsamic glaze – it’s stunning and so easy to prepare. When serving it as a dessert pizza, I like to keep it simple: a light brush of butter and cinnamon sugar, or maybe some thinly sliced apples with a sprinkle of nutmeg before baking. It’s a comforting treat after dinner. And for those cozy snack nights? A classic margherita with fresh mozzarella, basil, and a good quality tomato sauce is always a winner. My kids, especially, love it with just a simple sprinkle of mozzarella and a few pepperoni slices. We also have a family tradition of making a “pizza board” where everyone customizes their own mini pizza on a round of dough, which is always a hit during movie nights!
Top Tips for Perfecting Your Pizza Dough
I’ve made this perfect pizza dough more times than I can count, and along the way, I’ve picked up a few tricks that I think really elevate it. For starters, when it comes to the flour, don’t be afraid to experiment a little. While all-purpose is fantastic, I’ve found that using about 20-30% bread flour can give you an even chewier crust with more satisfying ‘pull’. Just make sure to adjust the water slightly, as bread flour can absorb a bit more. When kneading, resist the urge to add too much extra flour. A slightly tacky dough is actually a good thing; it means it’s hydrated and will result in a more tender crust. Instead, try oiling your hands lightly if it’s sticking. For that amazing rise, make sure your yeast is fresh and that your water temperature is just right – that little foamy crown is your sign of happy yeast! I also like to let my dough proof in a lightly oiled bowl in a slightly warm place, like a turned-off oven with the light on. It creates a cozy environment for the yeast to do its magic. If you’re short on time, you can actually let the dough do its first rise in the refrigerator overnight. This slow fermentation develops even more flavor! Just bring it to room temperature for about 30-60 minutes before shaping. Another little secret for a super crispy bottom crust, even without a pizza stone, is to preheat your baking sheet until it’s smoking hot before sliding the pizza onto it. Trust me on this one!
Storing and Reheating Tips
This perfect pizza dough is quite resilient, which is one of its many charms. If you happen to make more than you need for one pizza night, or if you’re meal-prepping, you’ll be happy to know it stores beautifully. For dough that you plan to use within the next day or two, simply place it in a lightly oiled bowl, cover it tightly with plastic wrap, and store it in the refrigerator. It will continue to ferment slowly, developing even more flavor. When you’re ready to use it, just take it out about an hour before you plan to shape it, so it can come to room temperature and become more pliable. If you need to store it for longer, freezing is your best bet. Divide the dough into portions (one for each pizza), shape them into balls, and wrap each one tightly in plastic wrap, then tuck them into a freezer-safe bag or container. It’ll keep in the freezer for up to 3 months. To thaw, transfer the frozen dough to the refrigerator overnight, and then let it sit at room temperature for about an hour before you want to use it. Reheating leftover pizza is also an art form. While the microwave can soften it up, it’s never ideal. The best way to reheat leftover slices is on a skillet over medium heat, covered for a few minutes to melt the cheese, then uncovered to crisp up the crust. Alternatively, pop them back into a hot oven for a few minutes!
Frequently Asked Questions
Final Thoughts
There you have it – the recipe for what I truly believe is the perfect pizza dough! It’s more than just flour and water; it’s the foundation for connection, for family nights, and for pure culinary joy. The satisfaction of pulling a perfectly golden, chewy-crisp crust from your own oven is unparalleled. I hope this recipe brings as much happiness to your kitchen as it has to mine. Don’t be afraid to experiment with your toppings and make it your own! If you try this perfect pizza dough, I’d be absolutely thrilled to hear how it turned out. Leave a comment below, share your favorite topping combinations, or even rate the recipe – your feedback means the world to me! And if you loved this recipe, you might also enjoy my [Link to another relevant recipe] or my [Link to another relevant recipe]. Happy baking, everyone!

Perfect Pizza Dough
Ingredients
Main Ingredients
- 3.5 cups all-purpose flour plus more for dusting
- 1.5 teaspoons active dry yeast
- 1.5 teaspoons granulated sugar
- 1 teaspoons salt
- 1.25 cups warm water about 105-115°F
- 2 tablespoons olive oil plus more for greasing
Instructions
Preparation Steps
- In a small bowl, combine the warm water, yeast, and sugar. Stir gently and let it sit for 5-10 minutes until foamy.
- In a large bowl, whisk together the flour and salt. Make a well in the center.
- Pour the activated yeast mixture and olive oil into the well. Gradually mix the flour into the wet ingredients until a shaggy dough forms.
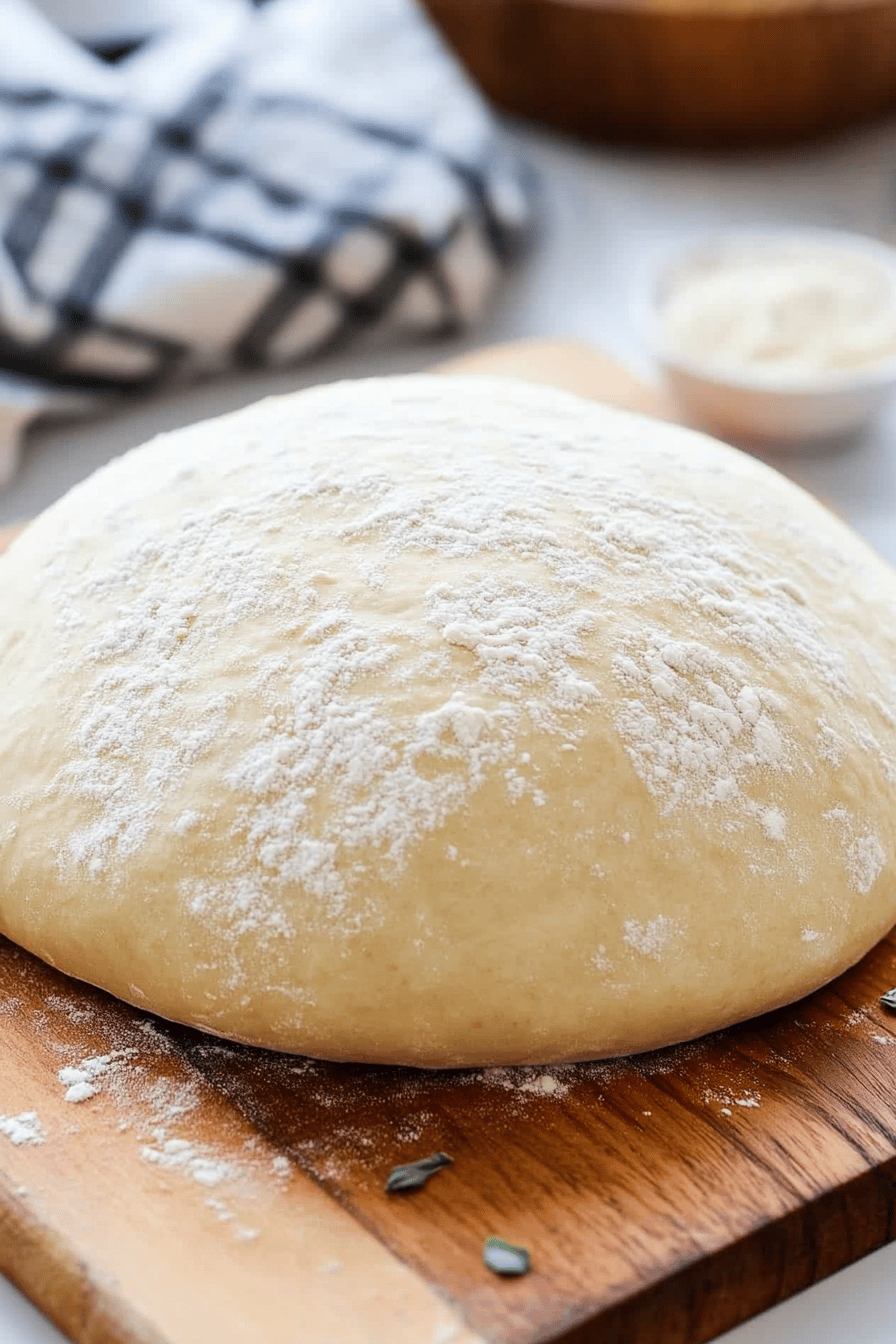
- Turn the dough out onto a lightly floured surface. Knead for 8-10 minutes until smooth and elastic. The dough should spring back when gently poked.
- Lightly grease a clean bowl with olive oil. Place the dough in the bowl and turn to coat. Cover the bowl with plastic wrap or a damp kitchen towel.
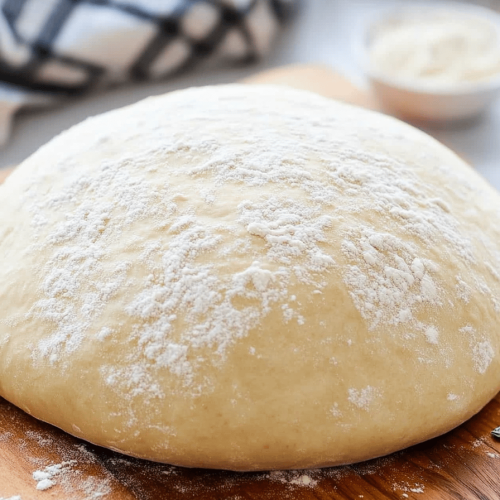
- Let the dough rise in a warm place for 1-1.5 hours, or until doubled in size.
- Punch down the dough gently to release air. Divide the dough into 2-4 equal portions, depending on how many pizzas you want to make. Shape each portion into a ball.
- At this point, you can use the dough immediately or wrap it tightly in plastic wrap and refrigerate for up to 3 days for a slower, more flavorful rise.