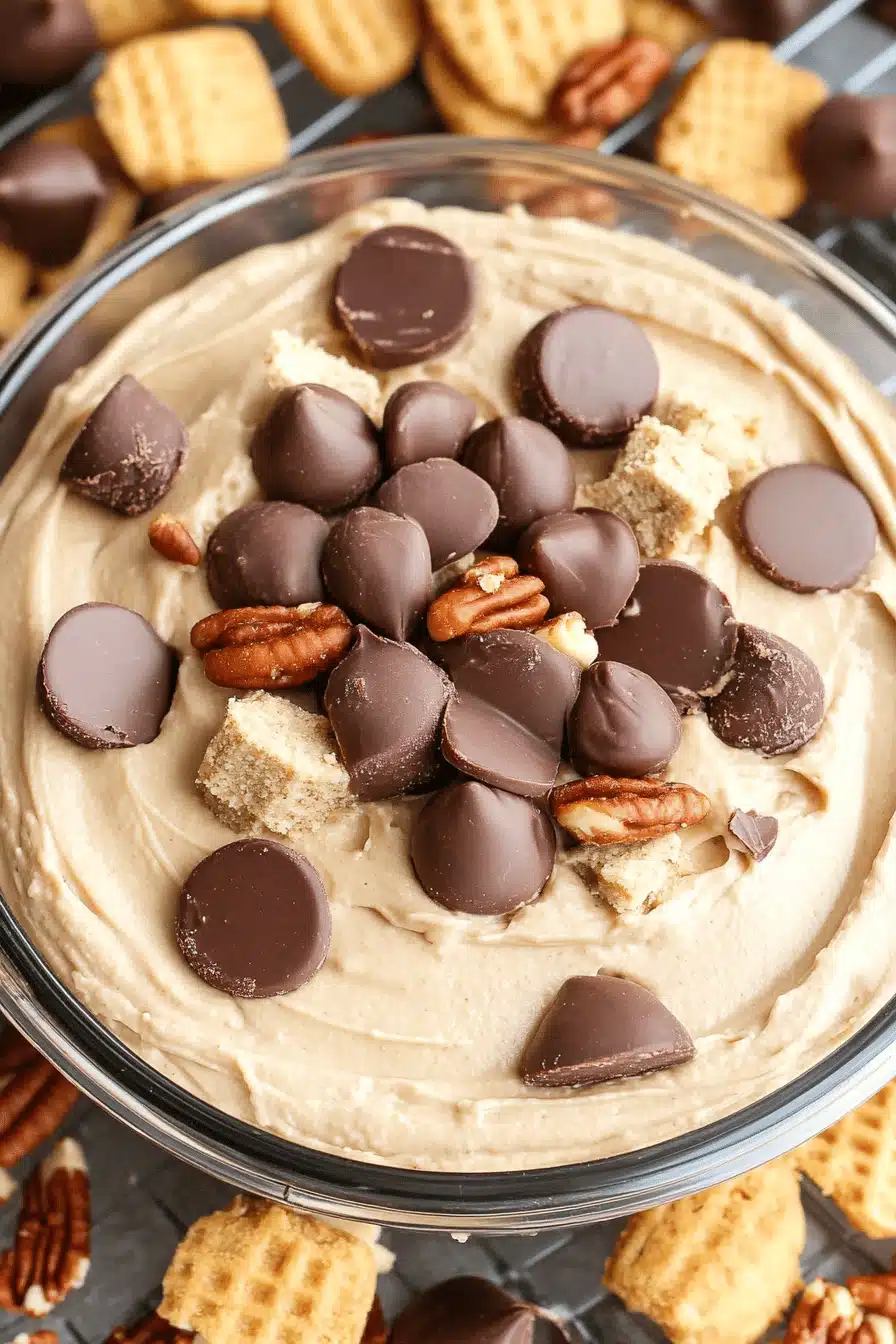
Peanut Butter Chocolate Cookie Cake Delight
There’s something about a cookie cake that just makes my kitchen feel cozy and festive all at once. The smell of buttery vanilla and chocolate melting together—that’s enough to have anyone wandering in, craving a slice before it’s even finished baking. I first stumbled into making a cookie cake after a chaotic birthday morning when I realized I had no cake mix but loads of chocolate chips and eggs in the fridge. What started as a scramble turned into a quick, melt-in-your-mouth crowd-pleaser that my kids still beg for. Honestly, it’s like the lovechild of a giant, chewy cookie and a tender cake, one that’s perfect for when you want dessert but don’t want a whole towering layer cake. This cookie cake recipe has a softness and sweetness that beats any boxed mix hands down—and it’s surprisingly easy to whip up after work when you need a little treat.
What is a cookie cake?
Think of a cookie cake as the best of both worlds: it’s essentially a giant cookie baked in a cake pan, but tender enough to slice like a cake. Unlike regular cookies that are just small and crisp or chewy, a cookie cake has that perfect middle ground—soft, moist, but with enough structure to hold its shape. The idea grew from traditional chocolate chip cookies but scaled way up to feed a party or satisfy a room full of sweet tooths. The name “cookie cake” captures that fun mash-up—it’s casual, a little nostalgic, and a seriously comforting crowd-pleaser. It’s the kind of dessert that fits a birthday party, an afternoon snack, or even a midweek pick-me-up when you want something homey but made with love. I always imagine it as the dessert that makes people slow down, grab a glass of milk, and just relax.
Why you’ll love this recipe?
What I love most about this cookie cake recipe is how it walks that sweet spot between simplicity and indulgence. First off, the flavor is spot-on: deep vanilla warmth mingled with pockets of gooey chocolate chips—that golden combo that’s impossible not to smile about. You’ll get that nostalgic chocolate chip cookie taste, but in a tender, buttery cake form that almost melts in your mouth. It’s exactly what I reach for when I want comfort food with a little grown-up twist since it feels more special than a tray of cookies but less fussy than a layered cake. Another thing—I promise you won’t believe how easy it is. No frills, no complicated steps, just mixing and baking, which is why it’s become my go-to when time is tight but I crave something homemade.
Plus, the ingredients are ridiculously budget-friendly but don’t skimp on flavor—flour, sugar, eggs, butter, and chocolate chips. You probably already have everything in your pantry, which makes it a lifesaver on busy nights or last-minute gatherings. Versatility is another winner here. Want nuts tossed in? Do it. Prefer different mix-ins like white chocolate or butterscotch? Go right ahead. Feeling fancy? Slather it with cream cheese glaze or just a drizzle of chocolate ganache. My family actually debates over which glaze is best, so I recommend trying all of them!
If you’ve ever loved a snickerdoodle or a giant chocolate chip cookie, this is your sweet soulmate. It hits all those memories while feeling fresh, and honestly, it disappears in minutes at my house every time I bake it.
How do I make a cookie cake?
Quick Overview
Making a cookie cake is pretty much like baking a giant cookie but with a few tricks to keep things soft and cake-like. You’ll start by prepping your pan and preheating the oven because warmth is everything here. Then, it’s a simple process of mixing dry ingredients separately and wet ingredients separately, which helps with texture. Combining them gently is key—you don’t want to overdo it, or you risk a tough cake. The secret to this recipe is a luscious filling or swirl inside that adds extra moisture and flavor punch. Once layered, it bakes to a golden, crackly top and pulls away from the sides with a tender crumb inside. Cool it just right before glazing to keep the topping perfect. Believe me, it’s easier than it sounds, and the results are always worth the wait.
Ingredients
For the Main Batter:
- 2 1/4 cups all-purpose flour – I like using a fresh batch for that perfect texture.
- 1 tsp baking soda – don’t swap this out, trust me—it helps the cake rise just right.
- 1/2 tsp salt – balances sweetness and keeps flavors sharp.
- 3/4 cup unsalted butter, softened – room temperature is key for smooth mixing.
- 1 cup packed brown sugar – I use dark brown for extra molasses depth.
- 1/2 cup granulated sugar – adds crunch and sweetness balance.
- 2 large eggs – makes the cake tender and moist.
- 2 tsp pure vanilla extract – quality vanilla transforms this!
- 1 1/4 cups semi-sweet chocolate chips – use good chocolate, it really shows.
For the Filling:
- 1/2 cup cream cheese, softened – adds tang and creaminess.
- 1/4 cup powdered sugar – just enough sweetness.
- 1 tsp vanilla extract – to keep the flavors cohesive.
- Optional: A sprinkle of cinnamon or a pinch of espresso powder for a grown-up twist.
For the Glaze:
- 1 cup powdered sugar – sifted for smoothness.
- 2-3 tbsp milk or heavy cream – adjust for your desired glaze thickness.
- 1/2 tsp vanilla extract – brings it all together.
- Optional: A pinch of salt to balance sweet or a drop of almond extract for fun!
Step-by-Step Instructions
Step 1: Preheat & Prep Pan
Set your oven to 350°F (175°C) and grease a 9-inch round cake pan with butter or non-stick spray. I usually line the bottom with parchment paper so the cake lifts out easily—makes serving way cleaner! If you want edges that are extra crunchy and golden, skip the parchment for that delightful texture contrast.
Step 2: Mix Dry Ingredients
In a medium bowl, whisk together the flour, baking soda, and salt until well combined. This step ensures your leavening is evenly distributed so the cookie cake rises with flawless, tender crumb. I like to take a moment here because it’s the foundation of your texture.
Step 3: Mix Wet Ingredients
In a large bowl, cream the softened butter, brown sugar, and granulated sugar using a hand or stand mixer on medium speed until light and fluffy—about 3 minutes. You’ll notice it lightens in color and smells heavenly. Then add the eggs one at a time, beating well after each addition, followed by the vanilla. The batter should be smooth and shiny, almost like silk.
Step 4: Combine
Slowly add the dry ingredients to the wet, mixing on low speed just until you no longer see streaks of flour. This might take 20-30 seconds max—don’t overmix or you’ll end up with a tougher texture. Fold in the chocolate chips gently with a spatula, making sure they’re scattered evenly.
Step 5: Prepare Filling
In a small bowl, beat the softened cream cheese with powdered sugar and vanilla extract until silky and smooth. If you’re feeling adventurous, stir in a pinch of cinnamon or espresso powder for a warm undertone. The filling should be creamy enough to spread easily but still hold its shape.
Step 6: Layer & Swirl
Spoon half of the cookie batter into your prepared pan, smoothing it out with an offset spatula. Drop dollops of the cream cheese filling over and gently swirl it with a butter knife or skewer—move it around in figure eights or circles to create pretty marbling. Top with the remaining cookie batter and smooth again, making sure your swirl peeks through here and there for a gorgeous effect.
Step 7: Bake
Bake for 30-35 minutes or until the edges are set and golden, and a toothpick inserted in the center comes out with just a few moist crumbs. The center should still feel slightly soft—that’s the cue for perfect chewiness. Ovens vary, so I usually start checking around 28 minutes. Resist opening the oven door too much early on; fluctuations can make it sink.
Step 8: Cool & Glaze
Let the cookie cake cool completely in the pan on a wire rack—this helps it firm up and stops crumbs from crumbling apart. While it cools, whisk together the powdered sugar, milk, and vanilla until smooth. Drizzle over the cooled cake as thick or thin as you like. For a glossy finish, add more cream. I sometimes pipe decorative swirls if I’m feeling fancy.
Step 9: Slice & Serve
Run a thin knife around the pan to loosen the cake, then carefully slide it onto a serving plate. Cut into wedges like you would a traditional cake—clean cuts work best with a sharp, serrated knife. This cake is delicious served slightly warm with a cold glass of milk, but honestly, it’s good any time. My kids actually ask for seconds, and sometimes thirds!
What to Serve It With
For Breakfast: Coffee is a must—whether it’s your everyday cup or a frothy latte. This cookie cake pairs amazingly with a drizzle of honey or a smear of nut butter to turn it into a cozy start to your day.
For Brunch: Plate it with fresh berries and a dollop of whipped cream or mascarpone. A sparkling mimosa or fruity iced tea rounds out the experience for a laid-back weekend vibe that’s both elegant and comforting.
As Dessert: Serve warm with a scoop of vanilla ice cream or a drizzle of salted caramel sauce. The contrast of hot and cold, sweet and salty, feels like a little party on your palate every time.
For Cozy Snacks: It’s perfect alongside a cozy mug of tea or hot cocoa on a chilly afternoon. My family loves breaking it up into bite-size pieces for an easy snack while binge-watching our favorite shows.
There’s something so heartwarming about sharing this cookie cake with friends or family, whether it’s on a bustling holiday morning or a slow Sunday afternoon. It’s one of those recipes that becomes a tradition fast because it feels like a little slice of home.
Top Tips for Perfecting Your Cookie Cake
Zucchini Prep: (If you add zucchini for moisture and a sneaky veggie boost!) Always shred it finely and squeeze out as much water as possible with a kitchen towel. Too much moisture means a soggy cake, and nobody wants that! Fresh zucchini works best; avoid ones that are too large and seedy.
Mixing Advice: Overmixing is the number one way to get a tough cookie cake. Once the flour goes in, mix slowly and just enough to bring everything together. A few lumps are okay—not every bit of flour needs to be dissolved.
Swirl Customization: For a beautiful swirl, use a small spoon or spatula and don’t be afraid to get creative. I’ve found that figure eights or spirals create the best marbling. You want enough staining of batter with filling, but not so much that it all blends into a uniform mess.
Ingredient Swaps: I tested this with almond milk instead of regular milk in the glaze, and it actually made it even creamier and added a subtle nuttiness. You can swap half the butter with coconut oil if you like, though it does slightly change the texture. For the chocolate chips, my kids love peanut butter chips, and it’s a total game changer!
Baking Tips: Position your rack in the middle of the oven and avoid opening the door too much to prevent sinking. I always place a sheet pan underneath the cake pan just in case of drips, which keeps cleaning easy. If the top browns too quickly, a loose foil tent helps.
Glaze Variations: The glaze is forgiving! Feel free to add lemon zest for a fresh zing or a splash of coffee for depth. If you want just a dusting instead, powdered sugar with a sieve works beautifully for a quick “frosting.” Be sure to glaze once the cake is fully cooled unless you want it to soak in and become more syrupy.
One lesson I learned the hard way? Not waiting long enough to glaze means the topping slides off in sad, clumpy rivers instead of settling evenly. Patience is key here—but it’s so worth it!
Storing and Reheating Tips
Room Temperature: Store your cookie cake in an airtight container or tightly wrapped in plastic wrap for up to 2 days. This keeps it nice and soft—if left uncovered, it tends to dry out quickly. I usually leave it covered on the counter if I plan to finish it the same day.
Refrigerator Storage: Wrap it well in plastic wrap and store in a sealed container to avoid fridge odors. It will keep for up to 5 days. Because of the cream cheese filling and glaze, refrigeration prolongs freshness but can dry the edges a bit, so bring it to room temp before serving.
Freezer Instructions: This cake freezes beautifully! Wrap tightly in two layers of plastic wrap or foil and pop into a freezer bag. It will keep for up to 3 months. Thaw overnight in the fridge and warm slightly in a low oven or microwave (just a few seconds) for that freshly baked feel.
Glaze Timing Advice: If freezing, I recommend glazing right before serving—glaze can sometimes crack or become sticky when frozen. If storing short term, go ahead and glaze once cooled—they’ll keep just fine for up to 2 days refrigerated.
These tips come from my many “failed” batches where I learned that the best way to enjoy cookie cake is fresh but also that it truly plays nice with storing and freezing when handled gently.
Frequently Asked Questions
Final Thoughts
This cookie cake has been such a staple in my kitchen because it’s genuinely one of those recipes that feels both special and effortless. It’s sweet but not overdone, soft with just the right amount of chew, and that cream cheese swirl? Pure magic. I honestly can’t think of a time it didn’t get devoured in a flash, whether for a casual snack or a party dessert. If you love the idea of nostalgic chocolate chip cookies but want something a little different and a bit more grown-up, this cookie cake is your new best friend.
Give it a whirl, tweak the mix-ins to fit your family’s cravings, and soak in the compliments. And if you try other variations—like swapping the chips or playing with the glaze—I’d absolutely love to hear about it! Drop a comment, share your photos, or let me know how your kitchen smells after baking. Happy baking, and here’s to many cozy cookie cake moments ahead!