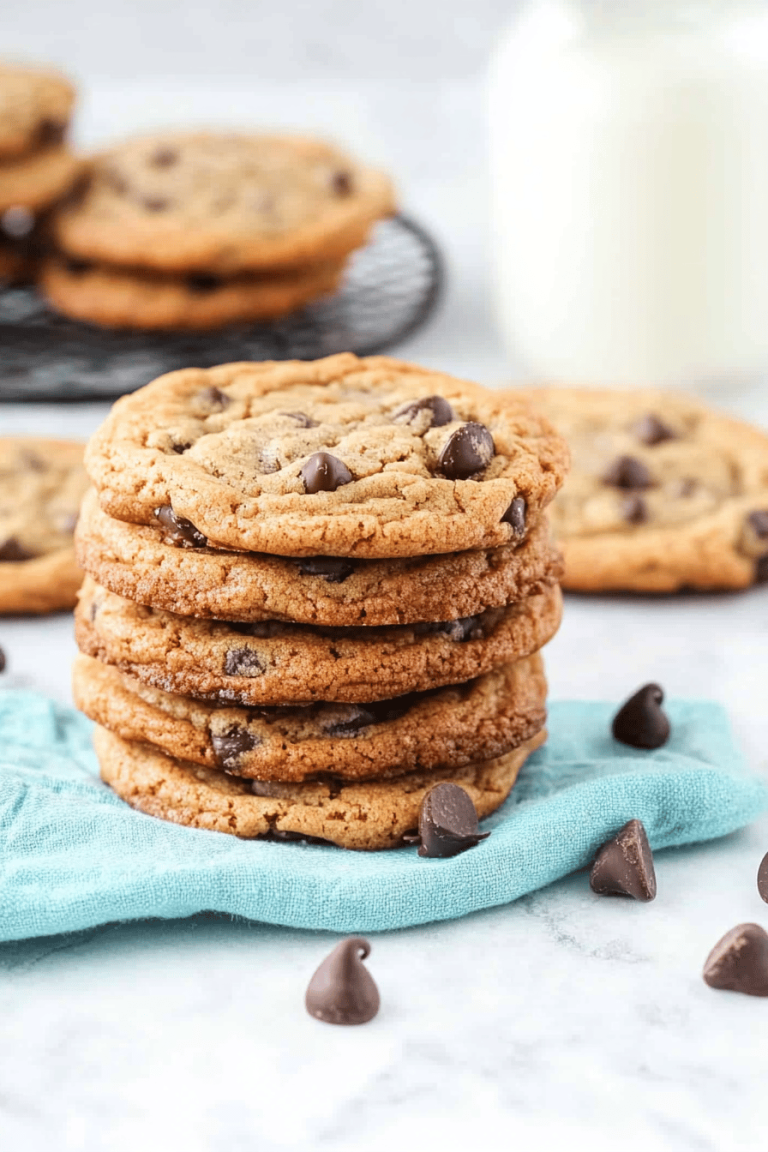
Peanut Butter Blossoms
You know those cookies that just *feel* like a hug? The ones that instantly transport you back to simpler times, maybe a kitchen filled with the scent of your grandma baking, or the thrill of school bake sales? For me, that’s Peanut Butter Blossoms. There’s something so magical about the classic combination of soft, chewy Peanut Butter Cookie rolled in sugar, topped with that iconic Hershey’s Kiss. It’s pure, unadulterated joy in cookie form. I’ve tried a lot of cookie recipes over the years, but this one? This is the one that never lets me down. It’s not just a cookie; it’s a memory. And honestly, it’s my go-to when I need a little pick-me-up or want to make someone’s day a little sweeter. It’s probably one of the most popular cookies for a reason, right? It hits all the right notes – that perfect balance of sweet and salty, chewy and a little crisp on the edges. Honestly, if you haven’t made these yourself, you’re in for such a treat. I’m so excited to share my absolute favorite version with you today!
What are peanut butter blossoms?
So, what exactly are Peanut Butter Blossoms? Imagine your most beloved, melt-in-your-mouth peanut butter cookie, but with a delightful little secret nestled right on top. That’s the essence of a Peanut Butter Blossom! The “blossom” part comes from the Hershey’s Kiss that’s gently pressed into the warm cookie right after it comes out of the oven. As the cookie cools, the Kiss melts just slightly, creating a gorgeous, glossy “blossom” on top. It’s such a simple addition, but oh my goodness, does it elevate the whole experience! They’re essentially a classic peanut butter cookie with a sweet, chocolatey crown. This iconic cookie was created by Winifred Ankeny in 1973, and honestly, it’s a culinary masterpiece in its simplicity. It’s the kind of cookie that’s both comforting and a little bit special, perfect for any occasion, really.
Why you’ll love this recipe?
Let me tell you, there are so many reasons why this Peanut Butter Blossoms recipe has become my absolute favorite, and why I just *know* you’re going to adore it too. First off, the flavor is just out of this world. We’re talking a rich, nutty peanut butter cookie that’s perfectly balanced – not too sweet, not too peanutty, just… *right*. And that hint of chocolate from the Kiss? It’s the cherry on top, or rather, the Kiss on the cookie! It adds this wonderful depth that makes you want another bite, and another. Then there’s the texture. These cookies bake up to be wonderfully soft and chewy in the center, with just the slightest hint of crispness around the edges. It’s that perfect cookie texture that’s so satisfying. And don’t even get me started on how easy this recipe is! Seriously, I can whip these up on a weeknight when the craving strikes, and they’re always a huge hit. You don’t need any fancy ingredients or complicated techniques. It’s truly a lifesaver when you need a quick but impressive treat. Plus, it’s incredibly budget-friendly. Peanut butter, sugar, flour, eggs – these are pantry staples for most of us, making this a wonderfully economical way to satisfy that sweet tooth. What I love most about this particular recipe, though, is its reliability. I’ve made it countless times, and it never fails. The cookies come out looking and tasting exactly as they should, every single time. It’s my secret weapon for potlucks, bake sales, or just because. If you’re looking for a cookie that’s going to bring smiles to faces and be a guaranteed crowd-pleaser, this is it!
How do I make peanut butter blossoms?
Quick Overview
This recipe is wonderfully straightforward, designed for home bakers of all levels. You’ll be creaming together your Peanut Butter and sugars, adding in wet ingredients, then combining with your dry. The dough is then rolled into balls, coated in sugar, and baked until just golden. The real magic happens when you press that iconic Hershey’s Kiss into each warm cookie, letting it melt into a beautiful, chocolatey “blossom.” It’s a simple process with a truly spectacular result. You’ll be amazed at how quickly these come together, and the smell that fills your kitchen while they bake? Pure bliss!
Ingredients
For the Main Batter:
All-Purpose Flour: 2 ½ cups. Make sure to spoon and level your flour rather than scooping directly from the bag; this prevents a dense cookie. I’ve found using fresh flour always yields the best texture.
Baking Soda: 1 teaspoon. This is crucial for giving the cookies their lift and tender crumb. Make sure it’s not expired!
Salt: ½ teaspoon. Salt is a flavor enhancer, and it balances the sweetness beautifully. Don’t skip it!
Unsalted Butter: 1 cup (2 sticks), softened. Softened butter is key for creaming properly. I usually leave mine out on the counter for about an hour before I plan to start baking.
Creamy Peanut Butter: 1 cup. Use your favorite creamy peanut butter – the classic Jif or Skippy works wonderfully. Natural peanut butters can sometimes separate and make the dough a bit oily, so a more conventional brand is usually best here for consistency.
Granulated Sugar: 1 cup. This provides sweetness and structure to the cookie.
Packed Light Brown Sugar: 1 cup. Brown sugar adds moisture and a lovely caramel note that complements the peanut butter.
Eggs: 2 large. They bind everything together and add richness. Make sure they’re at room temperature for easier incorporation.
Vanilla Extract: 1 teaspoon. A classic flavor enhancer that rounds out the cookie’s taste.
For Rolling:
Granulated Sugar: About ¼ cup, for rolling the dough balls in. This creates that lovely sugary crust.
For the “Blossom”:
Hershey’s Milk Chocolate Kisses: 1 bag (about 36-40 kisses). Unwrapped, of course! These are non-negotiable for the classic Blossom look and taste.
Step-by-Step Instructions
Step 1: Preheat & Prep Pan
First things first, let’s get our oven fired up to 375°F (190°C). While it’s heating, grab your baking sheets and line them with parchment paper or silicone baking mats. This is my little secret to easy cleanup and no sticking! If you don’t have parchment, a lightly greased baking sheet will do, but parchment is truly a lifesaver. You’ll want to have your baking sheets ready to go, as the dough comes together pretty quickly.
Step 2: Mix Dry Ingredients
In a medium bowl, whisk together the 2 ½ cups of all-purpose flour, 1 teaspoon of baking soda, and ½ teaspoon of salt. Whisking these together ensures that the leavening agent (baking soda) and salt are evenly distributed throughout the flour. This is a small step, but it really makes a difference in getting consistent cookies. Just a good, thorough whisking is all you need!
Step 3: Mix Wet Ingredients
Now, grab your stand mixer fitted with the paddle attachment, or a large bowl and a hand mixer. Cream together the 1 cup of softened unsalted butter, 1 cup of creamy peanut butter, 1 cup of granulated sugar, and 1 cup of packed light brown sugar. Beat them on medium speed until light and fluffy – this usually takes about 2-3 minutes. Then, beat in the 2 large eggs, one at a time, making sure each is fully incorporated before adding the next. Finally, stir in the 1 teaspoon of vanilla extract. You want this mixture to be smooth and well combined. This is the base of our delicious cookie!
Step 4: Combine
Now it’s time to bring it all together. Gradually add the dry ingredients (from Step 2) to the wet ingredients (from Step 3) in the mixer bowl. Mix on low speed, just until everything is combined. Be careful not to overmix! Overmixing can develop the gluten in the flour too much, leading to tough cookies. You should see beautiful, soft dough forming. If it seems a little sticky to handle, that’s okay – we’ll deal with that in the next step.
Step 5: Prepare Filling
This is the “filling” part of the recipe, although it’s really the topping. You’ll need your bag of Hershey’s Milk Chocolate Kisses. Just unwrap them and have them ready. It’s a good idea to unwrap them all at once, as you’ll be pressing them into the cookies while they’re still warm and the dough is soft. Trust me, you don’t want to be unwrapping kisses while your cookies are cooling!
Step 6: Layer & Swirl
This step is about forming the cookies. Place the ¼ cup of granulated sugar in a shallow bowl. Scoop about 1-inch balls of dough. If the dough is a bit sticky, you can lightly wet your hands or use a cookie scoop dipped in water. Roll each ball into a smooth sphere. Then, roll each dough ball generously in the reserved granulated sugar until it’s well coated. Place the sugared dough balls about 2 inches apart on your prepared baking sheets. Now, here comes the fun part: while the cookies are still warm from the oven (this is crucial!), gently press one unwrapped Hershey’s Kiss into the center of each cookie, allowing it to soften and create that signature “blossom” shape.
Step 7: Bake
Bake for 9 to 11 minutes, or until the edges are lightly golden brown. The centers might look a little soft, and that’s perfectly okay! They’ll continue to set up as they cool. Avoid overbaking, as that can lead to dry, crumbly cookies. Keep an eye on them, especially during the last few minutes. If you’re unsure if they’re done, you can gently nudge the edge of a cookie – if it feels set, it’s likely ready.
Step 8: Cool & Glaze
Once baked, let the cookies cool on the baking sheets for about 5 minutes. This is important because they are very fragile when hot. During this time, the Hershey’s Kiss will continue to melt slightly and settle into its perfect blossom shape. After 5 minutes, carefully transfer the cookies to a wire rack to cool completely. The “glaze” is, of course, the melted Kiss! You can optionally drizzle a little extra melted chocolate or peanut butter over the cooled cookies if you want to get fancy, but honestly, the Kiss is enough.
Step 9: Slice & Serve
These Peanut Butter Blossoms are best served at room temperature. They’re fantastic on their own, or paired with a cold glass of milk. If you’re serving them at a party, arrange them on a nice platter. They look so pretty with their chocolate crowns. You can also dust them with a little powdered sugar if you want an extra touch, but that’s totally optional. Enjoy the moment as you bite into that classic peanut butter goodness with the sweet chocolate surprise!
What to Serve It With
Peanut Butter Blossoms are surprisingly versatile! They’re not just for dessert, though they truly shine there. For a cozy breakfast, I love having one (or two!) with a strong cup of coffee. The warmth of the coffee and the sweet, nutty cookie are a match made in heaven. They’re also fantastic with a glass of cold milk first thing in the morning. For a more relaxed brunch spread, I’ll often arrange these alongside other pastries like scones or fruit tarts. They add a touch of nostalgic charm. For a proper dessert setting, they’re wonderful after a hearty meal. I’ve even paired them with a scoop of vanilla bean ice cream once, and it was divine! The contrast of the warm cookie and cold ice cream was incredible. And for those late-night cravings or just a simple, comforting snack? They’re perfect. They’re just so satisfying on their own. My family tradition is to always have a batch ready around holidays, but honestly, we eat them year-round. They’re just that good!
Top Tips for Perfecting Your Peanut Butter Blossoms
Over the years of making these beloved cookies, I’ve picked up a few tricks that I think really elevate them from good to absolutely spectacular. Let’s talk about them! For the peanut butter itself, I’ve learned that using a standard creamy peanut butter (like Jif or Skippy) is usually your best bet for consistent results. Natural peanut butters can sometimes be a bit too oily, which can make the dough spread too much or become greasy. So, stick with the classics here for predictable yumminess. When you’re mixing the wet and dry ingredients, it’s really important not to overmix the dough. Overmixing can make your cookies tough, and nobody wants a tough Peanut Butter Blossom! Mix just until the dry ingredients are incorporated. You want to see a soft, cohesive dough. If it feels a little sticky, don’t worry too much; we’ll handle that when we roll the balls. Speaking of rolling, I always like to roll my dough balls in extra granulated sugar. This creates a lovely, slightly crisp exterior that contrasts beautifully with the soft center. It also gives them that classic look. For the “blossom” part, the timing is key. You absolutely must press the Hershey’s Kiss into the cookies *immediately* after they come out of the oven, while they are still warm. This is when they are soft enough to accept the kiss without crumbling, and the heat from the cookie will gently melt the chocolate. If you wait too long, the Kiss won’t sink in properly. I’ve made that mistake before, and it’s a little disappointing! As for baking, keep an eye on them. Ovens can vary, and you’re looking for those edges to be just lightly golden. The centers will still look a bit soft, and that’s exactly what you want for a chewy cookie. They’ll continue to set as they cool. If you find your cookies tend to spread too much, chilling the dough for about 30 minutes before rolling can really help. This is especially useful on warmer days or if your kitchen is particularly warm. For ingredient swaps, while this recipe is perfected with the classic ingredients, if you’re feeling adventurous, you could try a dash of cinnamon in the dry ingredients for a warm spice note, or even a pinch of sea salt sprinkled on top of the Kiss once it’s pressed in for an extra salty-sweet kick.
Storing and Reheating Tips
The great thing about these Peanut Butter Blossoms is they stay delicious for quite a while if stored properly. If you’re planning to enjoy them within a day or two, simply store them in an airtight container at room temperature. I like to place a piece of parchment paper between layers if I’m stacking them, just to keep them from sticking too much. They’ll stay wonderfully soft and chewy for about 3-4 days this way. If you think you won’t get to them that quickly, or if you want to make a big batch ahead of time, they do very well in the refrigerator. Pop them into an airtight container and they should keep nicely for up to a week. The texture might firm up a little in the fridge, but they’ll still be delicious. For longer storage, freezing is your best friend! You can freeze the baked and cooled cookies in an airtight container for up to 2-3 months. Again, using parchment paper between layers is a good idea. To thaw, simply take them out of the freezer and let them come to room temperature in their container. If you find they’ve become a bit dry after thawing, you can gently warm them up in a low oven (around 250°F or 120°C) for just a few minutes. When it comes to the glaze – the Hershey’s Kiss – it’s best to apply this just before serving if you’re storing them for more than a day, or if you’re going to reheat them. If you bake them with the Kiss already on, and then store or freeze, the chocolate can sometimes get a little chalky or develop a whitish bloom (that’s just sugar crystallization, totally safe but not as pretty). So, my top tip is to bake, cool completely, store the plain cookies, and then press a fresh Kiss into each cookie just before you plan to serve them or reheat them. This ensures that beautiful, glossy chocolate blossom every time!
Frequently Asked Questions
Final Thoughts
Honestly, making these Peanut Butter Blossoms always brings me so much joy. It’s more than just baking; it’s about creating those little moments of happiness. The simplicity of the ingredients, the comforting aroma that fills the house, and the sheer delight on people’s faces when they take that first bite – it’s all just wonderful. They’re proof that sometimes, the simplest recipes are the most profound. If you’re looking for a cookie that’s guaranteed to be a hit, that feels both nostalgic and incredibly special, you really can’t go wrong with these. They are a testament to classic flavors and easy techniques that yield spectacular results. I truly hope you give this recipe a try and that it becomes a favorite in your kitchen too. And if you do make them, please come back and tell me all about it in the comments! I’d love to hear how they turned out, any fun variations you tried, or even just what your favorite part was. Happy baking, and may your Blossom cookies always be perfectly sweet!
Peanut Butter Blossoms
Ingredients
Cookie Dough
- 1 cup unsalted butter, softened
- 1.5 cup granulated sugar
- 1 cup creamy peanut butter
- 1 large egg
- 1 teaspoon vanilla extract
- 2.5 cups all-purpose flour
- 1 teaspoon baking soda
- 0.5 teaspoon salt
Topping
- 24 pieces Hershey's Kisses
Instructions
Preparation Steps
- Preheat oven to 375°F (190°C). Line baking sheets with parchment paper.
- In a large bowl, cream together the softened butter and granulated sugar until light and fluffy.
- Beat in the peanut butter and egg until well combined.
- Stir in the vanilla extract.
- In a separate bowl, whisk together the flour, baking soda, and salt.
- Gradually add the dry ingredients to the wet ingredients, mixing until just combined. Do not overmix.
- Roll the dough into 1-inch balls and place them about 2 inches apart on the prepared baking sheets.
- Bake for 9-11 minutes, or until the edges are lightly golden brown.
- Remove from oven and immediately press one Hershey's Kiss into the center of each warm cookie. The cookie will crack slightly; this is normal. The kiss will soften and create a blossom shape.
- Let the cookies cool on the baking sheets for a few minutes before transferring them to a wire rack to cool completely.