Peanut Butter Blossom Bars
What are Peanut Butter Blossom Bars? What are some of my favorite treats to bake? It practically makes itself! If you’re a fan of peanut butter blossom cookies, imagine that, but in bar form. Easier to make, and just as delicious. Who gets the most chocolate cookies? What is peanut butter like? Is this the ultimate comfort food?
What is peanut butter blossom bar?
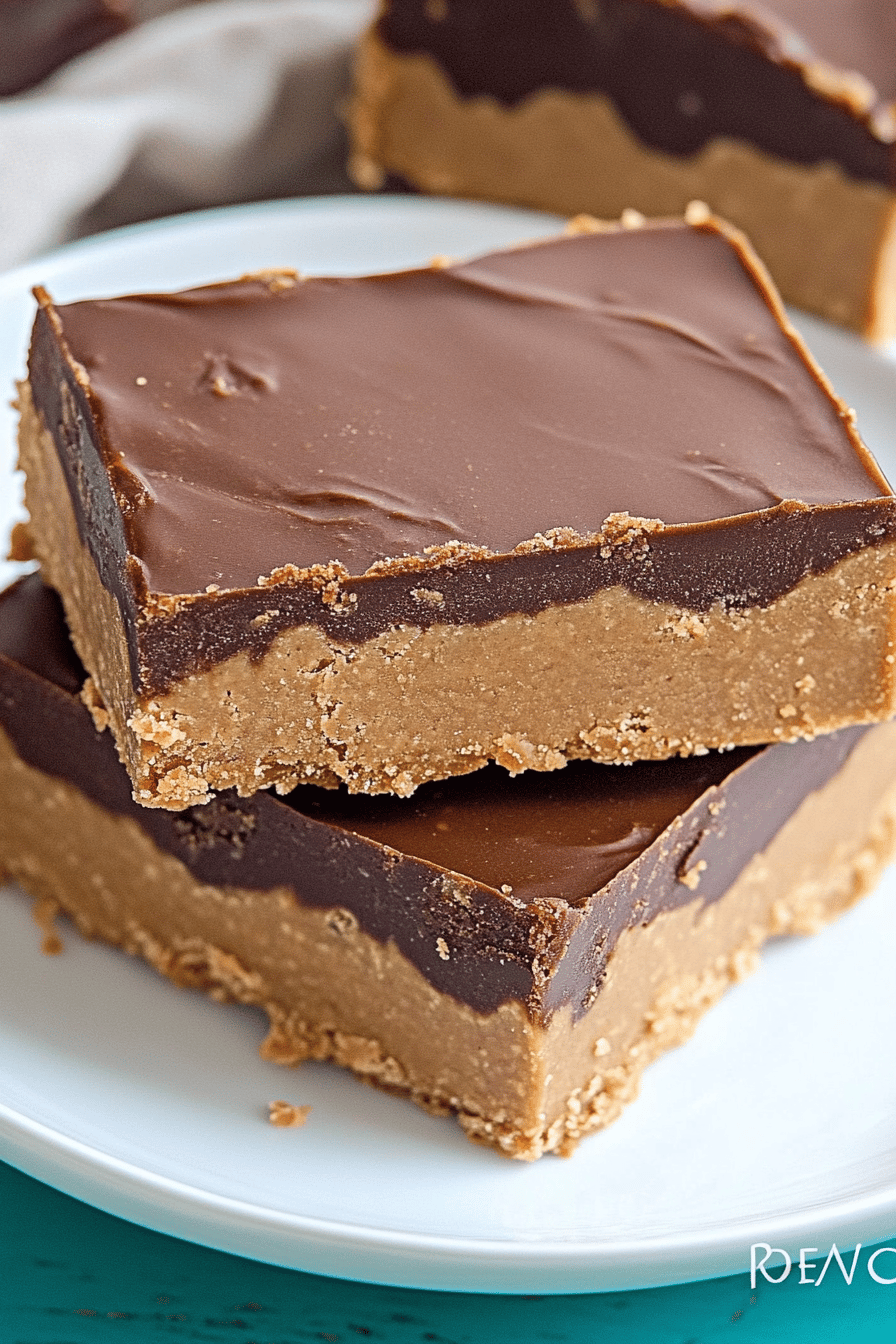
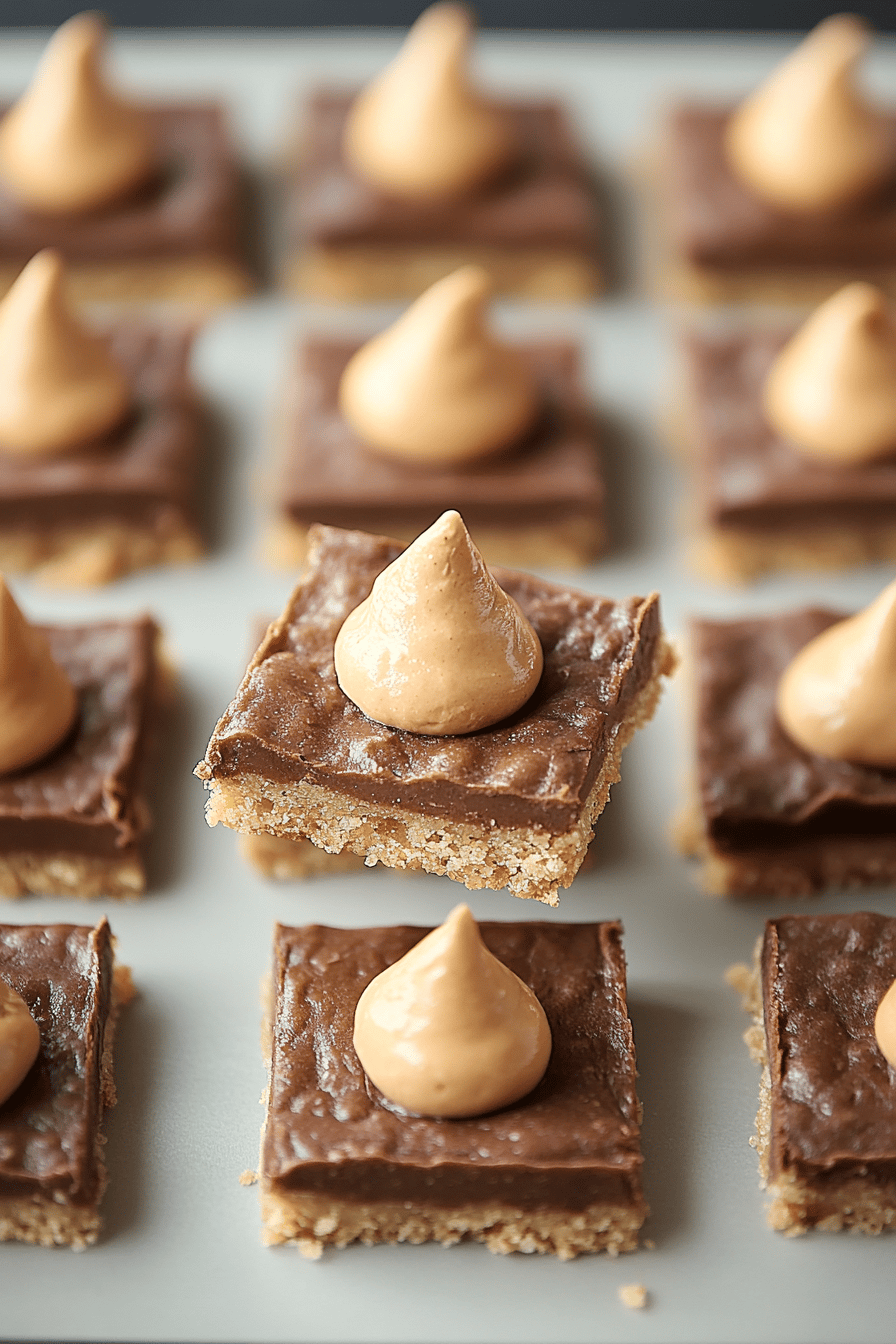
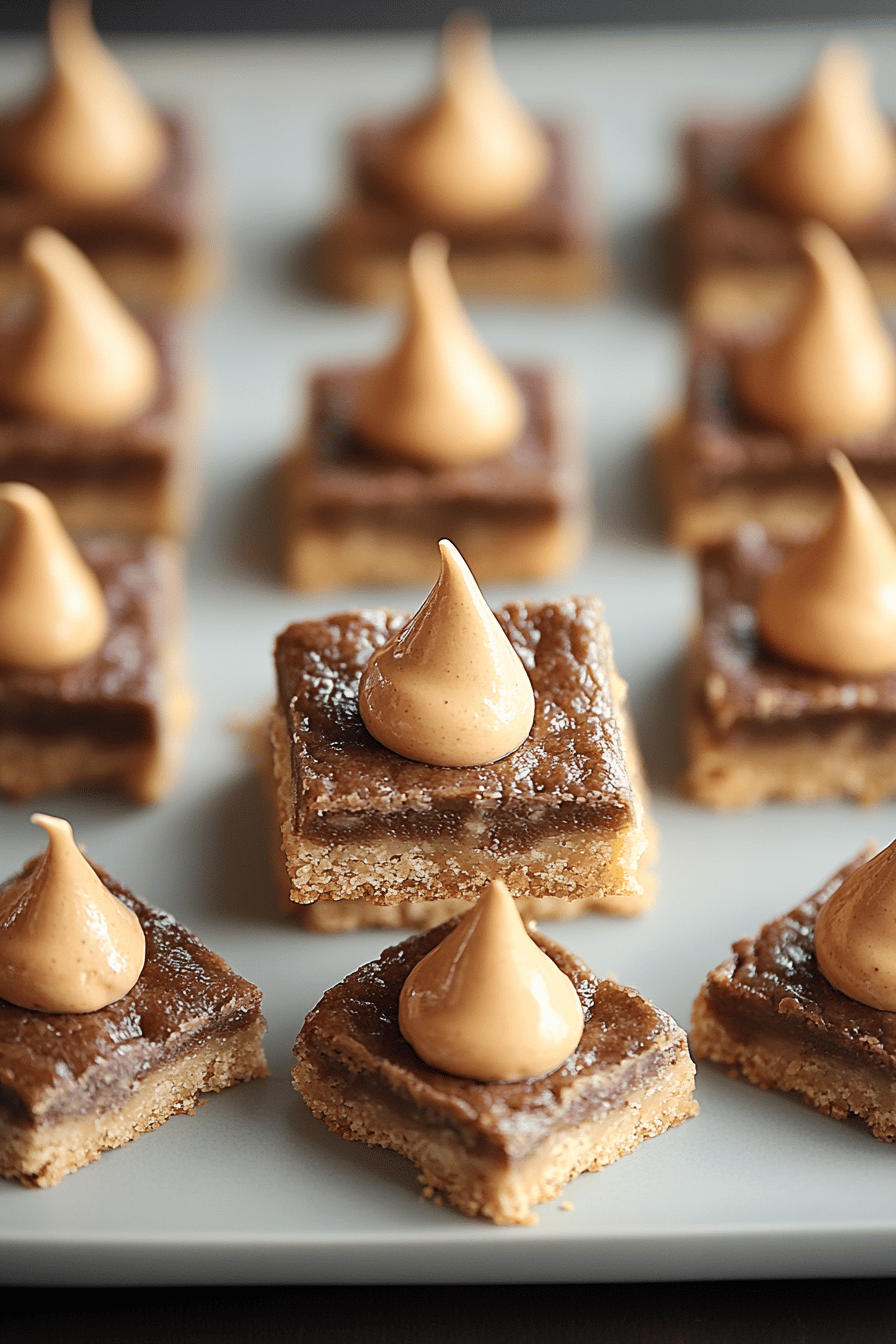
So, what *are* Peanut Butter Blossom Bars exactly? Well, think of them as the cookie’s cooler, less fussy cousin. It’s essentially a soft, Chewy Peanut Butter base topped with that same fudgy chocolate that makes a classic blossom cookie so irresistible. The name comes from that beautiful chocolate star, right? Well, in bar form, we use chocolate glaze instead of individual kisses. They’re baked in a pan, so there’s no scooping, rolling, or individually unwrapping those little chocolate kisses. It’s the perfect recipe for when you want that familiar peanut butter and chocolate flavor without all the extra effort. Trust me, this recipe is a lifesaver on busy weeknights!
Why you’ll love this recipe?
Oh my goodness, where do I even begin? First off, the flavor is phenomenal. You get that rich, nutty Peanut Butter flavor perfectly balanced with the sweet, chocolaty glaze. What I love most about this is how incredibly easy they are to make. Seriously, even if you’re a baking beginner, you can totally nail these. They’re also surprisingly cost-effective. Most of the ingredients are pantry staples, so you probably already have everything you need. And let’s not forget the versatility! You can serve these bars as a dessert, a snack, or even pack them in lunchboxes. They’re always a hit! They’re similar to a blondie, but so much better, if you ask me. You can also customize these bars with different chocolate flavors or add-ins like chopped nuts. I’ve even tested this with almond milk and it actually made it even creamier! Seriously, this recipe is a winner. My kids ask for this all the time, and they disappear in minutes at any gathering!
How do you make peanut butter blossom bars?
Quick Overview
How do I make Peanut Butter Blossom Bars? How do I make a peanut butter cake? After baking, you’ll drizzle them with a luscious chocolate glaze. Is it easy to make peanut butter? Is it easier to make individual cookies than making a batch?
Ingredients
For the Main Batter:
* 1 cup (2 sticks) unsalted butter, softened: Make sure it’s *really* soft for a smooth batter. I usually leave mine out for a few hours.
* 1 cup granulated sugar: Adds sweetness and helps with browning.
* 1 cup packed light Brown Sugar: For that chewy texture and molasses flavor.
* 2 large eggs: Adds richness and binds the batter.
* 1 teaspoon vanilla extract: Enhances the flavor.
What brand of peanut butter should I use?
* 2 1/2 cups all-purpose flour: Provides structure to the bars.
* 1 teaspoon baking powder: Helps the bars rise.
* 1/2 teaspoon baking soda: Adds a little extra lift and helps with browning.
* 1/2 teaspoon salt: Balances sweetness and enhances the flavors.
For the Glaze:
* 1 cup semi-sweet chocolate chips: You can also use Dark Chocolate if you prefer a richer flavor.
* 2 tablespoons unsalted butter: Adds shine and richness to the glaze.
* 2 tablespoons milk or cream: Helps create a smooth, pourable glaze.
How do I follow
Step 1: Preheat & Prep Pan
First things first, preheat your oven to 350°F (175°C). While the oven is heating up, grease and flour a 9×13 inch Baking Pan. If you can’t remove the overhang, line it with parchment paper. How do I clean a pan?
Step 2: Mix Dry Ingredients
In a medium bowl, whisk together the flour, baking powder, and salt. Set aside. Whisking ensures that everything is evenly distributed, which is key for a consistent texture. Don’t skip this step!
Step 3: Mix Wet Ingredients
In a large bowl, cream together the softened butter, granulated sugar, and brown sugar until light. Set aside. Beat the eggs one at a time, then stir in the vanilla extract and Peanut Butter. Make sure the butter is soft, but not melted, for the best results. If it’s too cold, it won’t cream properly, and if it is too warm, the bars might be greasy.
Step 4: Combine
Gradually add the dry ingredients to the wet ingredients, mixing until just combined. How do you mix flour and sugar until it disappears?
Step 5: Prepare Filling
Since we’re making bars instead of blossoms, we don’t need to fuss with individual chocolate bars. If you want to make a glaze, just set your chocolate chips, butter, and milk aside. We’ll melt it later.
Step 6: Layer & Swirl
What is the best way to spread the batter in a baking pan? Is it okay to swirl the batter in the pan?
Step 7: Bake
Bake for 25-30 minutes, or until a toothpick inserted into the center comes out with a few moist crumbs. The edges should be golden brown. Every oven is different, so keep an eye on them. If they start to brown too quickly, you can tent the pan with foil.
Step 8: Cool & Glaze
Let the bars cool completely in the pan before glazing. While the bars are cooling, prepare the glaze. In a microwave-safe bowl, combine the chocolate chips, butter, and milk. Set aside. In a microwave, melt chocolate in 30-second intervals, stirring in between, until smooth. Once the bars are completely cool, drizzle the chocolate glaze evenly over the top.
Step 9: Slice & Serve
Let the glaze set completely before slicing into bars. This will prevent the glass from dripping. With a sharp knife, cut the bars into squares. Serve and enjoy!
What do you serve it with?
What are Peanut Butter Blossom Bars?
For Breakfast:Serve with a glass of milk or coffee for an easy start to your day.
For Brunch:How do you serve them with a delicious brunch spread?
As Dessert:What’s a good after-dinner treat?
For Cozy Snacks:What are some of my favorite recipes to serve with a hot chocolate? I love to curl up on the couch with a good book and Peanut Butter Blossom Bar.
In my family, we have a tradition of making these bars every Christmas. They’re always a hit with everyone, young and old. They are also perfect for potlucks. I always bring a batch, and they always disappear quickly. Can you go wrong with these bars?
How do I make peanut butter blossom bars?
What are some of the best Peanut Butter blossom bars? I’ve learned these tricks after years of making them, so trust me on this one!
Butter Softening: The key to a smooth batter is using truly softened butter. If you forget to take it out ahead of time, you can microwave it in 5-second intervals, but be careful not to melt it.
Mixing Advice: Don’t overmix the batter! Overmixing can develop the gluten in the flour, resulting in tough bars. Mix until just combined.
Ingredient Swaps: If you don’t have brown sugar, you can use all granulated sugar. The texture will be slightly different, but they’ll still be delicious. You can also swap out the peanut butter for almond butter or sunflower seed butter for a different flavor profile. I’ve found that sunflower seed butter makes them a great allergy-friendly treat!
Baking Tips: Keep an eye on the bars while they’re baking. Every oven is different, so the baking time may vary. They’re done when the edges are golden brown and a toothpick inserted into the center comes out with a few moist crumbs. I always rotate the pan halfway through baking to ensure even browning.
Glaze Variations: You can add a teaspoon of vanilla extract or a pinch of salt to the glaze for extra flavor. You can also use different types of chocolate, such as dark chocolate or white chocolate. For a peppermint twist, add a few drops of peppermint extract!
I’ve made these countless times, and they never fail to impress. They are truly the perfect treat!
Storing and Reheating Tips
These Peanut Butter Blossom Bars are best enjoyed fresh, but they also store well. Here’s how to keep them at their best:
Room Temperature: You can store them in an airtight container at room temperature for up to 3 days. Make sure they’re covered to prevent them from drying out.
Refrigerator Storage: For longer storage, keep them in the refrigerator for up to a week. Again, store them in an airtight container to maintain their quality.
Freezer Instructions: These bars freeze beautifully! Wrap them individually in plastic wrap and then place them in a freezer-safe bag or container. They can be frozen for up to 2 months. Thaw them in the refrigerator overnight before serving.
Glaze Timing Advice: If you plan to freeze the bars, it’s best to glaze them after thawing. This will prevent the glaze from cracking or becoming sticky.
I always make a double batch and freeze half for later. It’s such a treat to have these on hand whenever a craving strikes!
Frequently Asked Questions
Final Thoughts
These Peanut Butter Blossom Bars are truly a must-try recipe. They’re easy to make, incredibly delicious, and always a crowd-pleaser. They’re perfect for any occasion, and they’re sure to become a family favorite. If you enjoyed this recipe, you might also like my other peanut butter desserts. Give them a try, and let me know what you think! Happy baking! I can’t wait to hear how yours turn out! Don’t forget to leave a comment and rating below, and be sure to share your own variations. I love seeing what you come up with!

Peanut Butter Blossom Bars
Ingredients
Main Ingredients
- 1 cup peanut butter creamy peanut butter preferred
- 1 cup granulated sugar
- 0.5 cup packed brown sugar
- 2 large eggs
- 1 teaspoon vanilla extract
- 2 cups all-purpose flour
- 1 teaspoon baking soda
- 0.5 teaspoon salt
- 1 cup semi-sweet chocolate chips
Instructions
Preparation Steps
- Preheat oven to 350°F (175°C). Grease and flour a 9x13 inch baking pan.
- In a large bowl, cream together the peanut butter, granulated sugar, and brown sugar until smooth.
- Beat in eggs one at a time, then stir in the vanilla.
- In a separate bowl, whisk together the flour, baking soda, and salt.
- Gradually add the dry ingredients to the wet ingredients, mixing until just combined.
- Stir in the chocolate chips.
- Spread the batter evenly into the prepared pan.
- Bake for 25-30 minutes, or until a toothpick inserted into the center comes out clean.
- Let cool completely before cutting into bars.