monster cookies
It’s funny how certain smells just whisk you right back to cozy afternoons in your childhood kitchen. For me, it’s the warm, sweet scent of monster cookies baking in the oven — a mix of peanut butter, oats, and those vibrant rainbow M&Ms that always made the whole house feel instantly inviting. These monster cookies aren’t just any cookie; they’re like a big, chewy hug filled with little bursts of chocolate and peanut butter goodness. My family has been obsessed with this recipe for years, and honestly, it’s way better than your average chocolate chip cookie. If you’re craving a treat that feels homemade, comforting, and totally indulgent but still easy to throw together on a whim, this is your go-to. I swear, they disappear faster than I can say “grab another one!”
What is a monster cookie?
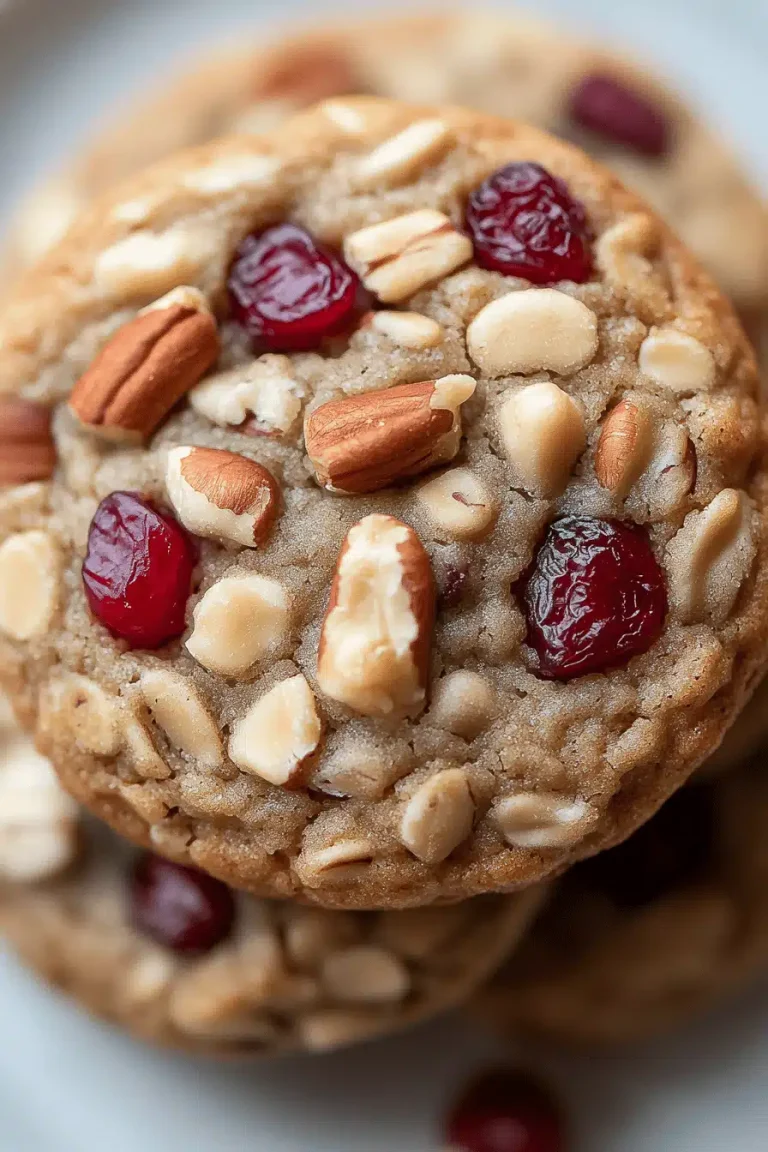
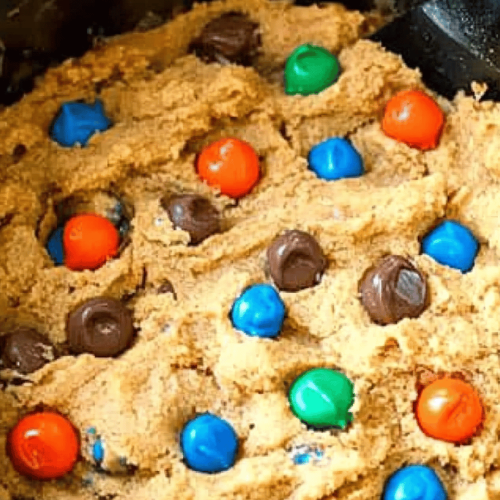
So, what exactly are monster cookies anyway? Well, think of them as the ultimate cookie mash-up. They’re essentially a hearty, chewy cookie packed with oats, peanut butter, and an unapologetic handful of mix-ins like chocolate chips, M&Ms, and sometimes even nuts. The name “monster” fits perfectly because these cookies are big, bold, and filled to the brim with all those delightful chunks and textures. It’s like a cookie that’s been pumped up with all your favorite ingredients—so each bite is a delightful surprise. They’re approachable, no fancy techniques involved, just straightforward comfort food that anyone can whip up at home and instantly impress friends and family.
Why you’ll love this recipe?
What I love most about this monster cookies recipe is how each bite balances chewy, nutty, and sweet so beautifully. The peanut butter gives it this richness that feels indulgent but also keeps the cookie moist and tender for days. And the oats? They add just the right amount of chew and texture—plus, they make this feel a little more wholesome than your typical cookie. Honestly, these cookies have saved many crazy afternoons when I needed to pull together a snack that would satisfy hungry kids and adults alike without a trip to the bakery. Another thing I appreciate is how incredibly simple the ingredients are—most of which I always have in my pantry already—making this recipe super budget-friendly. You can easily tweak it too, swapping out M&Ms for Reese’s Pieces or adding walnuts if you’re feeling adventurous. All in all, these monster cookies hit that perfect sweet spot between classic homemade treats and a fun, colorful twist that everyone remembers.
How do you make a monster cookie?
Quick Overview
Here’s the gist: you start by mixing your dry ingredients separately from your wet ones, then gently fold them together. Adding your mix-ins last keeps everything colorful and exciting. What’s great about this particular method is that it cuts down prep time, so you’re not stuck hovering around in the kitchen all day. These cookies bake up chewy and substantial, but not heavy or dense. Then, a quick cool-down and they’re ready to eat—warm, melty chocolate included! It’s straightforward enough for even newbie bakers to nail on their first try but fun enough to experiment with flavors if you want to get creative.
Ingredients
For the Main Batter:
- 1 cup creamy peanut butter (natural or classic – I prefer natural for that deep peanut flavor)
- 1 cup granulated sugar
- 1 cup packed brown sugar (adds great moisture and caramel notes)
- 2 large eggs (room temperature for best mixing)
- 1 teaspoon vanilla extract (the real stuff makes a difference here)
- 2 ½ cups old-fashioned rolled oats (not quick oats—these hold texture better)
- 1 teaspoon baking soda
- ½ teaspoon salt (balances the sweetness perfectly)
For the Filling:
- 1 cup rainbow M&Ms or chocolate chips (you can do a mix if you want; I sometimes do half each)
- Optional: ½ cup chopped walnuts or pecans (for a bit of crunch)
For the Glaze (Optional):
- 1 cup powdered sugar
- 2 tablespoons milk (start with less and add to reach the right consistency)
- ½ teaspoon vanilla extract or a pinch of cinnamon for a twist
Step-by-Step Instructions
Step 1: Preheat & Prep Pan
Preheat your oven to 350°F (175°C). Line two baking sheets with parchment paper or silicone mats—this keeps your cookies from sticking and makes cleanup a breeze. I always do two sheets at once so I’m not waiting ages for batches and can enjoy these faster!
Step 2: Mix Dry Ingredients
In a large bowl, whisk together the oats, baking soda, and salt. This simply keeps things even and ensures your cookies bake up with that perfect chewy consistency. Making sure your dry ingredients are thoroughly mixed is important, so you don’t end up biting into an overly salty or bready patch.
Step 3: Mix Wet Ingredients
In a separate bowl, beat the peanut butter with both sugars until smooth and creamy. Add in the eggs one at a time, mixing well after each addition. Stir in the vanilla extract last. The batter should be smooth and glossy, kind of like the way cookie dough looks when you know it’s going to bake up just right.
Step 4: Combine
Toss the dry ingredients into the wet bowl and fold gently until just combined. Don’t overmix here; you want to keep the oats intact and avoid tough cookies. If your dough looks a bit crumbly, that’s okay—the moisture from peanut butter carries it through.
Step 5: Prepare Filling
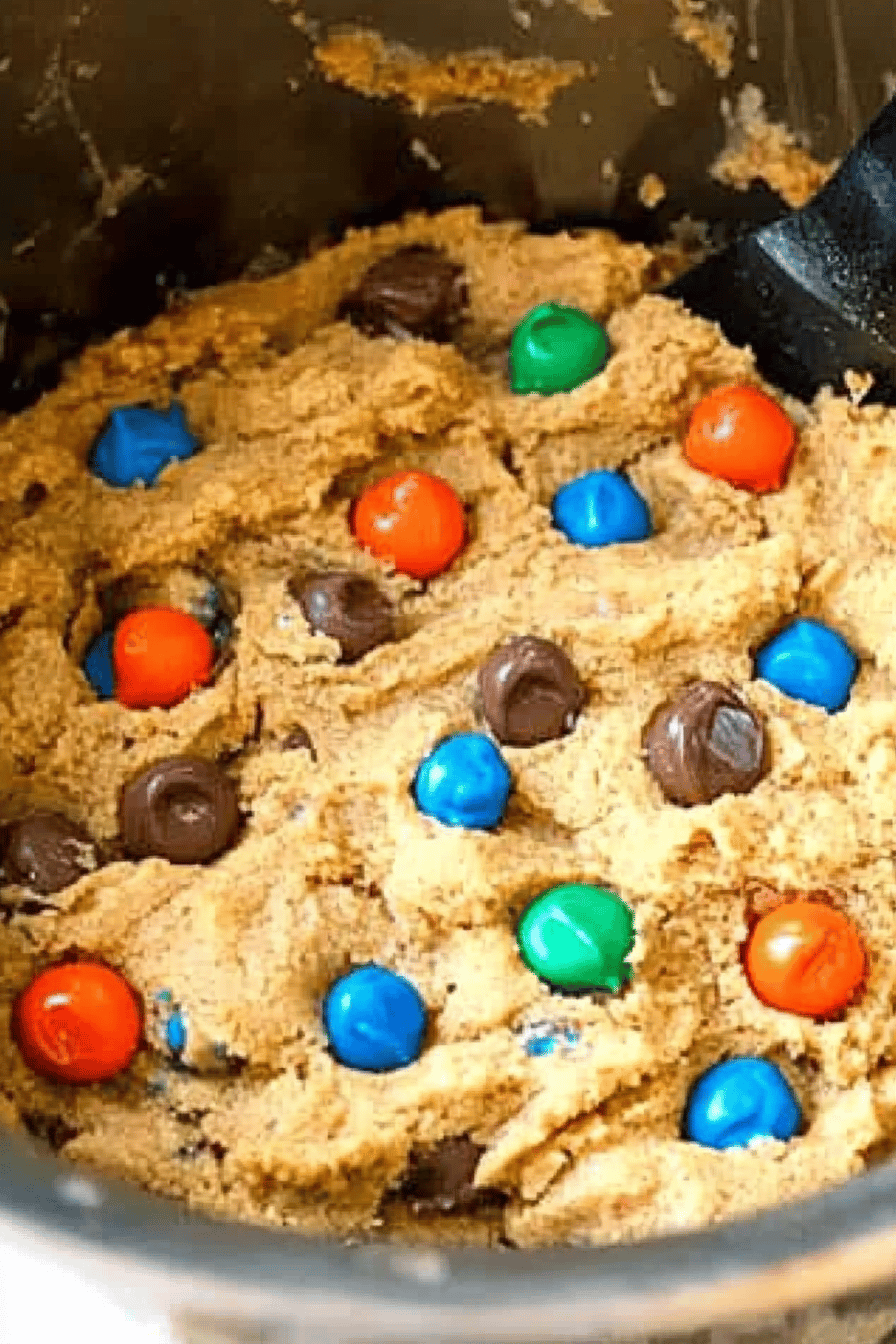
Fold in the M&Ms and nuts (if using) carefully, again trying not to mash the chocolate bites. Seeing those colorful candies peek through the batter makes me smile every time. You can swap these out for anything you love—chunks of chocolate or butterscotch chips are great substitutions.
Step 6: Layer & Swirl
This step is more about scooping than swirling here—use a cookie scoop or spoon to drop generous balls (about 2 tablespoons each) onto your baking sheets. Leave enough space, around 2 inches apart, because they’ll spread slightly but keep their chunky character intact.
Step 7: Bake
Bake for 10-12 minutes, until the edges just start to turn golden but the centers still look soft. Touch the cookie gently; it should feel set but not hard. If you bake past the golden edge stage, you lose that chewy magic. You’ll get better with timing the more you make them—everyone’s oven is a bit different.
Step 8: Cool & Glaze
Let the cookies cool on the pan for 5 minutes before transferring to a wire rack to cool completely. If you want to add a glaze, now’s the time—mix powdered sugar with milk and vanilla, then drizzle over cooled cookies. It adds a lovely, mild sweetness that balances the peanut butter. Skip the glaze if you’re after classic monster cookies, though.
Step 9: Slice & Serve
These are meant to be enjoyed as whole cookies, but if you want to get fancy, they cut nicely into bars while still warm. Serve them slightly warm or at room temp with a cold glass of milk or hot coffee. The melty bits and chewy oats make these *so* satisfying.
What to Serve It With
For Breakfast: There’s something about a chewy monster cookie paired with a steaming cup of black coffee or your favorite latte that starts the day just right. I often pack one with my kids’ lunches for an extra mid-morning pick-me-up.
For Brunch: Slice up these cookies alongside fresh fruit and a yogurt parfait for a colorful, fun spread. A sparkling mimosa or creamy chai latte pairs beautifully here.
As Dessert: Serve monster cookies with a scoop of vanilla ice cream and a drizzle of caramel sauce for a quick, crowd-pleasing dessert that feels special but effortless.
For Cozy Snacks: When the afternoon slump hits, these cookies with a warm cup of tea or a glass of cold milk feel like the ultimate comfort food. They’re perfect for sharing during family game night or on chilly evenings.
Over the years, these monster cookies have become a staple for our family gatherings — always disappearing in minutes and sparking requests for “just one more.” It’s a recipe that feels like a warm hug whenever you need a little pick-me-up.
Top Tips for Perfecting Your Monster Cookies
Oats Prep: Using old-fashioned oats here is non-negotiable for me. Quick oats tend to get mushy and ruin that chewy texture. If your oats feel a little old, toasting them lightly in the oven before mixing brings out an even nuttier flavor.
Mixing Advice: Resist the urge to overmix once you combine wet and dry. Overworked dough leads to tough cookies, and that’s the last thing you want here. Fold gently until just combined and trust the peanut butter to hold it together.
Swirl Customization: For fun, try folding in peanut butter or chocolate chips on top before baking and swirling them lightly with a toothpick for a marbled look — it’s a little trick I picked up that never fails to wow guests.
Ingredient Swaps: If you’re peanut butter averse, sunflower seed butter works surprisingly well, though flavor changes a bit. For flour, since these rely mostly on oats and peanut butter, adding a bit of whole wheat pastry flour (about ½ cup) won’t hurt but don’t swap all—you want that chewy, rustic vibe.
Baking Tips: Place your cookie sheet in the middle rack for even heat distribution. If your oven runs hot, drop the temp by 10 degrees — it’s better to bake a few extra minutes than to get dry edges. Always test doneness with a gentle touch; slightly underbaked centers yield that dreamy chewiness.
Glaze Variations: Experiment with adding a pinch of cinnamon, espresso powder, or even a splash of bourbon to your glaze for grown-up twists. If you want something less sweet, a simple dusting of powdered sugar does just fine, too.
One lesson I’ve learned the hard way? Never skip chilling your dough if your kitchen is warm. The cookies spread around the pan way too much otherwise, giving you thin, crispy disks instead of those satisfying, thick monster cookies we all love.
Storing and Reheating Tips
Room Temperature: Keep your monster cookies in an airtight container at room temp for up to 3 days. Lining the container with parchment paper between layers helps keep them from sticking together and preserves that chewy texture beautifully.
Refrigerator Storage: I usually store leftovers in the fridge when the weather’s warm or if I’ve made a big batch. Use a sealable plastic container or glass jar with a tight lid, and they’ll stay fresh for up to a week. Just let them come to room temp before enjoying.
Freezer Instructions: These cookies freeze great — just wrap them individually in plastic wrap and stash in a freezer-safe bag. They keep for up to 3 months and thaw in minutes at room temperature or warm up gently in the microwave for a freshly baked feel.
Glaze Timing Advice: If you’re glazing your monster cookies, it’s best to do it after they’ve fully cooled if you plan to store them. Glazing warm cookies makes the topping runny and sticky, which doesn’t store well. For frozen cookies, I glaze after thawing for that fresh touch.
Frequently Asked Questions
Final Thoughts
All in all, these monster cookies have earned a permanent spot in my recipe collection—and in my family’s hearts. Every batch feels like a little celebration, from that first warm bite to the last crumb you scrape off the plate. They’re my go-to when I want something that’s as fun to make as it is to eat, and that always brings smiles to the table. If you’ve got a sweet tooth that just won’t quit or friends to impress on short notice, grab your mixing bowl and give these a go. I can’t wait to hear how yours turn out and what personal twists you add. Happy baking, friend—dig in and savor every delicious, chewy, monster-sized bite!
Amazing Monster Cookie Recipe
Ingredients
Main Ingredients
- 0.75 cup butter room temperature
- 2 cup creamy peanut butter
- 1.5 cup light brown sugar
- 1.5 cup granulated sugar
- 5 large eggs
- 1 tablespoon vanilla extract
- 2 teaspoons baking soda
- 1 teaspoon kosher salt
- 0.75 cup all purpose flour
- 5.5 cups rolled (old fashioned) oats
- 1 cup semi-sweet chocolate chips
- 1 cup M&Ms
- 0.5 cup peanut butter chips optional
- 1 cup raisins optional
Instructions
Preparation Steps
- In the bowl of your stand mixer fitted with the paddle attachment, mix the butter, peanut butter, brown sugar, and granulated sugar together on medium speed for 2 minutes.
- Add in the eggs one at a time, vanilla extract, baking soda, and salt, and mix until smooth for 1 minute, scraping the sides of the bowl as necessary.
- Turn the mixer to low and add in the flour, mixing until combined.
- Slowly add in the oats and mix until incorporated.
- Stir in the chocolate chips, M&Ms, and other optional add-ins.
- Cover the bowl and refrigerate the dough for at least 2 hours.
- Preheat oven to 375°F. While the oven is preheating, remove the dough from the refrigerator to take the chill off.
- Line your baking sheet with parchment paper. Using a medium (2-tablespoon) cookie scoop, portion out the dough and place 2 inches apart on the baking sheet.
- Bake for 10 to 12 minutes, until lightly golden. Allow the cookies to cool on the baking sheet for 5 minutes before transferring to a wire rack to cool completely.