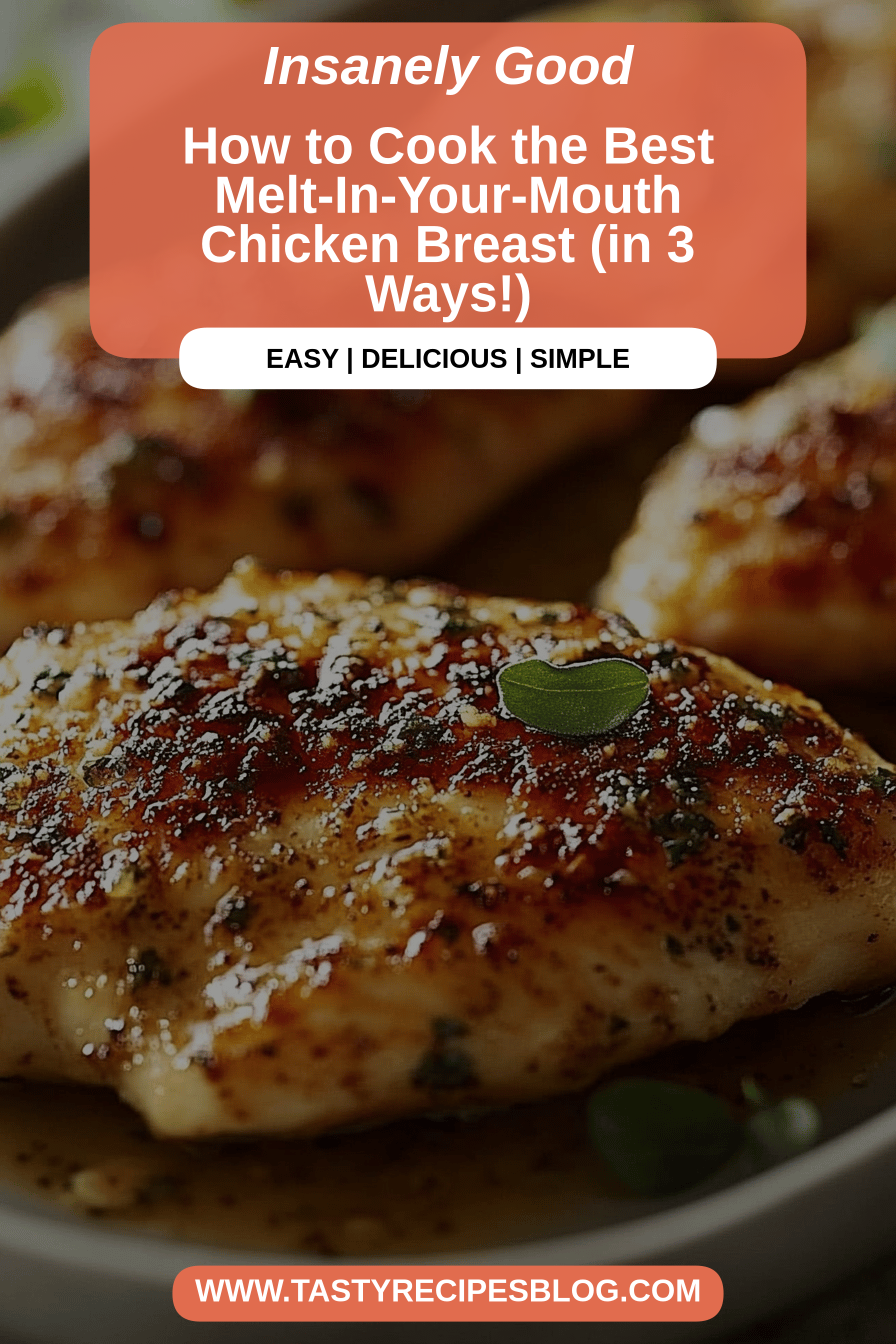
melt-in-your-mouth chicken
There are some recipes that just stick with you, aren’t there? The ones you find yourself making over and over again because they’re just *that* good. For me, this melt-in-your-mouth chicken is one of those magic recipes. I remember the first time I made it, it was a chaotic weeknight, and I needed something comforting and delicious without a lot of fuss. I’d seen variations of this idea floating around, but this specific way of doing it just clicked. The chicken came out so unbelievably tender, so flavorful, it honestly felt like a culinary revelation. It’s the kind of dish that makes you close your eyes and just savor every bite. Forget dry, bland chicken breast; this is a whole different league. If you’ve ever been disappointed by a Chicken Recipe that promised a lot but delivered little, prepare to have your faith restored. This is the recipe that finally delivered on the promise of truly melt-in-your-mouth chicken, and trust me, it’s going to be your new go-to too.
What is Melt-in-Your-Mouth Chicken?
So, what exactly *is* melt-in-your-mouth chicken? Well, the name pretty much says it all! It’s a chicken dish where the meat is so incredibly tender, so juicy, that it practically dissolves on your tongue. It’s not about a specific cuisine or a complex set of techniques; it’s about achieving an unparalleled level of succulence and flavor. Think of it as the ultimate comfort food, but elevated. It’s essentially chicken that’s been treated with a bit of love and the right combination of ingredients and cooking methods to ensure it’s never dry, never tough, but always wonderfully soft and yielding. I like to describe it as chicken that’s been gently coaxed into its most delicious, tender form. It’s the kind of dish that makes you feel like you’re eating something truly special, even if you whipped it up in under an hour.
Why you’ll love this recipe?
Oh, where do I even begin with why this recipe is an absolute winner? First and foremost, the **flavor** is just out of this world. We’re talking savory, a little bit tangy, with a hint of sweetness that plays perfectly with the chicken. It’s complex enough to impress, but simple enough that you’ll want to make it every single week. Then there’s the **simplicity**. Seriously, this is a lifesaver on busy weeknights or when you’re just feeling a bit low-energy. The active prep time is minimal, and the oven does most of the heavy lifting. You can have this on the table with minimal stress, which is a huge win in my book. And let’s talk about **cost-efficiency**. Chicken breast can sometimes feel a bit… boring, and it can be easy to overspend on fancy cuts. But this recipe transforms humble chicken breasts into something extraordinary using pantry staples. It’s a budget-friendly way to enjoy a restaurant-quality meal. Finally, the **versatility** is incredible. This melt-in-your-mouth chicken is fantastic on its own, but it also plays well with so many sides. I’ve served it over rice, with roasted vegetables, in salads, and even tucked into wraps. It’s a chameleon! Compared to other chicken recipes I’ve tried, this one consistently delivers that unparalleled tenderness. Some recipes aim for crispy skin, others for a bold marinade, but this one focuses solely on achieving that sublime, melt-in-your-mouth texture, and it nails it every single time.
How do you make Melt-in-your-mouth chicken?
Quick Overview
This recipe is all about creating a wonderfully tender chicken breast by using a simple yet effective marinade and a gentle cooking process. You’ll coat chicken breasts in a creamy, tangy mixture, let them marinate briefly, and then bake them until they’re impossibly juicy. It’s a straightforward process that yields restaurant-quality results without any fuss. The key is in the balance of ingredients and not overcooking, which this method ensures beautifully.
Ingredients
For the Main Batter:
For this part, you’ll want about 4 boneless, skinless chicken breasts. I always go for the plump ones, as they tend to stay juicier. Make sure they’re roughly the same thickness so they cook evenly. If they’re really thick, you can always gently pound them down a little to even them out, but honestly, this recipe is pretty forgiving.
For the Filling:
This is where the magic starts! You’ll need about 1/2 cup of mayonnaise. Don’t skip this – it’s crucial for that creamy, tender texture. And about 1/4 cup of Dijon mustard. The Dijon adds a fantastic zip that cuts through the richness. I also add about 2 tablespoons of fresh lemon juice. This isn’t just for flavor; the acidity helps tenderize the chicken even further. And a good pinch of garlic powder and onion powder for that savory depth. Salt and Black Pepper, of course, to taste. I usually go with about 1/2 teaspoon of salt and 1/4 teaspoon of pepper, but you do you!
For the Glaze:
This is optional, but highly recommended for that extra pop of flavor and beautiful sheen. I like to use about 2 tablespoons of honey or maple syrup mixed with 1 tablespoon of the Dijon mustard from earlier. It creates this sticky, sweet-and-tangy glaze that’s just divine.
Step-by-Step Instructions
Step 1: Preheat & Prep Pan
First things first, let’s get the oven preheated to 375 degrees Fahrenheit (190 degrees Celsius). While it’s heating up, grab a baking dish. I usually use an 8×8 inch or a 9×13 inch dish, depending on how many chicken breasts I’m making. Lightly grease it with a little cooking spray or a dab of butter so nothing sticks. This step is super important to prevent sticking and make cleanup a breeze!
Step 2: Mix Dry Ingredients
In a medium bowl, I like to combine the dry ingredients for the coating. This includes your garlic powder, onion powder, salt, and pepper. Give it a good whisk with a fork or a small whisk to make sure everything is evenly distributed. This ensures you get that perfectly seasoned flavor in every single bite of the chicken.
Step 3: Mix Wet Ingredients
In a separate, larger bowl, I combine the wet ingredients. This is where the magic really happens! Whisk together the mayonnaise, Dijon mustard, and fresh lemon juice. You want this mixture to be smooth and creamy. If it seems a little too thick, you can add another splash of lemon juice or even a tablespoon of milk or water, but usually, the mayo and lemon juice give it the perfect consistency. It should look like a beautiful, pale yellow, velvety sauce.
Step 4: Combine
Now, we’re going to bring it all together. Add your chicken breasts to the bowl with the wet ingredients. Gently toss them around to make sure each piece is fully coated in that glorious mayo-mustard mixture. Don’t be shy; really get them coated well. Then, use tongs or your hands to transfer the coated chicken breasts into your prepared baking dish. Arrange them in a single layer, making sure they aren’t overlapping too much so they cook evenly. You can then spoon any extra coating from the bowl over the top of the chicken.
Step 5: Prepare Filling
While the chicken is getting ready to go into the oven, you can prepare your optional glaze. In a small bowl, whisk together the honey or maple syrup with the remaining Dijon mustard. This simple mixture creates a wonderfully sweet and tangy glaze that will caramelize beautifully on top of the chicken during the last few minutes of baking. It really takes the flavor to the next level!
Step 6: Layer & Swirl
This step is more about making it look pretty and ensuring even cooking. Once the chicken is in the baking dish, I like to give it one final gentle coating of any remaining sauce from the bowl. You can even use a spoon to spread a little extra over the top. This helps create that lovely crust. If you’re using the glaze, you’ll brush that on later.
Step 7: Bake
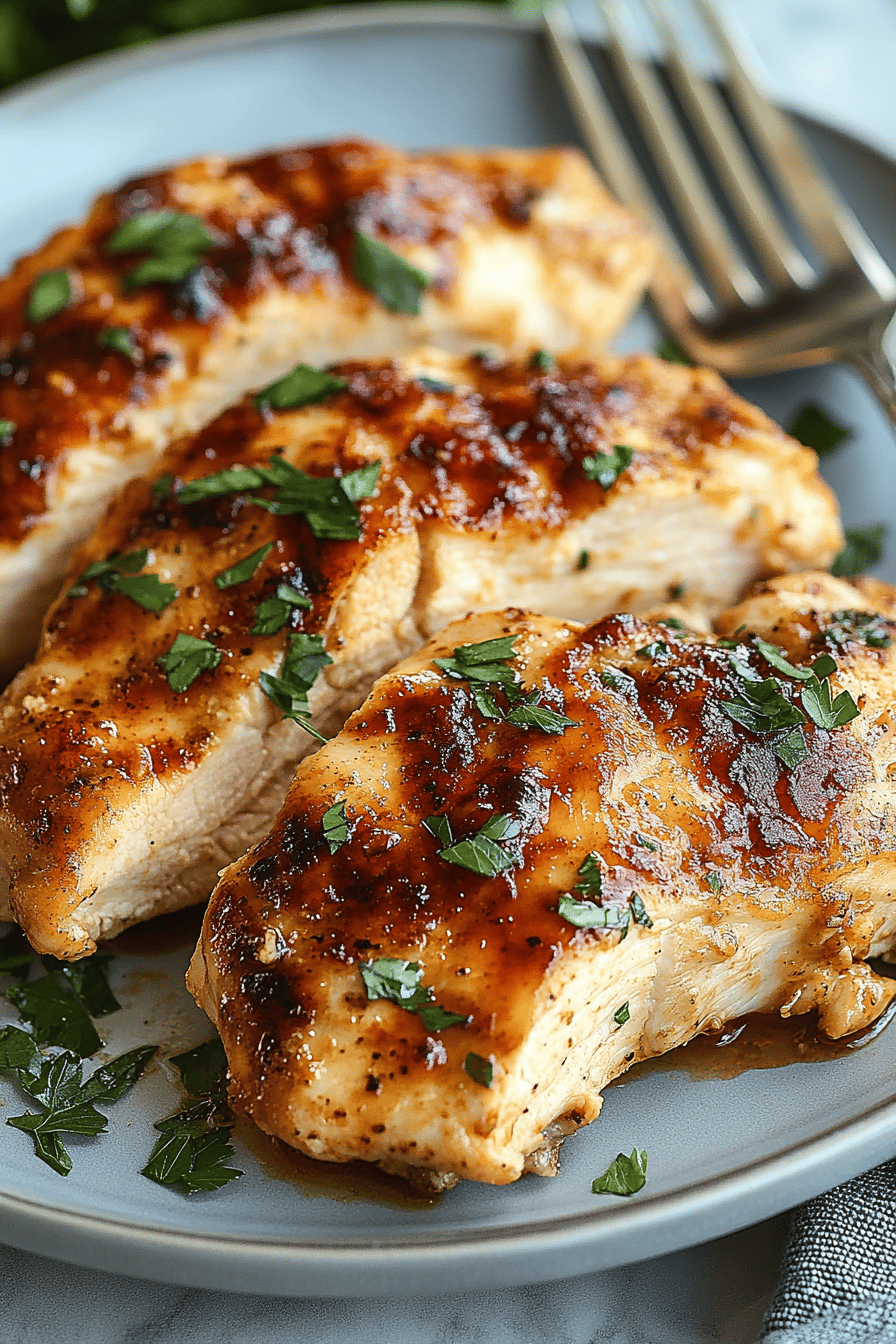
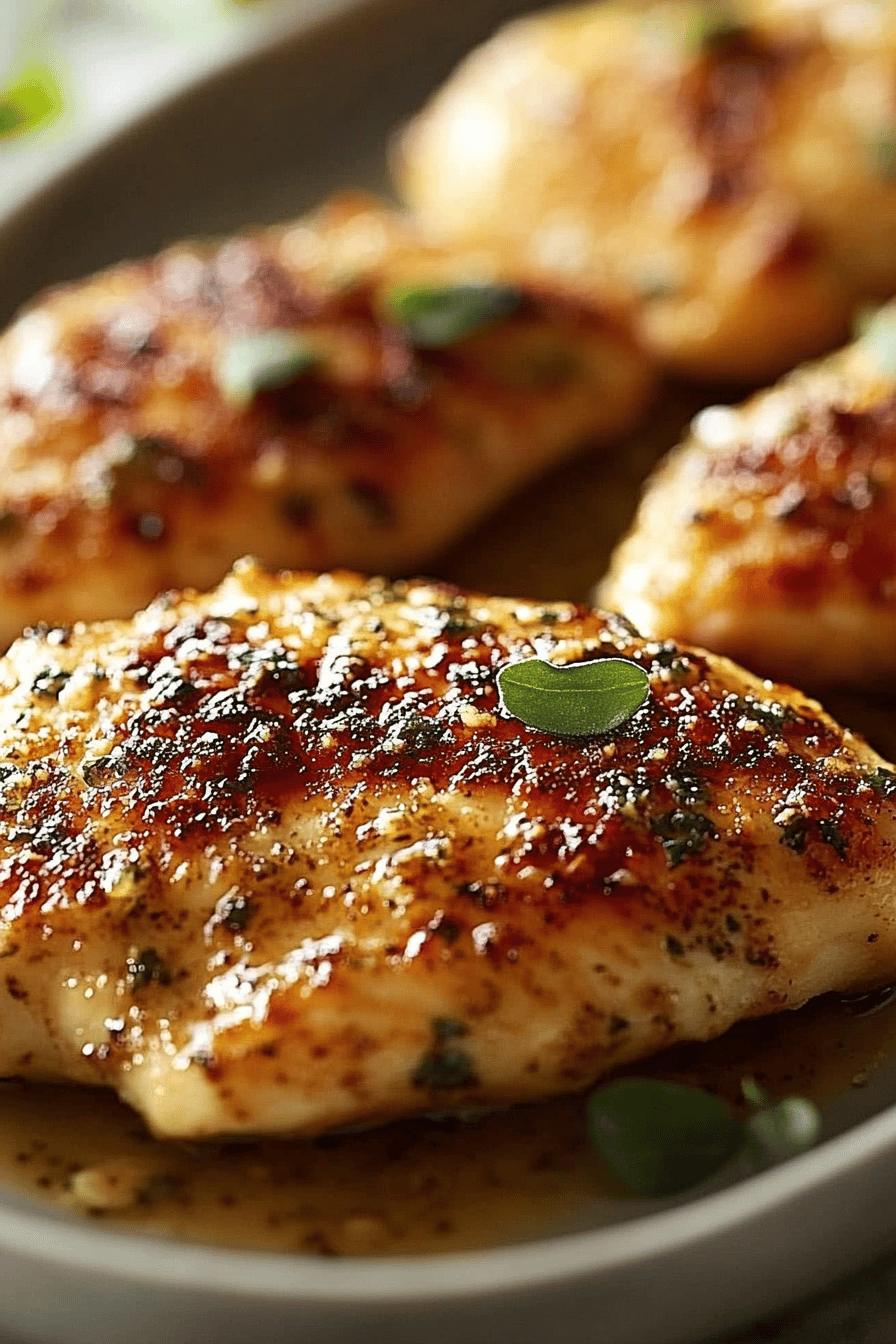
Pop that baking dish into your preheated oven. You’ll want to bake the chicken for about 20-25 minutes. The exact time will depend on the thickness of your chicken breasts. You’re looking for the chicken to be cooked through and for the coating to be lightly golden and bubbly. The best way to tell if it’s done is to use a meat thermometer; it should read 165 degrees Fahrenheit (74 degrees Celsius) in the thickest part of the breast. Or, you can cut into the thickest part – the juices should run clear, and the meat should be opaque white, not pink.
Step 8: Cool & Glaze
Once the chicken is cooked, carefully remove the baking dish from the oven. If you’re using the glaze, now is the time to brush it generously over the tops of the chicken breasts. This will make them gorgeously glossy and add that extra layer of flavor. Let the chicken rest in the dish for about 5-10 minutes. This resting period is crucial! It allows the juices to redistribute throughout the meat, ensuring every bite is moist and tender. Skipping this step is a common mistake that can lead to dry chicken, so don’t skip it!
Step 9: Slice & Serve
After resting, you can slice the chicken breasts into pieces or serve them whole. I love serving this with a side of fluffy rice or some roasted asparagus. The sauce from the pan is also incredible spooned over everything. It’s ready to be devoured!
What to Serve It With
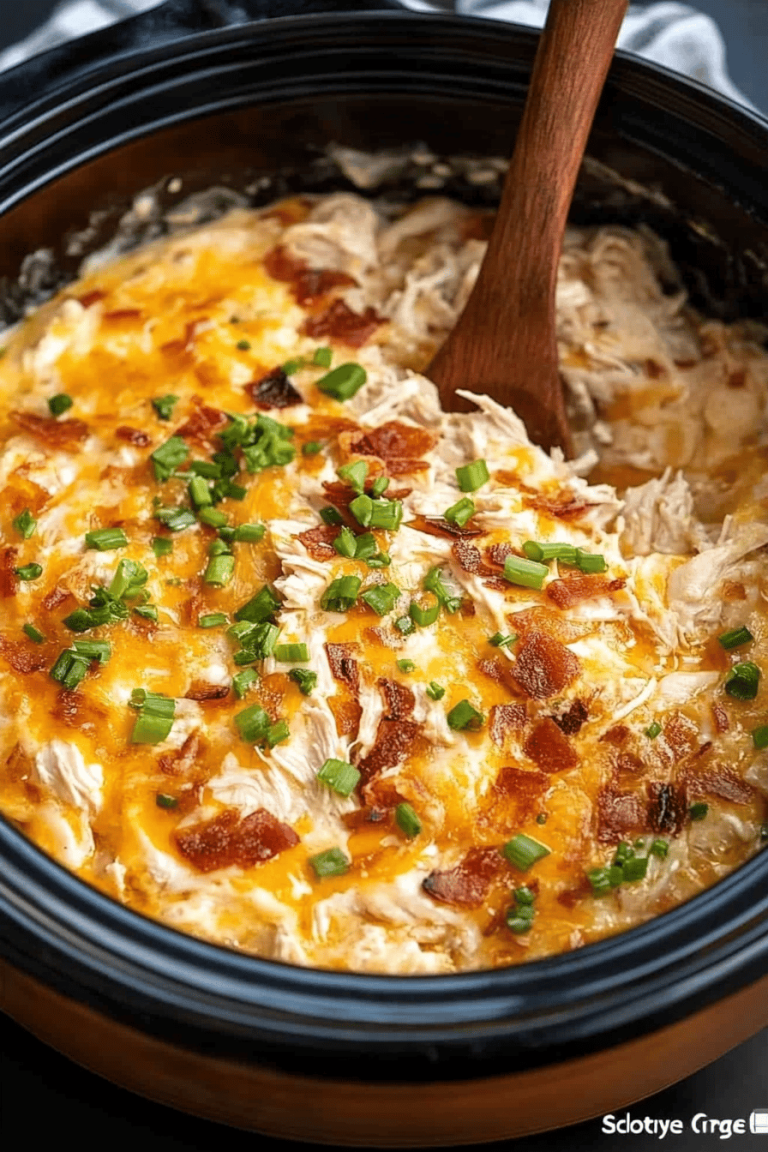
This melt-in-your-mouth chicken is so versatile, it can honestly fit into any mealtime. For **Breakfast**, I know it sounds a bit unusual, but a few slices of this chicken alongside scrambled eggs or tucked into a breakfast burrito is surprisingly delicious! The savory notes are just perfect. For **Brunch**, I often serve it as part of a larger spread. Imagine it alongside some crispy bacon, fresh fruit salad, and maybe some fluffy mini muffins. It adds a sophisticated, savory element that everyone enjoys. When we’re craving something sweet and satisfying as **Dessert** (yes, really!), a small portion of this chicken with a drizzle of extra glaze can be a surprisingly good way to end a meal, especially if you’ve had a lighter main course. It’s rich without being heavy. And for those **Cozy Snacks** or a light lunch, I love serving it chilled over a bed of mixed greens with a light vinaigrette. It’s so tender it’s almost like chicken salad without the mayo binder! My kids, bless their hearts, will eat this with plain pasta and call it a feast. It’s become a staple for family dinners because it’s just so reliably good. Another family favorite is serving it alongside garlic mashed potatoes and steamed broccoli – pure comfort food heaven.
Top Tips for Perfecting Your Melt-in-Your-Mouth Chicken
Over the years, I’ve learned a few tricks that really elevate this dish. For **Zucchini Prep**, if you were making a zucchini bread or something where excess moisture is an issue, you’d want to squeeze it dry. But here, with the chicken, we’re not using zucchini! My apologies, I think my brain got ahead of itself there, jumping to another favorite recipe. Back to the chicken! For **Mixing Advice**, the key here is to fully coat the chicken in the mayonnaise mixture. Don’t just give it a light toss. Really ensure every nook and cranny is covered. Also, avoid overmixing the batter itself once you’ve added the lemon juice, as it can sometimes break down the mayo a bit too much. For **Swirl Customization**, this isn’t really applicable to this chicken recipe as there’s no swirling involved! My apologies again, I must be thinking of a different creation! For the chicken, the focus is on a uniform coating. For **Ingredient Swaps**, if you’re not a fan of Dijon mustard, you can try using a good quality stone-ground mustard instead, though the flavor profile will be slightly different. For the mayo, full-fat is best for richness and tenderness. I’ve tested using Greek yogurt, but it doesn’t quite achieve the same level of melt-in-your-mouth texture. For **Baking Tips**, make sure your oven is properly preheated. An inaccurate temperature is a common culprit for uneven cooking. And as I mentioned, the resting period is NON-NEGOTIABLE. Seriously, it makes all the difference. For **Glaze Variations**, if you don’t have honey or maple syrup, a little brown sugar can work in a pinch, but it might not provide the same sticky gloss. You can also add a pinch of paprika to the glaze for color or a tiny dash of hot sauce for a little kick.
Storing and Reheating Tips
This melt-in-your-mouth chicken is fantastic for leftovers, though honestly, there are rarely any! If you do have some, storing it properly is key to maintaining that incredible tenderness. For **Room Temperature**, I wouldn’t recommend leaving it out for more than two hours, as per food safety guidelines. It’s best enjoyed fresh or chilled. For **Refrigerator Storage**, once the chicken has cooled completely (this is important – don’t put hot food straight into the fridge!), transfer it to an airtight container. It will stay wonderfully moist and delicious for about 3-4 days. I often find it’s even better the next day as the flavors have had more time to meld. For **Freezer Instructions**, this recipe freezes surprisingly well! Let the chicken cool completely, then wrap individual portions tightly in plastic wrap, followed by a layer of aluminum foil or place them in freezer-safe bags. It should keep well for up to 2-3 months. For **Glaze Timing Advice**, if you’re planning to freeze it without the glaze, that’s usually best. You can add the glaze after reheating for the freshest flavor. If you are refrigerating, you can add the glaze before storing or just before serving.
Frequently Asked Questions
Final Thoughts

Honestly, if there’s one chicken recipe that I can guarantee will become a beloved staple in your kitchen, it’s this one. It’s the perfect storm of simplicity, incredible flavor, and that truly luxurious, melt-in-your-mouth texture that just makes you feel good. It’s the recipe I turn to when I want to impress without the stress, or when I just need a reliable dish that the whole family will devour. I hope you love it as much as we do! If you give this melt-in-your-mouth chicken a try, please let me know how it turns out in the comments below! I’m always so excited to hear about your kitchen adventures. And if you’ve got your own spin on it, I’d love to hear that too! Happy cooking, and I can’t wait to hear how your chicken turns out!