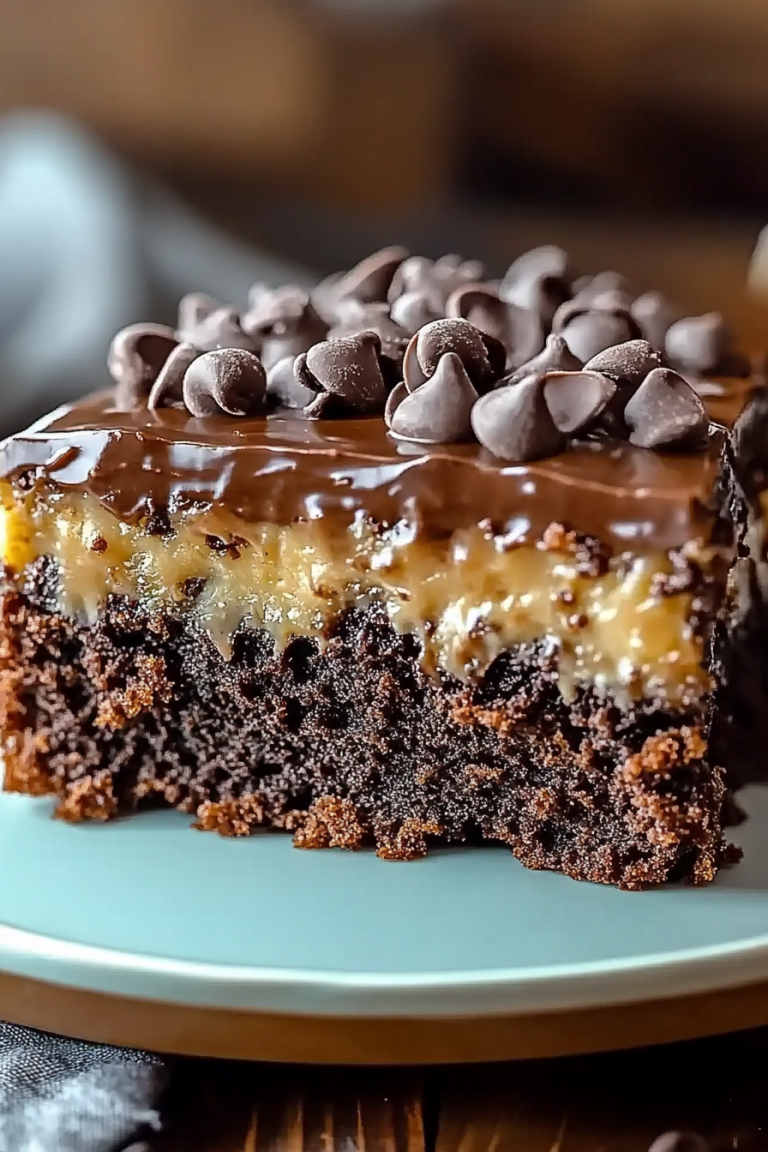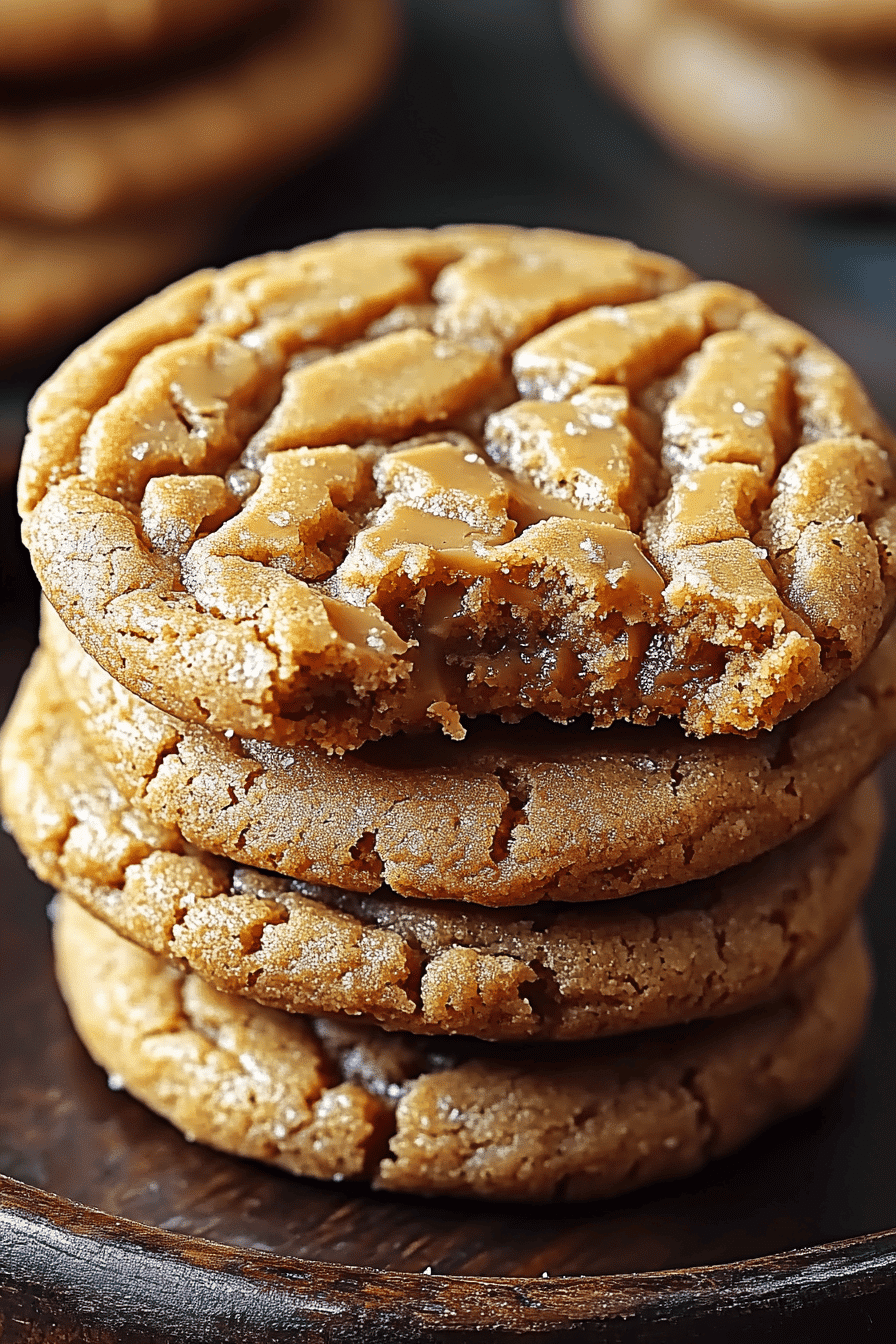
Marshmallow Peanut Butter Cookie Dreams
Every time I smell peanuts curling through the kitchen and see a glossy swirl of chocolate catching the light, I’m transported back to grandma’s kitchen. She’d bake something simple and comforting, and the house would fill with a warmth that felt like a warm hug. These marshmallow peanut butter cookies are in that same spirit—soft, chewy, a little gooey in the center, and somehow perfect for any time you need a sweet lift. They’re not fancy; they’re friendly. They compare beautifully to a classic peanut butter cookie, but with a playful surprise tucked inside: a melty little marshmallow that vanishes into the dough as it bakes. My kids call them “melt-in-your-mouth PB clouds,” which is the sweetest compliment a cookie can earn. This recipe is a lifesaver on busy weeknights, and it makes the kitchen smell like caramelized sugar and toasted nuts—a memory you can taste. I’ve tweaked it year after year, and I still grin every time I twist the tray out of the oven and the first marshmallow stretches like a gummy ribbon. Trust me on this one: these marshmallow peanut butter cookies disappear in minutes at my house.
What is Marshmallow Peanut Butter Cookies?
Think of marshmallow Peanut Butter Cookies as a cozy, hug-worthy take on a classic peanut butter cookie, with a soft, sweet center that turns into a mini surprise as they bake. It’s essentially a peanut butter cookie dough that’s thick enough to hold a little pocket of marshmallow, then finished with a glossy chocolate drizzle or a simple dusting of sugar. The name says it all: peanut butter is the star, marshmallows bring a gooey heart, and the whole thing comes together in under an hour. I love that the concept is approachable—no fancy ingredients, just pantry staples—and the result feels a bit special without being intimidating. If you’re hunting for a treat that’s both comforting and a touch whimsical, these cookies are your answer. It’s the kind of recipe you pull out when company drops by unannounced, because you can have a tray of warm cookies on the table in a snap, and your kitchen will still smell like a cozy holiday afternoon.
Why you’ll love this recipe?
What I love most about these marshmallow Peanut Butter Cookies is how unfussy they are. You mix, you scoop, you bake, you smile. The flavor is a timeless duo—salty-sweet peanut butter with the melt of marshmallow—plus a hint of vanilla that makes the peanut butter sing. They’re shockingly simple to pull off, which means you can make them on a weeknight and still feel like you’ve put in real effort. Budget-wise, they’re friendly, using pantry staples you probably already have on hand. And versatility? Oh, plenty. If you want a deeper chocolate vibe, you can swap the glaze for a glossy chocolate shell; if you’re in the mood for a lighter bite, skip the glaze and roll in a sprinkle of sea salt. My kids ask for these all the time, and honestly, I love that they’re not fussy. I’ve even tried almond butter in place of peanut butter, and the cookies still turned out tender and slightly nutty with a touch of sweetness—my almond-milk version felt unexpectedly creamy and rich. There’s something about the way the marshmallow centers peek out as they bake that feels like a little celebration. It’s comforting, nostalgic, and a little bit magical all at once.
How do I make Marshmallow Peanut Butter Cookies?
Quick Overview
This is the kind of recipe that hooks you with its simplicity: a handful of mixing bowls, a cheerful scoop of dough, and a short bake time. You’ll make a rich Peanut Butter batter, fold in a few pantry staples to shape the cookie, and then tuck a marshmallow center into each portion before baking. The result is a cookie with a softly chewy texture, a hint of vanilla, and a gooey marshmallow pocket that blooms as it warms. If you’ve never tried sealing in a marshmallow, you’ll love the way the center stays tender and the edges stay lightly crisp. It’s fast, forgiving, and deeply satisfying—troubleshooting is mostly just not overbaking, which seals in that perfect interior. In short: mix, seal, bake, glaze if you want a glossy finish, and enjoy a little slice of dessert heaven in under an hour.
Ingredients
For the Main Batter:
- 1 cup creamy peanut butter (preferably unsalted, or use salted if you like a touch of savoriness)
- 1/2 cup granulated sugar
- 1/4 cup light brown sugar, packed
- 1 large egg
- 1 teaspoon vanilla extract
- 1/4 teaspoon salt
- 1/2 cup all-purpose flour (optional for structure)
- 1/4 teaspoon baking soda
For the Filling:
- Mini marshmallows, about 16–20 per batch (or use a few larger marshmallows cut into smaller rounds)
- Optional: a pinch of flaky sea salt to sprinkle on top after baking
For the Glaze:
- 1/2 cup semisweet chocolate chips
- 1 teaspoon coconut oil or unsalted butter
- Optional: a light dusting of cocoa powder or sea salt
Step-by-Step Instructions
Step 1: Preheat & Prep Pan
Preheat your oven to 350°F (175°C). Line two baking sheets with parchment paper or silicone mats and set them aside. I always keep a little extra marshmallow stash nearby because, honestly, a warm marshmallow makes every bite feel like a memory in the making. If you’re short on parchment, a well-greased sheet works too, but parchment really keeps the bottoms from sticking and makes cleanup a breeze.
Step 2: Mix Dry Ingredients
In a small bowl, whisk together the flour, baking soda, and salt. The goal is to distribute these leavening agents evenly so every cookie bakes uniformly. This is one of those small steps that saves you from flat cookies or uneven centers. If you’re watching your gluten intake, you can swap in a 1:1 gluten-free blend, but the texture may shift slightly—still delicious, just a touch more crumbly.
Step 3: Mix Wet Ingredients
In a larger bowl, beat the Peanut Butter with the granulated sugar and brown sugar until smooth and a little fluffy. Add the egg and vanilla, and beat until the mixture is glossy and uniform. The vanilla gives that cozy, bakery-like aroma that makes these cookies feel special right out of the oven. If your peanut butter is very oily, you can blot a little with a paper towel before mixing to keep the dough from becoming too loose.
Step 4: Combine
Gently fold the dry ingredients into the wet mixture until just combined. You don’t want to overmix here—just enough to bring everything together. The dough should be soft but workable. If it feels a touch too sticky, chill it for about 15 minutes; this makes sealing the marshmallow centers easier and helps the cookies hold their shape during baking.
Step 5: Prepare Filling
Have your mini marshmallows ready. If you’re using larger marshmallows, cut them into smaller rounds so they fit neatly in the center of each cookie. You want enough marshmallow to be noticeable but not so much that it oozes everywhere. A light press or a quick dusting of flour on your hands helps prevent sticking as you work with the dough.
Step 6: Layer & Swirl
Scoop a tablespoon or slightly larger of dough and roll into a ball. Flatten it into a disc, then place 1–2 mini marshmallows in the center. Fold the dough over the marshmallow and pinch the edges to seal completely, forming a little ball with the marshmallow tucked inside. If you fear the marshmallow leaking, give the dough a gentle second seal and reroll into a neat ball. Arrange the dough balls on the prepared sheets about 2 inches apart. If you want a chocolatey swirl, you can press a few chocolate chips into the top before baking for a pretty marbled look.
Step 7: Bake
Bake for 9–11 minutes, or until the edges are set and the centers look just a tad underdone. The marshmallow in the center will puff a bit and maybe bubble, which is exactly what you want—soft, gooey, and tender. If your oven runs hot, start checking at 8 minutes. Oven variations are real, so you’ll find your sweet spot with a couple of test cookies the first time around. Let the tray rest off the heat for 3–4 minutes before transferring to a wire rack to cool completely; this helps the centers set up without becoming too firm.
Step 8: Cool & Glaze
Cool the cookies on a rack for about 10 minutes. If you’re glazing, melt the chocolate chips with the butter or coconut oil until smooth, then drizzle over the cookies in a thin stream. A little sprinkle of flaky sea salt while the glaze is still warm can be magical, almost like a ta-da moment. If you prefer a lighter finish, you can opt for a simple dusting of powdered sugar instead. Allow the glaze to set for a few minutes before stacking cookies on a plate for serving.
Step 9: Slice & Serve
These cookies are bite-sized and meant to be shared, so slice or simply plate them whole for a cozy coffee break. If you baked them as slightly larger rounds to create more pronounced centers, you might want a gentle knife-cut to portion them for sharing. The best part is watching the marshmallow melt just enough to create that creamy center. They’re equally dreamy warm with a cup of cold milk or coffee, or cooled and tucked into lunch boxes for a little afternoon joy.
What to Serve It With
Marshmallow peanut butter cookies deserve to be in the spotlight, but they also pair beautifully with a few different moments and moods.
For Breakfast: A tall glass of cold milk or a creamy latte, with the cookies broken into chunks for a chewy, quick dunk. They’re a sweet little morning treat that still feels like a weekend indulgence.
For Brunch: Plate them with a cheese board that pairs nicely with peanut flavors—think aged cheddar, crisp apples, and a dab of fig jam. The cookies bring a playful sweetness that keeps the mood light and cheerful.
As Dessert: A scoop of vanilla ice cream on the side makes a delightful hot-cold pairing, especially if you drizzle a little extra glaze over the top. A sprinkle of flaky salt enhances the peanut butter notes and makes the flavors pop.
For Cozy Snacks: Keep a batch in an airtight tin and pull them out with a mug of hot cocoa on a chilly evening. They’re the perfect companion for a movie marathon or a late-night chat with a friend.
In my kitchen, these cookies became a little family tradition—an easy, comforting treat that says “welcome” with every bite. If you’ve got kids at home, you’ll see their eyes light up the moment the jar comes into view. We’ve made these for bake sales, school events, and simple, everyday moments when someone just needs a comforting bite. The nostalgic aroma, the soft center, and that glistening glaze—it’s a small thing that feels like a warm hug in cookie form.
Top Tips for Perfecting Your Marshmallow Peanut Butter Cookies
Here are a few tricks I’ve learned along the way, organized by technique to keep things simple and practical.
Dough Handling: If your dough feels too sticky, chill it for 15–20 minutes. It makes sealing in the marshmallow easier and helps the cookies keep their shape. If it’s too dry, whisk a tablespoon or two of milk or a splash of water into the batter until it comes together.
Flavor Tweaks: For a deeper nut flavor, swap a portion of the peanut butter for almond butter and add a pinch more salt. If you’re aiming for a richer chocolate finish, double the glaze and add a pinch of espresso powder to the chocolate glaze—it intensifies the chocolate’s aroma without overpowering the peanut.
Texture Control: Want a chewier center? Reduce flour by a couple tablespoons and bake a minute or two shorter. For a crisper edge, give the cookies a touch longer in a hotter oven (watch them closely after minute 9).
Swirl & Visual Appeal: To create a marbled look, press a few chocolate chips into the tops before baking, or swirl a tiny amount of melted peanut butter into the glaze for a two-tone finish. It’s a pretty little detail that makes your tray feel special.
Ingredient Swaps: Craving gluten-free? Use a 1:1 gluten-free flour blend; the cookies will still be tender but with a slightly different crumb. If you don’t have marshmallows, a small spoonful of marshmallow fluff can work in a pinch, though the texture will shift a bit toward creaminess rather than a true molten center.
Baking Tips: Always bake on the middle rack for even heat distribution. If your oven tends to run hot, rotate the trays halfway through and keep an eye on the color—the cookies should be lightly golden at the edges, not burnt at the bottom.
Glaze Variations: If you want a lighter glaze, mix in a teaspoon of peanut butter with the chocolate for a peanutty drizzle. For a white chocolate version, swap in melted white chocolate and a touch of vanilla extract for a sweeter finish.
Storing and Reheating Tips
Here’s how I keep these cookies at their best, whether you bake a big batch or just a few for a weeknight treat.
Room Temperature: Store in an airtight container at room temperature for up to 3–4 days. They’ll stay soft and fragrant if kept away from direct sunlight and heat.
Refrigerator Storage: In a sealed container, they’ll stay fresh for about a week. The chill can tighten the centers a touch, so if you prefer them super soft, let them come to room temperature before serving.
Freezer Instructions: Freeze baked cookies in a single layer on a tray, then transfer to a freezer-safe bag for up to 2–3 months. Thaw at room temperature or warm gently in a low oven for a minute or two to revive the gooey center. If you glaze, keep glaze separate until serving to avoid sogginess.
Glaze Timing Advice: If you’re freezing, skip the glaze and add it after thawing. A quick warm glaze just before serving gives you that glossy finish without compromising texture.
Frequently Asked Questions
Final Thoughts
This recipe has become a little ritual in my kitchen—a quick crowd-pleaser that tastes like a warm memory and a cozy afternoon all in one bite. Marshmallow peanut butter cookies, to me, are proof that a handful of simple ingredients, treated with a bit of care, can create something that feels both special and familiar. They’re forgiving enough for a beginner to try and delightful enough for a seasoned baker to smile at. If you’re craving something sweet late at night but don’t want to bake a full dessert, these cookies come through every time. The soft center, the hint of vanilla, and that glossy glaze make a small batch feel like a celebration. I’d love to hear how yours turn out—did you experiment with almond butter, or perhaps add a pinch of espresso to the glaze for a subtle coffee kiss? Share your tweaks in the comments, rate the recipe, and tell me which variation you loved the most. Happy baking!