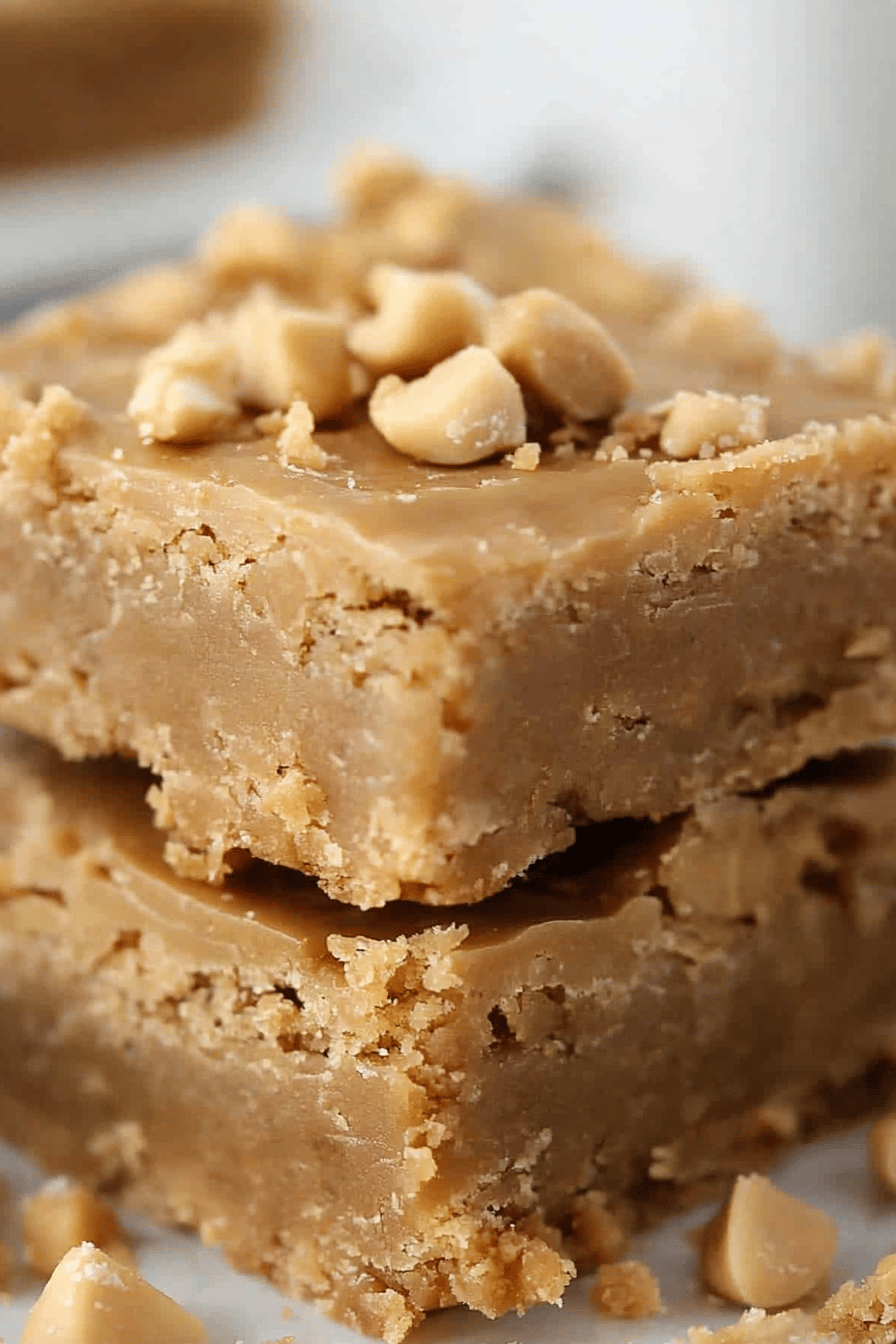
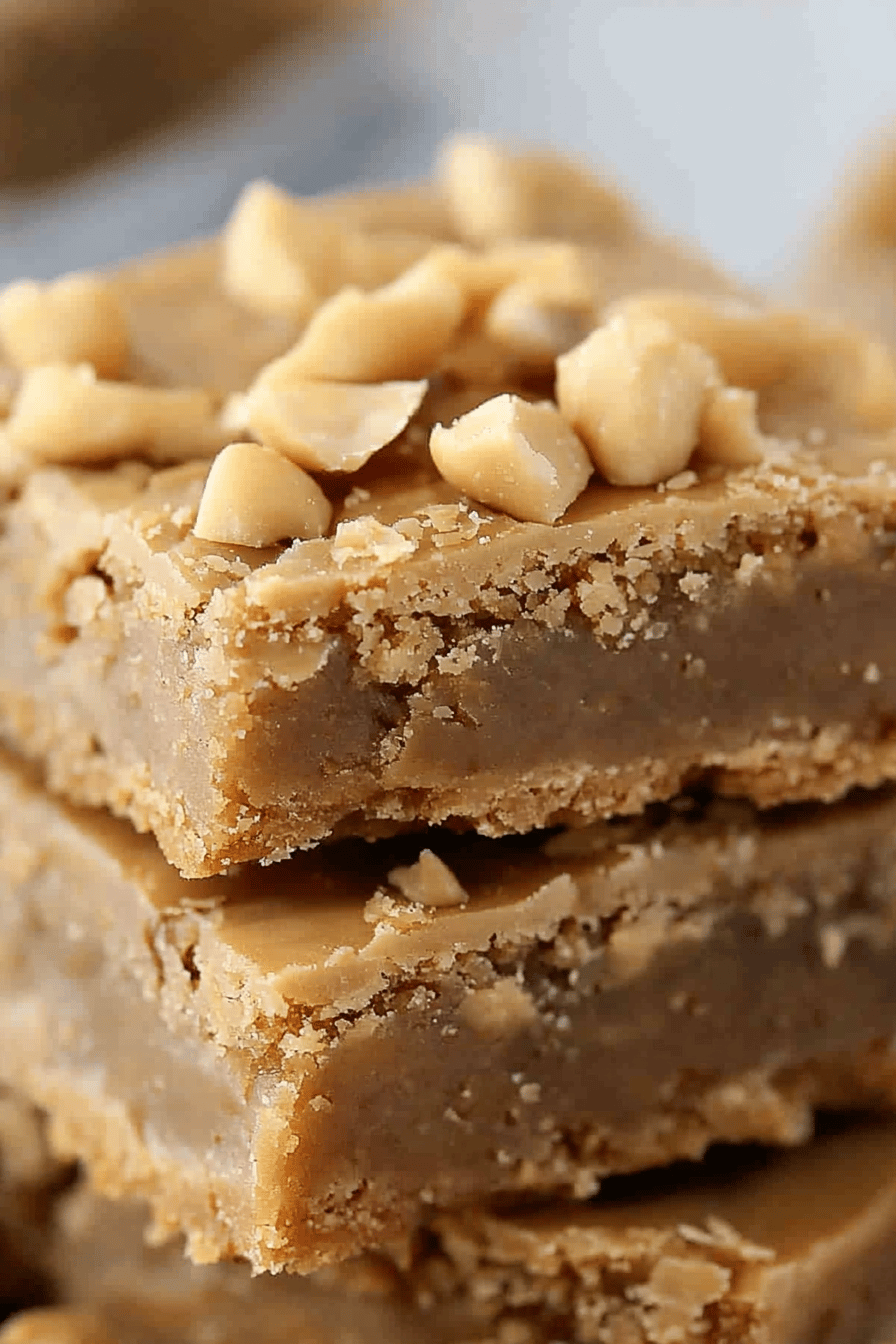
Maple Peanut Butter Bars
Okay, friend, let me tell you about these things.Maple Peanut Butter Bars: What are some of theThey’re like a Peanut Butter Cup got all dressed up for fall and then decided to hang out. What is it like to be a What are some of the best peanut butter blondies? What’s better, is a generous drizzle of maple-infused glaze. The salty peanut butter, the warm maple syrup, and the soft and chewy bar… it’s a total winner. My family begs for these more than cookies!
What is Maple Peanut Butter Bars?
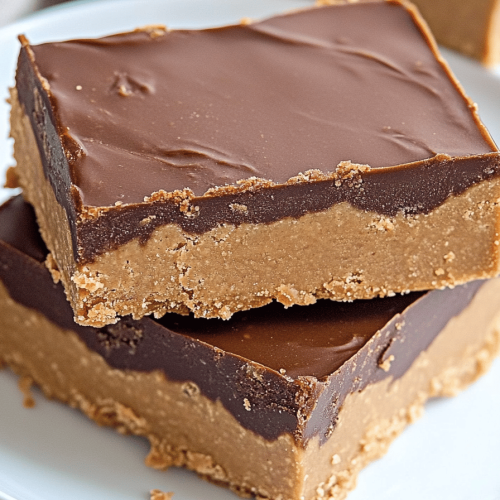
What are these magical things?Maple Peanut Butter Bars: What are some of yourThink of them as the love child of a Peanut Butter Cookie and blondie, all grown up with sex. Maple glaze is a unique and unique What is a peanut butter bar that’s swirled with maple? With a creamy, dreamy maple glaze. Is it a comfort food? I don’t know, maybe it’s the maple syrup that elevates it. Whatever it is, it works. Perfect for an afternoon treat, bake sale star, or even a slightly less-guilty late-night craving.
Why you’ll love this recipe?
I’m about to list all the reasons why you’re going to be obsessed with something. Alright, buckle up, because I know all of you are.Maple Peanut Butter Bars are delicious.. First, the *flavor*. It’s that perfect combination of salty and sweet, with the warm, comforting notes of maple syrup. The peanut butter is rich and nutty, and the maple glaze just takes it over the top. What I love most about this is how surprisingly *easy* they are to make. Seriously, you don’t need to be a pastry chef to whip these up. They’re also super cost-efficient. Peanut butter and maple syrup are pantry staples for me, and the other ingredients are things you probably already have on hand.
But the real magic? They’re incredibly versatile. Serve them warm with a scoop of vanilla Ice Cream for dessert, pack them in lunchboxes for a sweet treat, or just snack on them straight from the fridge (don’t judge me!). This recipe stands out from other peanut butter blondies because of that maple glaze. It’s the secret ingredient that makes them irresistible. I tried making similar bars with a chocolate ganache once, and while they were good, they just weren’t… these. And honestly, my picky-eater son devours these, which is a win in my book! When I have this on hand, everyone is happy. My husband loves it with coffee!
How do I make Maple Peanut Butter Bars?
Quick Overview
Making these Maple Peanut Butter Bars: What are some of theWhat is the recipe for peanut butter and maple syrup? What is the best way to make a maple glaze? Why should I not overbake my bars? I want them to be soft and chewy. What is the easiest way to learn baking? Is there any recipe that makes you feel like a rockstar without actually requiring any baking experience? Rockstar skills.
Ingredients
For the main battery:
* 1 cup (2 sticks) unsalted butter, softened – Make sure it’s *actually* soft, not melted! What makes a difference?
* 1 cup granulated sugar – Plain old white sugar works perfectly here.
* 1 cup packed light brown sugar – This adds moisture and chewiness.
* 2 large eggs – Use room temperature eggs for the best texture.
* 1 teaspoon vanilla extract – Don’t skimp on the vanilla! It enhances all the other flavors.
* 1 cup Creamy Peanut Butter – I prefer regular creamy, not natural, for this recipe. The natural kind can be a bit too oily.
* 2 1/2 cups all-purpose flour – Spoon and level your flour for accurate measurement.
* 1 teaspoon baking soda – This helps the bars rise and become nice and fluffy.
* 1/2 teaspoon salt – Salt balances out the sweetness and enhances the peanut butter flavor.
* 1/4 cup maple syrup – Make sure it’s real maple, not pancake syrup!
For the Glaze:
* 4 tablespoons (1/2 stick) unsalted butter, melted – Again, make sure it’s fully melt for a few minutes.
* 2 cups powdered sugar – Sift it if it’s lumpy!
* 1/4 cup maple syrup – This gives the glaze that amazing maple flavor.
* 2-4 tablespoons milk – Add more or less depending on your desired consistency. I use whole milk, but any kind will work.
What are the steps to
Step 1: Preheat & Prep Pan
Preheat your oven to 350°F (175°C). Grease and flour a 9×13 inch Baking Pan. If you want to remove a piece of parchment paper, you can line it with parchment. I always do this because then you can just lift the whole thing out and cut it on a cutting board. How do I save my time and money?
Step 2: Mix Dry Ingredients
In a medium bowl, whisk together the flour, baking soda, and salt. Set aside. What are some lumps of baking soda in a bar?
Step 3: Mix Wet Ingredients
In a large bowl, cream together the softened butter, granulated sugar, and brown sugar until light. Set aside. Beat the eggs one at a time, then stir in the vanilla extract and Peanut Butter. Mix well. Make sure the butter and sugars are fully combined, or you’ll end up with gritty bars.
Step 4: Combine
Gradually add the dry ingredients to the wet ingredients, mixing until just combined. Be careful not to overmix! Overmixing will develop gluten in the flour, resulting in tough bars. Is it okay if there are still streaks of flour?
Step 5: Prepare Filling
In a small bowl, whisk together 1/4 cup maple syrup. Set aside. How do you add maple flavour to your bars? Is it necessary to prepare maple syrup separately? If you have a whole batter, you will want to change the texture of the bars.
Step 6: Layer & Swirl
How do I spread the batter in a baking pan? How do you drizzle maple syrup over batter? Be creative with swirls! Don’t overdo it though, or the bars will end up looking muddy.
Step 7: Bake
Bake for 25-30 minutes, or until toothpick inserted into the center comes out with a few moist spots. I always check my oven at around 25 minutes. Keep a close eye on them.
Step 8: Cool & Glaze
Let the bars cool completely in the pan before frosting. To make the glaze, in a medium bowl, whisk together the melted butter, powdered sugar, and maple. Set aside. What is the best way to make Add milk, 1 tablespoon at a time, until you reach your desired consistency. Drizzle the glaze over the cooled bars. I like a thick glaze, but you can make it thinner if you prefer.
Step 9: Slice & Serve
Cut the bars into squares and serve. What are some good side dishes to serve chilled, but are also good at room temperature? If you like, sprinkle some chopped peanuts or a drizzle of maple syrup on top.
What should I serve it with?
These Maple Peanut Butter Bars: What are some of the are amazing on their own, but they’re even better with the right accompaniments.
For Breakfast: Pair them with a strong cup of coffee or a creamy latte. The Peanut Butter and maple flavors go perfectly with the bitterness of the coffee.
For Brunch: Serve them alongside a fruit salad and some sparkling cider. They add a touch of sweetness to a savory brunch spread.
As Dessert: Top them with a scoop of vanilla ice cream or a dollop of whipped cream. A drizzle of chocolate sauce would also be amazing.
For Cozy Snacks: Enjoy them with a glass of milk or a cup of hot chocolate. They’re the perfect comfort food for a chilly evening.
My family loves these after dinner, especially during the fall. It makes the house smell amazing while baking, and the warm flavors are just perfect for a cozy night in. I’ve even been known to sneak one with a cup of tea before bed!
Top Tips for Perfecting Your Maple Peanut Butter Bars
Want to take your Maple Peanut Butter Bars to the next level? Here are some tips and tricks I’ve learned over the years:
Butter Softening: Make sure your butter is truly softened, not melted. It should be soft enough to easily press your finger into, but not greasy. This ensures a smooth and creamy batter.
Mixing Advice: Be careful not to overmix the batter. Overmixing will develop the gluten in the flour, resulting in tough bars. Mix until just combined.
Swirl Customization: Get creative with your maple syrup swirls! Try making different patterns for a visually appealing treat. You can even use a toothpick to create more intricate designs.
Ingredient Swaps: If you’re not a fan of peanut butter, you can substitute almond butter or cashew butter. Just be aware that the flavor will be slightly different. I’ve also tested it with coconut oil, and it worked great!
Baking Tips: Keep a close eye on the bars while they’re baking. Ovens can vary, so they may need more or less time. They’re done when a toothpick inserted into the center comes out with a few moist crumbs.
Glaze Variations: For a richer glaze, use brown butter instead of melted butter. Simply melt the butter in a saucepan over medium heat, stirring constantly, until it turns golden brown and smells nutty. Let it cool slightly before using.
One thing I always do is make sure the baking soda is fresh. Old baking soda won’t help the bars rise as much and they will be more dense. Another thing I learned after a little baking fail, is to measure the flour correctly! Too much flour will make the bars dry.
Storing and Reheating Tips
Want to make these Maple Peanut Butter Bars ahead of time? Here’s how to store and reheat them:
Room Temperature: Store the bars in an airtight container at room temperature for up to 3 days. They’ll stay fresh and delicious.
Refrigerator Storage: For longer storage, keep them in an airtight container in the refrigerator for up to a week. The cool temperature will help prevent them from drying out.
Freezer Instructions: To freeze, wrap the bars individually in plastic wrap and then place them in a freezer-safe bag or container. They can be frozen for up to 2 months. Thaw them overnight in the refrigerator or at room temperature for a quicker thaw.
Glaze Timing Advice: If you’re planning to store the bars for more than a day, it’s best to glaze them right before serving. This will prevent the glaze from becoming sticky or melting.
Frequently Asked Questions
Final Thoughts
So, there you have it – my go-to recipe for Maple Peanut Butter Bars. They’re easy to make, incredibly delicious, and always a crowd-pleaser. The perfect combination of peanut butter and maple syrup makes these bars irresistible. If you’re looking for a sweet treat that’s a little bit different, you have to give these a try. For more easy and delicious baking recipes, check out my other recipes! And don’t forget to leave a comment and let me know how yours turn out. Happy baking! I can’t wait to see everyone’s version of these bars!
Maple Peanut Butter Bars
Ingredients
Main Ingredients
- 1 cup peanut butter creamy peanut butter preferred
- 1 cup maple syrup
- 1 cup rolled oats
- 0.5 cup packed brown sugar
- 0.5 teaspoon salt
Instructions
Preparation Steps
- Preheat oven to 350°F (175°C). Line an 8x8 inch baking pan with parchment paper.
- In a large bowl, combine peanut butter, maple syrup, brown sugar, and salt. Mix well.
- Stir in rolled oats until evenly combined.
- Press the mixture into the prepared baking pan.
- Bake for 20-25 minutes, or until golden brown.
- Let cool completely before cutting into bars.