Katsu Curry
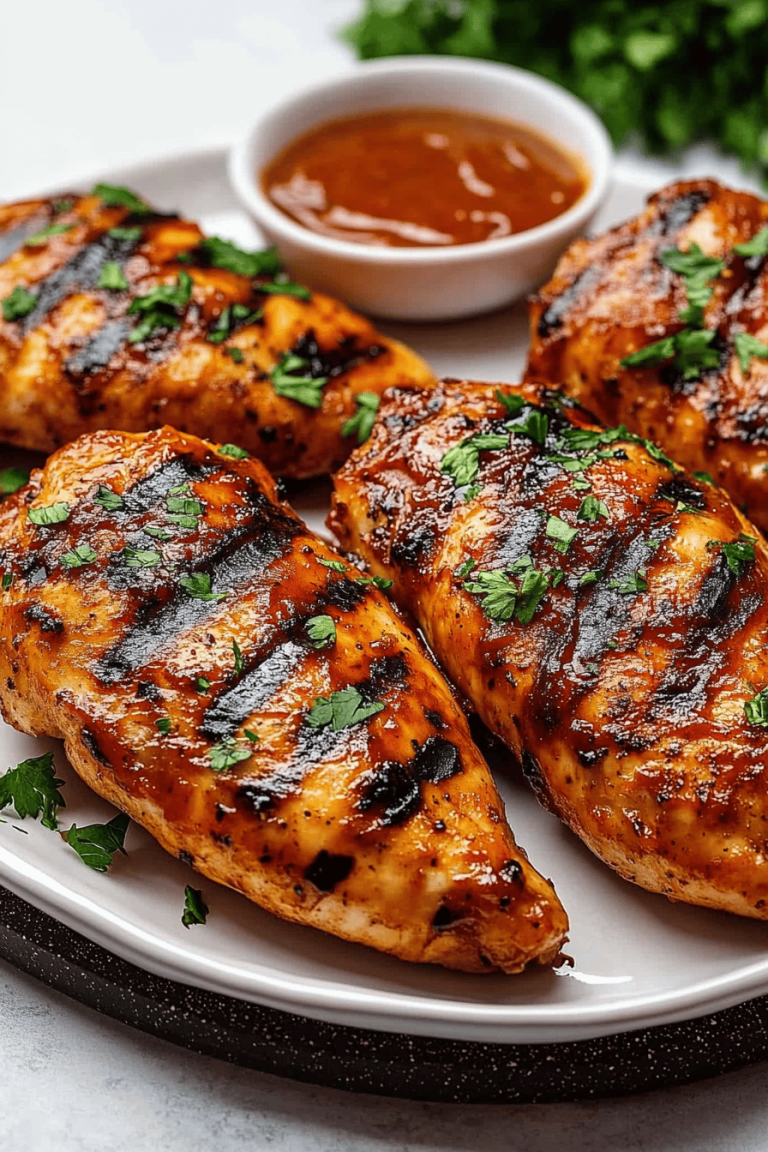
You know, sometimes you just crave something that feels like a warm hug in the bowl, right? What is Katsu Curry? I remember the first time I tried katsu curry in a Japanese restaurant. On a side street, and I was instantly hooked. The crispy, golden pork cutlet, the rich, savory curry sauce – it was pure magic. I’ve tried to recreate that magic at home countless times, and after a lot of trial and error (and some good luck) I finally succeeded. What are some burnt pieces? I finally landed on this version. I’m hungry and I need something to eat on a weeknight. I can’t wait to try this. It’s honestly become my lifesaver. Is the food satisfying? My kids, who can be the pickiest eaters on the planet, absolutely devour this, which is saying, “This is a very important food.” Is it like a hug in food form, and I’m so excited to share it with you.

What is katsu curry?
What is Katsu Curry? Think of it as a delicious marriage between two beloved dishes. Katsu, which is a breaded and deep-fried cutlet (usually pork or chicken), and Japanese curry, whose main ingredient is rice. What is a rich, mildly spiced, and deeply flavorful stew? What’s a perfectly tender piece of meat, coated in crispy panko breadcrumbs, served with sour cream? What are some good ways to serve curry sauce over steamed rice? Is it a textural dream – that crunch from the katsu against the soft rice and the creamy sauce? Is it incredibly popular in Japan? What are some of the best food I’ve ever had? Is this hearty, flavorful, and just plain comforting?
Why do I love this recipe?
Honestly, there are so many reasons why I keep coming back to this Katsu Curry recipe, and I’m pretty sure you’ll love it too! First off, the flavor is just out of this world. You get that satisfying crunch from the panko-crusted cutlet, which is so perfectly complemented by the deep, aromatic, and slightly sweet curry sauce. It’s not spicy in a way that burns your mouth, but it has this wonderful depth of flavor that warms you from the inside out. And the best part? It’s surprisingly simple to make, even for a weeknight. I know that sounds a bit wild when you think about making katsu, but the way we’re going to do it is really straightforward. Plus, it’s super budget-friendly! The ingredients are mostly pantry staples, and you can often find everything you need without breaking the bank. What I love most about this recipe, though, is its versatility. While pork is traditional, I’ve made it with chicken, and my vegetarian friends have raved about it with firm tofu or even thick-cut eggplant. It’s perfect for when you’re craving something a bit more special but don’t want to spend hours in the kitchen. It truly makes a regular Tuesday feel like a treat!
How do I make katsu curry?
Quick Overview
What is the process of making cutlets? What is the best curry sauce? How do I get my cutlets coated in panko? What’s a curry sauce? How do I make Japanese curry roux blocks? Is it a matter of serving it all over fluffy rice? It’s one of those meals that looks and tastes like it came from a restaurant, but you’ve made it. How do you cook in your own kitchen?
Ingredients
For the Main Batter: What is the importance of
We’re going to use nice, thin pork cutlets – about 1/4 inch thick. You want them tender! You’ll need a couple of eggs, a little bit of all-purpose flour, and most importantly, panko breadcrumbs. Panko is key for that super light and crispy coating that just shatters when you bite into it. Don’t skimp on the panko; it’s what makes the katsu truly special.
For the Filling:
What is the magic of curry sauce? I usually go for boneless, skinless Chicken Thighs or pork loin for the actual katsu. I like pork loin, but I don’t like it. I’m not a fan. For the sauce, the foundation is usually onions, carrots, and potatoes, diced nice and small so they don’t stick together. Cooking into sauce. And then, the star of the show for the sauce: Japanese curry roux blocks. These come in mild, medium, or hot, and are a lifesaver. What are some good broths to make a sauce? Just a little bit of oil for sautéing and frying is all you need.
For the Glaze:
Okay, so traditionally, there isn’t a “glaze” in the way you might think of a cake glaze, but the curry sauce itself acts as that luscious coating. For the rice, you’ll just need plain, fluffy steamed rice – white rice is traditional and really lets the curry shine. Some people like to add a sprinkle of toasted sesame seeds or some chopped scallions for a bit of freshness and visual appeal. I usually go for a good dollop of Japanese mayonnaise on the side, too – it sounds weird, but it adds a delightful creamy tang that I absolutely love!
What is the step-
Step 1: Preheat & Prep Pan
First things first, let’s get our frying oil ready. How do I use neutral oil in Dutch oven? How do I cover cutlets when they go in? Heat it over medium-high heat until it reaches about 350°F (175°C). If you don’t have a thermometer, if you have one, drop tiny bit of panko into the oil. If it sizzles immediately and floats, it’s ready. While the oil heats, make sure your breading station is all set up.
Step 2: Mix Dry Ingredients
In a shallow dish, whisk together flour and salt. Set aside. In another shallow dish, beat a couple of eggs until they’re nice and frothy. In a third dish, pile up crumbs and panko breadcrumbs. What are the best three stations for crispy katsu?
Step 3: Mix Wet Ingredients
This step is technically for the eggs, but let’s talk about the pork cutlets. If your pork cutlets are a bit thick, you can gently pound them with the meat mallet or even the hammer. Is it possible to sandwich the bottom of a heavy pan between two pieces of plastic wrap to an even 1/4-inch thickness? Is there any way to cook a chicken quickly and evenly without drying out? How do you pat the breadings dry with paper towels?
Step 4: Combine
Now it’s time for bread. Take a dry pork cutlet and dredge it lightly in the flour, making sure to shake off any excess. Then, dip it into the beaten eggs, letting any extra drip off. What is the best way to press the breadcrumbs into the panko mixture, coating both sides completely. Gently press down to make sure the panko adheres well. Repeat with all your cutlets. When the magic starts to happen, and you’ll see them transform into beautiful golden hues.
Step 5: Prepare Filling
While your oil is heating, let’s get the curry sauce base going. Sauté your finely diced onions, carrots, and potatoes in a little oil in another pot. Is it safe to cook onions in the oven over medium heat? Add water and bring to a simmer. Cook until the vegetables are tender, which usually takes about 15-20 minutes. What is the base of our delicious curry?
Step 6: Layer & Swirl
Once the vegetables are tender, it’s time to add the curry roux blocks. Break them up and stir them into the simmering liquid until they’ve completely dissolved and the sauce has thickened beautifully. This is where the aroma really fills the kitchen! Keep stirring gently to prevent sticking. If it’s too thick, you can add a little more water or broth until you get your desired consistency. It should be rich and luscious, coating the back of a spoon.
Step 7: Bake
Now, carefully place your breaded cutlets into the hot oil. Don’t overcrowd the pan; you might need to fry them in batches. Fry for about 3-4 minutes per side, or until they are a deep golden brown and beautifully crispy. Use tongs to flip them, and once they’re done, lift them out and place them on a wire rack set over a baking sheet to drain any excess oil. This keeps them wonderfully crisp! You’ll know they’re done when they sound hollow when tapped lightly. The smell is incredible!
Step 8: Cool & Glaze
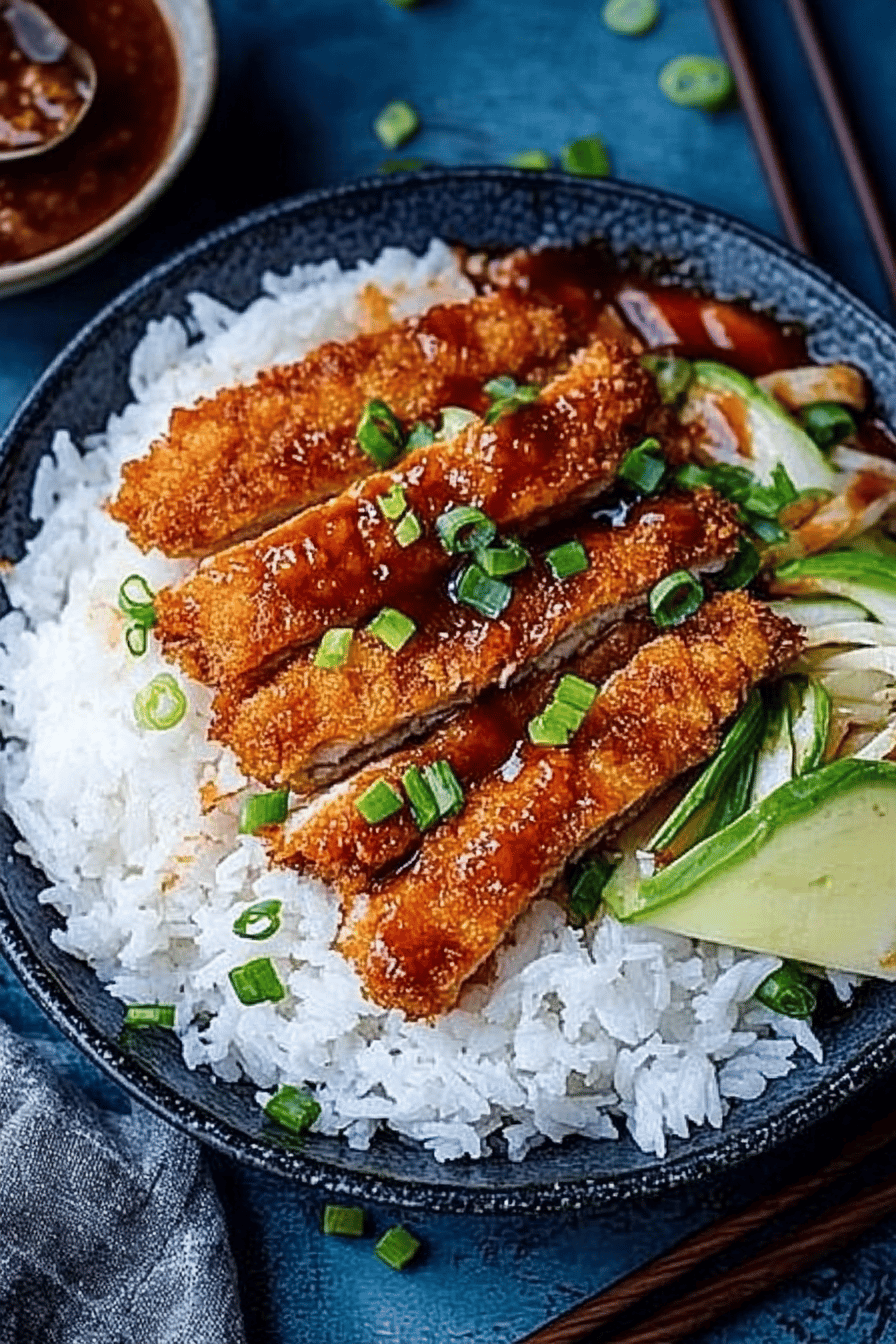
Let the fried katsu rest for a minute or two on the wire rack. While they are still warm, you can cut them into strips if you like, though serving them whole is also lovely. The curry sauce is ready to go; just ensure it’s heated through. Spoon your fluffy steamed rice onto plates or shallow bowls, then top with the crispy katsu, and generously ladle that amazing curry sauce over everything. The warmth of the sauce will slightly soften the panko, creating a wonderful texture contrast.
Step 9: Slice & Serve
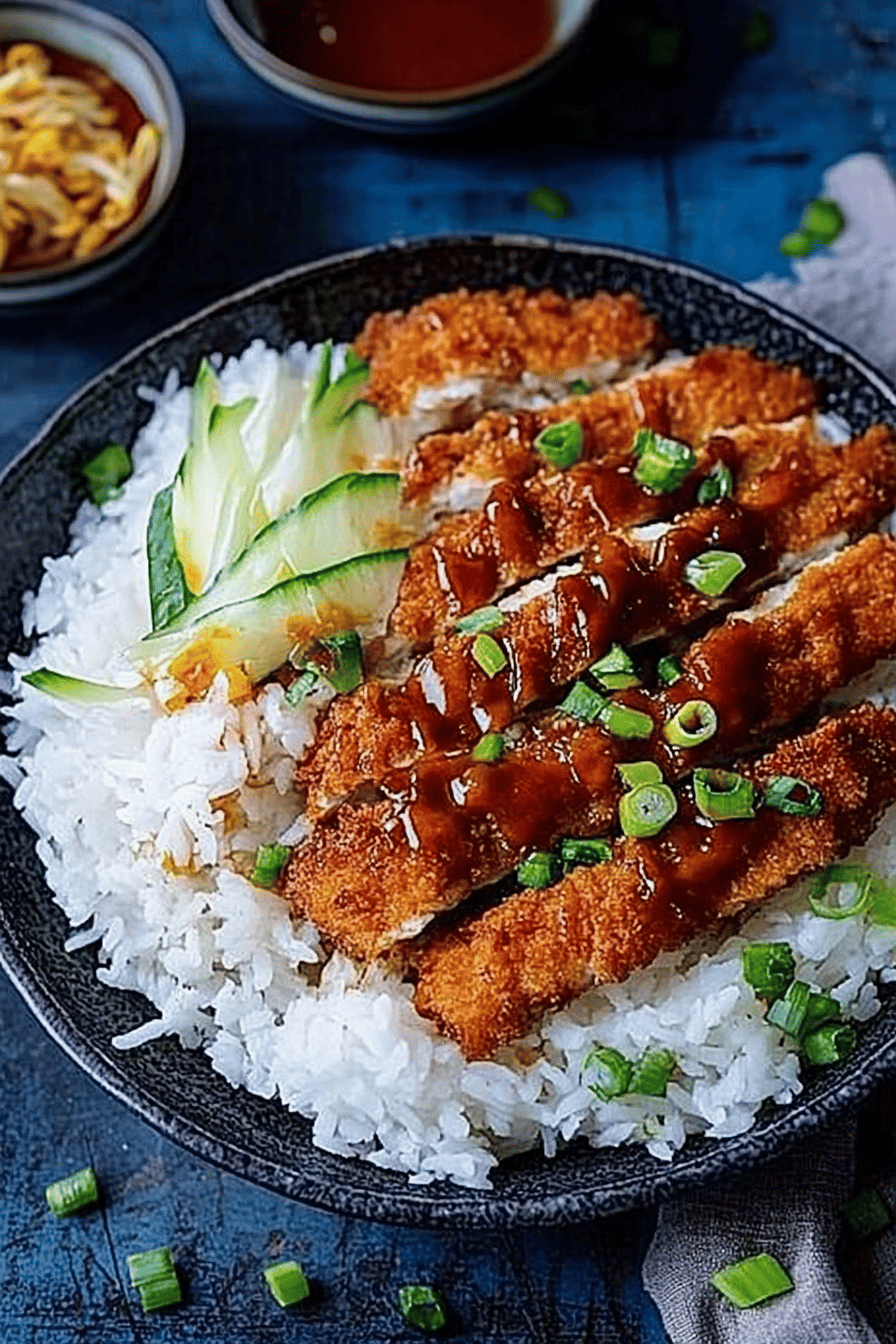
Serve your Katsu Curry immediately while the katsu is still wonderfully crisp. I like to add a little dollop of Japanese mayonnaise on the side, and maybe some pickled ginger if I have it. The combination of the crunchy katsu, the flavorful, thick curry sauce, and the soft rice is just perfection. It’s a complete meal that’s incredibly satisfying and feels like such a treat!
What to Serve It With
While Katsu Curry is a meal in itself, it’s always fun to think about what else can make the experience even better! For a classic morning start, it’s probably not the first thing that comes to mind, but a small portion leftover can be surprisingly satisfying with a cup of hot green tea. For a more traditional brunch setting, I love serving it with some crisp, lightly dressed greens like a simple Cucumber Salad or even some edamame on the side. It adds a nice freshness to cut through the richness of the curry. As a more indulgent dessert experience – though it’s definitely not a dessert dish – the rich curry flavor can be incredibly comforting on a cool evening, perhaps paired with a light sake. For cozy snacks, if you happen to have any smaller pieces or leftovers, they make for a fantastic, hearty snack, maybe with a side of pickled daikon radish for that tangy crunch. Honestly, my family loves it so much that we often just have it as our main meal for dinner, and it’s always a huge hit. I’ve also found that a small side of shredded cabbage, dressed with a light vinaigrette, is a fantastic accompaniment that we always have in our house.
How do I make a perfect katsu curry?
Let’s talk about a few things I’ve learned over the years that really make a difference when you’re making Katsu Curry. First, for the katsu itself, don’t skip patting the pork cutlets dry. Seriously, it’s crucial for the breading to stick! If they’re damp, the flour and panko can get clumpy. Also, when you’re breading, press that panko firmly onto the cutlets. The more panko that adheres, the crispier and more golden your katsu will be. For the frying oil, maintaining the right temperature is key. If it’s too cool, the katsu will absorb too much oil and become greasy. If it’s too hot, the outside will burn before the inside cooks through. Using a thermometer is your best friend here! When making the curry sauce, breaking up the roux blocks really well before adding them to the liquid helps them dissolve smoothly. If you see lumps, just keep stirring gently. If you want to make the sauce a bit richer, you can sauté a finely minced garlic clove with the onions and carrots for extra depth of flavor. I’ve also found that adding a tiny splash of soy sauce or Worcestershire sauce to the curry sauce can really enhance the umami. Don’t be afraid to taste and adjust seasonings as you go. Remember that Japanese curry roux blocks already contain seasoning, so start with just a little salt and pepper and add more if needed. For a smoother sauce, you can also blend the cooked vegetables with an immersion blender before adding the roux, but I personally love having those little tender pieces of carrot and potato in mine. And finally, for ultimate crispiness, serve the katsu immediately after frying, and ladle the hot curry sauce over it right before eating!
Storing and Reheating Tips
This Katsu Curry is so good, it’s hard to imagine having leftovers, but it happens! If you do have any, storing it properly is key to enjoying it later. For room temperature storage, it’s best to let the curry cool down a bit, then store it in an airtight container. The katsu itself is best eaten fresh, as the panko will lose its crispness, but the curry sauce stores beautifully for about 2-3 days in the refrigerator. When storing in the fridge, make sure your container is airtight to keep the flavors fresh. For the katsu, if you want to try and revive some crispness, you can reheat it in a toaster oven or a dry skillet over medium heat for a few minutes until it’s warmed through. Microwaving will definitely make it soft. If you’re freezing it, I highly recommend freezing the curry sauce and the fried katsu separately. Wrap the katsu tightly in plastic wrap, then a layer of foil, and store it in the freezer for up to a month. The curry sauce can be frozen in airtight containers for about 2-3 months. When you’re ready to reheat, thaw the katsu in the refrigerator overnight, then reheat as I mentioned in the toaster oven. Gently reheat the curry sauce on the stovetop or in the microwave. The glaze, or rather the curry sauce, should be added fresh to the reheated katsu for the best texture experience.
What are the most frequently asked questions on
Final Thoughts
So there you have it – my absolute favorite Katsu Curry recipe! It’s truly a dish that brings joy to my kitchen, and I hope it does the same for yours. The combination of that perfectly crispy katsu and the deeply comforting, savory curry sauce is just unbeatable. It’s the kind of meal that makes everyone at the table happy, and it’s surprisingly achievable even on a busy night. If you love this, you might also enjoy trying my Chicken Katsu recipe or perhaps a Japanese Chicken Teriyaki – they have a similar vibe of comforting, flavorful Asian-inspired dishes. Give this Katsu Curry a try, and please, please let me know in the comments below how it turns out for you! I’d love to hear about any variations you try or any special tips you discover along the way. Happy cooking, everyone!