instant pot rice
The first time I watched my grandma bake in her cozy kitchen, the air smelled like vanilla and something nutty, almost tropical. She’d slide a pan into the oven and talk about how a little patience makes all the difference. That memory lingered when I started experimenting with a new idea: a cake that wasn’t shy about texture, a cake where a soft ribbon of sweet Coconut Cream meets a gentle swirl of leftover instant pot rice. Yes, instant pot rice. It sounds like an odd pairing, but trust me—the rice stays tender, it absorbs the coconut essence, and it adds a surprising, comforting heft that makes this dessert feel like a hug. This one’s a lifesaver on busy nights too: you can make the batter ahead, swirl in the filling, and bake when you’re ready. My kids actually ask for seconds, which is basically my love language in the kitchen. If you’re craving something creamy, tropical, and a little festive, you’re in for a treat.
What is Creamy Coconut Swirl Cake with Instant Pot Rice?
What is a creamy coconut swirl cake with instant pot rice?
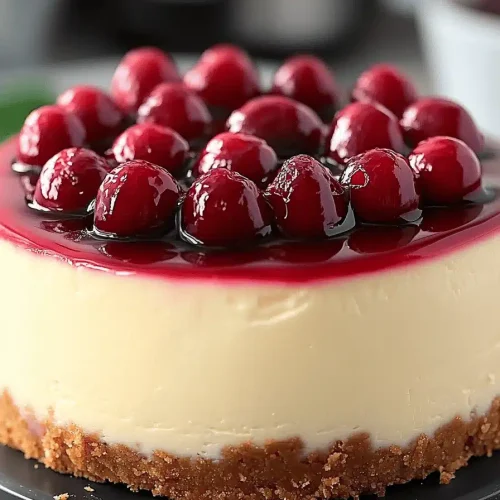
Think of it as a vanilla cake with a hidden treasure: a coconut cream filling swirled with lightly cooled instant pot rice. It’s essentially a fluffy, tender Sheet Cake where the texture gets an extra layer from softly chewy rice pearls. The name comes from the way the coconut glaze glides over the surface, while a ribbon of coconut cream filling hides a gentle swirl of rice in every bite. This cake is all about contrasts—airy crumb against creamy filling, bright coconut against a touch of vanilla sweetness, and a reveal of texture that keeps each slice interesting. It’s approachable for weekend bakers, yet special enough for a celebration, and it lets me use up leftover instant pot rice in a way that feels indulgent rather than practical. If you’ve ever used rice to add body to a dessert, you’ll recognize that same comforting principle here.
Why you’ll love this recipe?
Why you’ll love this recipe?
What I love most about this Creamy Coconut Swirl Cake with Instant Pot Rice is the texture play. The cake itself stays incredibly light and tender, while the filling brings a silky creaminess that feels indulgent without weighing you down. The coconut notes are bright and warm at the same time, so it never feels heavy on the palate. This recipe is wonderfully forgiving: the instant pot rice adds body, not heaviness, and you can tweak the glaze to be more coconut-forward or a little more vanilla, depending on what you’re craving. It’s also surprisingly versatile—you can serve it for dessert, brunch, or even a celebratory coffee hour. Budget-wise, the ingredients are simple pantry staples, and leftovers (if there are any) reheat beautifully. I’ve made this with a mix of white and brown rice from the instant pot, and the texture still sings. If you’ve got a crowd that loves a little exotic pull in a familiar dish, this cake is your new go-to. If you’re fans of other coconut-forward treats like coconut-lime Pound Cake or a simple coconut custard, you’ll likely fall for this, too. For inspiration, you might also enjoy my Lunar Lemon Rice Pudding or my Caramelized Banana Rice Cake—both scratch that same coconut-indulgent itch in their own way.
### 4. How to Make Creamy Coconut Swirl Cake with Instant Pot Rice
How to Make Creamy Coconut Swirl Cake with Instant Pot Rice
Quick Overview
This is a small kitchen miracle: a straightforward batter that bakes into a moist, tender cake, layered with a cool Coconut Cream filling, and swirled with bits of leftover instant pot rice. The rice adds a gentle chew and acts as a quiet counterpoint to the creamy filling. You’ll whisk dry ingredients, mix wet ingredients separately, fold everything together with care, spread half the batter in a pan, dollop the filling, swirl in the rice and remaining batter, bake, then glaze. The result feels festive without requiring complicated techniques. It’s a “don’t overthink it” kind of recipe that still delivers big flavor with every slice.
Ingredients
For the Main Batter:
- 2 cups all-purpose flour
- 1 cup granulated sugar
- 1 teaspoon baking powder
- 1/2 teaspoon baking soda
- 1/2 teaspoon salt
- 1 cup coconut milk
- 2 eggs
- 1/2 cup melted butter or coconut oil
- 1 teaspoon vanilla extract
For the Filling:
- 1 cup Coconut Cream, chilled and whipped
- 1/2 cup cooked instant pot rice, cooled to just barely warm
- 2 tablespoons powdered sugar (adjust to taste)
- 1/2 teaspoon vanilla
For the Glaze:
- 1 cup powdered sugar
- 2–3 tablespoons coconut milk (add more for desired drizzle)
- Pinch of salt
- Optional: toasted coconut flakes for topping
Step-by-Step Instructions
Step 1: Preheat & Prep Pan
Heat your oven to 350°F (175°C). Grease a 9×13-inch baking pan and line it with parchment if you’re worried about sticking. A light dusting of flour on the parchment helps the cake release cleanly. I like to rub a little coconut oil on the parchment too—keeps things from tearing when you lift out a test slice.
Step 2: Mix Dry Ingredients
In a medium bowl, whisk together the flour, sugar, baking powder, baking soda, and salt. This is where you build the cake’s quiet, reliable structure. The coconut milk adds moisture, but it’s the baking powder that makes the crumb lift and feel tender in every bite. Pro tip: sift the dry ingredients if you have a moment; you’ll avoid small lumps and the batter will come together more evenly.
Step 3: Mix Wet Ingredients
In another bowl, whisk the coconut milk, eggs, melted butter or coconut oil, and vanilla until smooth. The fat gives the cake a luxurious mouthfeel, which is essential when you’re pairing it with a creamy filling. If you want a hint more coconut, swap in a splash of coconut extract in addition to the vanilla.
Step 4: Combine
Pour the wet ingredients into the dry and mix just until combined. A few small lumps are perfectly fine—overmixing makes the crumb tough. Fold in a couple of spoonfuls of the batter to lighten the mix before you pour it into the pan. This helps when you layer the filling and the rice later.
Step 5: Prepare Filling
Whip the chilled coconut cream to soft peaks. Gently fold in the powdered sugar and vanilla. The goal is a light, airy filling that spreads like velvet. Fold in the warm instant pot rice in small batches, just until the grains are distributed—you don’t want the rice to clump or turn soggy. If you’ve got leftover rice you love, this is where it shines best.
Step 6: Layer & Swirl
Spread half of the batter into the prepared pan. Dollop the filling over the batter in dollops, then sprinkle a few spoonfuls of the remaining rice across. Top with the rest of the batter, then use a knife or skewer to swirl gently, creating ribbons of filling and rice. The swirl should look like soft marbling rather than a perfect pattern; that imperfect beauty is part of the charm.
Step 7: Bake
Bake for 28–34 minutes, or until a toothpick inserted into the center comes out with a few moist crumbs. Oven temperatures vary, so start checking at 28 minutes. If you see the edges browning too quickly, tent with a piece of foil for the last 5–7 minutes to keep the center from drying out. The cake should spring back lightly when touched.
Step 8: Cool & Glaze
Let the cake cool in the pan for about 15 minutes, then transfer to a rack to finish cooling completely. Whisk together the glaze ingredients until you reach a smooth, pourable consistency. Drizzle or pour over the top, letting it catch the ridges of the swirl. Sprinkle toasted coconut flakes for a bit of crunch and a lovely finish. If you’re serving later, you can drizzle the glaze just before serving to keep the cake from getting soggy.
Step 9: Slice & Serve
Use a sharp knife warmed under hot water, then wipe clean for clean slices. A cake such as this shines when plated simply—a neat square or a generous wedge with a dollop of extra coconut cream on the side makes a stunning impression. I love serving it with a small wedge of pineapple or mango on the plate to echo the tropical notes.
### 5. What to Serve It With
What to Serve It With
This cake is wonderfully versatile, so I lean into simple pairings that don’t compete with the coconut.
For Breakfast: A light coffee or a coconut latte pairs beautifully with the vanilla-coconut aroma. You can serve a thin slice with a dollop of yogurt and a drizzle of honey for a gentle morning treat.
For Brunch: Try a tropical fruit salad with sliced kiwi, mango, and pineapple. A spritz of lime over the fruit brightens the plate and echoes the cake’s coconut notes.
As Dessert: A dusting of lime zest and a few fresh berries elevate the presentation. A scoop of coconut ice cream or a scoop of mango sorbet rounds out the tropical vibe nicely.
For Cozy Snacks: Serve warm with a mug of chai or hot cocoa. The contrast of a warm bite with a cool beverage is comforting on cooler evenings.
We’ve always kept a slice of this cake handy during family gatherings. The coconut glaze catches the light, the steam hides behind chocolate-tinted memories, and everyone digs into their slice with a sigh of contentment. If you’re continuing a family tradition of turning simple leftovers into something special, this is a perfect next chapter. For even more inspiration, you might pair this with a simple pot of tea and a good friend to chat with—the kind of companionable moment that makes a kitchen feel like home.
### 6. Top Tips for Perfecting Your Creamy Coconut Swirl Cake with Instant Pot Rice
Top Tips for Perfecting Your Creamy Coconut Swirl Cake with Instant Pot Rice
[Expert advice organized by technique:]
Rice Prep: Cold, dry, and slightly sticky rice behaves best in this cake. If your instant pot rice came out a touch clingy, spread it on a tray and let it cool a bit before folding. A quick chill in the fridge helps it hold its shape and prevents a soggy swirl.
Mixing Advice: Don’t overmix the batter once you combine wet and dry ingredients. A few small lumps are better than a tough crumb. If you want an extra tender crumb, whisk the dry ingredients with a tiny amount of cornstarch (1–2 teaspoons) to soften the gluten network.
Swirl Customization: I love swirling with two tones: the classic coconut cream and a pinch of lemon zest or lime zest sprinkled into the batter before layering. The bright citrus notes wake up the palate and accent the coconut. Use a skewer to create irregular marbling for a rustic, homemade look.
Ingredient Swaps: Swap half the all-purpose flour for almond flour for a nuttier, slightly denser crumb. If you’re dairy-free, use almond milk and coconut yogurt in place of the coconut milk and some egg substitutes, and you’ll still get a tender cake. For a vegan version, replace eggs with flax eggs (1 tablespoon ground flaxseed mixed with 3 tablespoons water per egg) and use a plant-based butter.
Baking Tips: Oven variability is real, so start checking early. If your pan is dark or has a heavy lining, bake a little longer at a lower temperature to avoid a dry edge. You want a just-set center with a faint spring. You can test with a toothpick; if it comes out with a few moist crumbs, you’re golden.
Glaze Variations: For a coconut-forward shine, raise the coconut milk by a teaspoon and add a splash of vanilla. If you prefer a dairy-free glaze, whisk in a spoonful of dairy-free yogurt for extra body. A citrus glaze—orange or lime—brings a zing that cuts through the sweetness beautifully.
Lessons Learned: I learned this trick after years of experimenting: letting the batter rest for 10 minutes after mixing leads to a more cohesive crumb and a more even bake. It’s little things like that that make this feel like a family recipe rather than just another cake.
### 7. Storing and Reheating Tips
Storing and Reheating Tips
Storage worries are the last thing you want after investing in a show-stopping dessert. Here’s how I keep this cake fresh and delicious.
Room Temperature: The cake can stay in its pan, covered loosely with foil, for up to 2 days. If your kitchen is warm, consider refrigerating for fresh slices.
Refrigerator Storage: Wrap slices individually in plastic wrap, then place in a container. It will hold nicely for 3–4 days. Reheat gently in the microwave in 15–20 second bursts, or warm a slice in a low oven to revive the aroma.
Freezer Instructions: Freeze unglazed cake slices for up to 2 months. Wrap tightly, then thaw at room temperature and glaze just before serving. If you’re freezing after glazing, place it in a freezer-safe container and consume within 1 month for best texture.
Glaze Timing Advice: If you’re freezing, skip glazing until you’re ready to serve. Glaze can become soft on frozen or reheated slices, so glacing just before serving helps maintain a crisp-looking finish.
Personally, I love sharing this cake at room temperature with a small napkin and a pot of tea. There’s something comforting about the way slices hold their shape but still feel homey in the mouth. And if you’ve got a tailgate or picnic coming up, this cake travels well—just wrap it in foil and tuck it into a sturdy tote.
### 8. Frequently Asked Questions
Frequently Asked Questions
### 9. Final Thoughts
Final Thoughts
In the end, this Creamy Coconut Swirl Cake with Instant Pot Rice is a celebration of comfort and texture. It’s not just about sweetness; it’s about the way the cake breathes, the way the filling stays cool and almost silk-like, and the little rice pearls that surprise you with every bite. It’s a reminder that leftovers aren’t something to rush past—they can become the heart of a new dish. I’ve made this for birthdays, for quiet Sunday afternoons, and for those nights when I want dessert to feel like a warm hug. If you treat it with patience and a sense of play, you’ll taste that family-love energy in every slice. I’d love to hear how yours turns out—leave a comment with your tweaks, and don’t forget to rate the recipe. Happy baking! And if you’re craving more, check out other coconut-forward favorites like my Coconut-Cardamom Rice Cake or a simple Coconut Rice Pudding—both lovely companions to this cake.
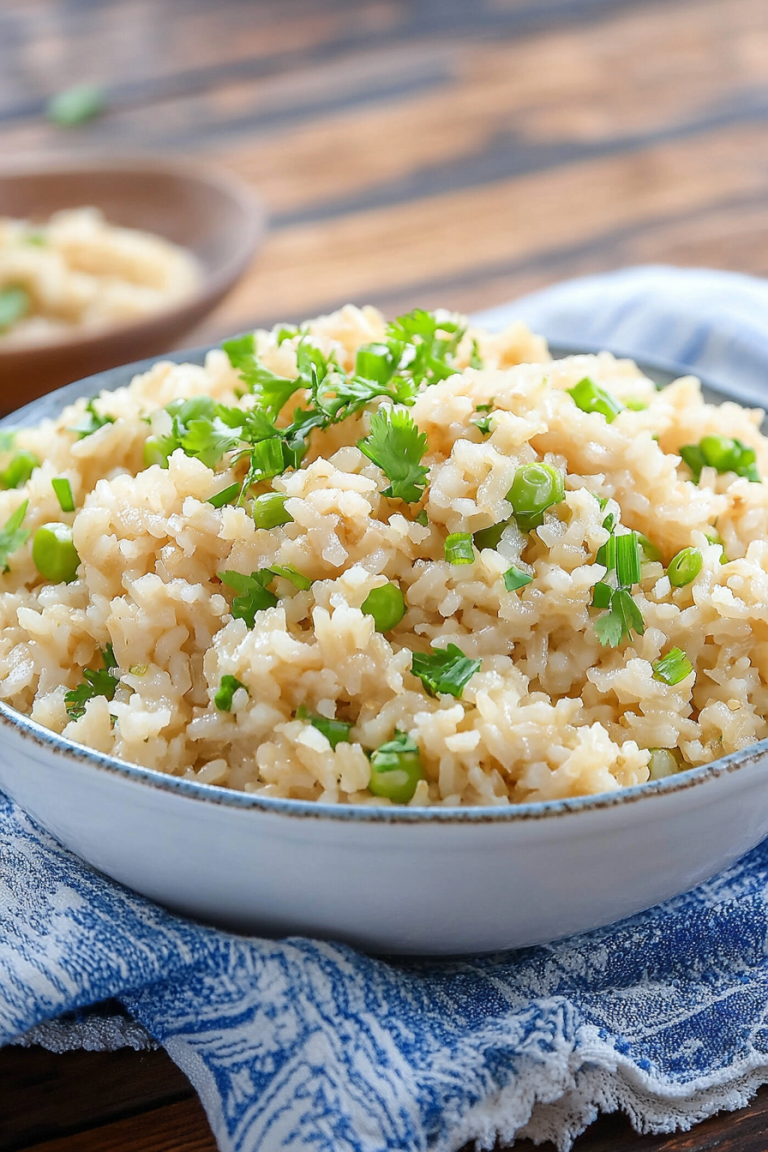
Easy Instant Pot Cooked Rice
Ingredients
Main Ingredients
- 2 cups dry brown rice
- 2.5 cups water
Instructions
Preparation Steps
- Rinse rice well in a mesh strainer. Thoroughly drain.
- Add rice and water to the Instant Pot. Stir to combine.
- Place and lock the lid. Set the valve to sealing. Press the Manual button twice to turn off the keep warm function.
- Set for 15 minutes High pressure. Allow to naturally release for 10 minutes. Quick release to remove any remaining pressure.
- Fluff with a fork. Serve or freeze for later.