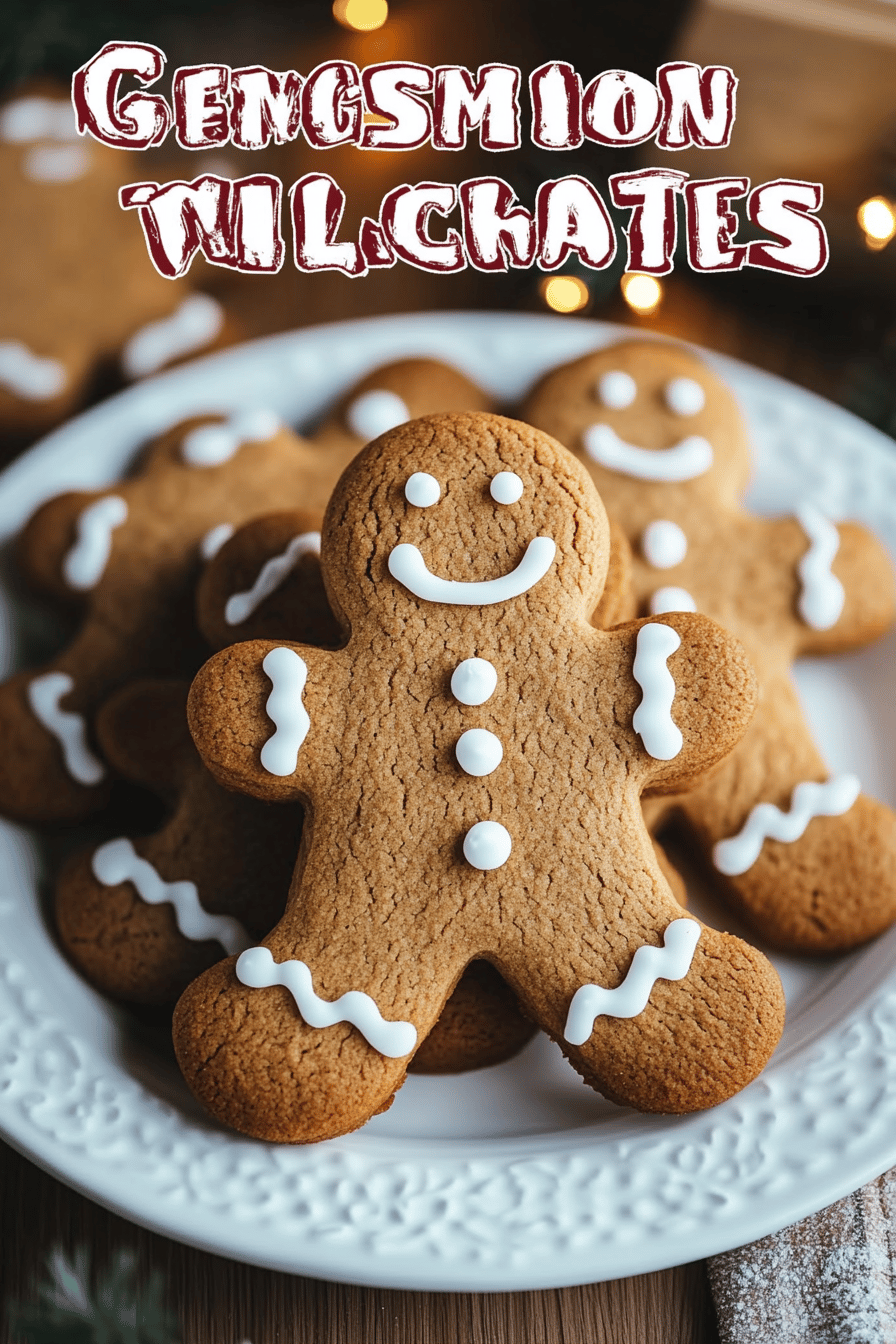
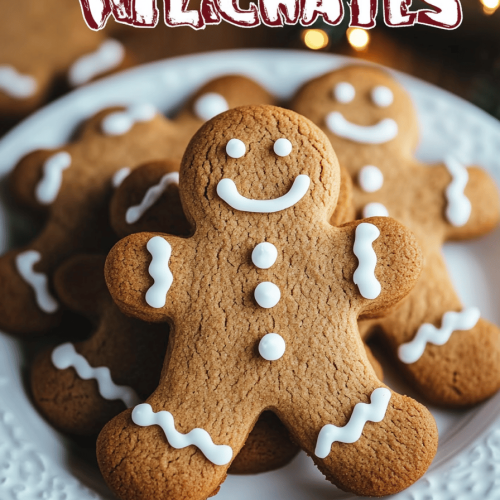
gingerbread cookie sticks
There’s something about the smell of ginger, cinnamon, and molasses swirling through the kitchen that immediately transports me back to chilly winter evenings at my grandmother’s house. Those moments when she’d hand me a warm gingerbread cookie, still soft and a little sticky with a subtle glaze, are forever etched in my heart. That exact feeling is what I chase with these gingerbread cookie sticks. They’re like the deconstructed joy of a gingerbread cookie, but elongated and perfect for dipping into a mug of hot cocoa or spiced tea. Honestly, if you love the comforting spices of gingerbread but want something a bit more fun and portable, these cookie sticks are your new best friend. They beat traditional cookie shapes for a grab-and-go snack any day, and my kids actually ask for these all the time around the holidays.
What is Gingerbread Cookie Sticks?
Think of gingerbread cookie sticks as a playful spin on your classic gingerbread cookie. Instead of the familiar round or gingerbread man shape, these come out of the oven looking like thin, crispy sticks infused with all that warm molasses and spice magic. It’s essentially gingerbread dough rolled out and sliced into long, slender shapes that bake into a perfect little biscuit form—crispy on the outside but still tender inside if you time it right. The name neatly captures the cookie’s quirky shape but also hints at that nostalgic ginger-spiced flavor we all adore. They’re a super approachable recipe, even for beginners, and especially great if you want those festive flavors without the fuss of cutting out fun shapes every year.
Why you’ll love this recipe?
What I love most about these gingerbread cookie sticks is how approachable and versatile they are, with a flavor that’s absolutely comforting and deeply satisfying. First off, the flavor is just right—not too heavy, with a gentle snap of ginger punch balanced by cinnamon and molasses sweetness. This isn’t one of those over-the-top spicy gingerbreads; it’s warm and cozy, like a giant hug in cookie form. Plus, it’s one of those recipes where you don’t need any fancy ingredients. With pantry staples like flour, brown sugar, and pantry spices, you can whip these up any time the craving hits, making it a total lifesaver especially during busy holiday mornings or last-minute gatherings.
The method is surprisingly simple, which means you’re not stuck for hours fiddling with dough or waiting forever to bake. It’s clean, quick, and dependable—a combo that’s hard to beat! And, versatility is the name of the game here. You can dunk these sticks into coffee or a creamy latte, crush them up over ice cream for a festive topping, or even pack them as a snack for kids to nibble on after school. I usually keep a batch ready in an airtight tin because they stay crisp but don’t dry out too quickly, and they’re perfect for those 10pm sweet tooth moments where a whole cake would feel like too much.
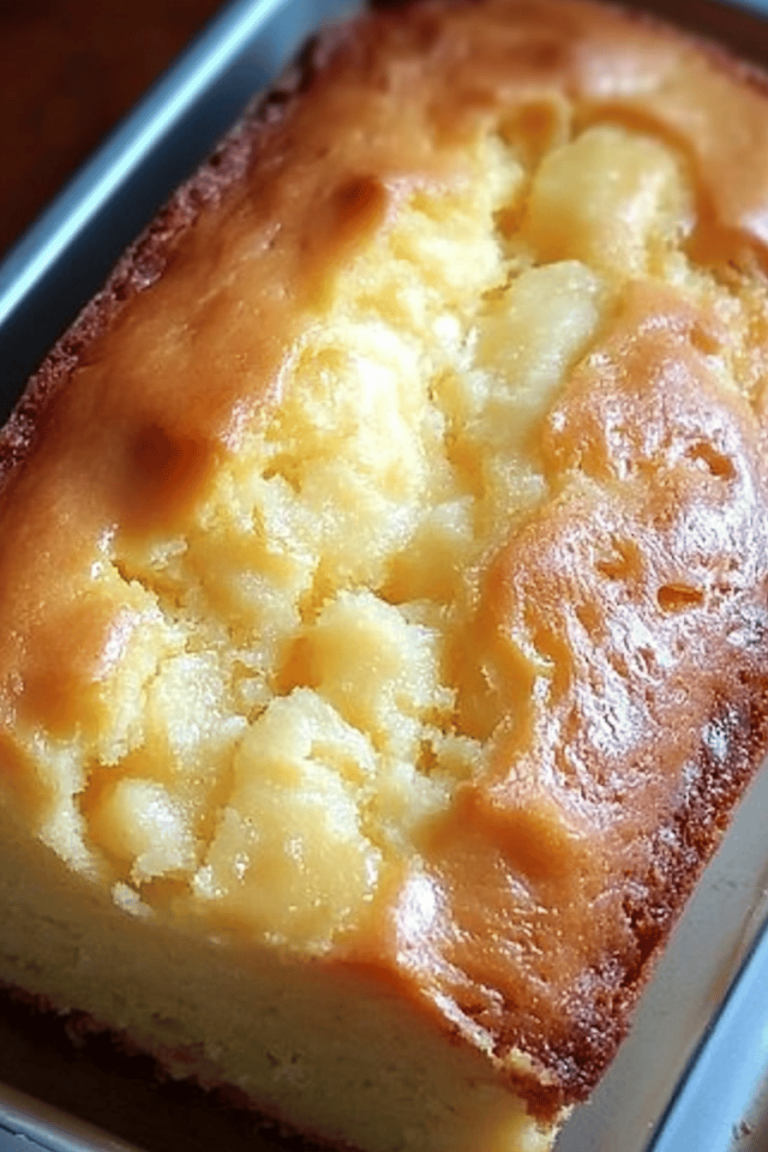
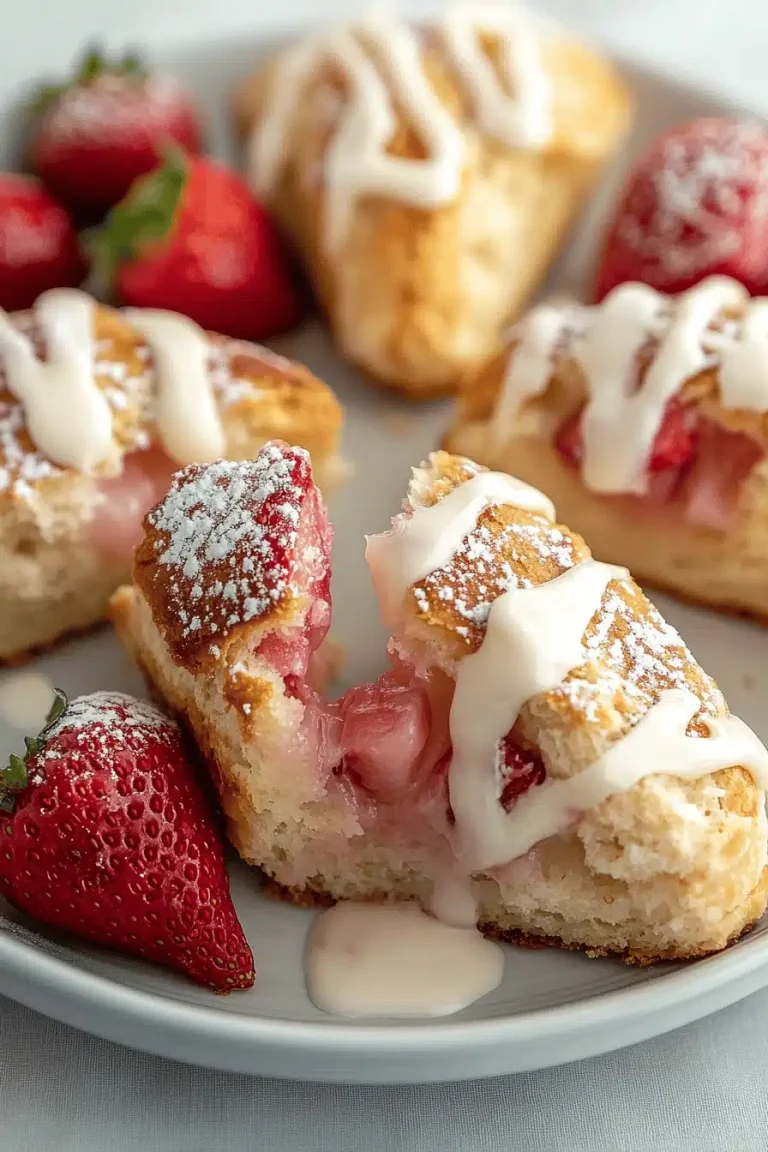
As a sidebar, if you love gingerbread but want to mix it up, you might want to check out my spiced gingerbread loaf or gingerbread scones recipes—they bring the same festive vibe with different textures and uses. But honestly, these cookie sticks have a charm and ease that make them my go-to all year round, especially when I want something that feels homemade but not intimidating.
How do you make gingerbread cookies?
Quick Overview
The process for these gingerbread cookie sticks couldn’t be simpler. You’ll start by blending your dry spices and flours for that perfect gingerbread base, then mix in your wet ingredients—molasses, honey, or maple syrup for a lovely depth of flavor. After mixing, you roll the dough out thin, slice it into sticks, and bake until golden with just a slight chew inside. The whole thing comes together in under an hour and has that golden-brown charm that screams homemade. What’s extra nice is how forgiving this recipe is—you don’t have to be too precise with the rolling or cutting, which means less stress and more fun.
Ingredients
For the Main Batter:
- 2 ¼ cups all-purpose flour – I always recommend sifting to keep it light and avoid clumps.
- 1 tsp baking soda – helps those sticks rise just enough for a tender bite.
- 2 tsp ground ginger – freshly ground if you can, it makes a big difference.
- 1 ½ tsp cinnamon – a warm note that balances the ginger perfectly.
- ¼ tsp ground cloves – a little goes a long way in boosting complexity.
- ¼ tsp salt – don’t skip this; it amplifies all the sweet spices.
- ½ cup (1 stick) unsalted butter, softened – room temp is key here so it incorporates smoothly.
- ½ cup packed brown sugar – I use dark brown for that molasses-rich sweetness.
- ⅓ cup molasses – the heart and soul of any gingerbread, unsulphured is best.
- 1 large egg – to bind everything together.
- 1 tsp vanilla extract – just a whisper to round out the flavor.
For the Glaze:
- 1 cup powdered sugar – sifted for the smoothest finish.
- 2–3 tbsp milk (or dairy-free milk like almond or oat) – adds creaminess and controls glaze thickness.
- ¼ tsp vanilla extract – complements the spices beautifully.
- Optional pinch of cinnamon or ginger – to tie the glaze back to the cookie’s spice profile.
Step-by-Step Instructions
Step 1: Preheat & Prep Pan
Set your oven to 350°F (175°C) and line a baking sheet with parchment paper or a silicone baking mat—this keeps things from sticking and helps the bottoms bake evenly. I usually prepare two trays if I want double the batch, so having parchment ready is a lifesaver.
Step 2: Mix Dry Ingredients
In a large bowl, whisk together the flour, baking soda, ground ginger, cinnamon, cloves, and salt until everything is evenly combined. This step ensures that every bite has a balanced flavor punch, and you don’t end up with little pockets of spice or salt.
Step 3: Mix Wet Ingredients
In a separate bowl, beat the softened butter and brown sugar together until fluffy and pale. This usually takes about 3-5 minutes with a hand mixer. Then mix in the molasses, egg, and vanilla extract until the mixture looks smooth and glossy. It smells heavenly at this stage—like all those gingerbread dreams coming true.
Step 4: Combine
Gently add the dry ingredients to the wet, folding with a spatula until just combined. I learned the hard way that overmixing leads to tough sticks, so I stop as soon as I don’t see any dry flour. The dough will be a bit sticky but manageable—if it’s too sticky, pop it in the fridge for 10 minutes.
Step 5: Roll Dough & Slice
Lightly flour your workspace and roll out the dough to about ⅛ to ¼ inch thickness. You want it thin enough so the sticks bake crisp but still hold a little chew inside. Using a sharp knife or pizza cutter, slice the dough into long sticks roughly ½ inch wide and as long as you prefer (about 4–5 inches is nice). I love the rustic look of slightly uneven edges because they glow golden when baked.
Step 6: Bake
Transfer the sticks to your prepared baking sheet, giving them a little breathing room. Bake for 10–12 minutes or until the edges start to brown and the cookies smell amazing. Keep an eye on them—you want a slight chew and not a cracker snap, so don’t overshoot here.
Step 7: Cool & Glaze
Once out of the oven, let the sticks cool on the pan for 5 minutes before moving to a wire rack. When completely cooled, whisk the powdered sugar, milk, and vanilla together until smooth. Drizzle or brush the glaze over the sticks. You can add a sprinkle of cinnamon on top while the glaze is still wet if you want a little extra flair.
Step 8: Slice & Serve
These cookie sticks usually come out perfectly portioned, so slicing isn’t required, but if you want smaller bite-sized pieces, just snap or cut them along the lines after glazing. Serve them with coffee, tea, or just as they are for a cozy snack. They’re seriously addictive.
What to Serve It With
For Breakfast: Nothing beats these cookie sticks dunked into a steaming cup of spiced chai latte or a simple black coffee. They add just the right amount of sweetness without overwhelming your morning routine.
For Brunch: Line them up next to fresh fruit and whipped cream, or alongside pumpkin or apple muffins for a spread that feels festive without being fussy. A chai tea or mulled cider pairs beautifully for an autumnal vibe.
As Dessert: These sticks make a surprisingly elegant dessert when served with a side of whipped cream or vanilla ice cream. I love crushing a few over soft serve or drizzling a little honey on top for an indulgent but homey finish.
For Cozy Snacks: When the house feels chilly and Netflix is on, these cookie sticks are my go-to companion. I always keep a tin on hand, and they disappear just as fast as I can make a cup of cocoa. The nostalgic spices just feel like little rays of warmth in each bite.
My family has a tradition of making a batch together the weekend before Christmas. We’ll sit around the kitchen table, chatting and laughing, dipping cookie sticks in tea, and honestly, the joy is as much about the time together as the cookies themselves. It’s worth trying just for that!
Top Tips for Perfecting Your Gingerbread Cookie Sticks
Dough Prep: If your dough feels too sticky to roll properly, chilling it briefly makes life much easier without drying it out. Use as little extra flour as you can while rolling to keep the sticks tender.
Mixing Advice: Always cream your butter and sugar thoroughly—it’s the secret to lightness. Also, combine wet and dry ingredients just until no dry patches remain to avoid a tough crumb.
Cutting the Sticks: A sharp pizza cutter or knife is your best friend here. If you push too hard, the dough can squish, so slice with a gentle rocking motion to keep edges neat.
Swirl and Glaze: I experimented with adding swirls of molasses right before baking by dragging a toothpick through little spoonfuls on top. Even if you don’t try that, the glaze is super forgiving, so thin it out or thicken up to your liking—just be consistent across sticks.
Ingredient Swaps: Out of molasses? You can substitute with dark honey or maple syrup but expect a slightly different sweetness and color. I’ve also swapped in coconut sugar for part of the brown sugar—it adds a deeper caramel note but can darken the dough significantly.
Baking Tips: Oven temps vary, so check your cookies a couple minutes before the suggested 12-minute mark. The edges should be golden but not burned, and the centers should feel set but not hard.
Glaze Variations: Try adding a teaspoon of fresh orange zest into the glaze for a hint of brightness, or swap the vanilla for almond extract for a subtle nutty twist. For a thicker coat, reduce the milk amount incrementally to get your perfect drizzle.
One of the biggest lessons I learned? Avoid overcrowding the baking sheet. These sticks need a bit of space to crisp up evenly—otherwise, they steam, and that crispness disappears.
Storing and Reheating Tips
Room Temperature: Store your gingerbread cookie sticks in an airtight container or tin. They’ll keep nicely for up to a week, staying crisp but tender inside. If they soften over time, a quick 3-5 minute toast in a 300°F oven refreshes their crunch beautifully.
Refrigerator Storage: If your kitchen is humid (I’m talking to you, summer bakers), pop them in an airtight container in the fridge. This extends freshness up to two weeks but may firm the cookies slightly; just bring them back to room temperature before enjoying.
Freezer Instructions: For longer storage, wrap the cookie sticks tightly in plastic wrap and place them in a freezer-safe bag. They keep great for a month or two this way. Thaw at room temperature, then warm for 5 minutes in a low oven for that fresh-baked feel.
Glaze Timing Advice: If you plan to store the sticks long-term, it’s best to wait until just before serving to glaze them. The glaze can soften the crisp exterior if applied too early. For short-term treats, glazing right after the cookies are fully cool is perfect.
Frequently Asked Questions
Final Thoughts
Honestly, these gingerbread cookie sticks have become my little kitchen superstar. They carry all those holiday vibes with none of the fuss that sometimes comes with gingerbread baking marathons. The texture hits that sweet spot of crispy edges and tender center, and the spices do a brilliant job of filling your home with warmth and cozy nostalgia. I truly believe the best recipes are the ones that bring people to the table and make memories—this fits that bill perfectly. If you love this one, you might want to explore my gingerbread loaf or spiced chai cookies next; the gingerbread flavor world is pretty magical once you dive in. I can’t wait to hear how yours turn out—drop a comment, share your tweaks, or tell me about your own holiday baking traditions. Happy baking, friends!
Spiced Cookie Sticks A Festive Holiday Treat
Ingredients
Main Ingredients
- 4 cups all-purpose flour
- 0.5 teaspoon salt
- 0.5 teaspoon baking soda
- 1 tablespoon ground cinnamon
- 0.5 teaspoon ground allspice
- 1 cup unsalted butter softened
- 1 cup granulated sugar
- 1 cup unsulfured molasses
- 1 large egg
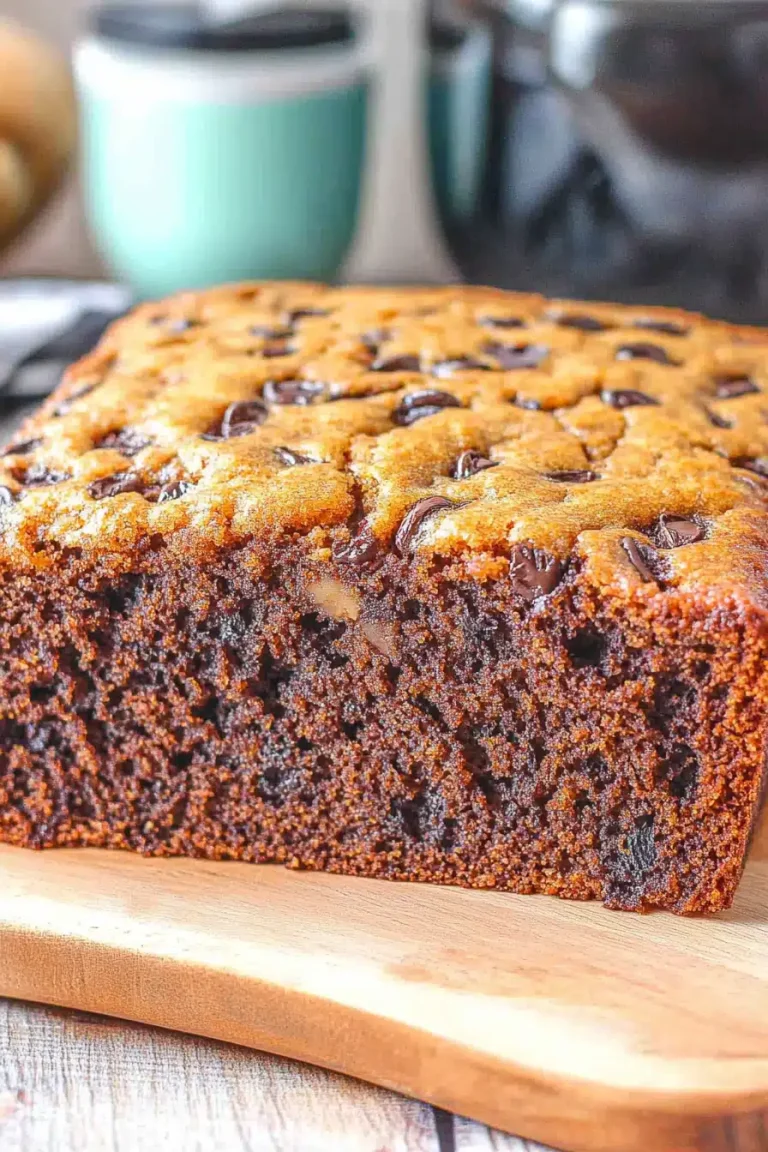
- 1 cup white chocolate chips plus 1 teaspoon vegetable oil for melting, optional for drizzle
- 24 pieces fun size Twix bars or your favorite candy for topping
Instructions
Preparation Steps
- Preheat oven to 350°F. Line a 10x15 inch jelly roll pan with foil, letting foil overhang sides for easy removal. Spray foil with cooking spray.
- Whisk together flour, salt, baking soda, ground cinnamon, and ground allspice in a bowl. Set aside.
- In a large bowl, beat softened butter, granulated sugar, and molasses until combined. Mix in the egg.
- Slowly add the dry ingredients to the wet mixture and mix until a thick dough forms.
- Press the dough evenly into the prepared pan and bake for about 15 minutes until the top is no longer glossy and gently springs back.
- Cool for 5 minutes in the pan, then carefully lift the gingerbread from the pan using the foil overhang onto a cookie sheet. Press Twix bars in two rows onto the warm gingerbread if using candy topping.
- Cut the slab into 24 sticks with a knife or pizza cutter and allow to cool completely.
- For white chocolate drizzle, melt white chocolate chips with vegetable oil in 30-second increments in the microwave, stirring until smooth. Drizzle over sticks and add sprinkles if desired.
- Store cookie sticks in an airtight container for up to 4 days or freeze for up to one month.