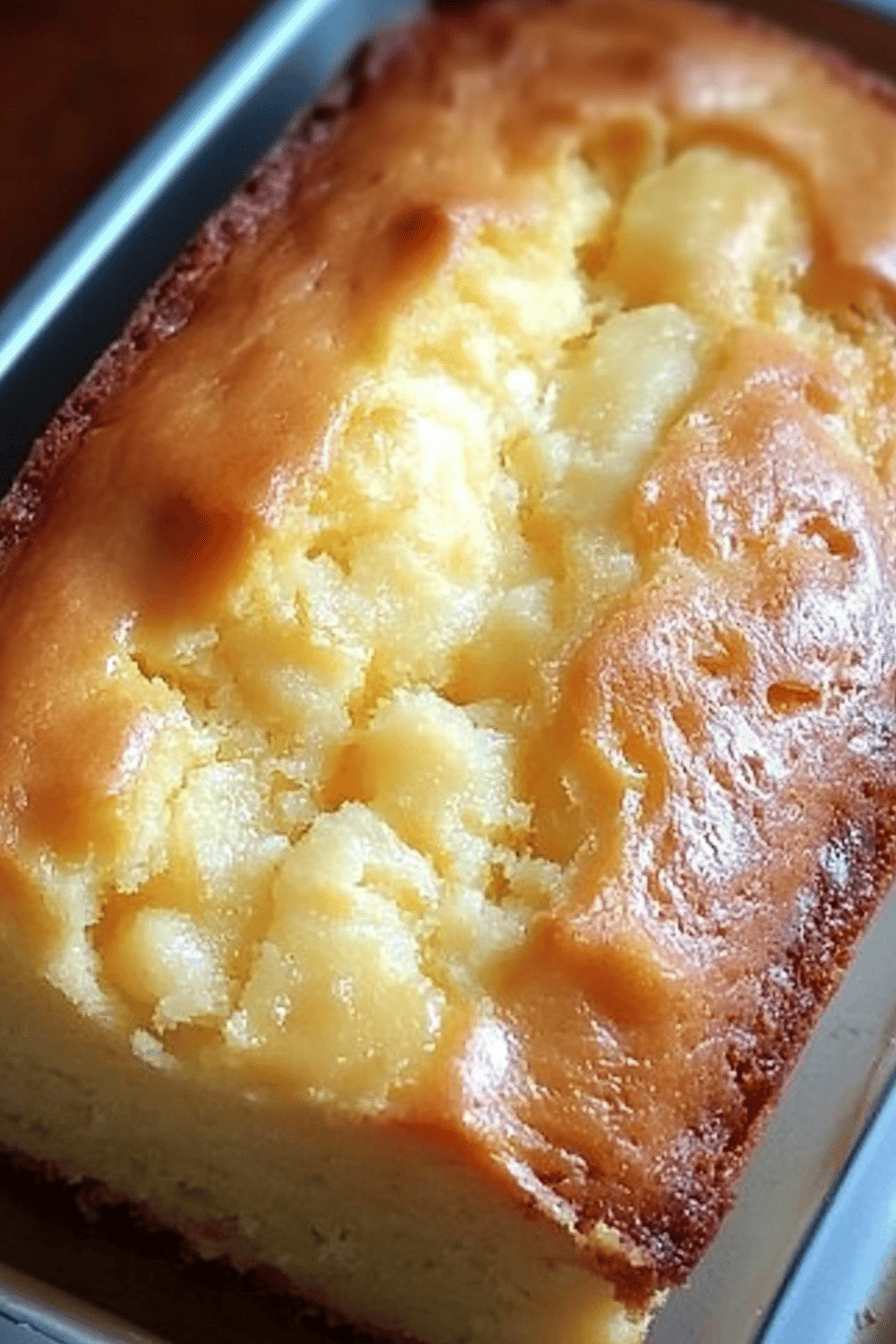
easy corn cakes
On a quiet Sunday morning, the kitchen smells like sunshine and warm corn—the kind of scent that makes conversation drift from the kettle to the stovetop. I’m still spacing out the coffee cups when the skillet starts singing, and suddenly the whole house seems to lean in closer. These easy corn cakes are what I grab when I want comfort that’s fast, friendly, and impossibly good. They’re a softer, nibble-worthy cousin to cornbread but with the gentleness of a pancake, a little sweet corn pop, and a savory finish that pairs with everything from maple syrup to salsa. I’ve served them as breakfast, lunch with a bright salsa, and even a cozy dessert with honey and yogurt. This one’s a lifesaver on busy nights, and my kids actually ask for seconds. I’ve tested them with different milks and chewed a lot of corn kernels until I found the right balance—almond milk made them creamier, honestly, and the sweetness from a touch of corn really shines. If you’re craving something quick and heartwarming, these easy corn cakes deliver with a warm, homey hug in every bite.
What is easy corn cake?
Think of easy corn cakes as little, soft fritters that celebrate every glorious bit of corn. It’s essentially a batter folded with fresh or frozen corn, a touch of dairy or dairy-free milk, a handful of flour, and spices that wake up the flavor. The result is a light, golden pancake-like cake with bits of sweetness and a satisfying crust around the edges. The name hints at how forgiving the method is—you don’t need precision tools or fancy techniques to get them right. They’re a crowd-pleasing, all-in-one bite that feels familiar and cozy, like a weekend brunch with family but ready in half the time. I love how flexible they are: you can riff with cheese, herbs, or heat to suit your mood, and they still come out tender every single time.
Why you’ll love this recipe?
What I love about this easy corn cakes is how adaptable they are without losing their charm. Here’s what keeps me coming back to the skillet night
- Flavor:What makes corn sing—sweet, bright, and a whisper of savoriness from a touch of cheese or green onion. It’
- Simplicity: One bowl, a few pantry staples, and a skillet. You don’t have to babysit batter or fuss with complicated steps. It’s practically a set-it-and-forget-it comfort.
- Cost-efficiency: Corn is inexpensive, and these cakes stretch a little further than you think. Leftover corn, a shy bit of cheddar, a splash of milk—the magic happens with everyday ingredients.
- Versatility: From breakfast to dessert, they morph with toppings and fillings. They’re also forgiving if you’re cooking for kiddos who are picky or guests with dietary needs.
- Make-ahead vibe: You can batch the batter, refrigerate, and fry a quick round when guests arrive or when you need a fast weeknight dinner. It’s a tiny win for busy households.
If you’ve got a craving for something that feels homemade and satisfying, this easy corn Cakes Recipe deserves a starring spot in your week. If you like a little extra zing, you’ll also enjoy my zucchini fritters (linking to a related recipe) for another green-gold bite that’s just as comforting. It’s not fancy; it’s real food that does the job of making you feel cared for with every bite.
How to Make easy corn cakes
Quick Overview
This is the kind of recipe that comes together in a pinch. You whisk together a simple batter, fold in corn and a hint of cheese or seasonings, and pan-fry until the edges are crisp and the centers stay tender. The trick is not overworking the batter and letting the heat do the rest—the cake should be lightly browned, with a delicate crust and a moist, nearly creamy interior. They’re sturdy enough to stack for a quick lunch, yet delicate enough to feel special with a dollop of yogurt or a drizzle of honey. In short: simple, comforting, and wonderfully versatile.
Ingredients
For the Main Batter:
- 1 cup fine cornmeal (yellow preferred) or polenta flour for a slightly coarser texture
- 1/2 cup all-purpose flour (or gluten-free blend)
- 1 1/2 cups corn kernels (fresh or thawed frozen)
- 1/2 cup milk of choice (dairy, almond, or oat work beautifully)
- 2 large eggs
- 1/4 cup grated cheese (cheddar, monterey jack, or a tangy feta—optional but delicious)
- 1 teaspoon baking powder
- 1/2 teaspoon salt, plus a pinch of black pepper
- 1 small green onion or scallion, finely sliced (optional but adds brightness)
- 1 tablespoon neutral oil or melted butter for the batter (plus more for the pan)
For the Filling:
- Optional swirl: 1/2 cup cream cheese or softened goat cheese
- 1/4 cup finely chopped bell pepper or roasted corn for extra texture
- Herbs (cilantro, chives, or dill) to taste
For the Glaze:
- 2 tablespoons honey or maple syrup
- 1 teaspoon lime juice or lemon juice
- Pinch of chili flakes (optional for a tiny kick)
Step-by-Step Instructions
Step 1: Preheat & Prep Pan
Warm your skillet over medium heat and grease with a light coat of oil or butter. You want a gentle sizzle when the batter hits the pan, not a smoking frenzy. If you’re using a cast-iron skillet, give it a moment to settle—the heat distribution will give you a nice, even crust. I usually test with a tiny dab of batter; if it sizzles and browns in about 2 minutes, I know I’m ready.
Step 2: Mix Dry Ingredients
In a large bowl, whisk together the cornmeal, flour, baking powder, and salt. This is the foundation, so I don’t skip this step. A couple of quick strokes are all you need; you don’t want to overbeat the dry mix, or you’ll dull the crumb.
Step 3: Mix Wet Ingredients
In a separate bowl, whisk the eggs, milk, and oil or melted butter. If you’re going dairy-free, you can use a neutral oil and a splash of sparkling water to lighten the batter a touch. Stir in the corn kernels and green onion now if you like, letting the sweet corn take a little swim in the wet mixture. The texture should be thick but pourable, not runny.
Step 4: Combine
Fold the wet ingredients into the dry just until they come together. A few lumps are totally fine. Overmixing here makes the cakes tough, and nobody wants that. If you’re adding cheese, fold it in gently now so it stays in pockets of gooey goodness inside each cake.
Step 5: Prepare Filling
If you’re making filled corn cakes, dollop a teaspoon of Cream Cheese or a tiny bit of flavored cheese onto the center of each spoonful of batter, then cover with more batter. You want a neat seal around the edges so the filling doesn’t leak out. For extra flavor, sprinkle in a pinch of herbs or a few finely chopped peppers.
Step 6: Layer & Swirl
When you’re not stuffing, you can still get a little visual interest by gently folding a few extra corn kernels into the batter before portioning. If you want a mild marble effect with a glaze or sauce, you can swirl a spoonful of your glaze through the batter in the pan after you’ve spooned it in, but do so sparingly to avoid tangling the texture.
Step 7: Bake
Hold off on the oven if you’re pan-frying, but you can finish these in the oven if you’re making a larger batch. For pan-frying: cook the cakes 3-4 minutes per side, until deeply golden and the centers feel set but still a touch springy. If you bake them, place small rounds on a parchment-lined sheet and bake at 425°F (220°C) for 12-15 minutes, flipping once, until the edges crisp and the centers are tender.
Step 8: Cool & Glaze
Let the cakes rest for a couple of minutes on a rack. If you’re drizzling the glaze, whisk the honey and citrus with a pinch of chili flakes and a splash of water to loosen. A light glaze adds a gentle sweetness and a nice sheen, but you can skip it if you prefer a savory finish—just a squeeze of lime and a dusting of sea salt can be perfect too.
Step 9: Slice & Serve
Slice them warm and serve with a dollop of yogurt, a spoonful of salsa, or a simple herb Sour Cream. The texture should be tender inside with a delicate crust outside. If you’re serving for a crowd, arrange them on a platter with a handful of greens and a few lemon wedges for bright acidity. My family loves stacking them into a little tower, then breaking off a corner to reveal the moist center.
What to Serve It With
These easy corn cakes shine with a little something on the side, so here are a few ideas that have worked for me across different meals and moods:
For Breakfast: A light dusting of paprika, a pat of butter melting into the warm surface, and a crisp slice of bacon on the side. If you’re feeling health-conscious, top with a spoonful of Greek Yogurt and a drizzle of maple syrup for a sweet-savory start. Coffee or a smoky tea pairs beautifully with the warm corn aroma escaping the pan.
For Brunch: Serve with smoked salmon or a quick avocado mash, plus a citrus-tinged salad on the side. The texture holds up well next to fresh herbs and a tangy dressing. A glass of sparkling water with a squeeze of lime keeps things light and festive.
As Dessert: Think of a lightly sweet glaze and a dollop of vanilla yogurt or whipped cream. A sprinkle of toasted almonds adds a gentle crunch. The corn’s natural sweetness makes this feel like a clever, cozy after-dinner bite rather than a heavy cake, which I adore when friends drop by late in the evening.
For Cozy Snacks: Pair with a quick black bean salsa, a tomato-cucumber relish, or simply a smear of avocado and lime. They’re perfect for movie night, potlucks, or a simple board with cheese and olives. The little cakes are forgiving, so you can bake a batch and nibble throughout the week without getting bored.
For extra inspiration, you can explore other quick, comforting bites in my kitchen repertoire—like my zucchini fritters with a bright yogurt-herb dip (link to related recipe) or a warm corn pancake that’s been adapted for a savory brunch. The joy is in the little moments: a kitchen full of laughter, the steam rising off fresh corn, and a table that quickly fills with friends who can’t wait to try a bite.
Top Tips for Perfecting Your easy corn cakes
These tips come from years of testing and tasting, so trust the little hints I’ve learned along the way:
Zucchini Prep: If you’re swapping zucchini for corn or adding more moisture to the batter, you might want to squeeze grated vegetables to remove excess moisture. A quick press with clean towels makes a huge difference in texture—no soggy bites here.
Mixing Advice: The moment you see a few streaks of dry flour disappear into the wet mix, stop. A few lumps keep the cakes tender; overmixing makes them gummy. If the batter feels thick, add a splash more milk—you want it to drop gently off a spoon, not hold its shape like a brick.
Swirl Customization: For visual interest, fold in a small amount of melted butter with the corn to create a delicate sheen on the surface. You can also layer a thin line of cheese near the center for a gooey surprise when you bite through.
Ingredient Swaps: Want dairy-free? Use a plant-based milk and a little extra oil. For gluten-free, swap the all-purpose flour with a 1:1 gluten-free blend. The texture remains soft, and you’ll still get that comforting crumb.
Baking Tips: If you bake these, keep an eye on the color. The edges should bronze nicely, and the center should stay moist but set. Ovens vary, so it’s smart to rotate the sheet halfway through for even browning.
Glaze Variations: Sweet glaze is lovely, but for a savory finish, whisk olive oil with lemon juice, salt, and pepper for a quick drizzle. You can also swap honey for a maple-balsamic glaze if you want something a little more polished for entertaining.
Over the years, I’ve found that letting the batter rest for about 10 minutes before cooking helps the corn kernels hydrate a touch and makes the texture a touch more cohesive. It’s a small step, but it’s changed the final crumb for me on busy weeknights. I also learned to hold back a whisper of salt in the batter and finish with a light salt sprinkle after cooking—this keeps the natural sweetness of the corn front and center.
Storing and Reheating Tips
Storing and reheating these babies is straightforward, which is exactly what I want on a weeknight. Here’s how I keep the magic alive:
Room Temperature: These are best enjoyed fresh, but you can cover them loosely and keep them at room temperature for a few hours. They’ll lose some crispness, but the inside stays tender and forgiving.
Refrigerator Storage: Place cooled cakes in an airtight container for up to 3 days. Reheat on a skillet over medium heat for 1-2 minutes per side or in a 350°F (175°C) oven for 5-7 minutes until warmed through and edges regain some crunch.
Freezer Instructions: Freeze cooled cakes on a tray, then transfer to a freezer bag. They’ll keep for up to 2 months. Thaw in the fridge overnight and reheat gently to keep moisture intact.
Glaze Timing Advice: If you’re freezing, skip the glaze and add it after reheating. A fresh drizzle brings back the brightness that the storage sometimes dulls.
These guidelines have kept the texture reliable for me, even when I’m juggling a busy week. The goal is simple: keep them tender inside, lightly crisp outside, and always flavorful enough to stand up to a variety of toppings.
Frequently Asked Questions
Final Thoughts
This recipe is the kind that makes a week feel a little lighter, a little warmer. The corn’s sweetness wraps around a gentle crust and a soft interior, and the optional fillings or glaze give you room to personalize—whether you’re cooking for kids who love a pop of cheese or feeding guests who crave something with a bit more brightness. It’s a family-friendly staple that turns everyday ingredients into something special, and it’s become a go-to in my kitchen because it never fails to deliver comfort in a few quick steps. If you try it, I’d love to hear what you swapped in or how you plated yours. Share your variations, rate the recipe, and tell me what you served it with—nothing makes me happier than hearing how your table came alive with easy corn cakes. Happy baking!
Easy Corn Cakes
Ingredients
Corn Cakes
- 2 cups precooked cornmeal
- 2 teaspoons salt
- 2.5 cups warm water
- 0.25 inch oil for pan frying
Optional Fillings
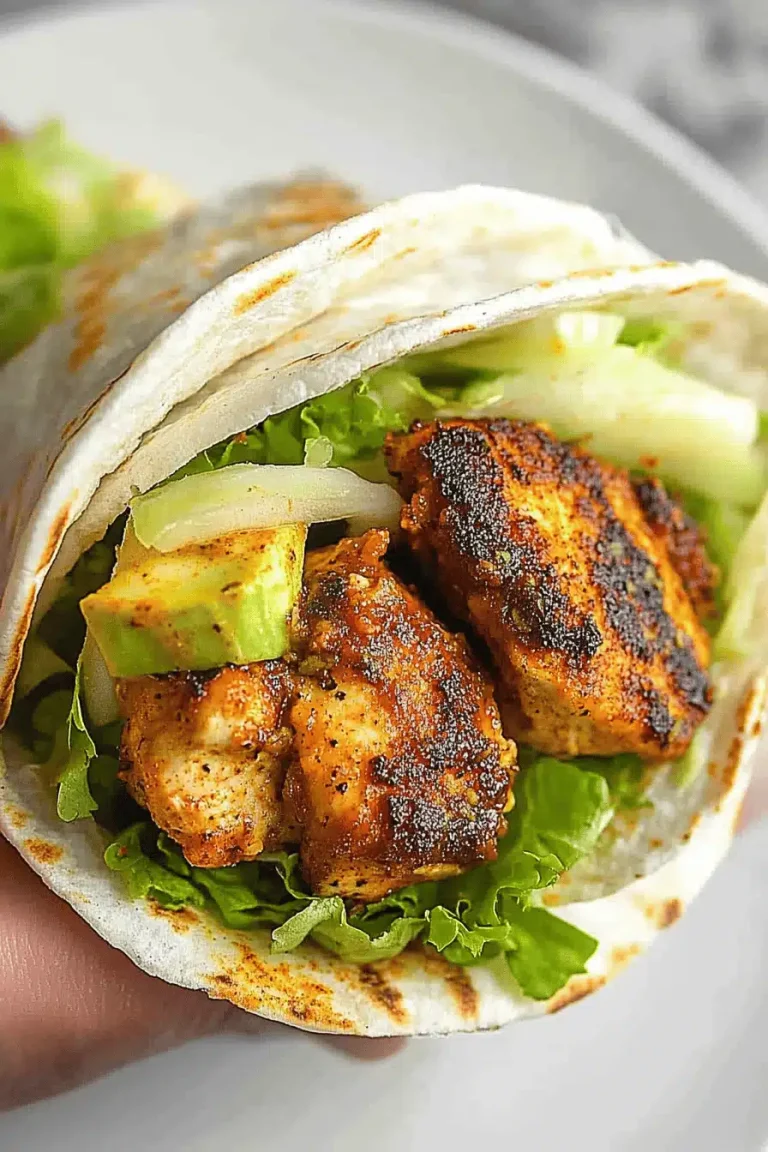
- Carnitas or Chipotle Shredded Chicken
- Magic Green Sauce
- black beans
- sweet potatoes, sliced and sautéed
- pickled red onions
- Cotija cheese
Instructions
Preparation Steps
- In a large bowl, mix the precooked cornmeal and salt. Gradually add the warm water and whisk to remove any lumps, then stir until combined. Let the mixture rest for 5-10 minutes.
- Using your hands, divide the dough into 8 equal portions. Roll each portion into a ball and then flatten gently to create a disk, about 1 inch thick.
- Heat about 0.25 inches of oil in a large, heavy skillet over medium heat. Carefully add the formed corn cakes to the hot oil and fry for about 6 minutes on each side, until they achieve a dry, golden-fried exterior without becoming overly brown. Transfer the fried corn cakes to paper towels to drain and cool.
- Once cooled slightly, slice the corn cakes in half horizontally and stuff them with your desired fillings. Serve immediately.